Set up a forex (MT5) bot from Telegram signals
AlgoVesta Team · Last reviewed: 30 September 2026
Turn the forex and gold signals from a Telegram channel you belong to into automatic orders on your own MetaTrader 5 account. This guide walks you through every screen of the panel, step by step.
- About 15 minutes
- 13 steps
- Try it risk-free with a broker demo account
Short answer: On AlgoVesta, Telegram forex signals turn into automatic trades like this: in the panel choose Set Up New Bot → Telegram → Forex; connect Telegram with your phone number; add the signal channel and select it in Settings scope; connect your MT5 account with your broker server, MT5 account number, and trading (master) password; enter your lot, TP/SL pips, and daily loss limit; then press Create Bot. Every signal becomes an order on your MT5 account within your limits. No trade is opened unless its TP and SL can be guaranteed. You don’t need to install MetaTrader, an EA, or a VPS on your computer.
Last verified: — checked screen by screen in the panel. This page is updated whenever the panel changes.
On this page
Get these ready before you start
What to know before you set up
- Many sections in the wizard are marked “Can be done later”. You can skip them now and finish them later from the bot card.
- You don’t need to connect an account to create the bot. But the bot won’t open trades until at least one channel is selected and an MT5 account is connected.
- Forex has no virtual-balance Demo mode; to try it risk-free, open a free MT5 demo account with your broker and connect that. No real money is used on a demo account.
- MetaTrader 5 only — MetaTrader 4 accounts are not supported.
- Every TP is a separate position — In MT5 a position has a single TP field. If you set up several targets, a separate position (ticket) is opened for each target and the total lot is split across them; the SL is the same on all of them. Details: Multiple TPs.
- A pip depends on the symbol — On major pairs 1 pip is 0.0001, on XAUUSD 0.1, and on XAGUSD 0.01. Suffixes on your broker’s symbol (like XAUUSDm, EURUSD.pro) are recognized automatically.
- The market is closed on weekends — A signal that arrives while the market is closed is not turned into a trade; the bot card shows the reason.
What should a signal in the channel look like?
The bot reads the channel message and extracts the symbol, the direction, and, when present, the entry, stop, and target prices. A message like the one below turns directly into a trade:
XAUUSD BUY
Entry: 2322 - 2325
SL: 2318
TP1: 2330
TP2: 2338
TP3: 2350
- Symbol and direction are required — Formats such as “XAUUSD BUY”, “EURUSD SELL”, and “GOLD BUY NOW” are read. If the direction or symbol is missing, the message isn’t counted as a signal and no trade is opened.
- If there is no stop or target — If your TP/SL source is Manual (pip), your pip values are used (Step 11). In From signal mode, a signal without a stop and target opens no trade.
- If the message includes a lot size — If your lot mode is Signal Lot, the lot from the message is used; in other modes your own setting applies (Step 10).
- Messages that contain only commentary, charts, or results (“TP1 hit”, “+120 pips”) are not turned into trades.
Quick setup (recommended)
Quick setup shows only the necessary and most commonly used settings. For most people the defaults here are enough. If you want to see every setting, go to the Advanced settings section.
Step 1Open the setup wizard
- Get Started — This button on the “Set Up New Bot” card opens the setup wizard.
- Set Up Your First Bot — If you don’t have a bot yet, you can open the same wizard with this button too. Both lead to the same place.
Step 2Choose Telegram as the signal source
- Telegram card — Click the card with the “Recommended” badge. The moment you click it, you move on to step 2 (choosing the market). The bot reads the messages in the channels you belong to and turns them into orders.
Step 3Choose Forex as the market
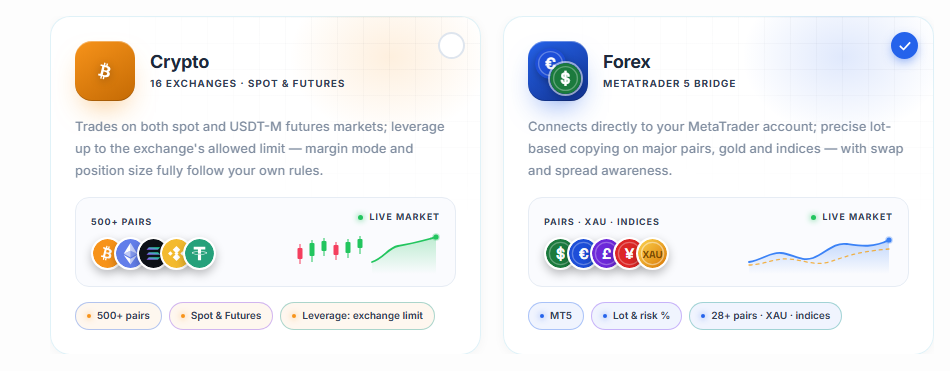
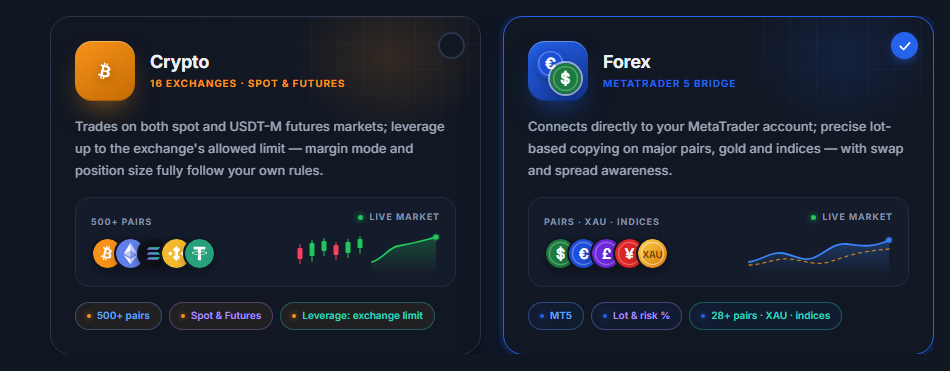
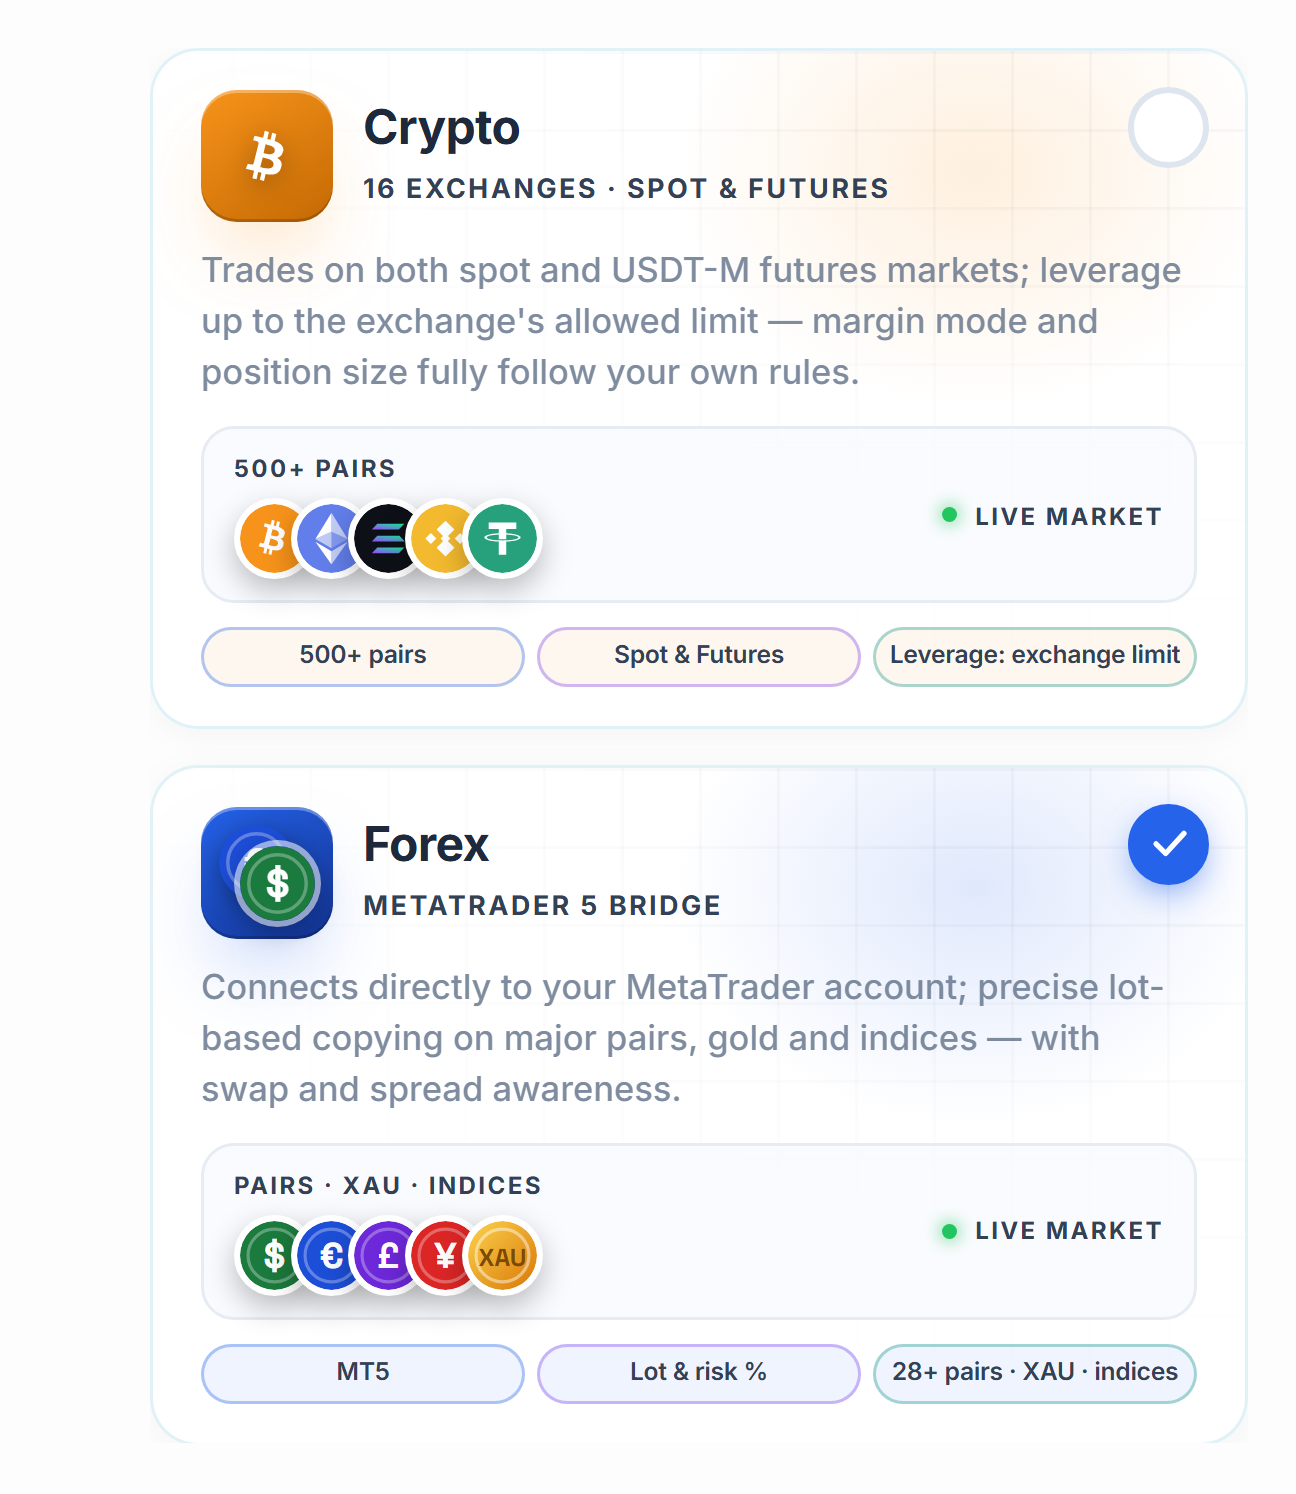
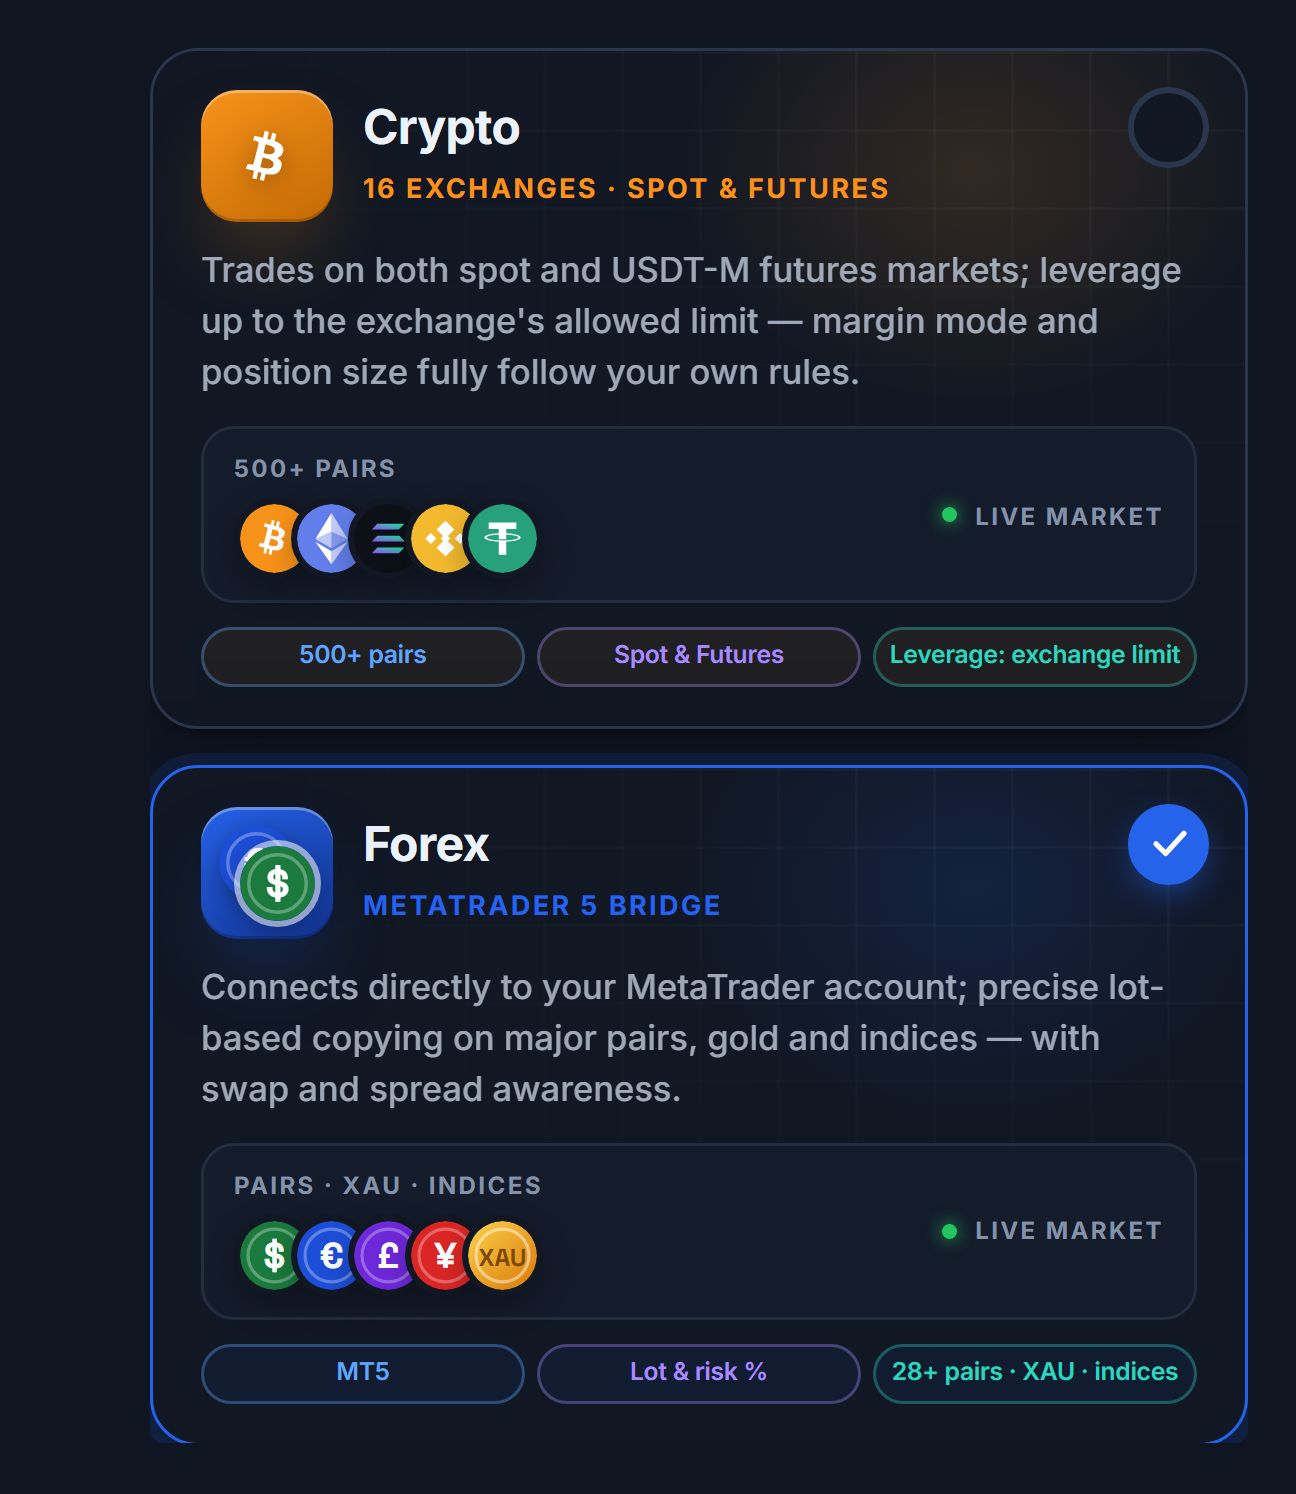
- Forex card — For symbols traded on MetaTrader 5, such as currency pairs, gold, and silver. When you click the card you go straight to step 3 (setup). If you will use both crypto and forex, set up a separate bot for each so that limits and target accounts don’t get mixed up.
Step 4Choose the setup mode
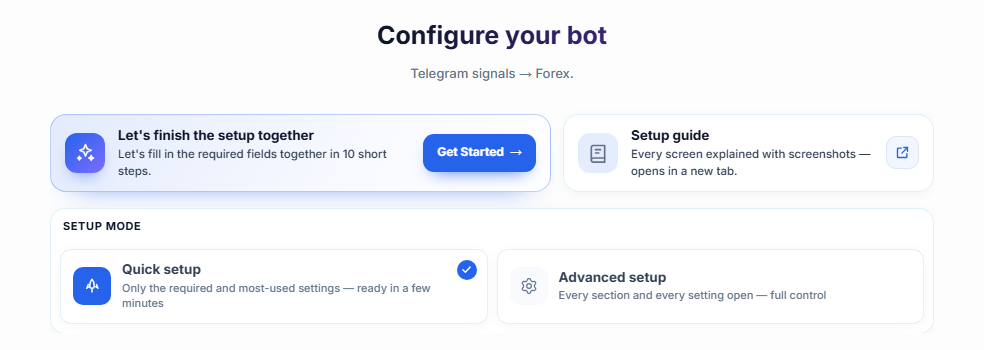
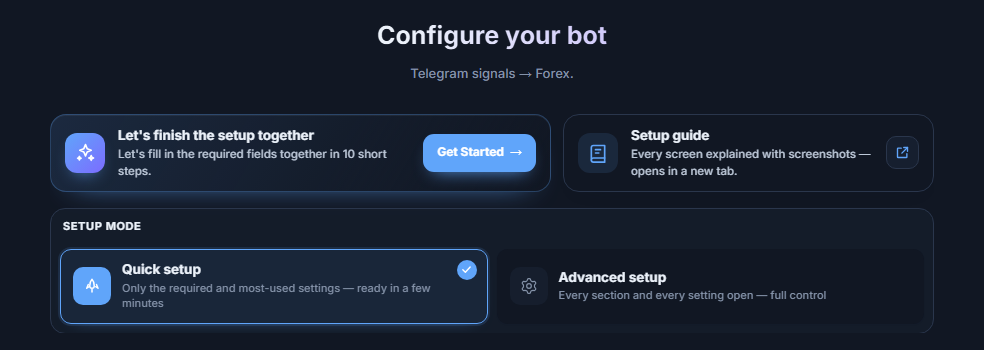
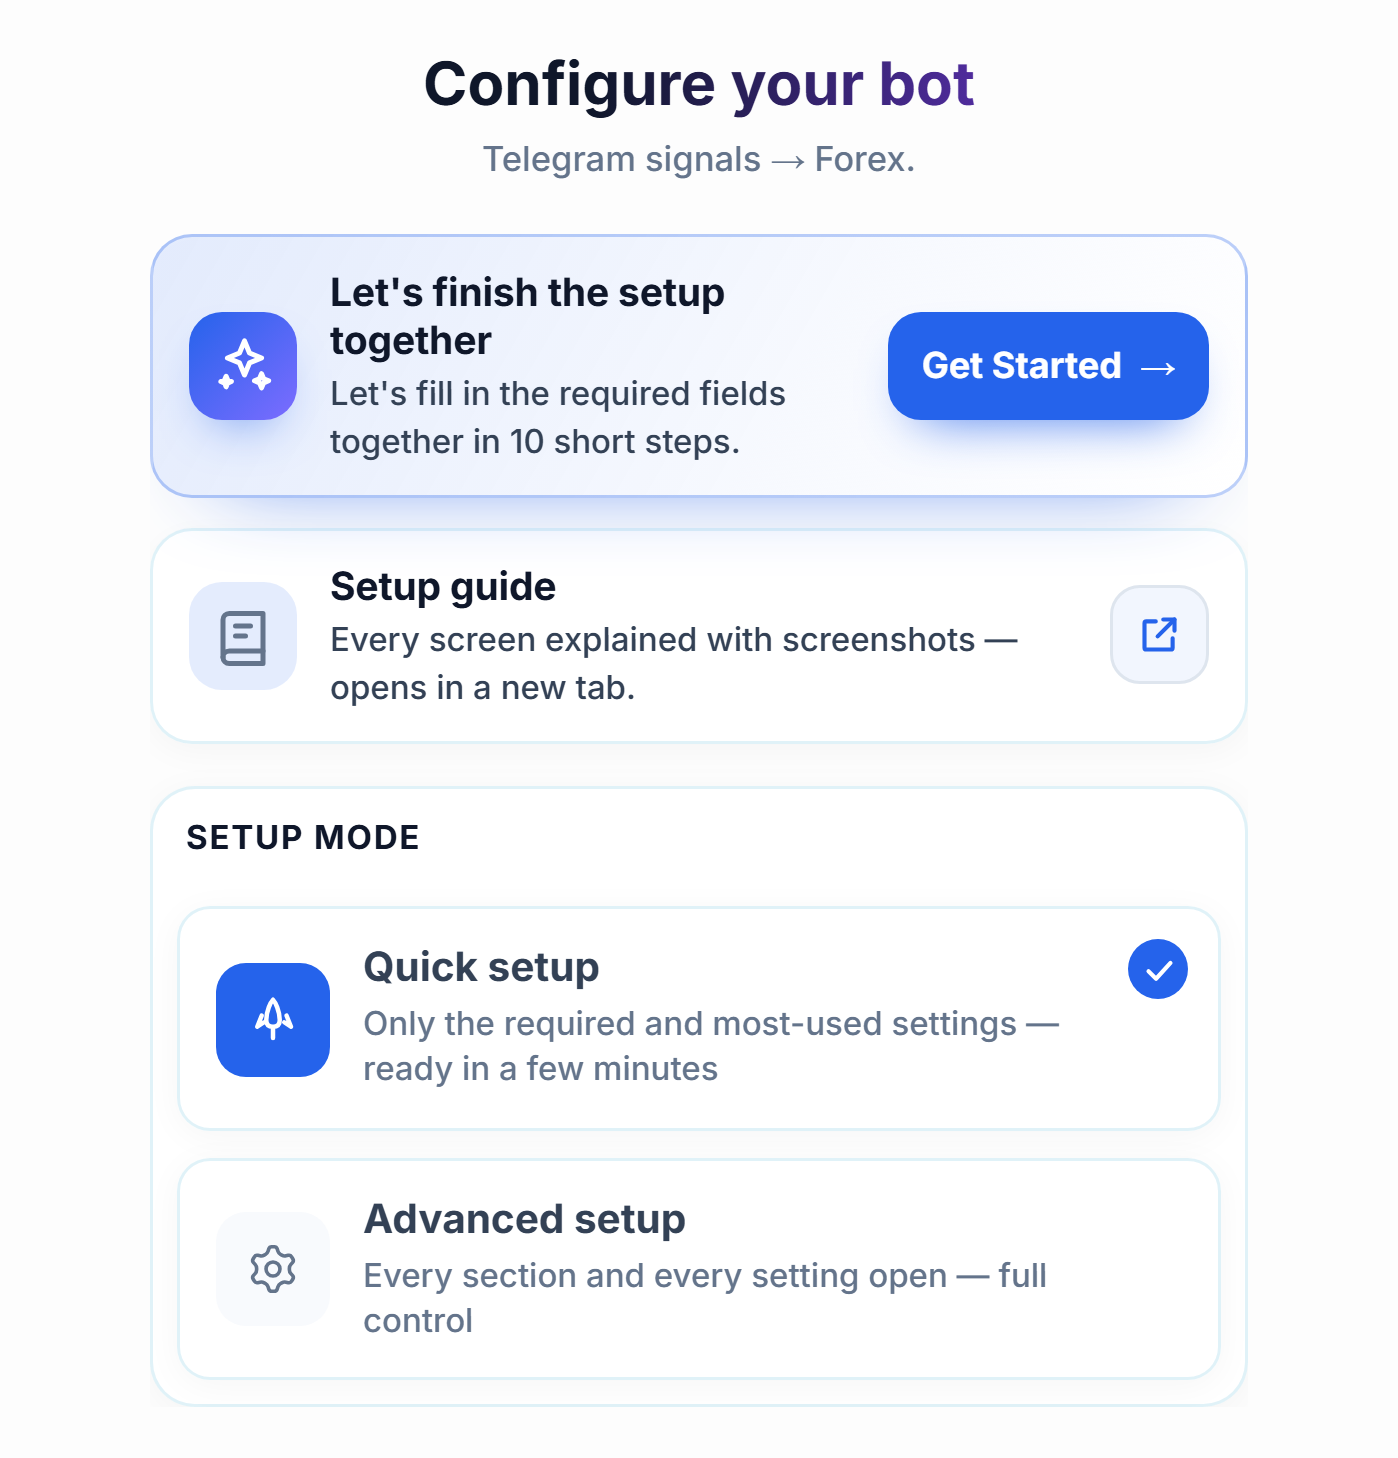
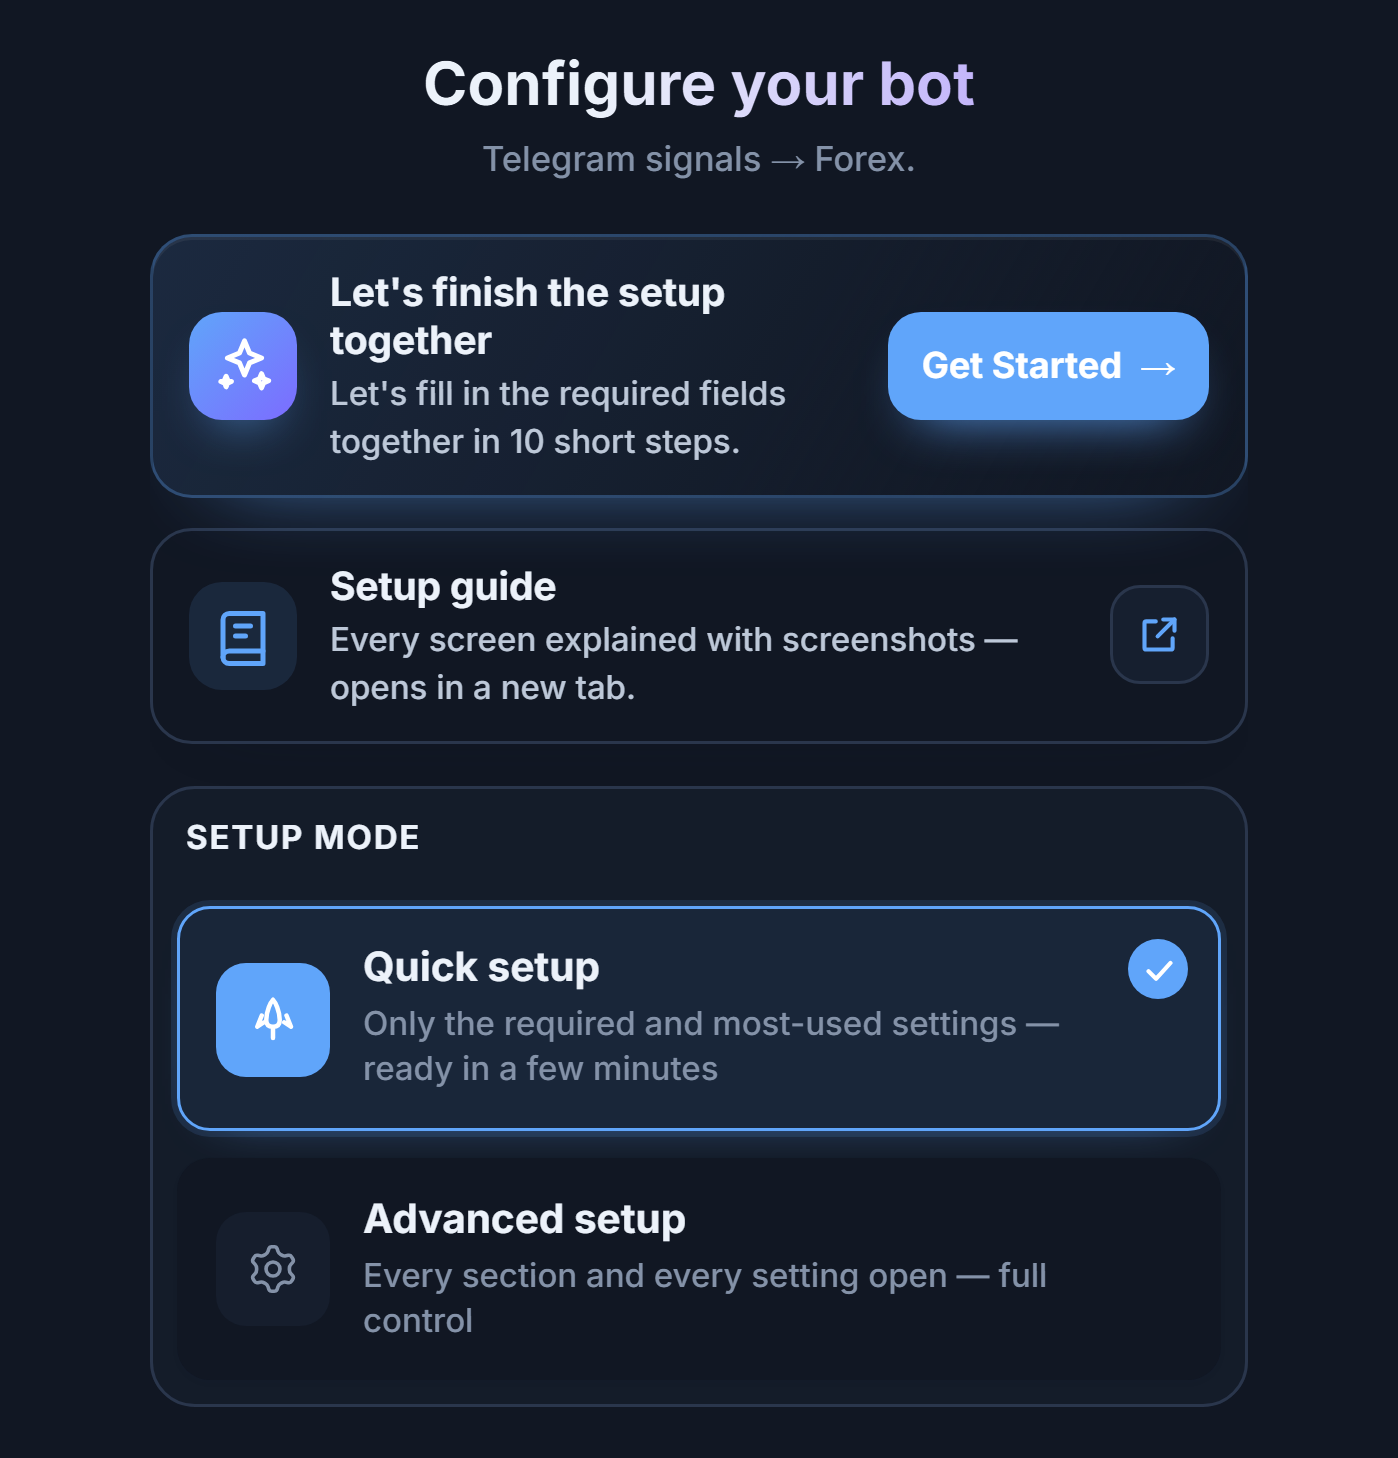
- Let’s finish setup together — Get Started — Start the interactive guide if you like; it shows the required fields one by one in short steps. It is optional.
- Setup guide — Every screen explained with screenshots — opens in a new tab.
- Quick setup — Shows only the necessary and most commonly used settings. The main flow of this guide follows this mode.
- Advanced setup — Opens every section and every setting; the settings are split into tabs. Details are in the Advanced settings section.
| Comparison | Quick setup | Advanced setup |
|---|---|---|
| Who it's for | People setting up their first bot who want to start with the defaults | People who want fine control, such as multiple TPs, symbol mapping, trailing stop, or prop-firm rules |
| Visible fields | Only the necessary and frequently used settings | All fields, in 6 tabs |
| TP table | A single target (TP pips) | Multiple targets and a lot percentage per target |
| Changing later | You can switch modes at any time; settings aren’t deleted, only hidden | |
Step 5Name your bot and see what’s missing
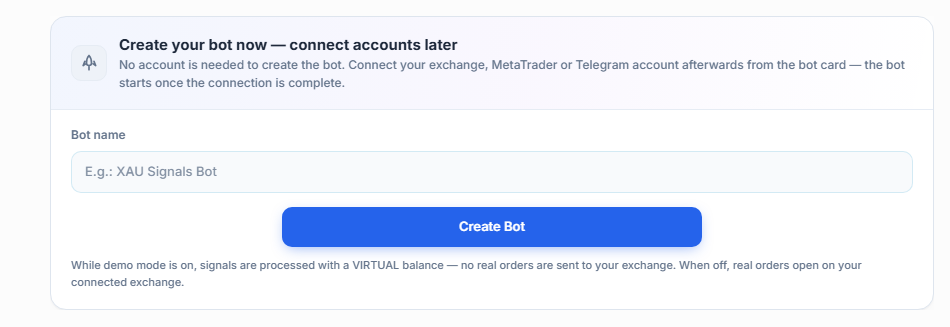
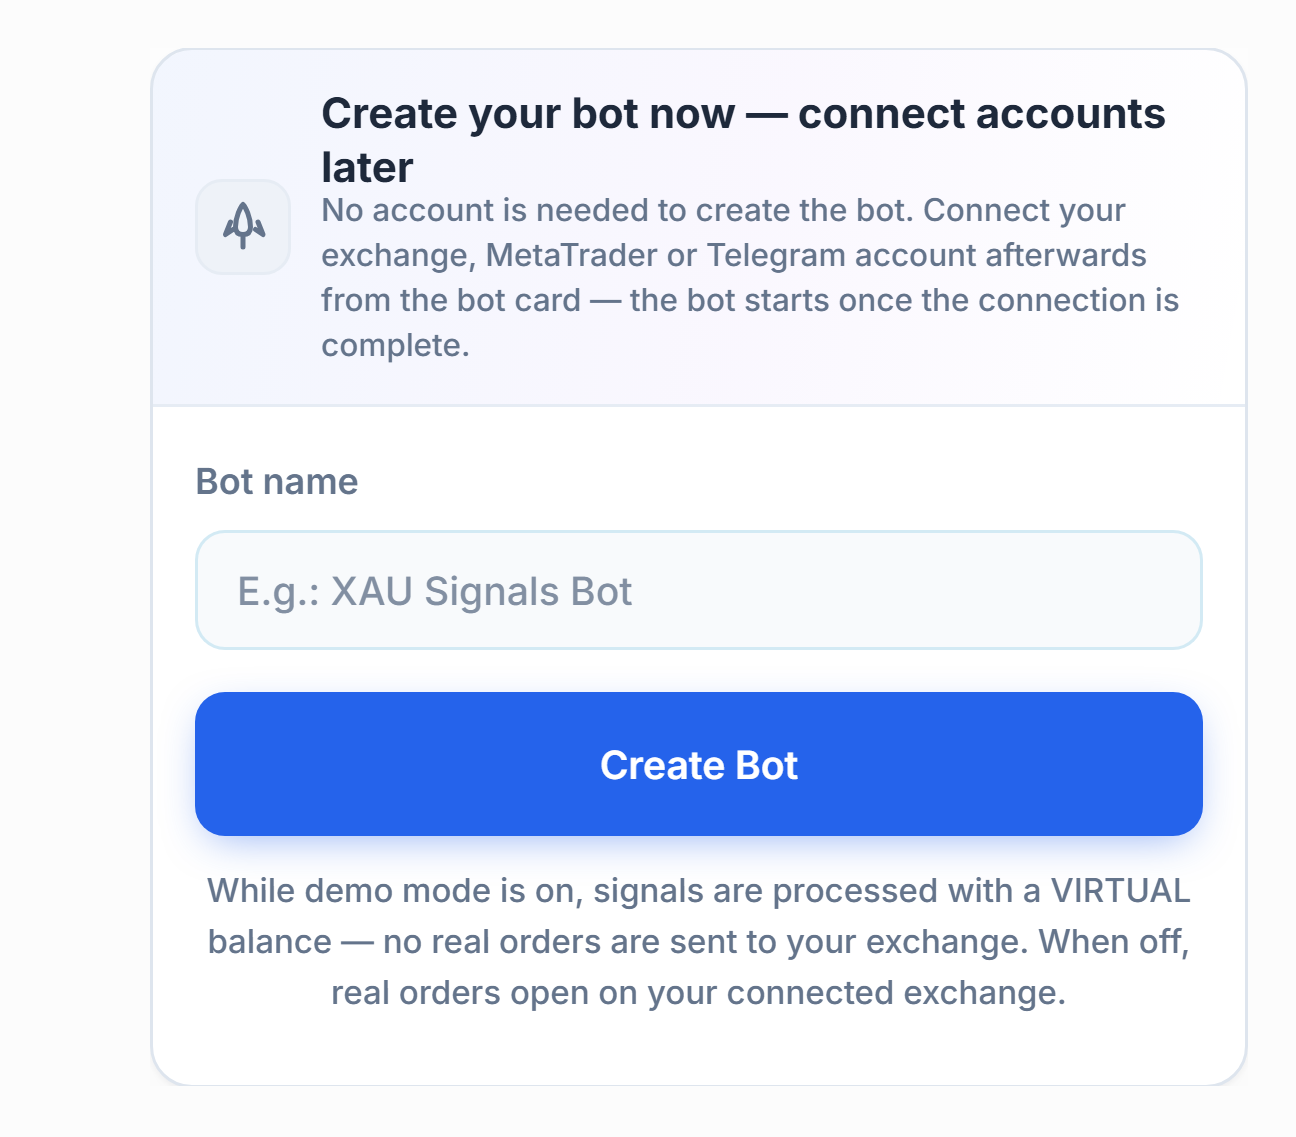
- Bot name — Give your bot a name; it appears under this name in your panel.
- Create Bot — Saves the bot right away. You don’t need an account to create a bot; you can finish the Telegram and MT5 connections later from the bot card. The bot starts once the connections are complete.
Right below this panel, a list appears showing what is missing for the bot to run:


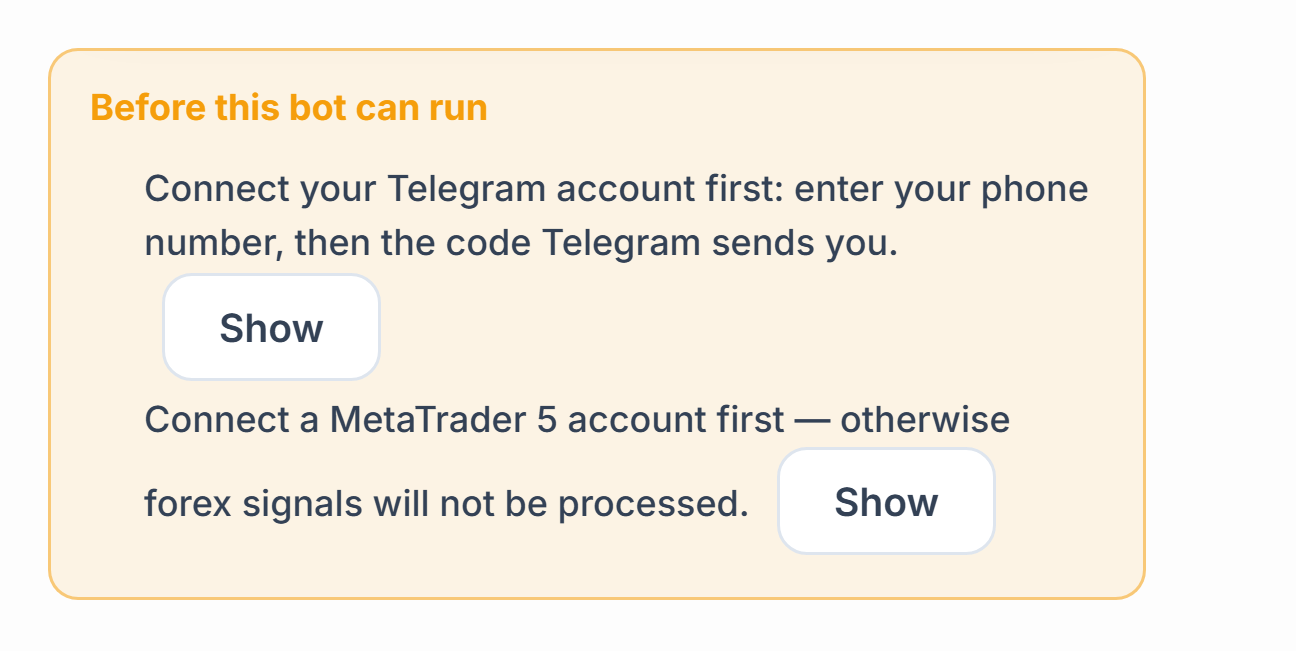
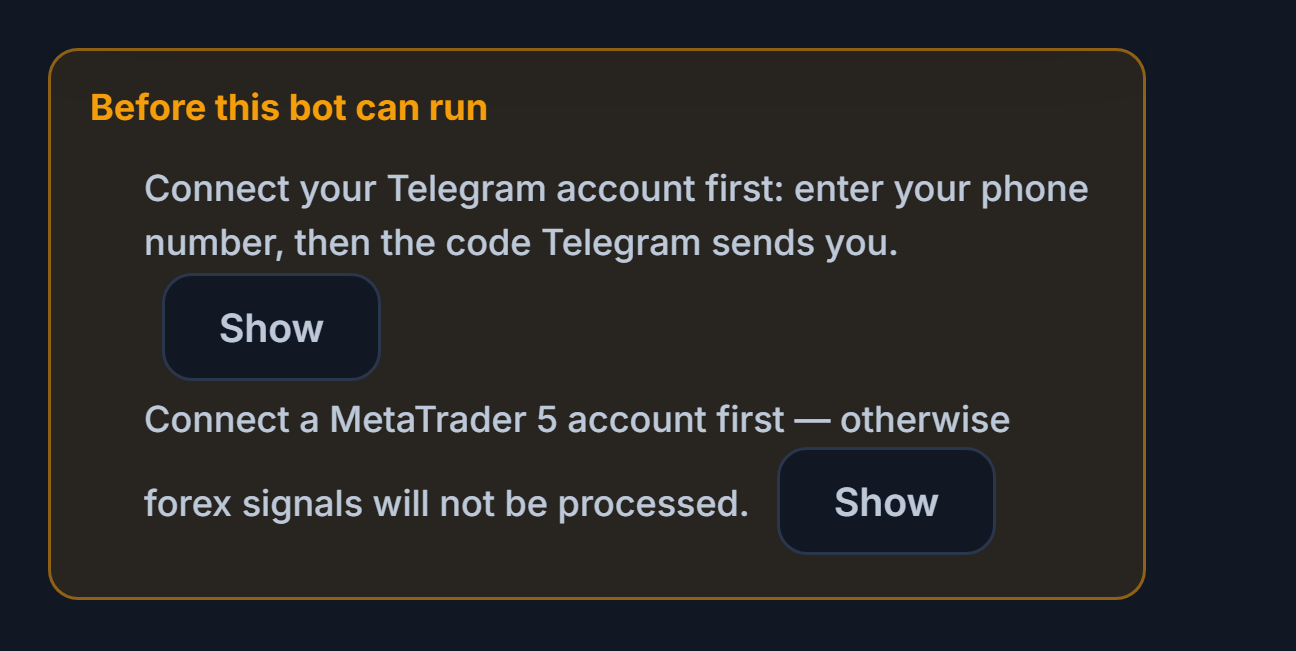
- Show (Telegram) — Takes you straight to the Telegram connection section.
- Show (MetaTrader 5 account) — Takes you to the MT5 account section. Forex signals aren’t processed without a connected MT5 account.
Step 6Connect your Telegram account
The bot reads signal channels through your Telegram account. Nothing is sent on your behalf; only the channels you select are read. The connection stays open 24/7 and reconnects automatically if it drops.
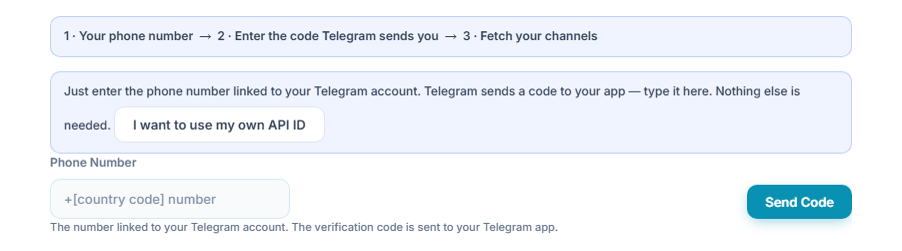
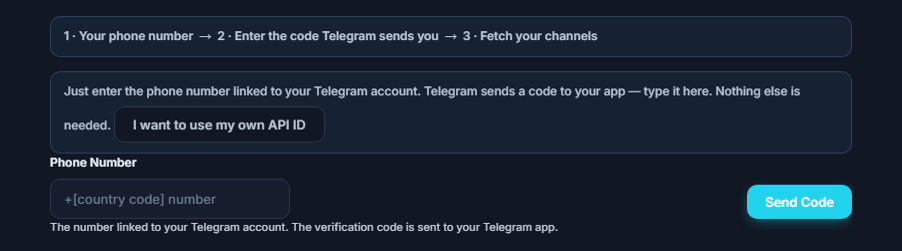
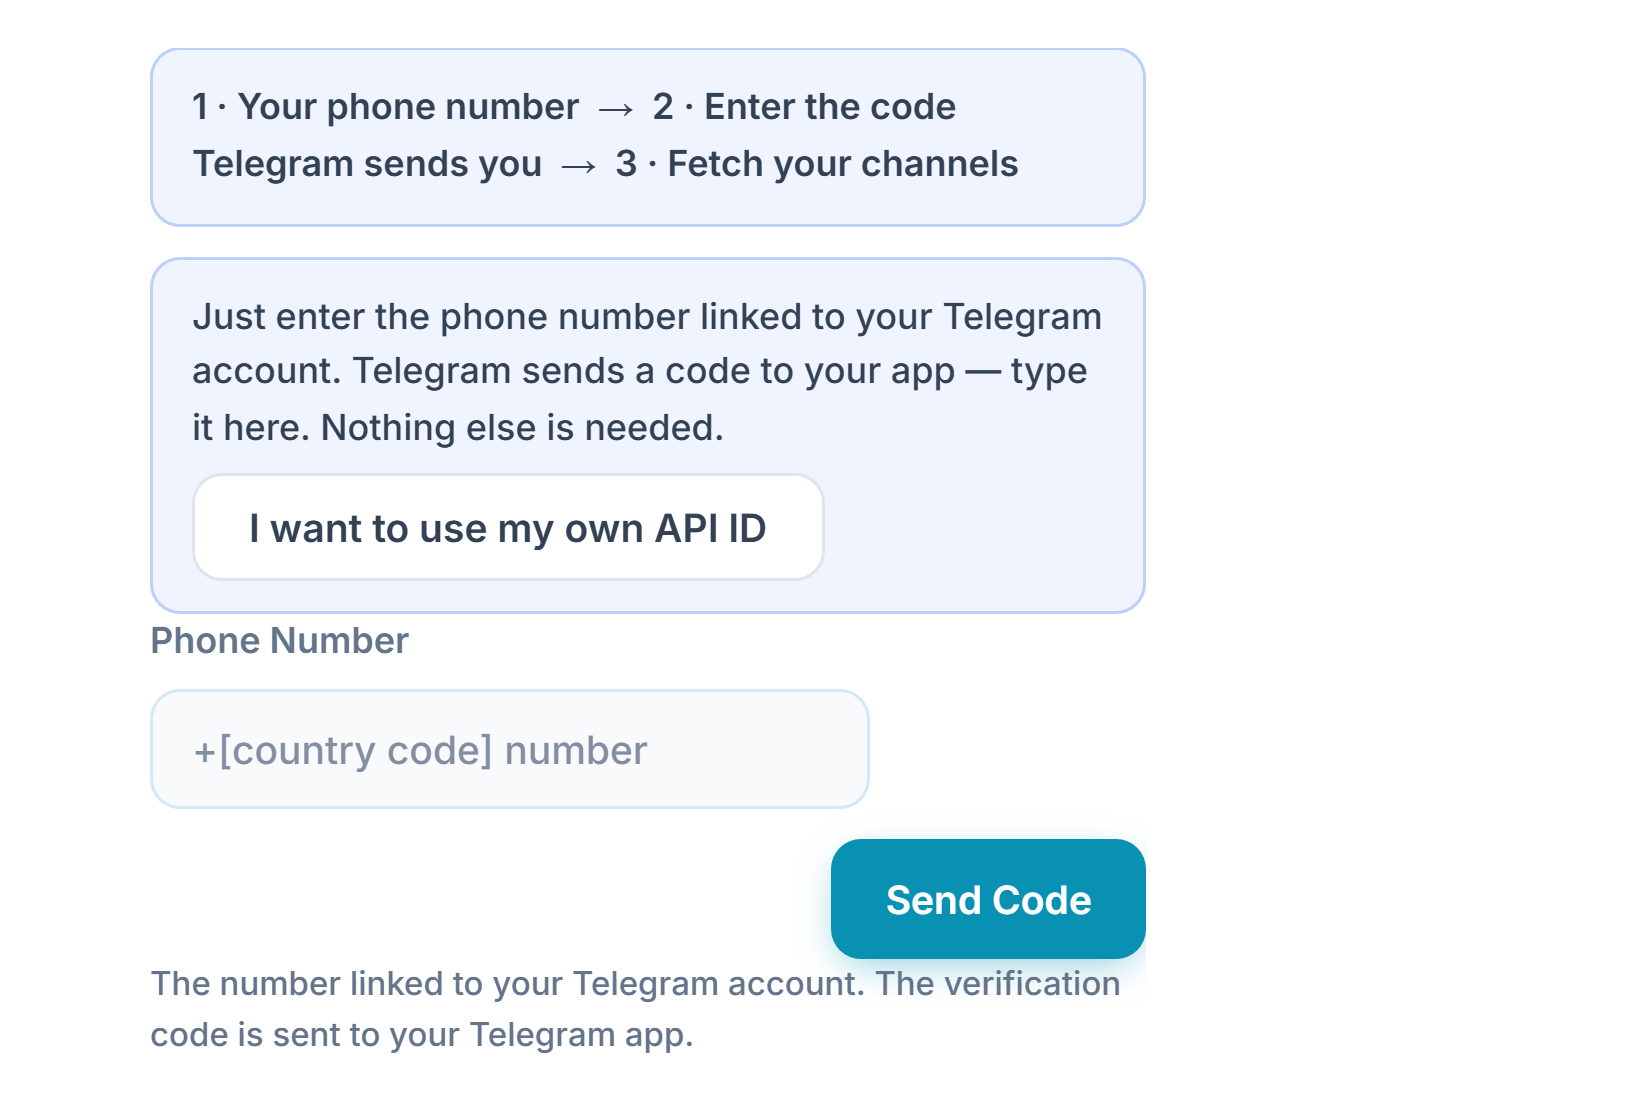
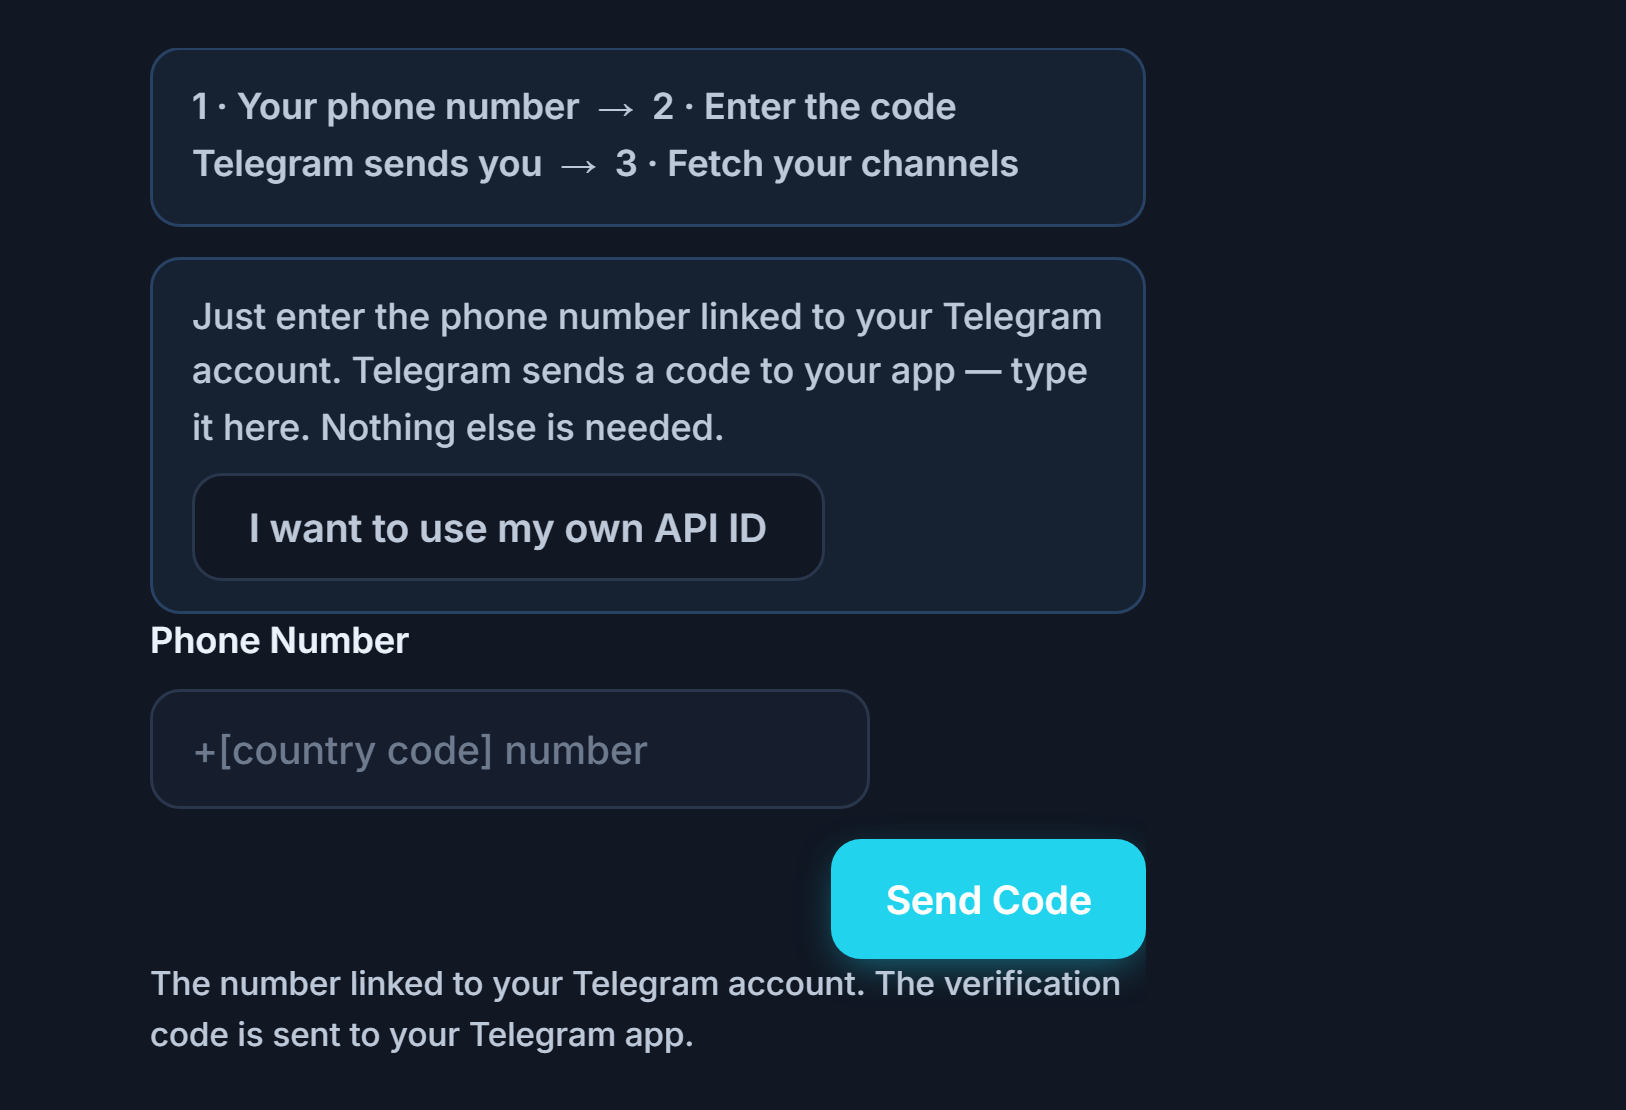
- Step strip — Shows the three steps: 1 · Your phone number → 2 · Enter the code sent to Telegram → 3 · Fetch channels.
- Phone Number — Enter the number linked to your Telegram account with the country code.
- Send Code — Sends the verification code. The code usually arrives in your Telegram app; in some cases it may also arrive as an SMS on your phone. After you press the button, a countdown of about 20 seconds appears before you can press it again.
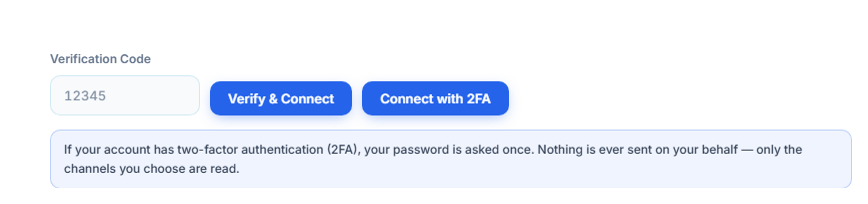
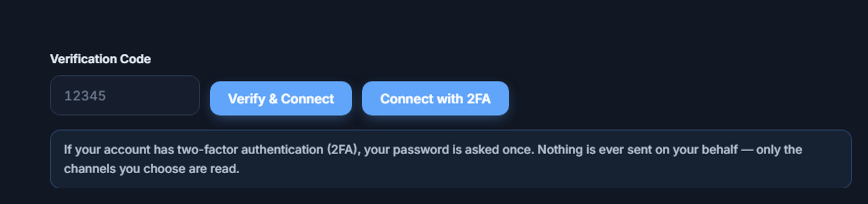
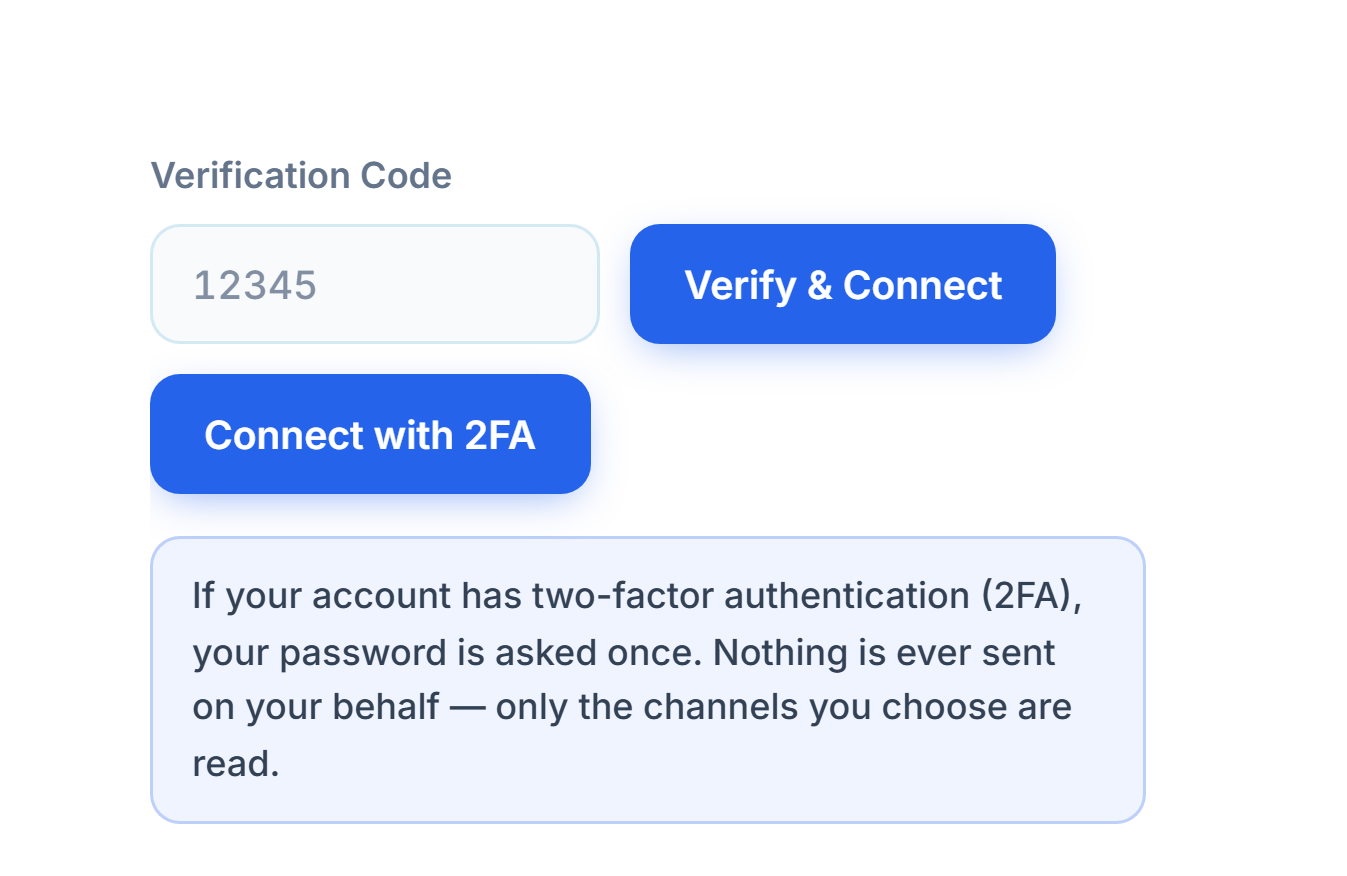
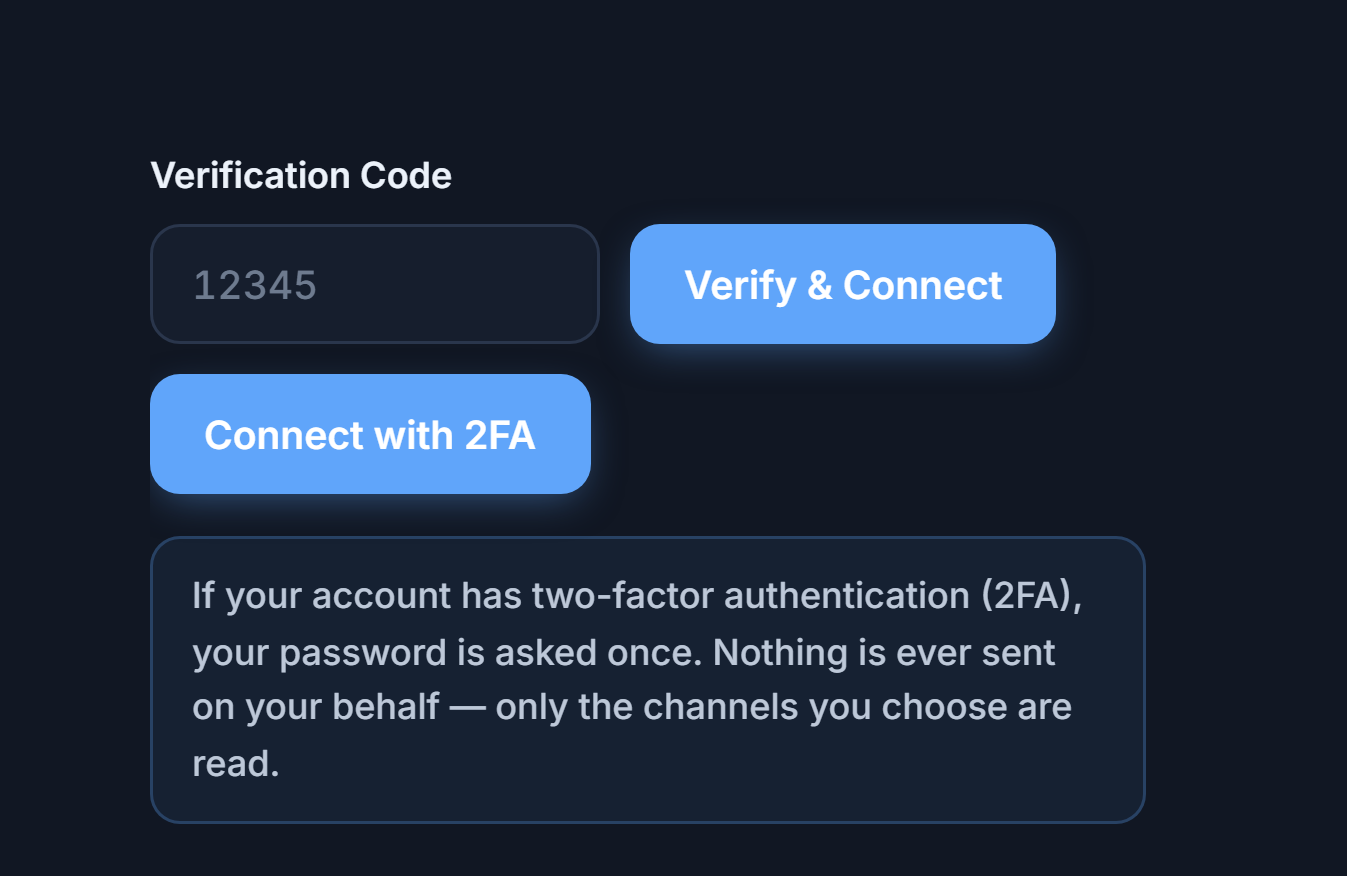
- Verification Code — Enter the 5-digit code sent to your Telegram app or by SMS to your phone.
- Verify & Connect — Confirms the code and connects your account. If it succeeds, the section says “Connected”.


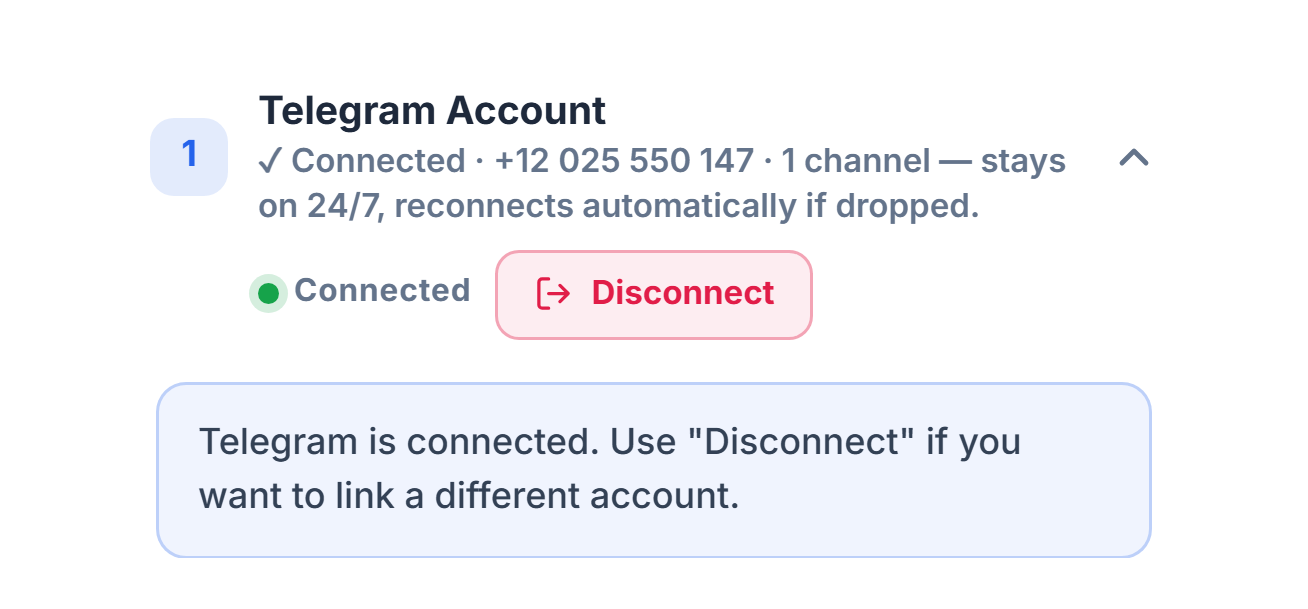
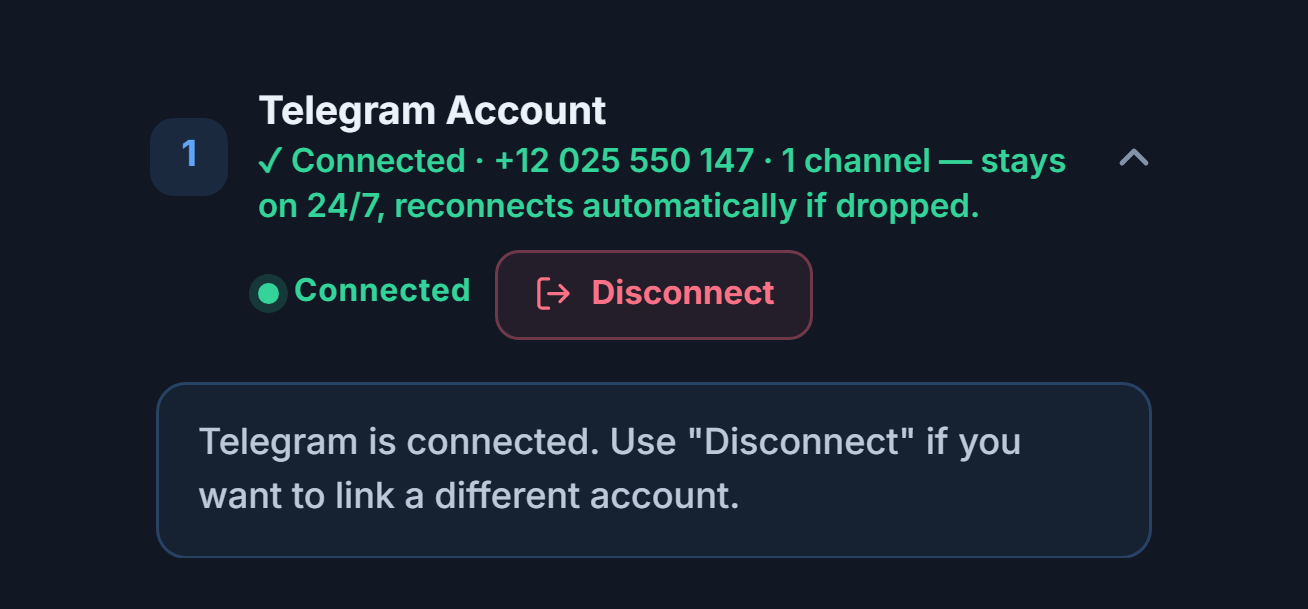
- Connected badge — The section header shows a green “Connected”; below it you see the connected number and the number of channels you’ve added.
- Disconnect — Use it only if you want to connect a different Telegram account. When you disconnect, the channel list disappears and the bot stops; you’ll need to connect again.
- Connection note — The phone and code form is now hidden. The connection stays open 24/7 and reconnects automatically if it drops.
If your account has two-factor authentication (2FA)
- 2FA Password and Connect with 2FA — If two-step verification is on for your Telegram account, your password is asked once after the code. Enter the password and press Connect with 2FA.
Alternative: connect with your own API ID
The default route asks only for your phone number. With the I want to use my own API ID link in the section, you can also connect using your own Telegram app credentials. If the quick connection isn’t available at that moment, the panel opens this form on its own.
- my.telegram.org — Log in to this address with your phone → API development tools → Create an app. The form asks for an App title and Short name (any name you like, e.g. AlgoVesta) and a Platform (Other); the URL and description can be left empty. It is free. Open the page in a new tab; don’t close the AlgoVesta tab.
- API ID — The
api_idvalue you see on my.telegram.org; it consists of digits only. - API Hash — The
api_hashvalue on the same page; it is a 32-character code.
After you enter the API ID and API Hash, the flow is the same: phone number → Send Code → code → Verify & Connect.
Step 7Choose your signal channels
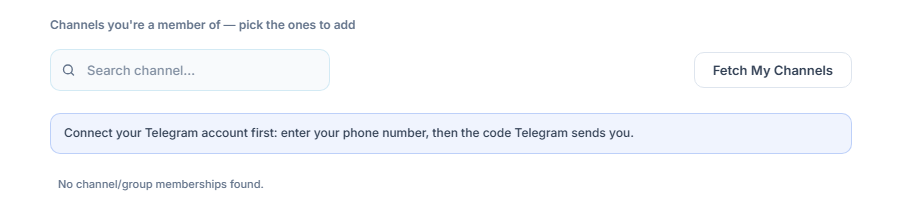
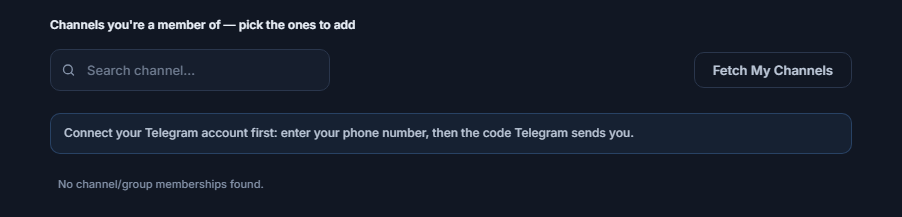
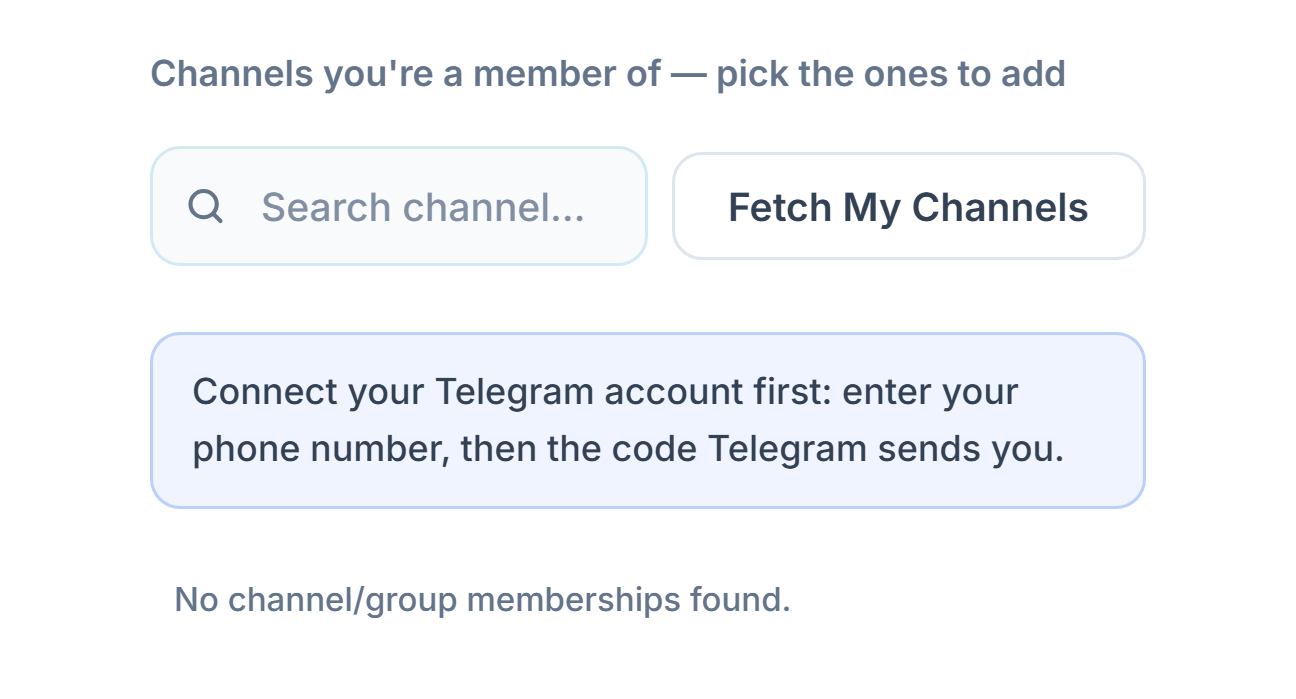
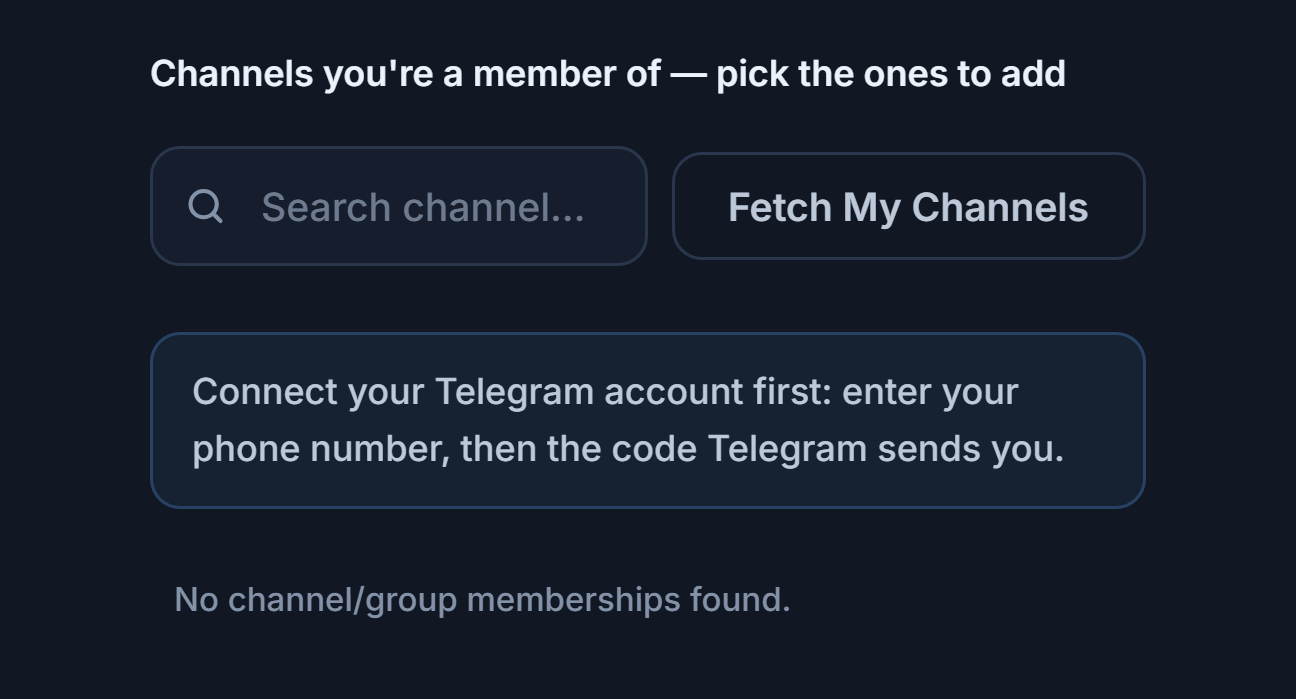
- Search channel… — Searches the listed channels by name.
- Fetch My Channels — Lists the channels and groups you belong to. Each channel in the list has an Add button next to it.
- Connect your Telegram account first — The channel list doesn’t appear until the account is connected. Complete Step 6 first.
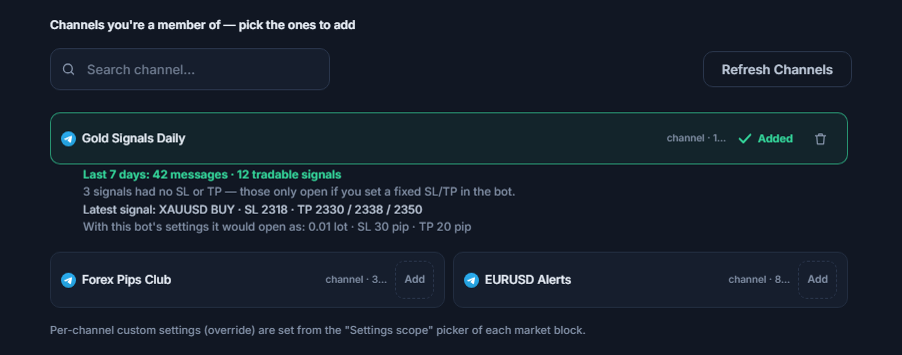
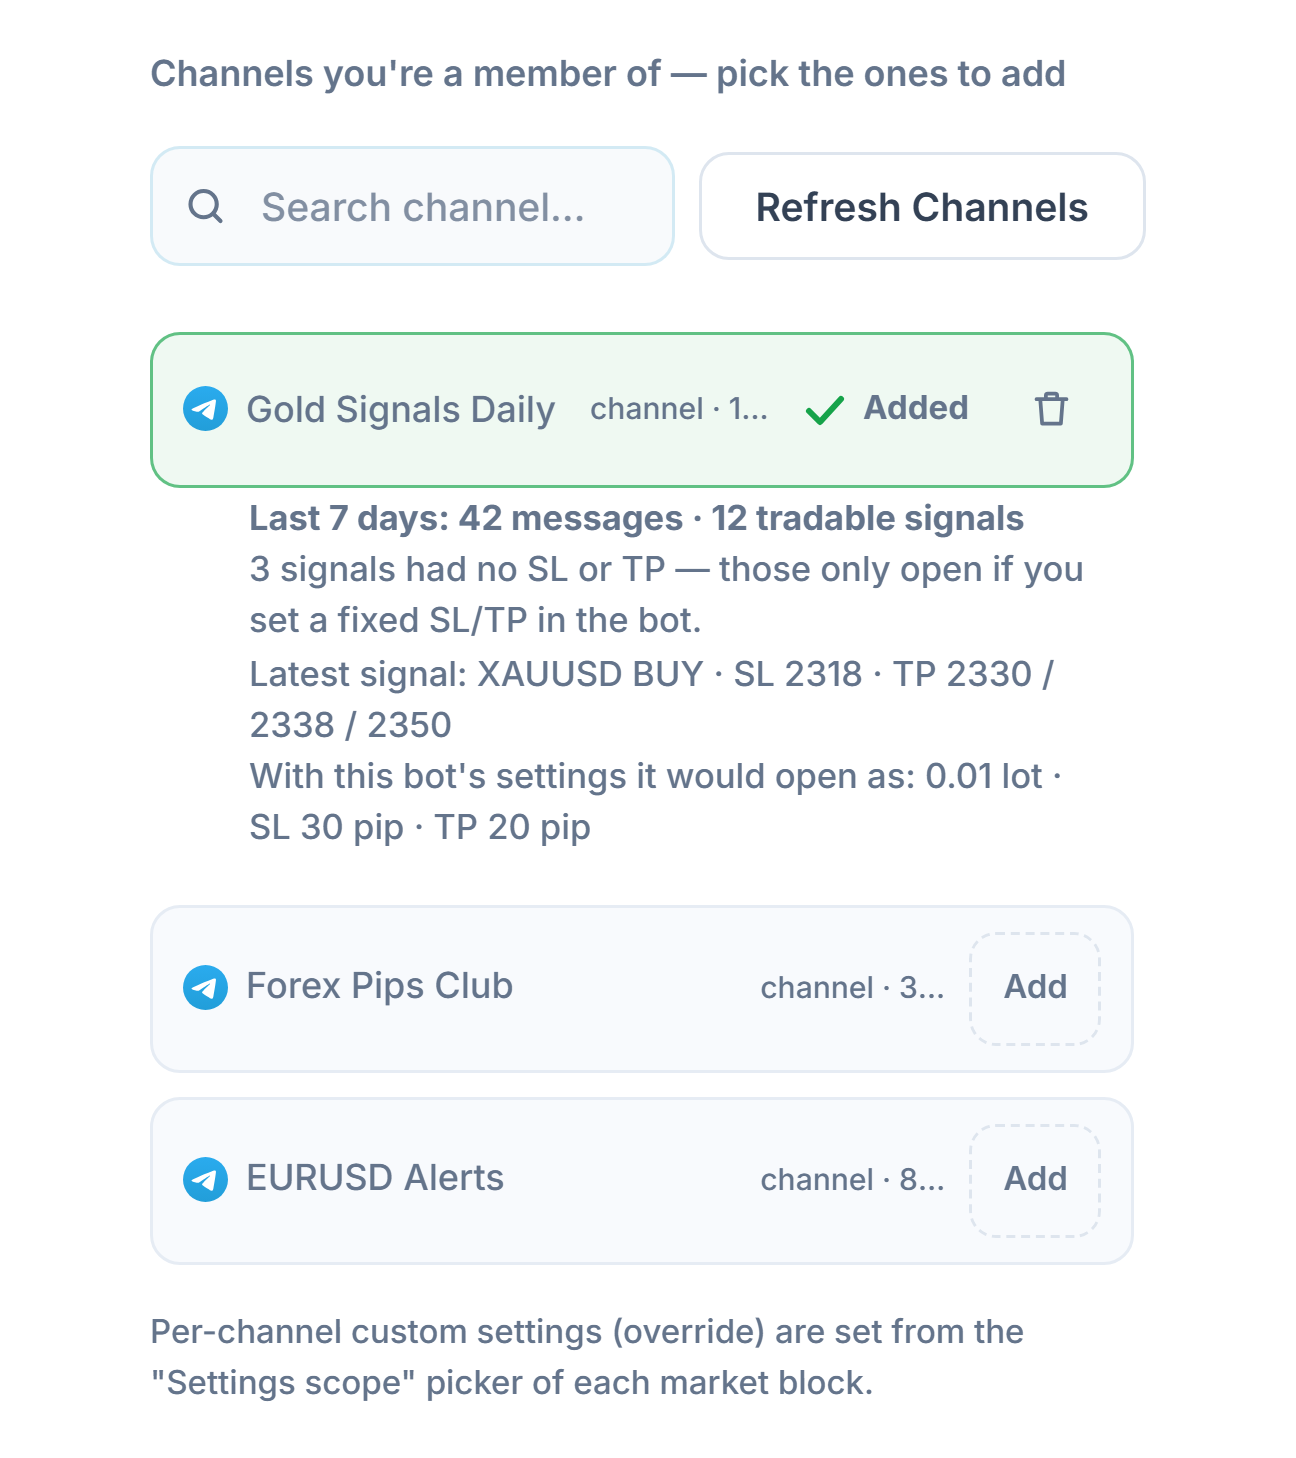
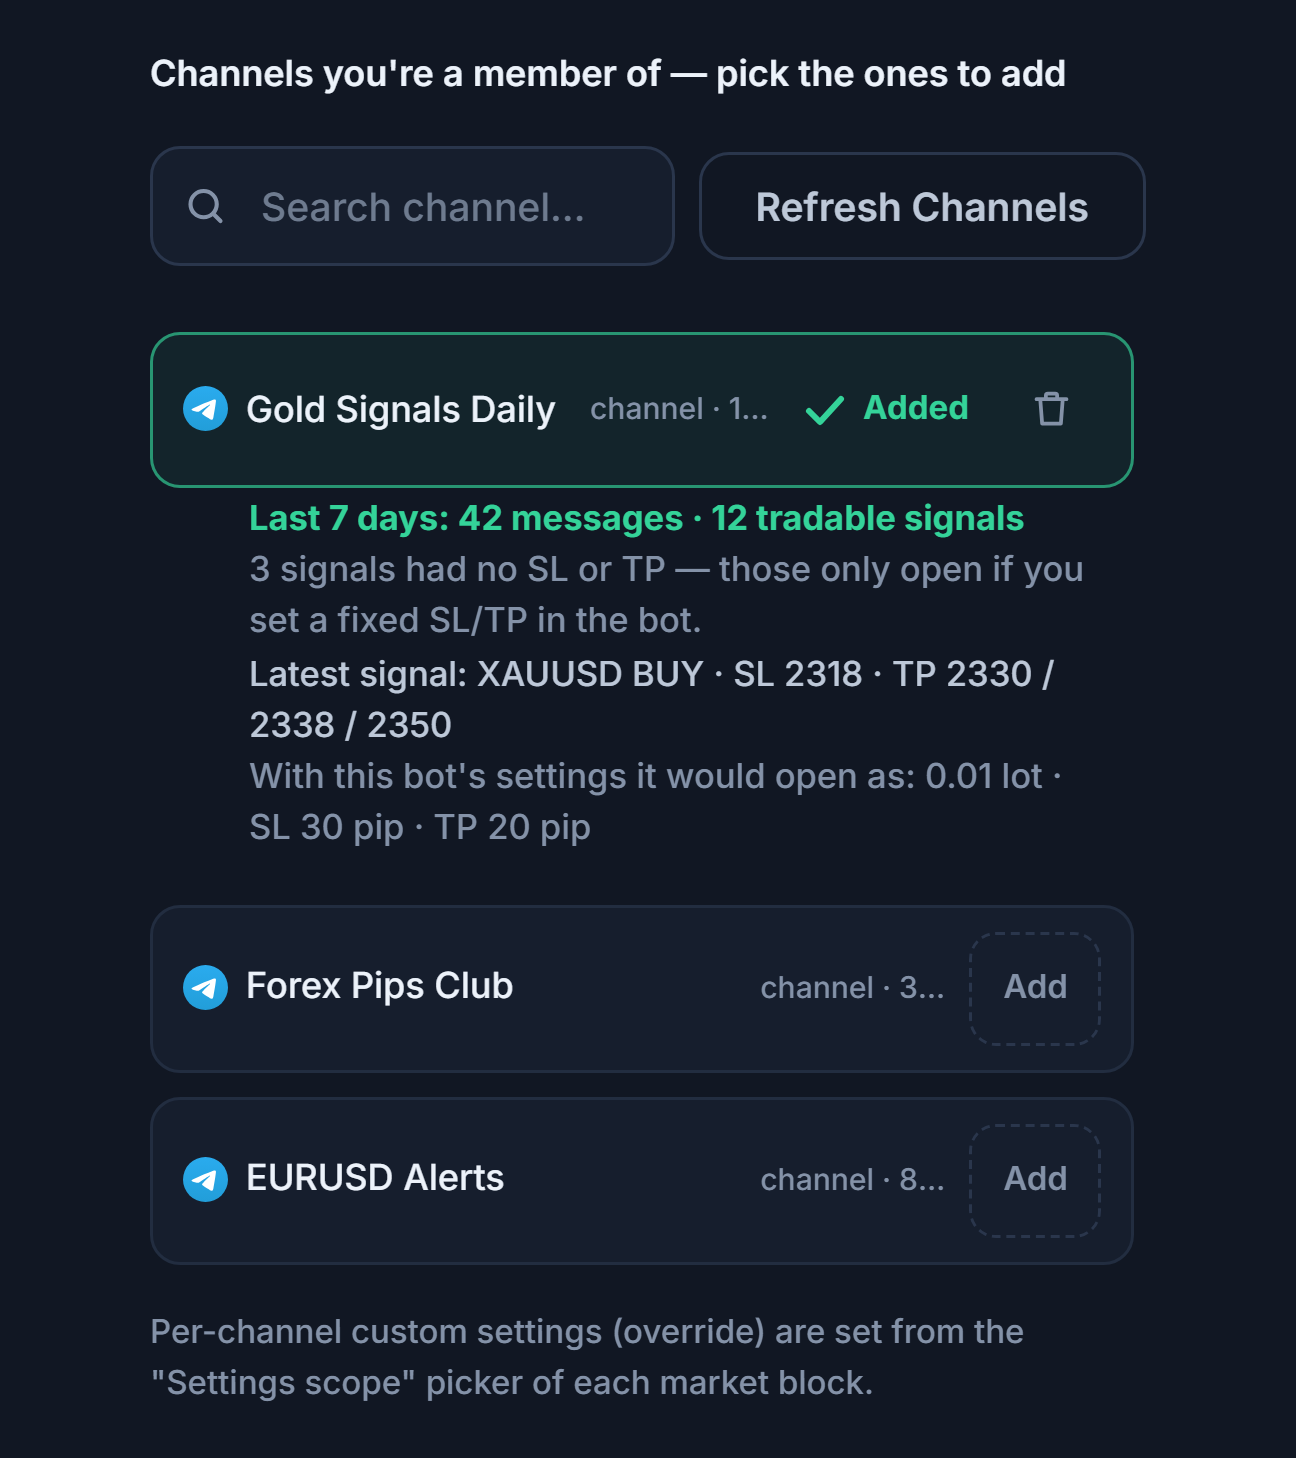
After Telegram is connected, the same section lists the channels you belong to:
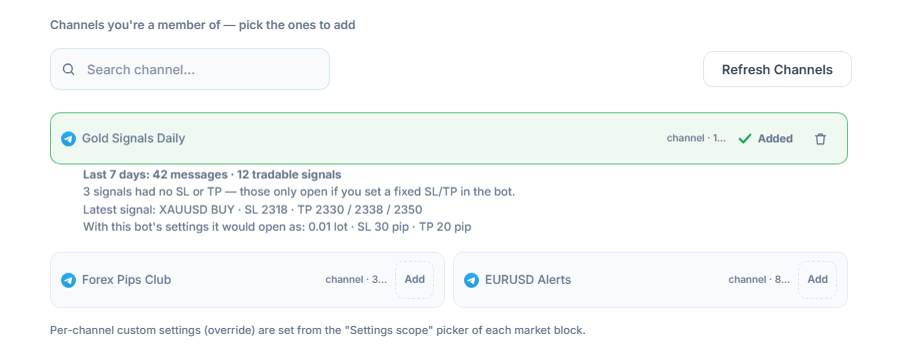
- Search channel… — To find a channel by name in a long list.
- Refresh Channels — This is the button’s name after you connect. If you’ve joined a new channel in Telegram, refresh the list here.
- Add — The button next to the channel you want the bot to listen to. The channel you add moves to the top of the list and is also added to the Settings scope in Step 8.
- ✓ Added and the trash icon — The channel has been added; you can remove it again with the trash icon.
- Channel scorecard — Below an added channel you see a summary such as “Last 7 days: 42 messages · 12 tradable signals”, along with the symbol, direction, SL, and TP values of the latest signal. If the channel is quiet or its messages can’t be read, a warning appears here.
Step 8Set the settings scope and auto-execution
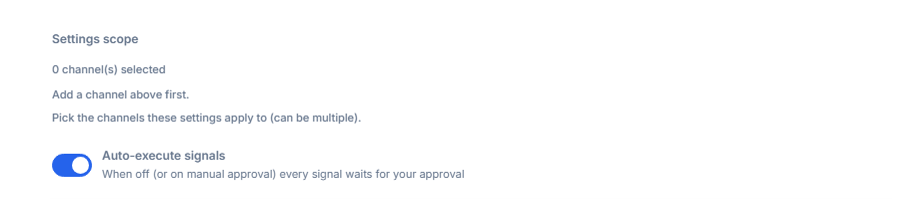
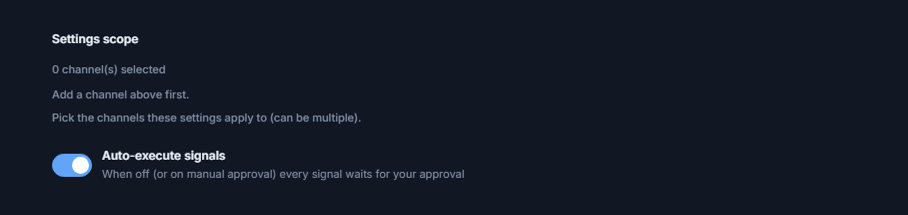
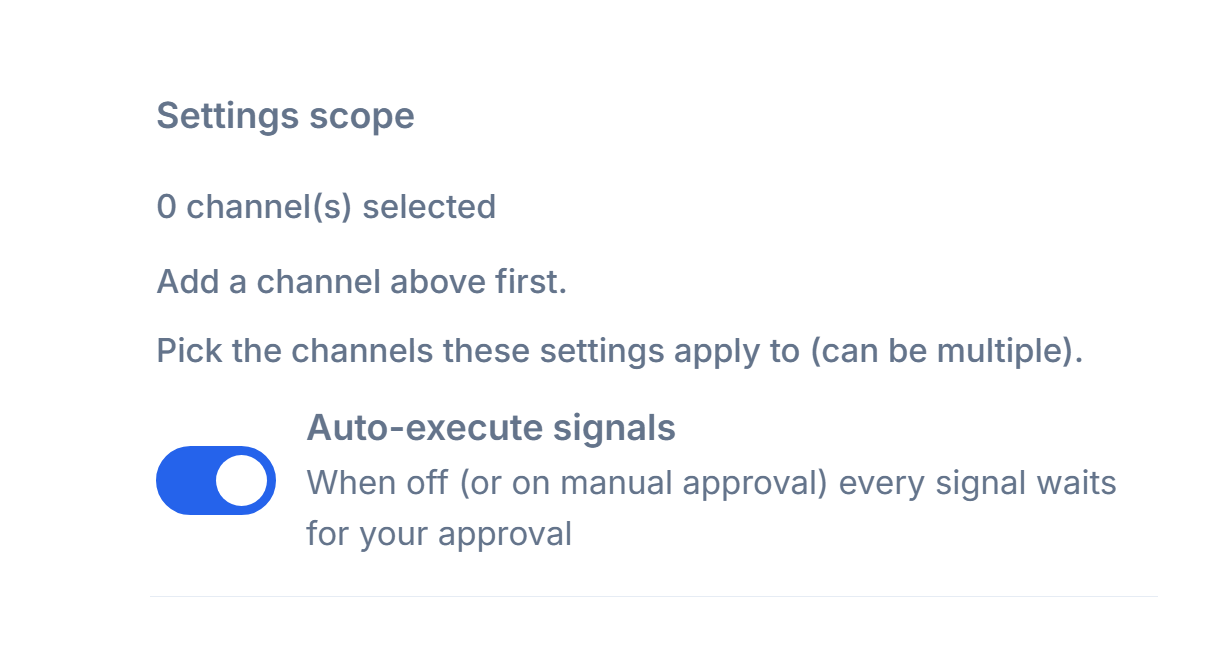
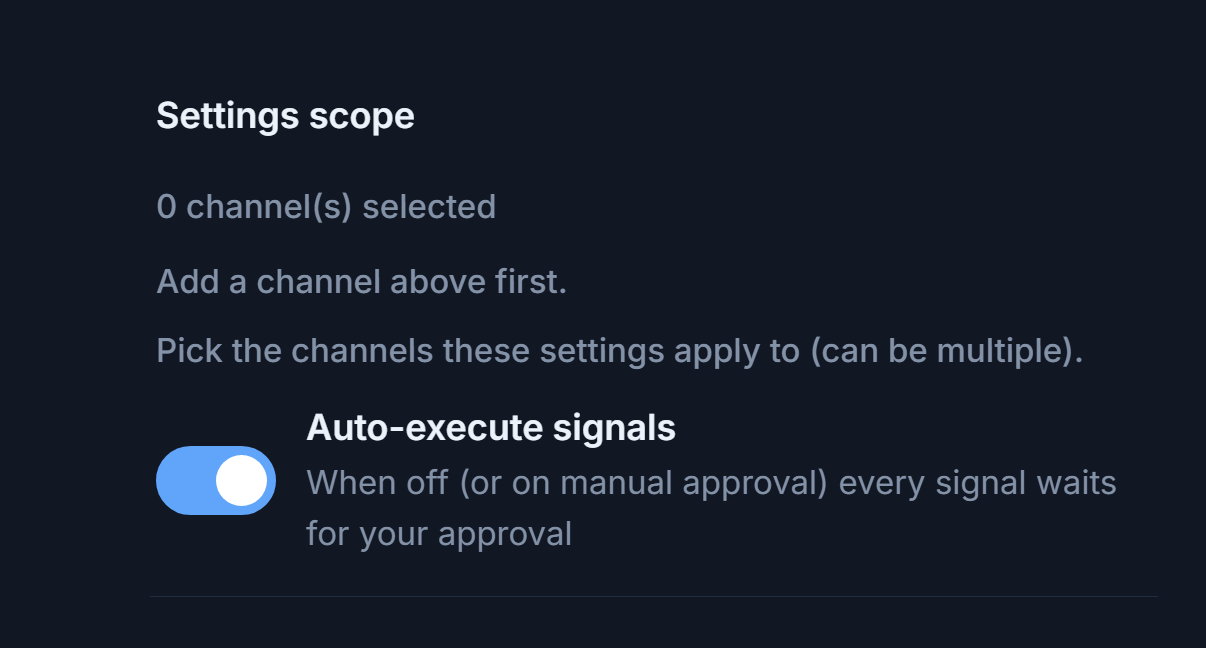
- Settings scope — Choose which channels’ signals these forex settings apply to; you can select more than one channel. You must add a channel in Step 7 first; added channels appear here as selectable chips. A Telegram bot can’t be started until at least one channel is selected.
- Auto-execute signals — When on, signals turn into orders on your MT5 account without waiting. When off, each signal waits for your approval.
After you add a channel, the Settings scope looks like this:
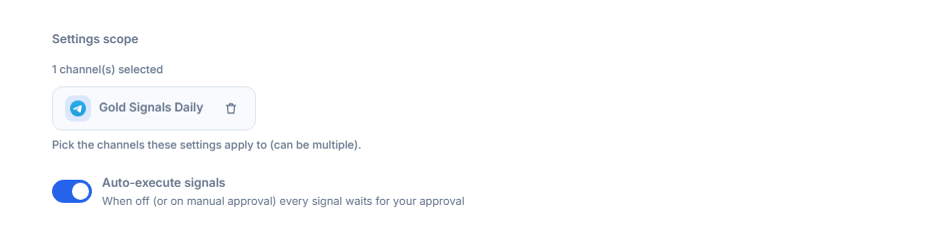
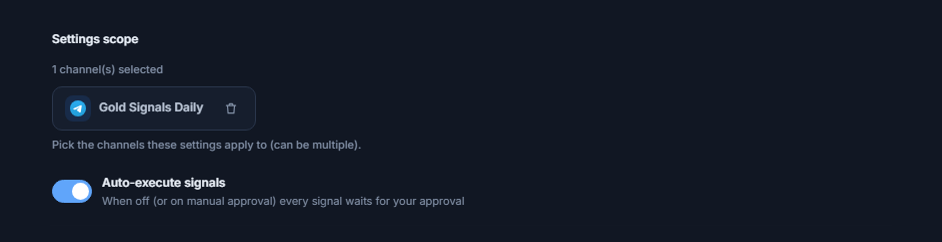
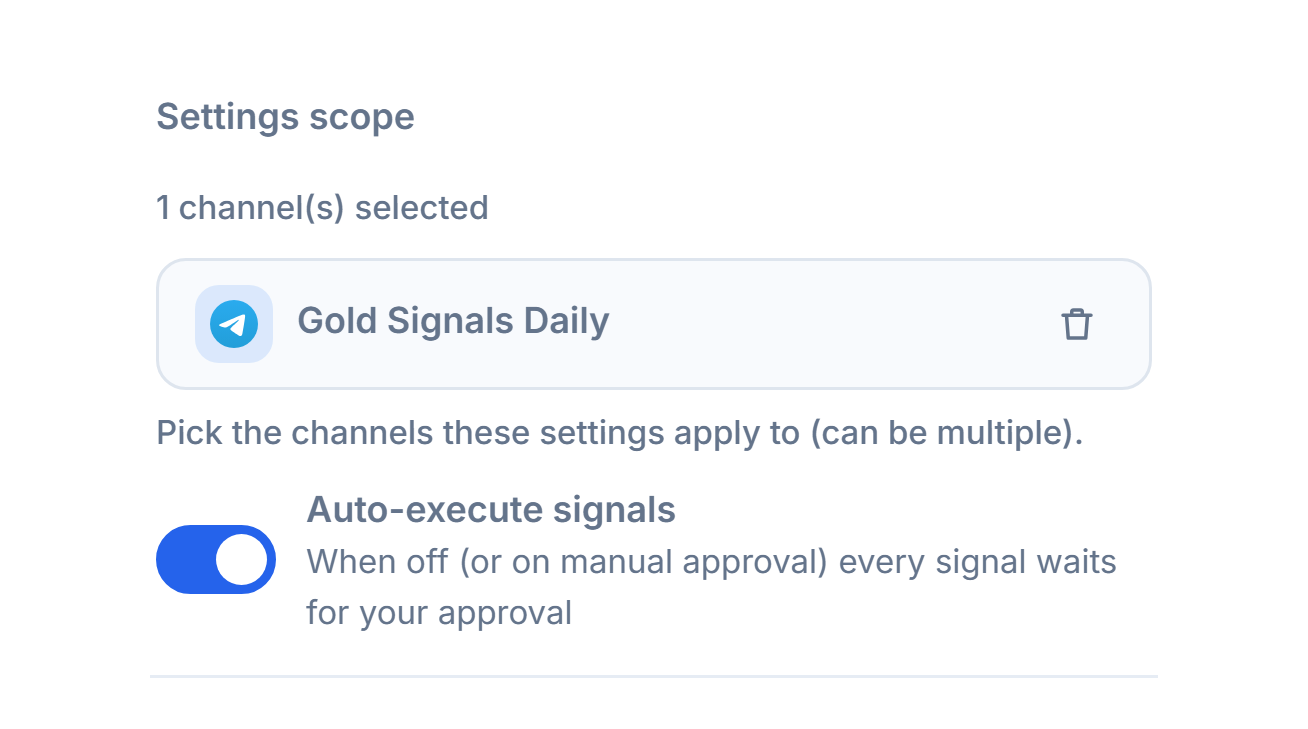
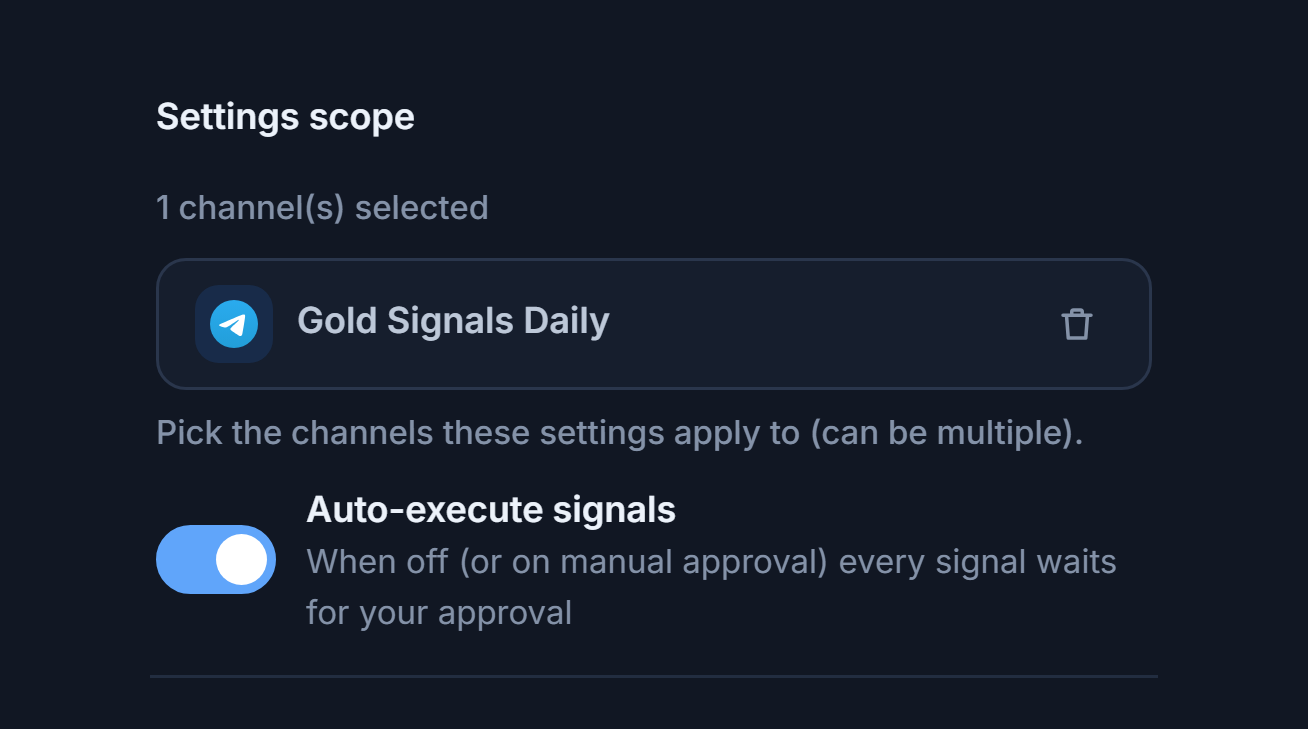
- Channel counter — Something like “1 channel selected”, showing how many channels this bot listens to.
- Channel chip — Every channel you add becomes a chip here; click it to select or deselect it. A selected chip has a green check. Only the signals of selected channels are processed with this bot’s forex settings.
- Remove — The trash icon on the chip removes the channel from the bot entirely; it also disappears from the list in Step 7.
Step 9Connect your MetaTrader 5 account
The bot turns signals into orders on your MT5 account. The account runs on AlgoVesta’s own MetaTrader 5 terminals; you don’t need to install MetaTrader, an EA, or a VPS on your computer, and your computer doesn’t need to stay on. You can connect the account directly inside the wizard.
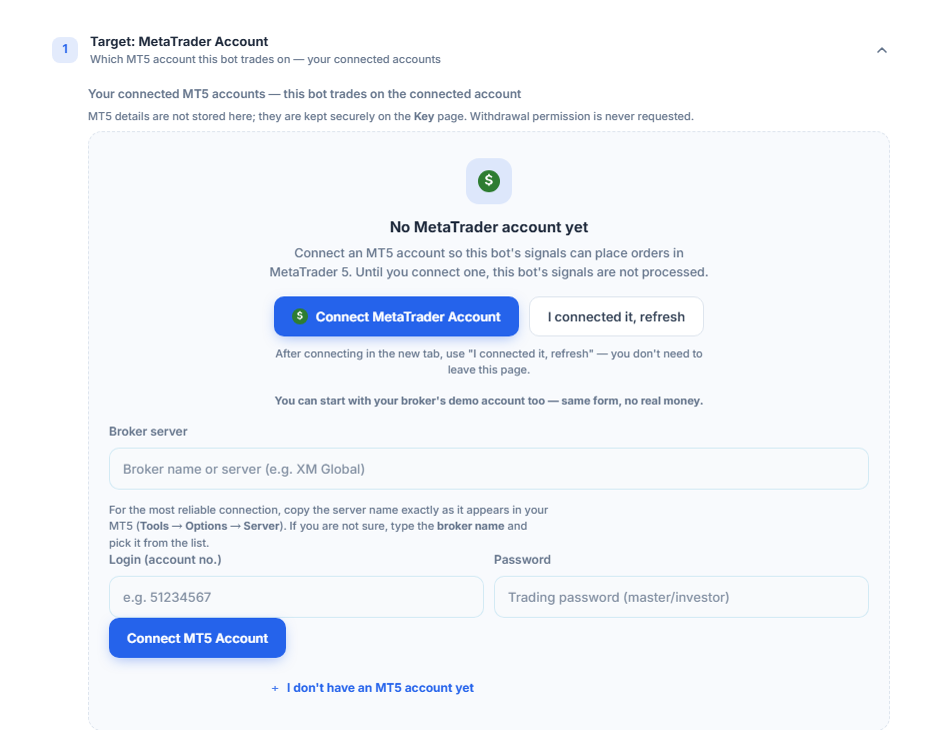
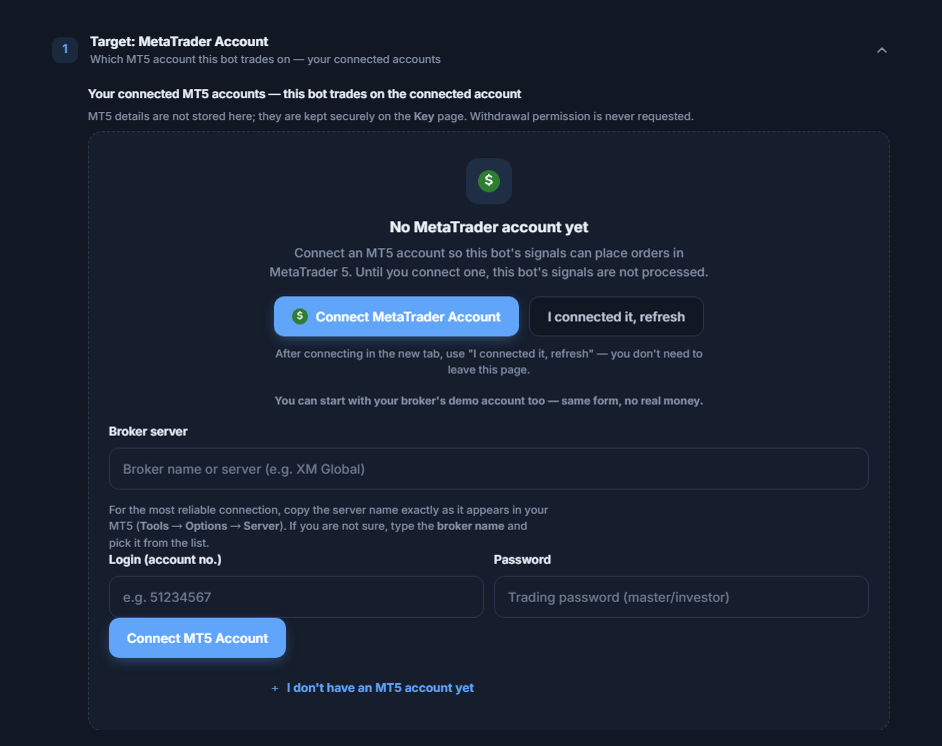
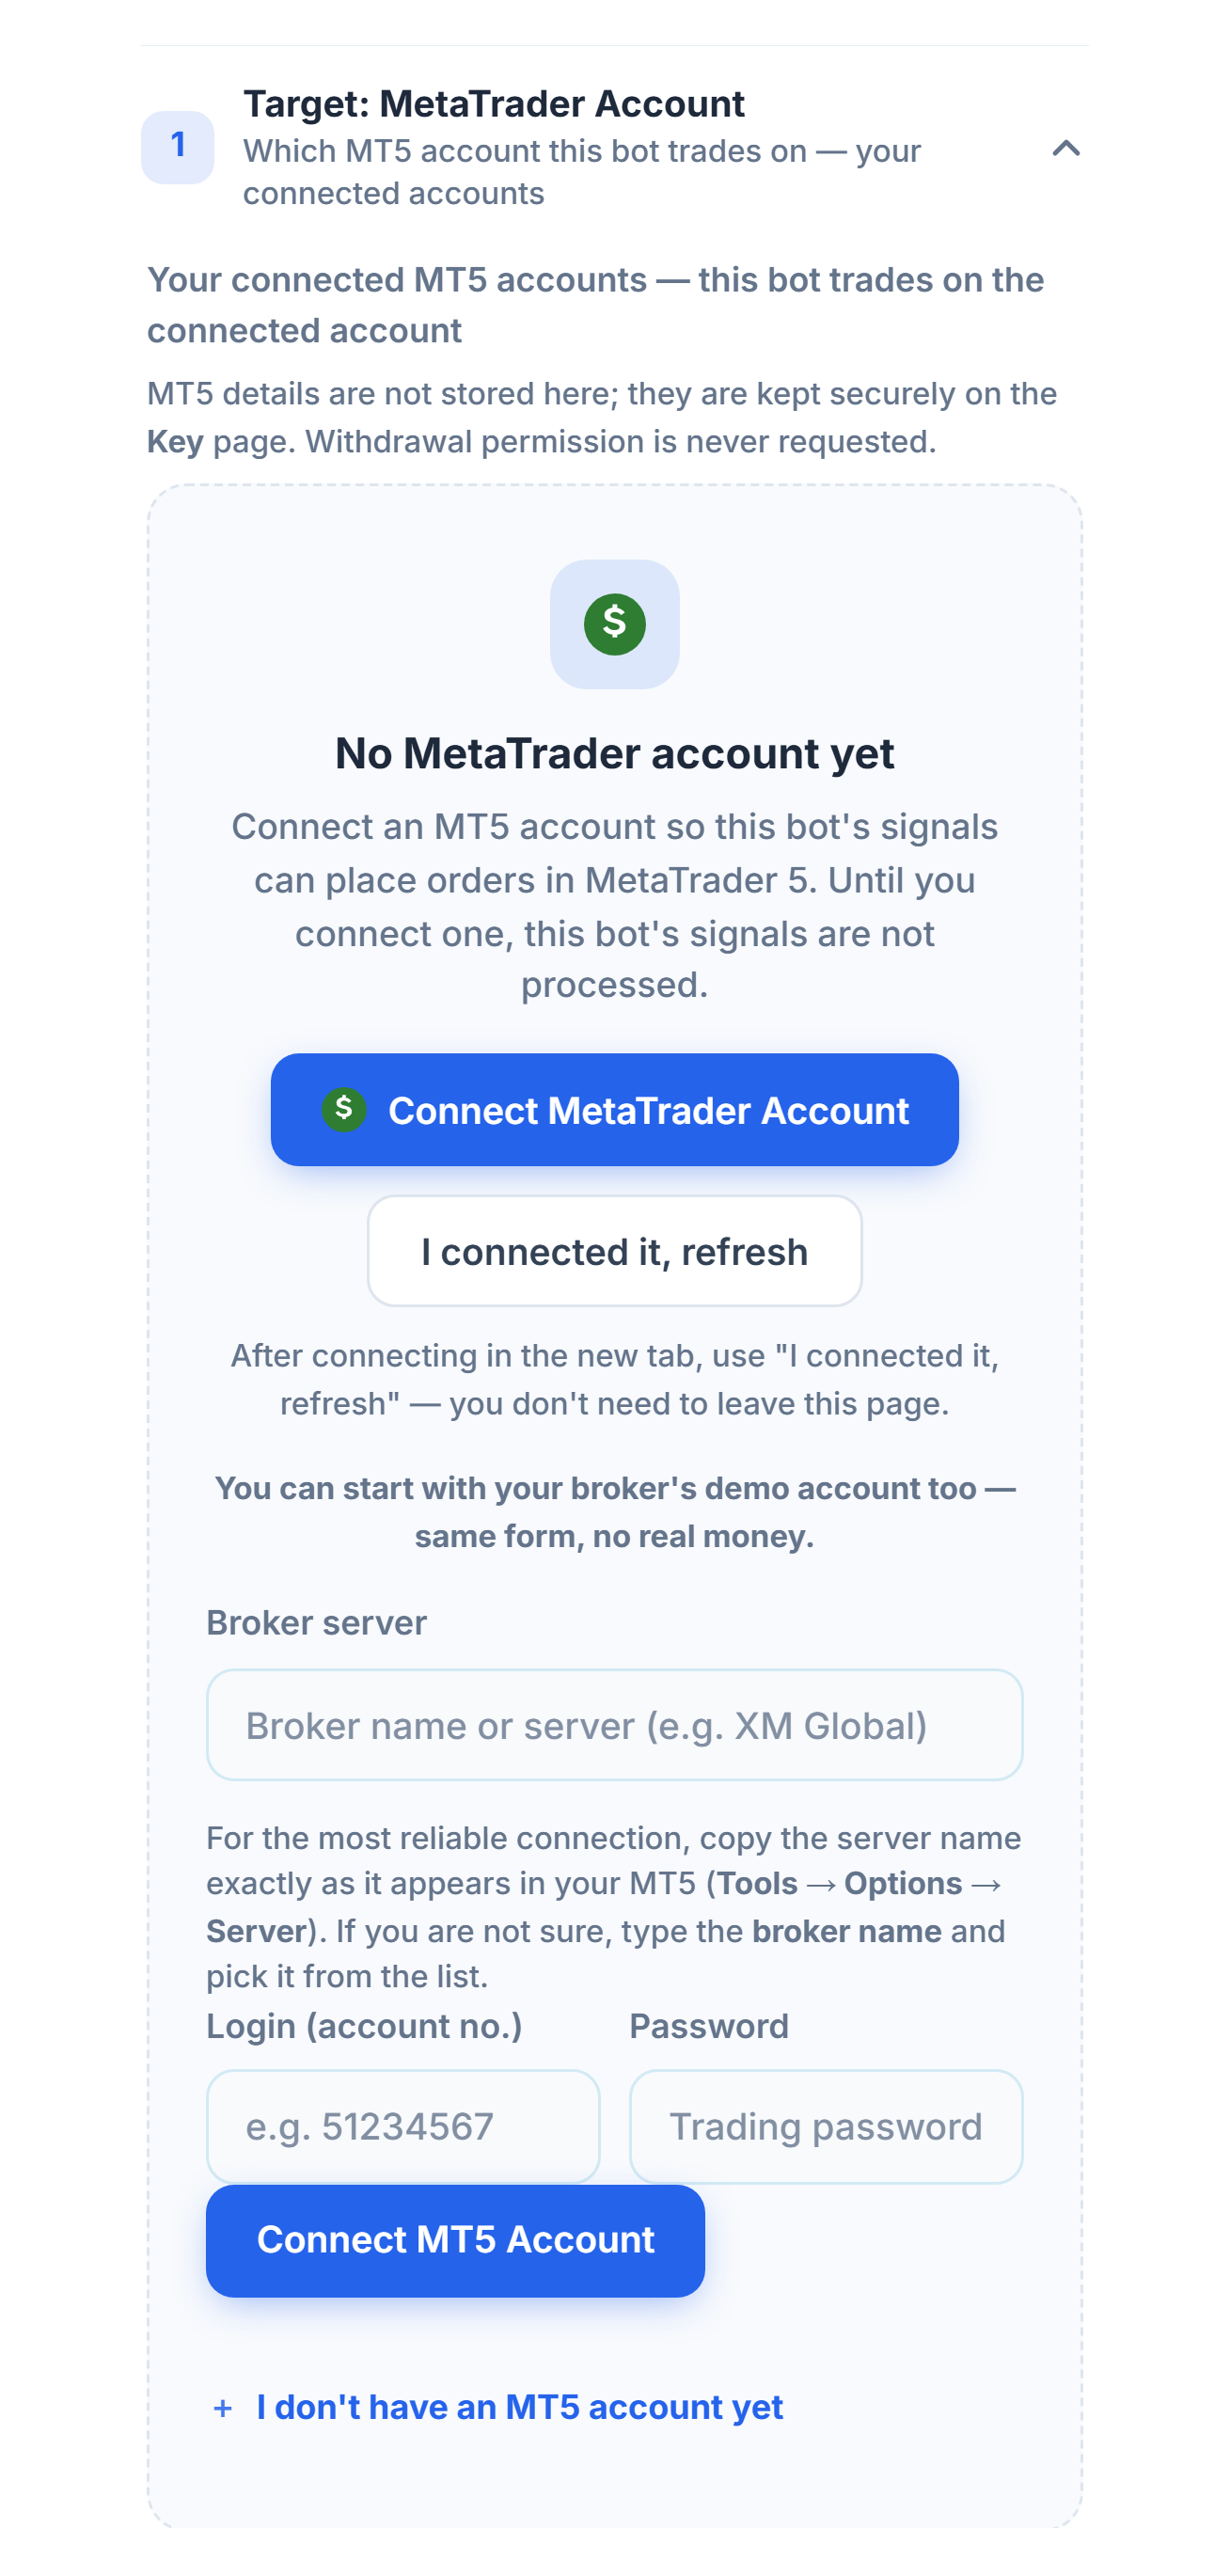
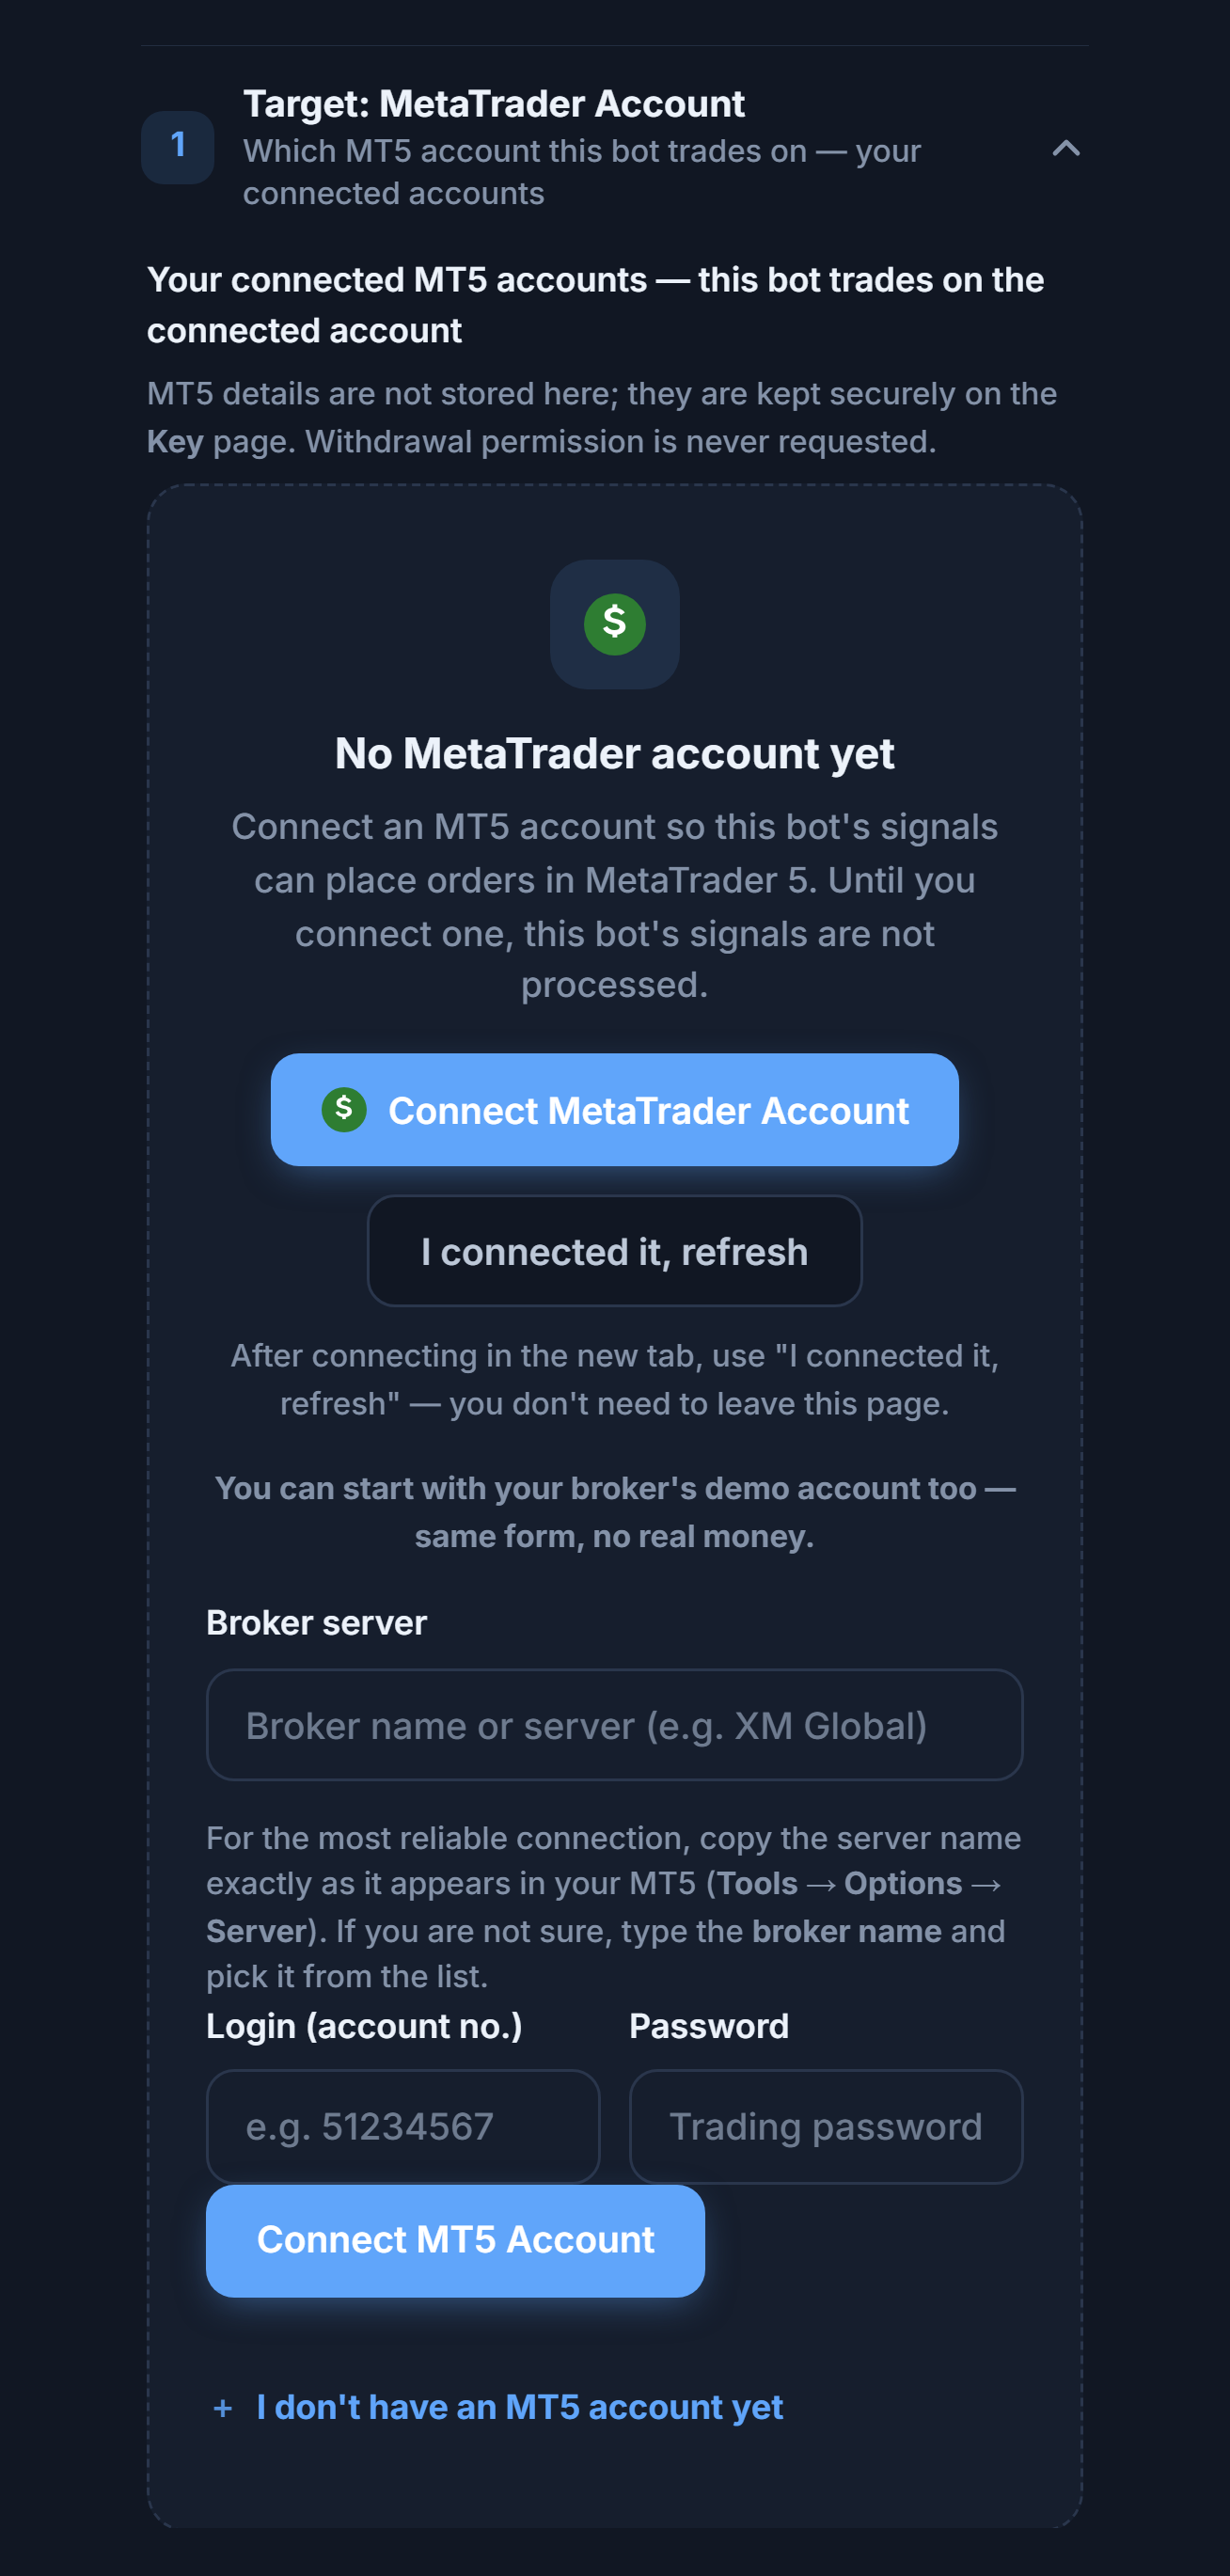
- Connect MetaTrader Account — Opens the account management page in a new tab. If you connected there, press I connected it, refresh when you return. You can also do the same thing without leaving this page, using the form right below.
- Broker server — The server your MT5 account is attached to. Start typing your broker’s name and pick it from the list.
- Login (account no.) — Your MT5 account number; it consists of digits only.
- Password — The account’s trading (master) password. Your broker emails it when the account is opened.
- Connect MT5 Account — Verifies the details. Verification can take a few minutes; meanwhile it says “Connecting to your MT account…” and “Verifying connection…”. You can leave the page; verification continues in the background.
When you type the broker’s name, the server list opens. Each row shows the server name, the broker company, and the account type:
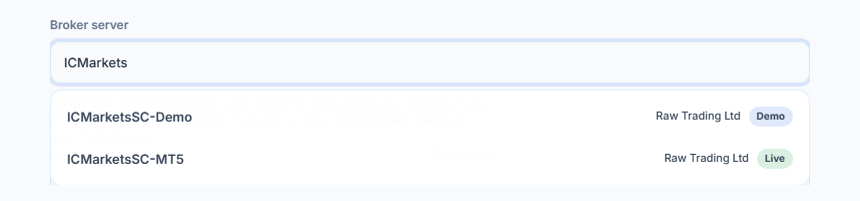
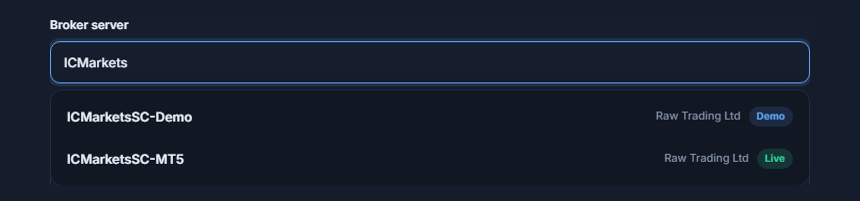
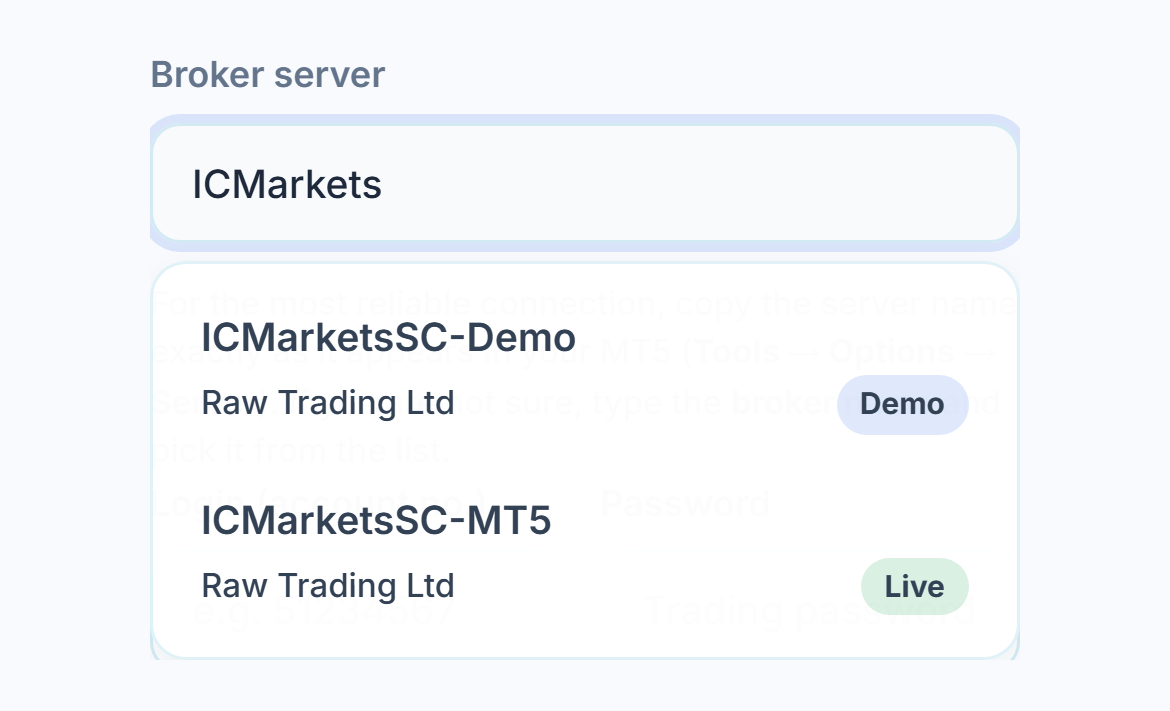
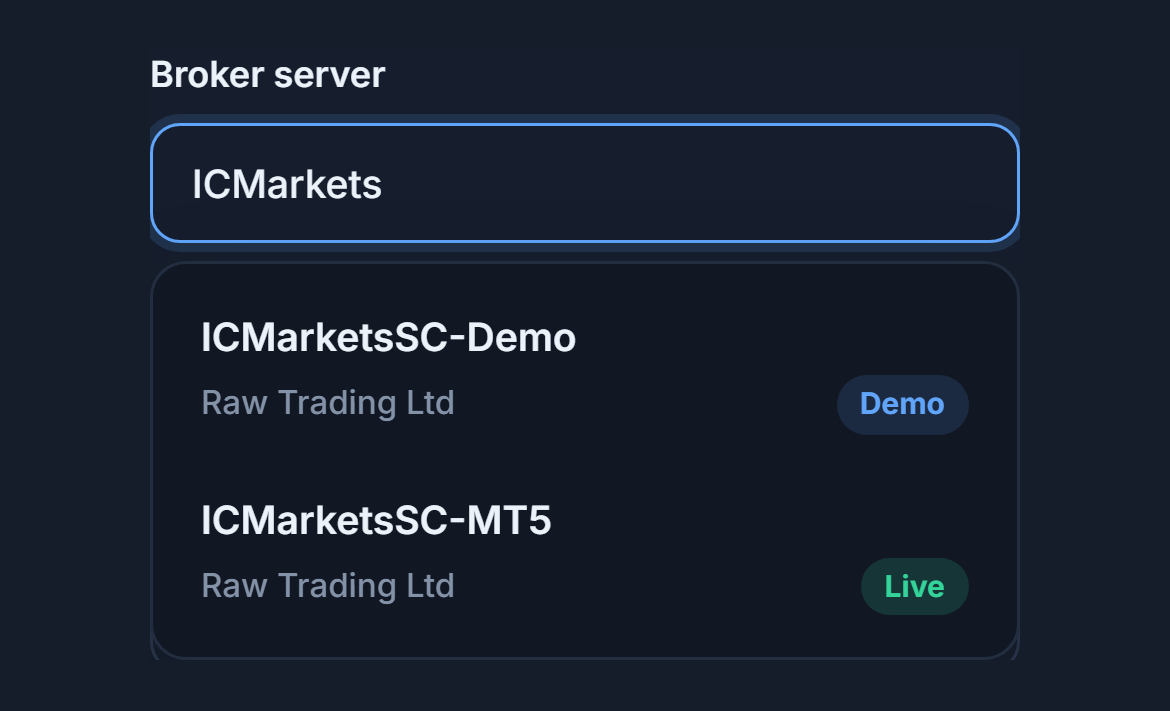
- Search box — Type the broker’s name or part of the server name; matching servers are listed.
- Demo badge — A demo account server. Pick it if your account is a demo.
- Live badge — A real account server. Pick the one that matches the server name your broker gave you; don’t mix up Demo and Live — if the account isn’t found on that server, the connection can’t be made.
Once the account is connected, the section shows your connected accounts:
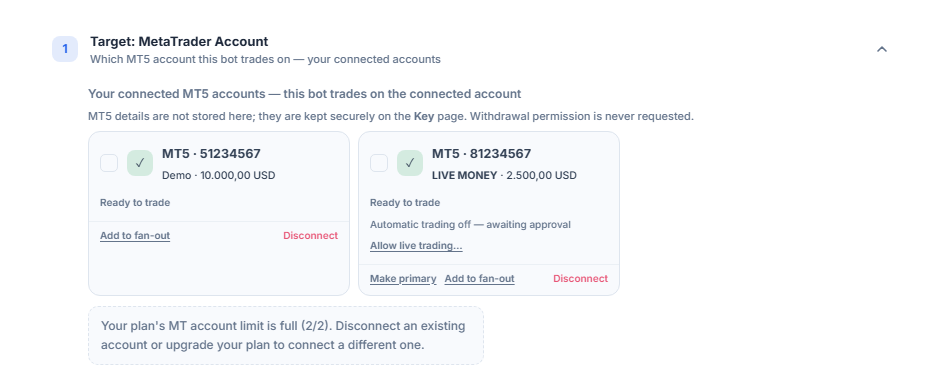
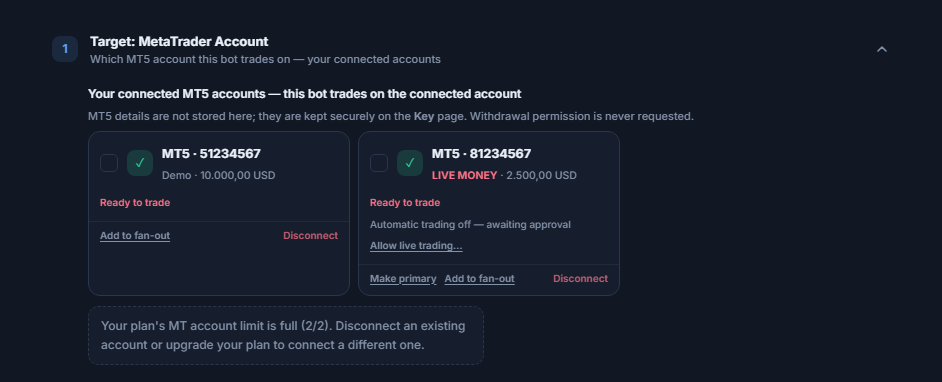
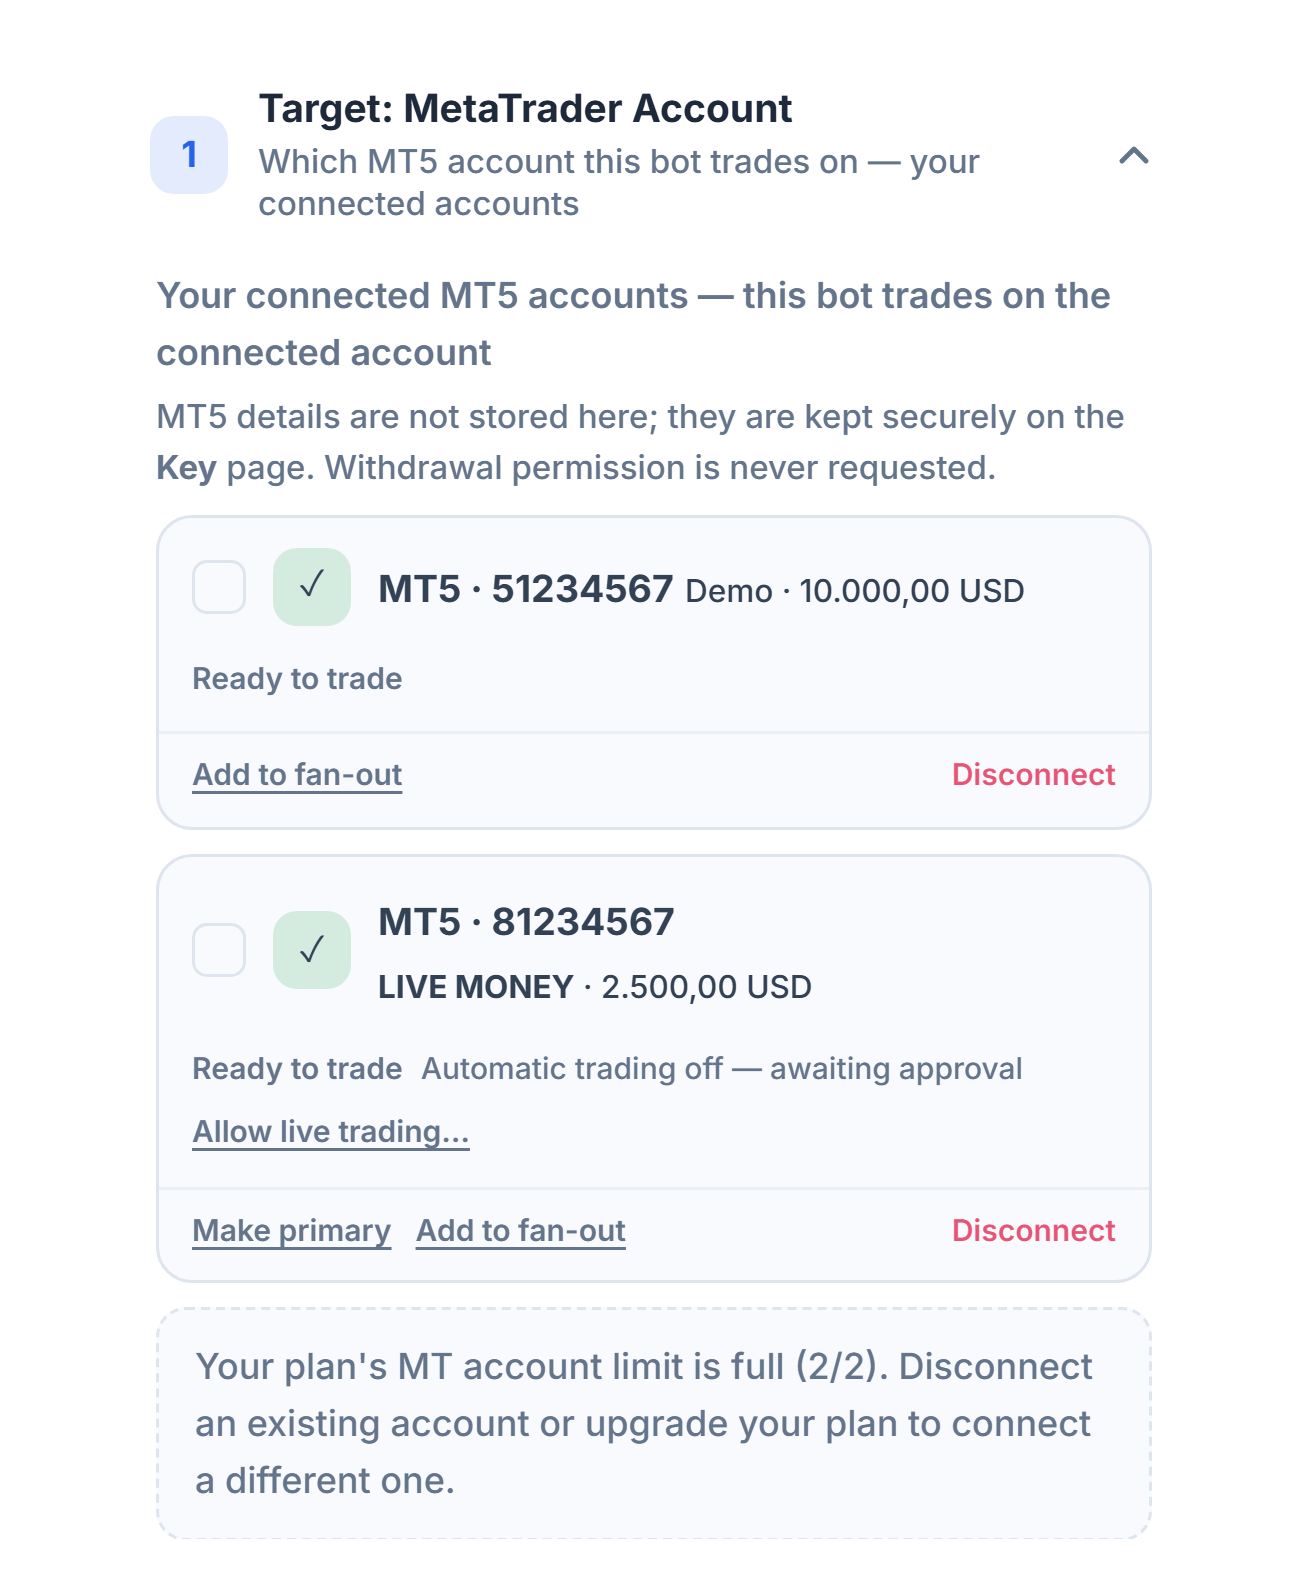
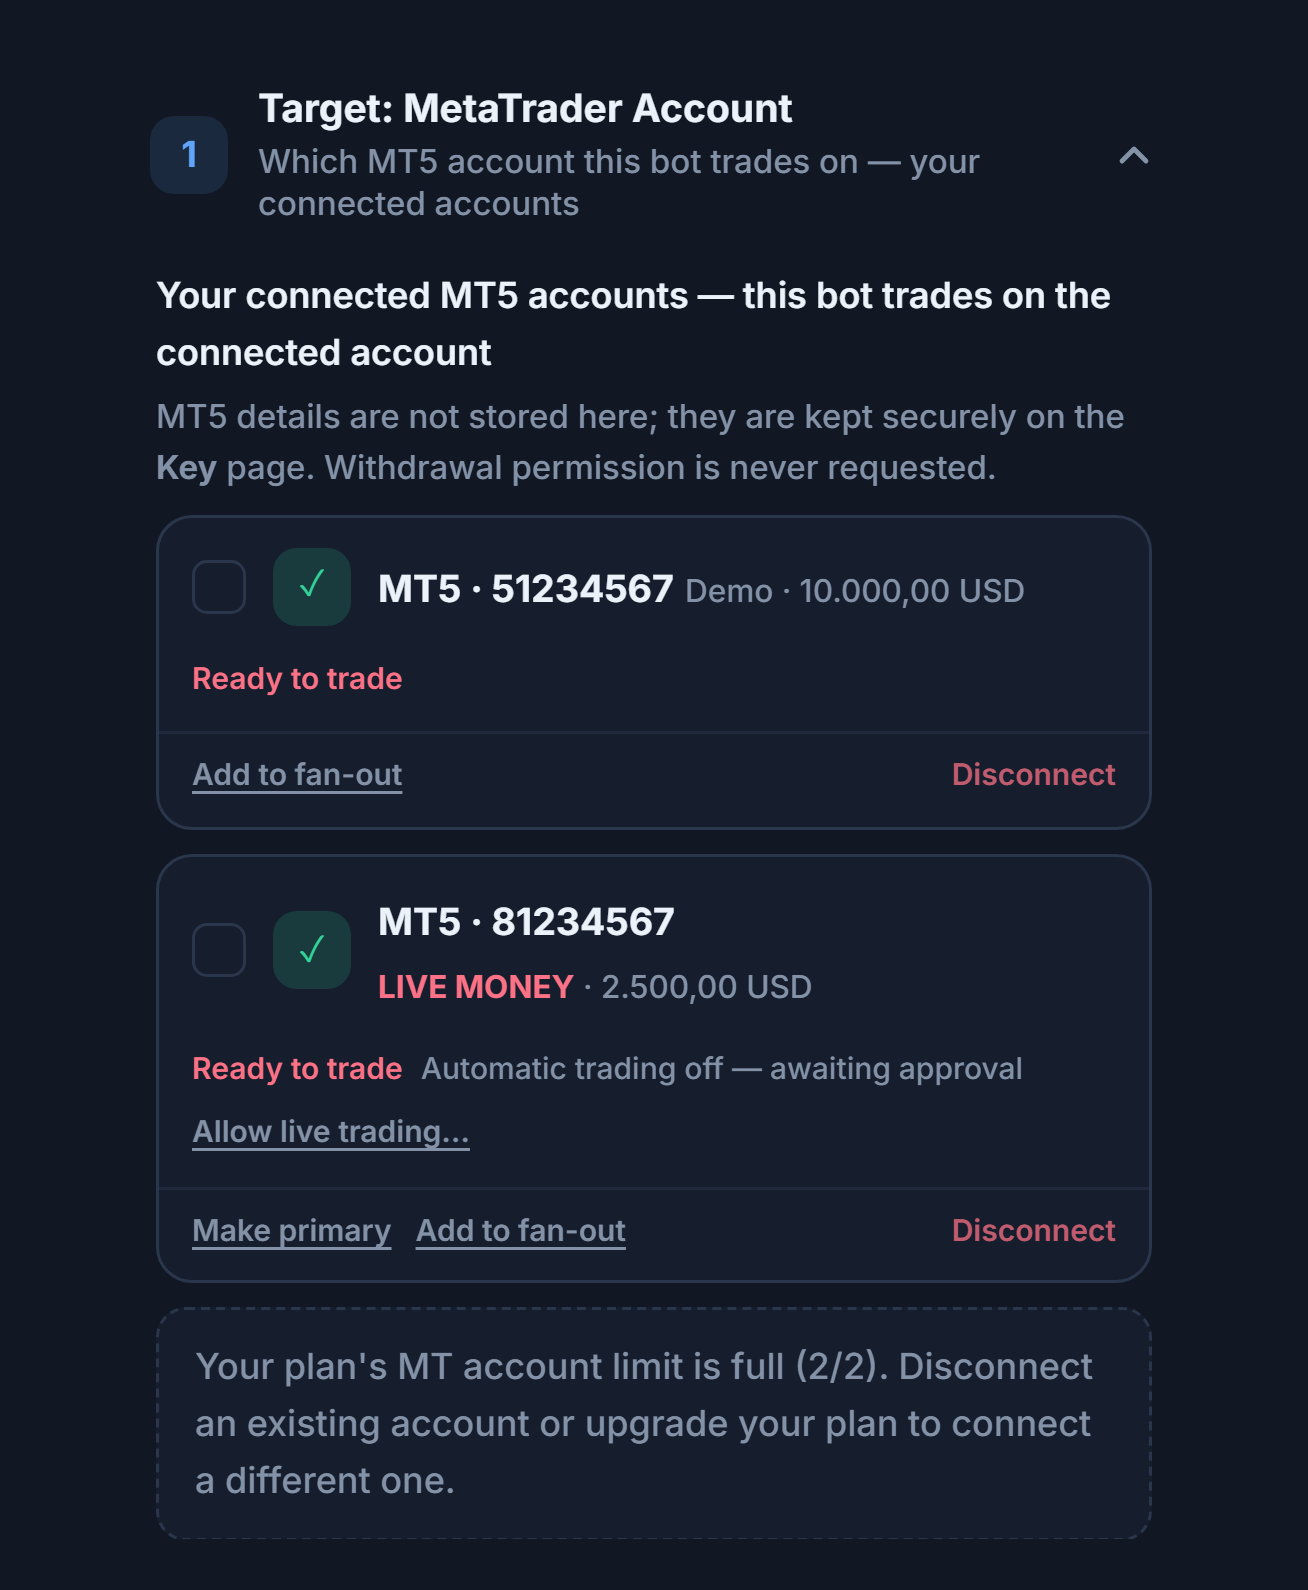
- Account card and selection box — Each connected account is a card: platform, account number, type (Demo / LIVE MONEY), and balance. If you tick the box, this bot opens trades only on that account. If you tick none, the bot uses your primary account.
- LIVE MONEY label — This account is a real-money account.
- Allow live trading… — On a real-money account, auto-trading stays off until you give approval (“Automatic trading off — awaiting approval”). When you press the button, you are asked to confirm and your identity is verified again; after approval, the bot can open trades on this account. You can withdraw the permission from the same place at any time. No approval is needed on a demo account.
- Make primary — If you have more than one account, it decides which account bots with no selection will use. Disconnect removes the account from the panel; it doesn’t touch your open positions.
Step 10Choose the lot and risk mode
In forex there is no leverage setting in the panel; the lot determines the size of the trade. Leverage is a setting of your account at your broker.
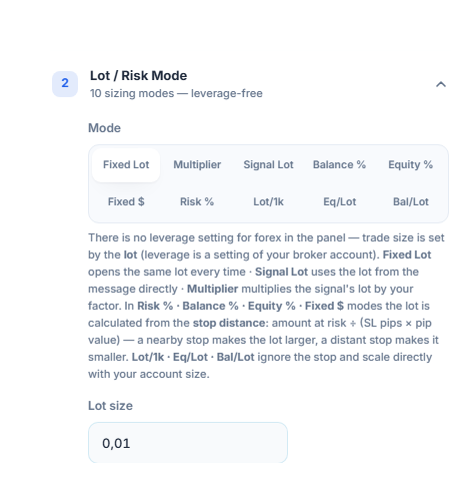
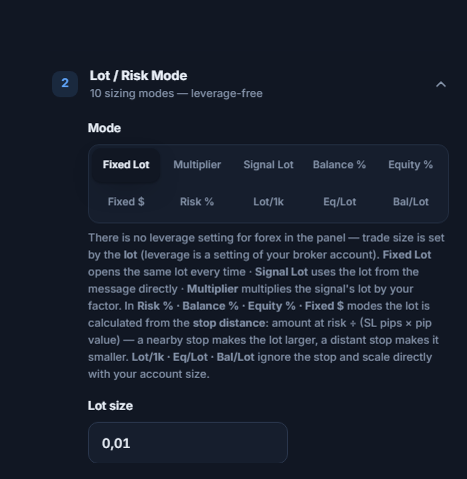
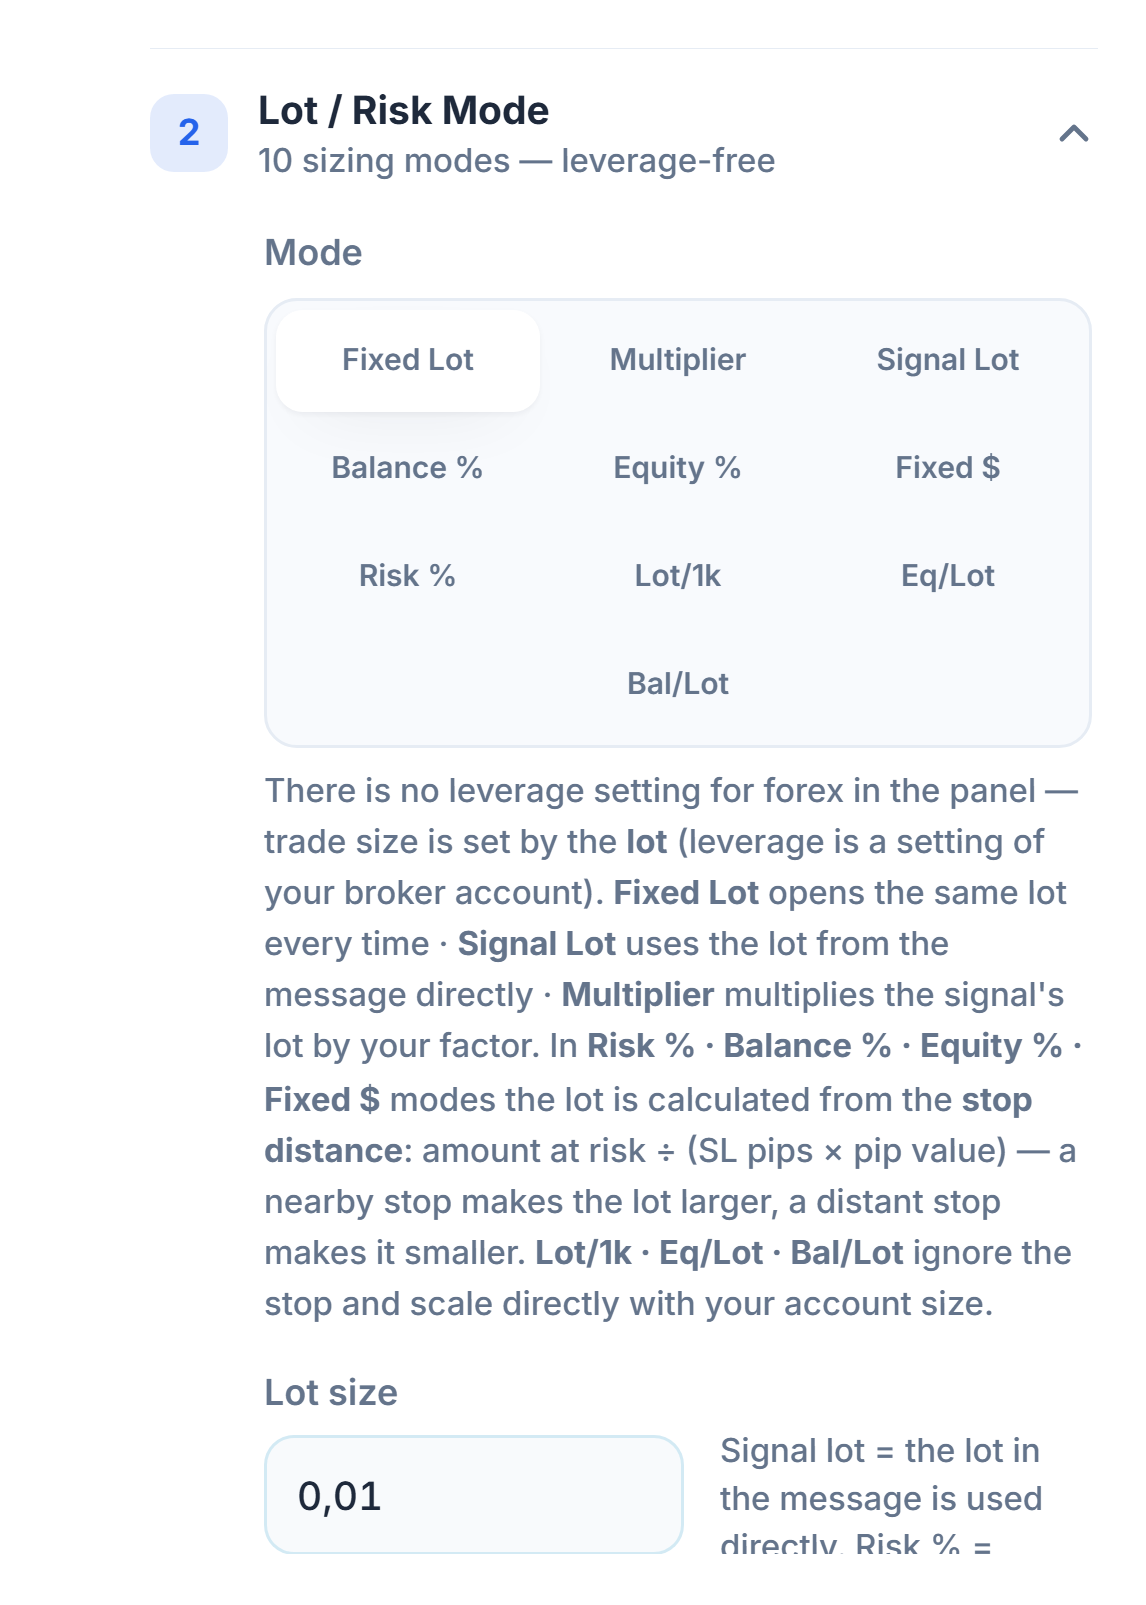
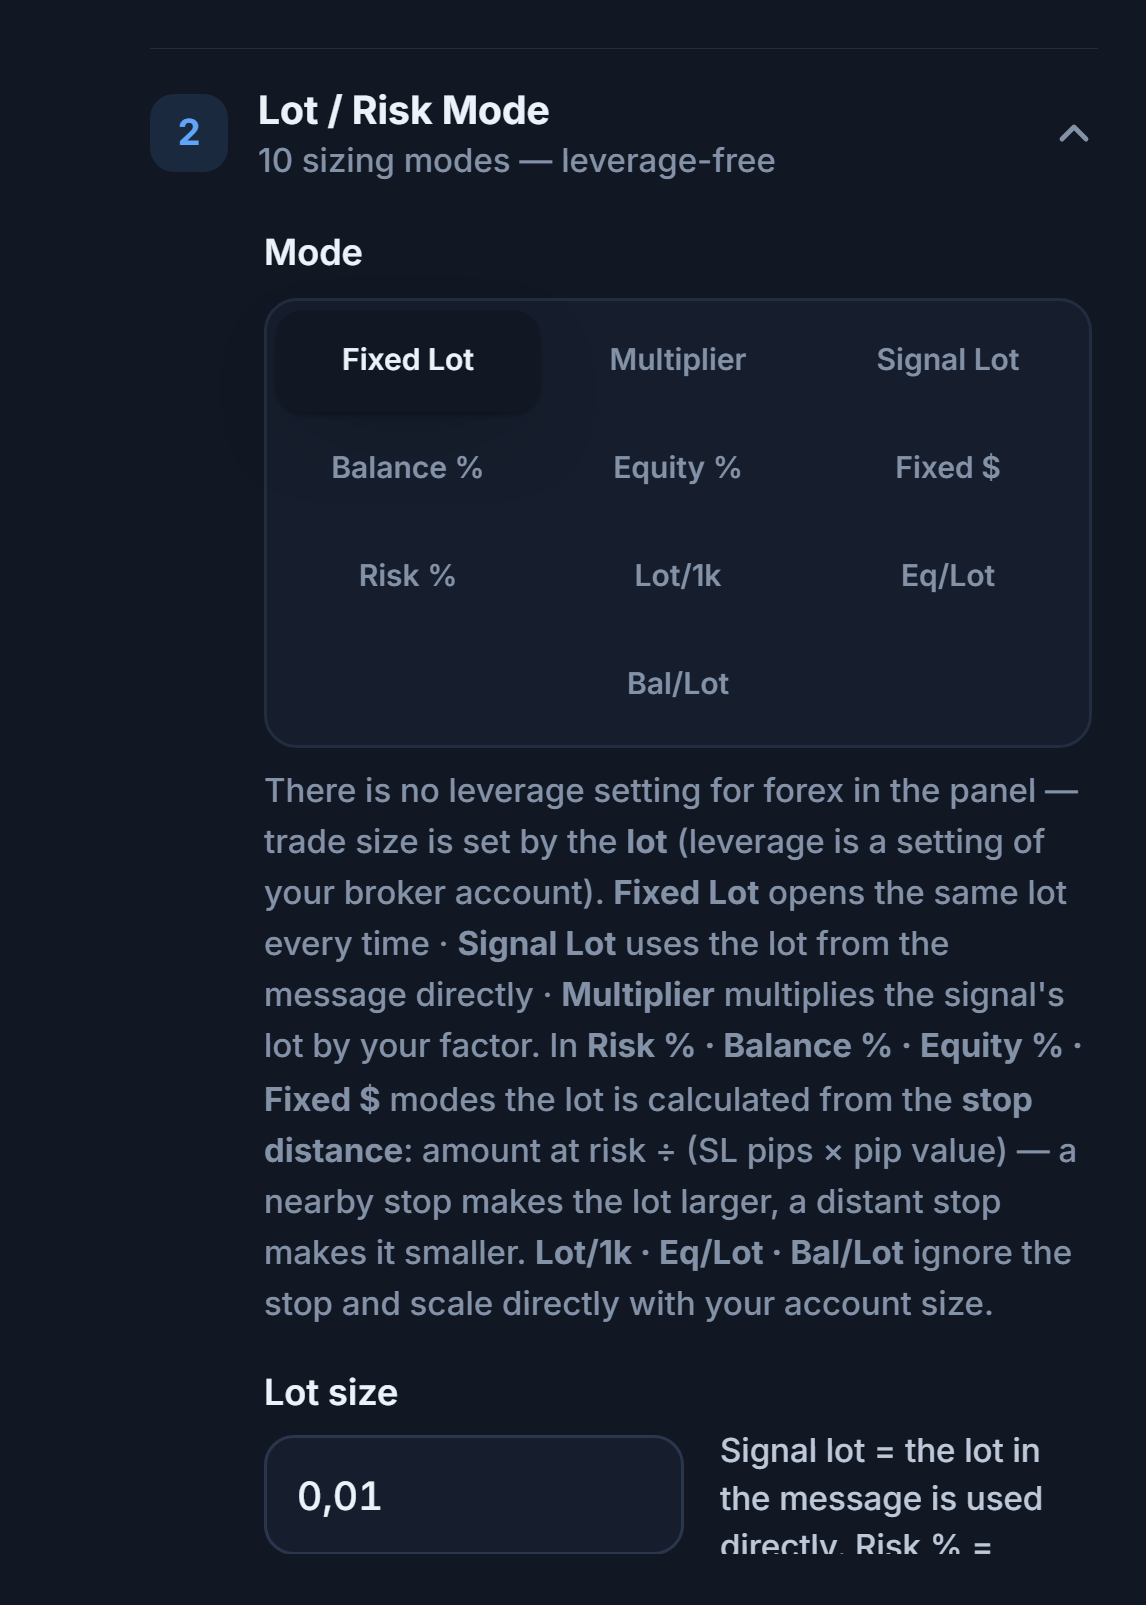
- Mode — Chooses how the trade size is calculated.
- Lot size — Shown in the Fixed Lot and Signal Lot modes. 1.00 = standard lot · 0.10 = mini · 0.01 = micro lot (the smallest trade at most brokers).
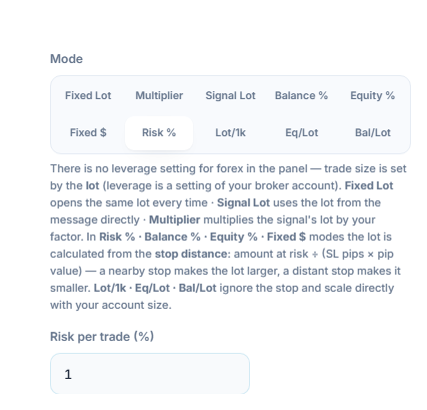
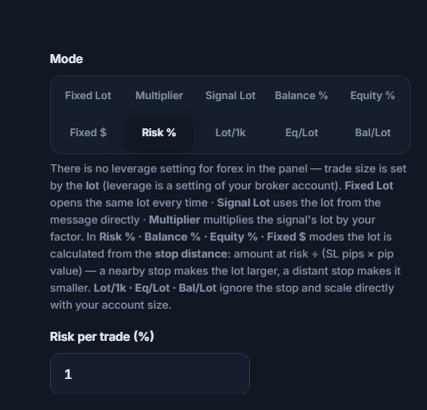
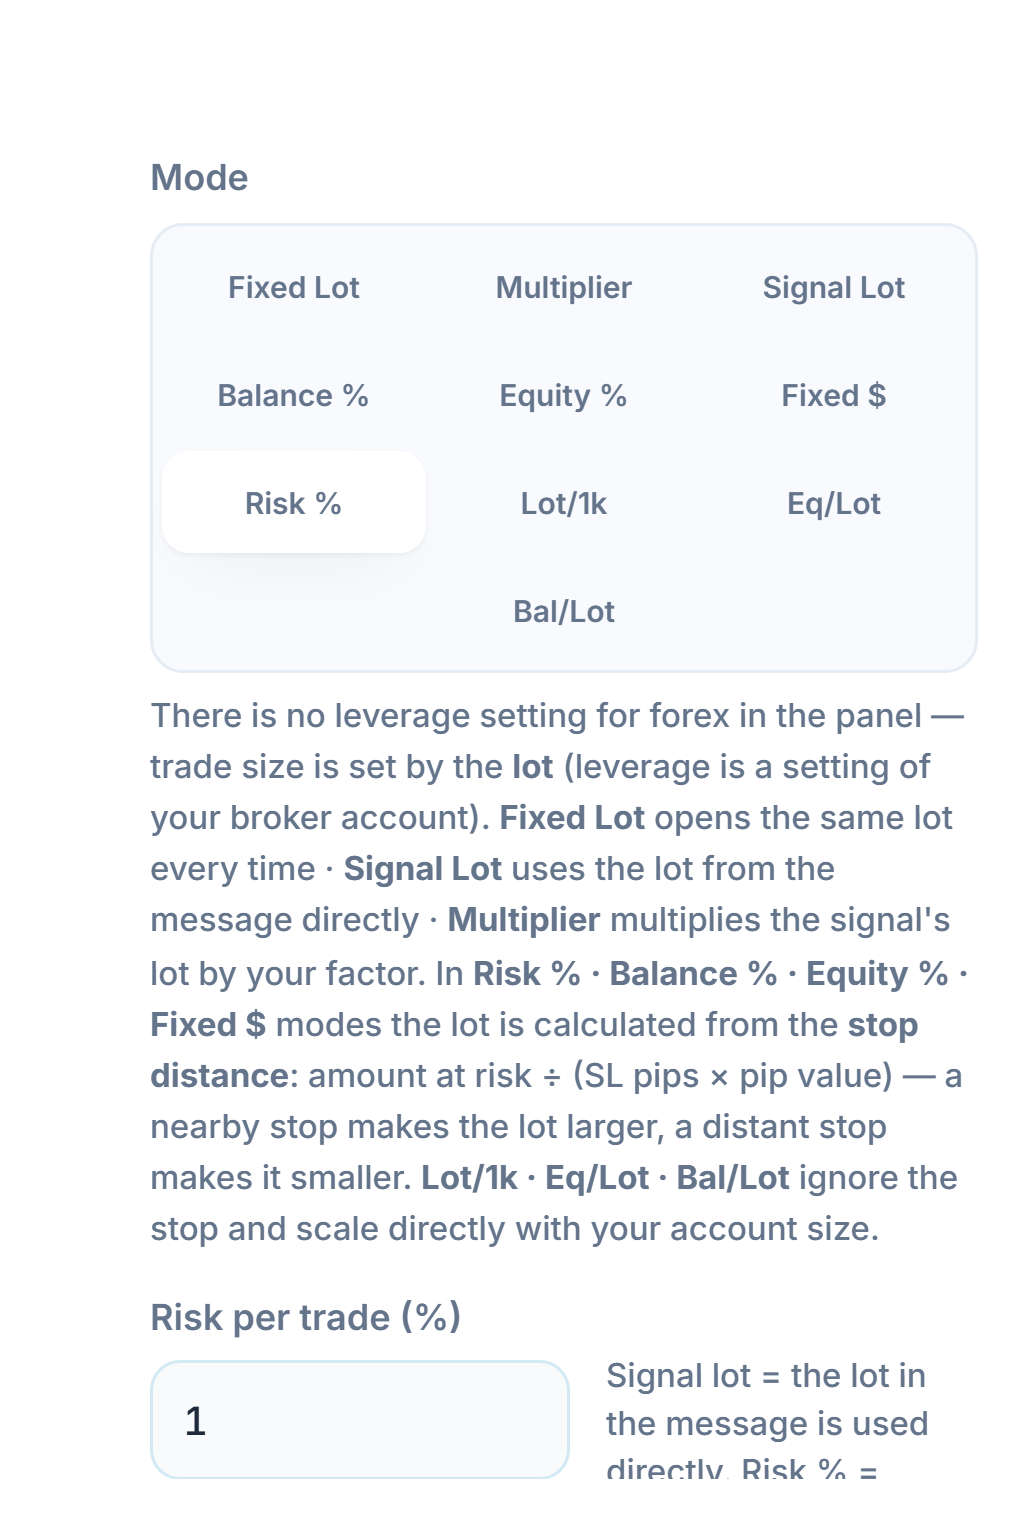
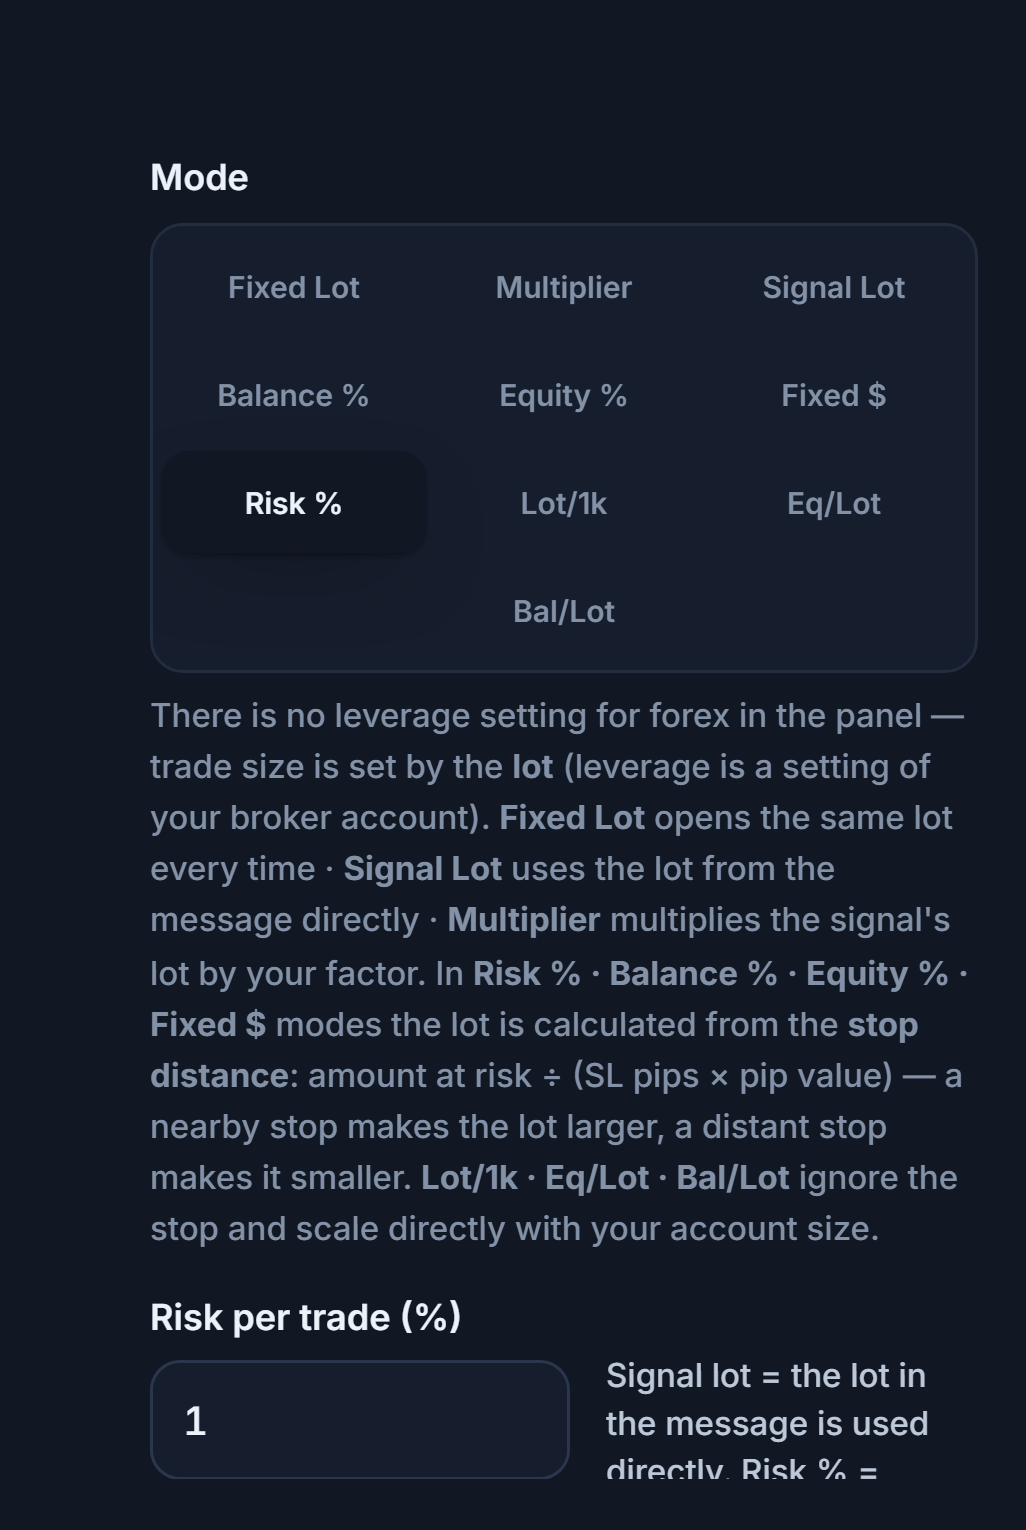
- Risk % — The lot is calculated from the stop distance: if the stop is hit, the amount you lose is roughly this percentage of your account.
- Risk per trade (%) — The share risked on a single trade.
| Mode | How the lot is determined | Field |
|---|---|---|
| Fixed Lot | The same lot on every trade | Lot size |
| Signal Lot | The lot in the message is used directly | Lot size (if the message has no lot) |
| Multiplier | The signal’s lot is multiplied by your factor | Multiplier (× signal lot) |
| Risk % · Equity % | A percentage of equity is risked; the lot is calculated from the stop distance | Risk per trade (%) |
| Balance % | A percentage of the balance is risked; the lot is calculated from the stop distance | Risk per trade (%) |
| Fixed $ | A fixed amount is lost if the stop is hit; the lot is calculated from the stop distance | Amount ($) |
| Lot/1k | This many lots for every 1,000 units of balance; ignores the stop | Amount ($) |
| Eq/Lot · Bal/Lot | The equity / balance required for 1 lot; ignores the stop (e.g. 1,000 → 5 lots on a $5,000 account) | Amount ($) |
Other fields that open depending on the mode you choose:
- Multiplier (× signal lot) — Shown in Multiplier mode; the lot in the message is multiplied by this factor.
- Amount ($) — Shown in the Fixed $, Lot/1k, Eq/Lot, and Bal/Lot modes; its meaning changes with the mode (see the table).
Step 11Set TP and SL in pips
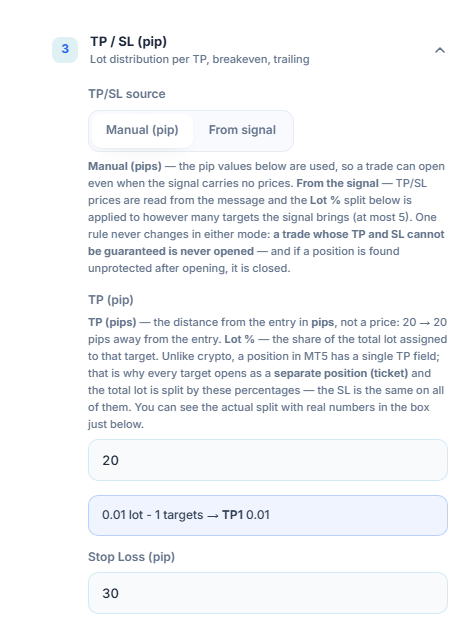
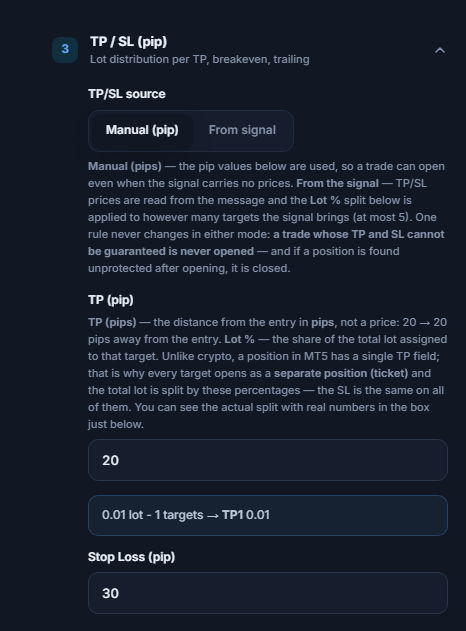
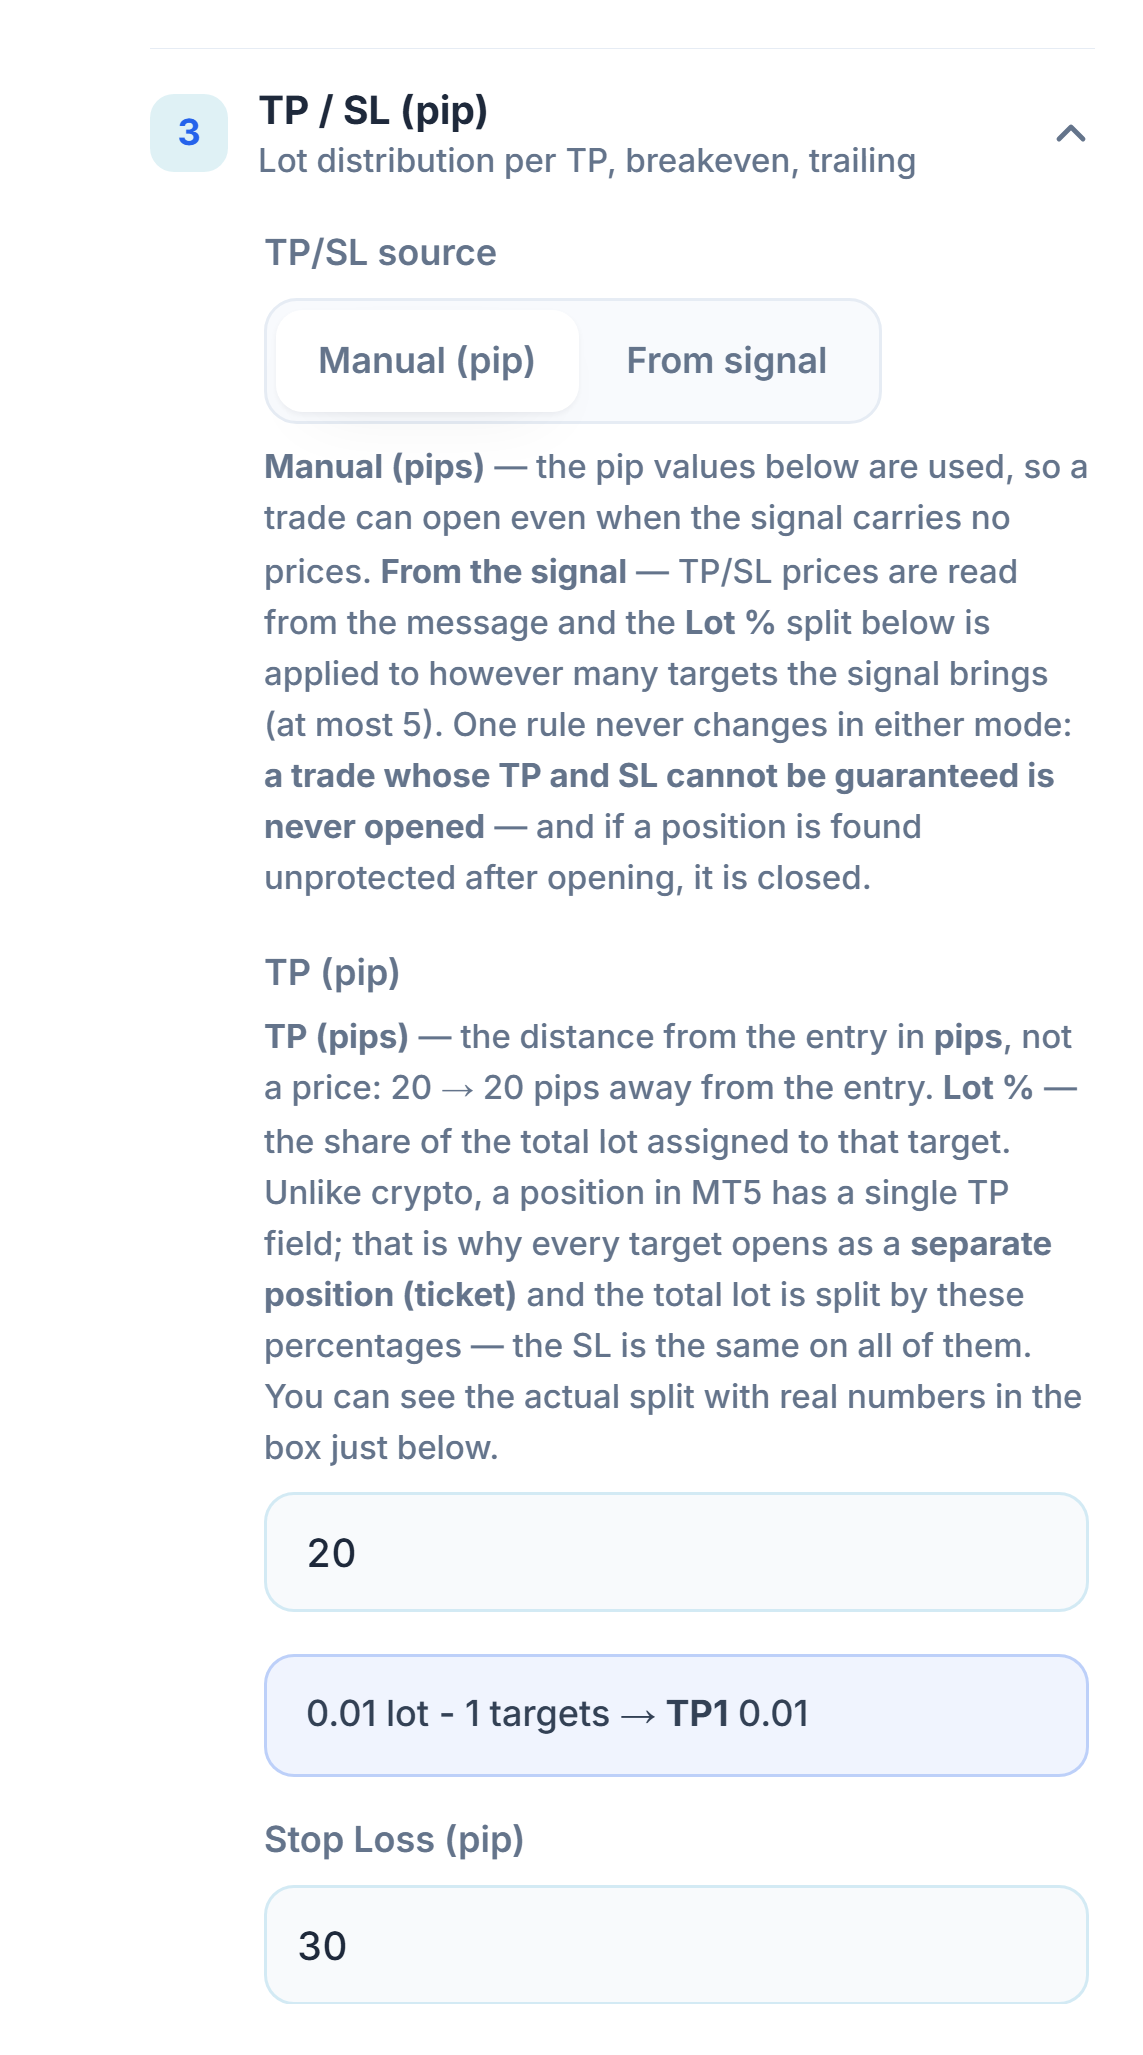
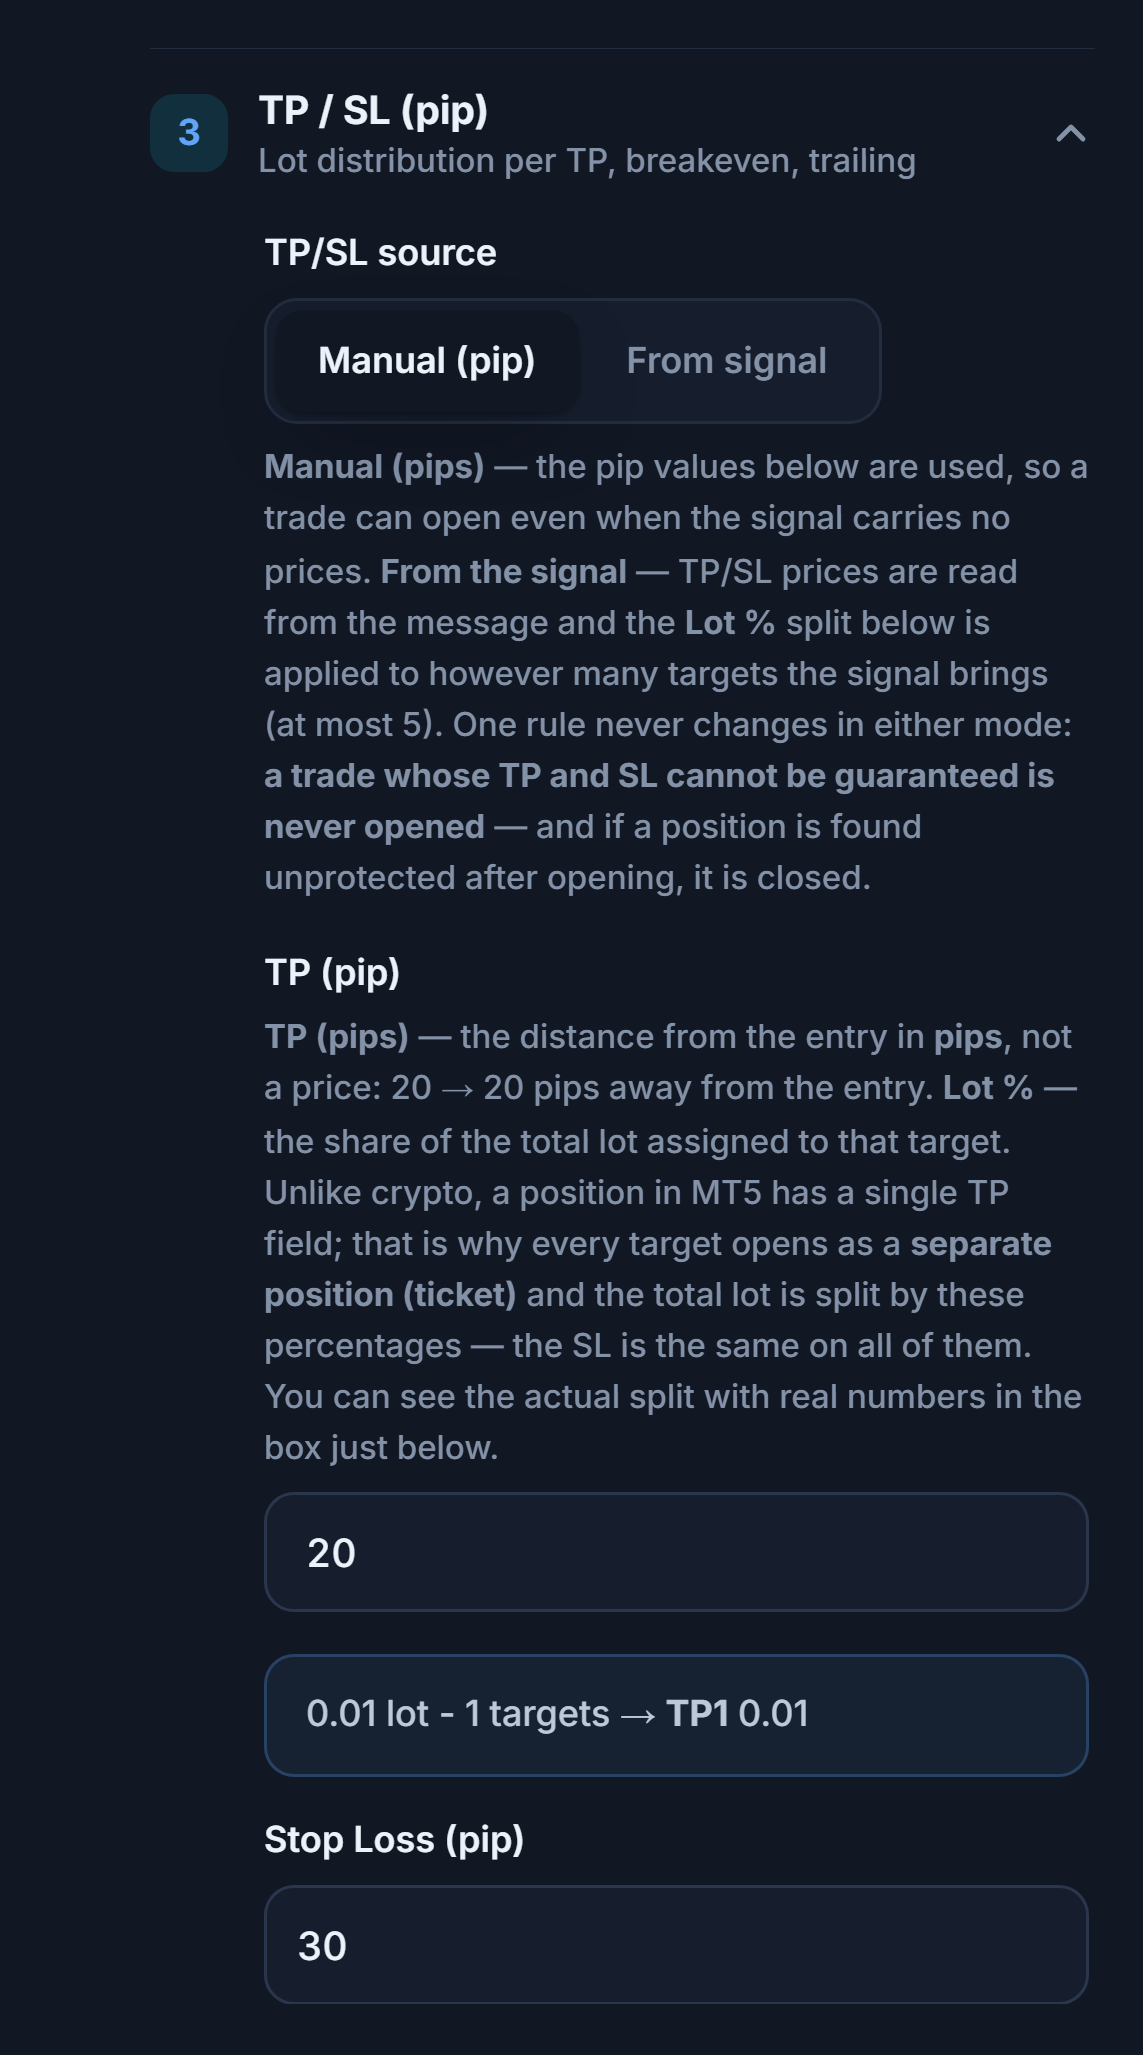
- TP/SL source — Manual (pip) — The pip values below are used; a trade can be opened even if the signal has no prices.
- TP (pip) — The distance of the profit target from entry, in pips (not price).
- Stop Loss (pip) — The distance of the stop from entry, in pips. If the signal has an explicit stop price, that is used; otherwise, once the order is filled, the stop is placed this far from the actual entry price.
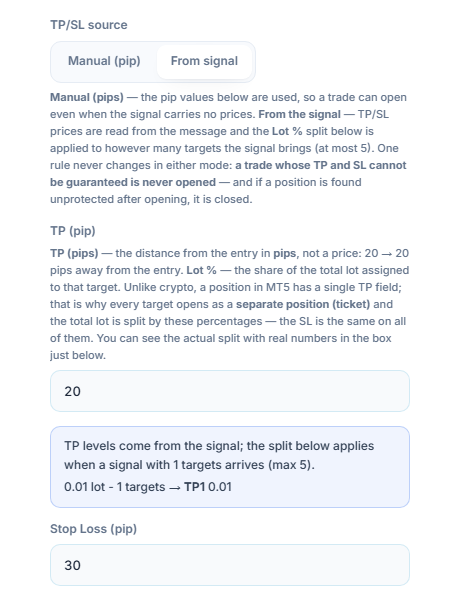
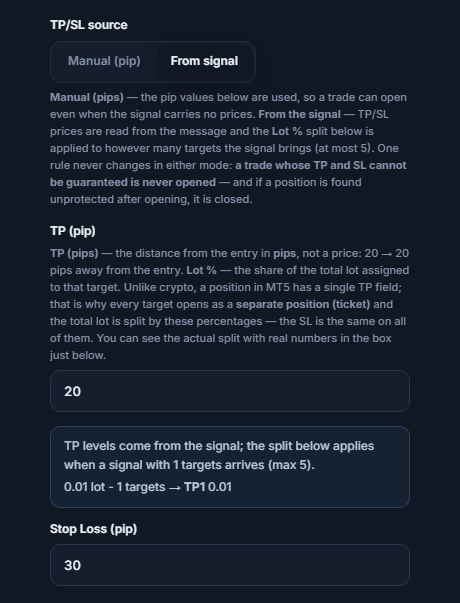
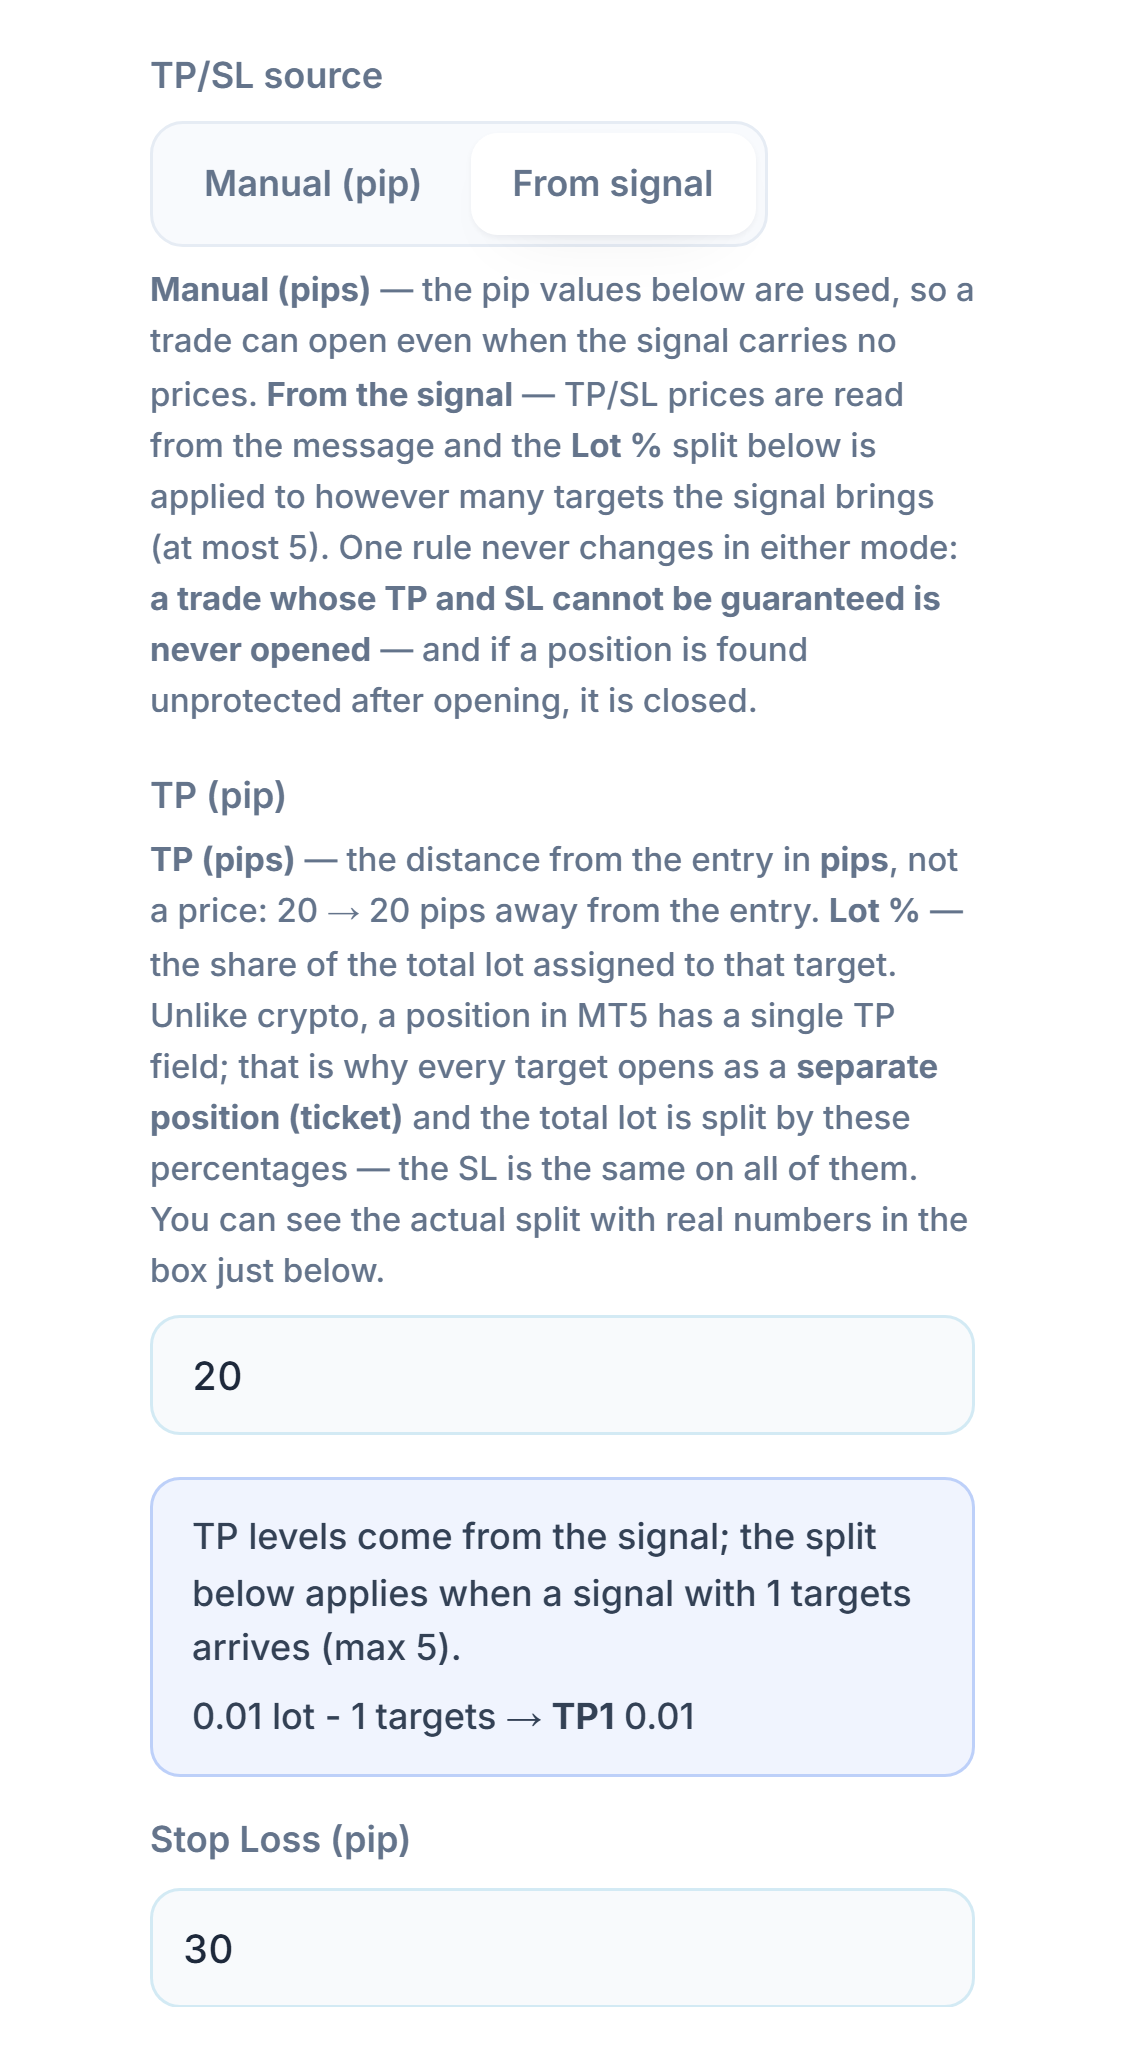
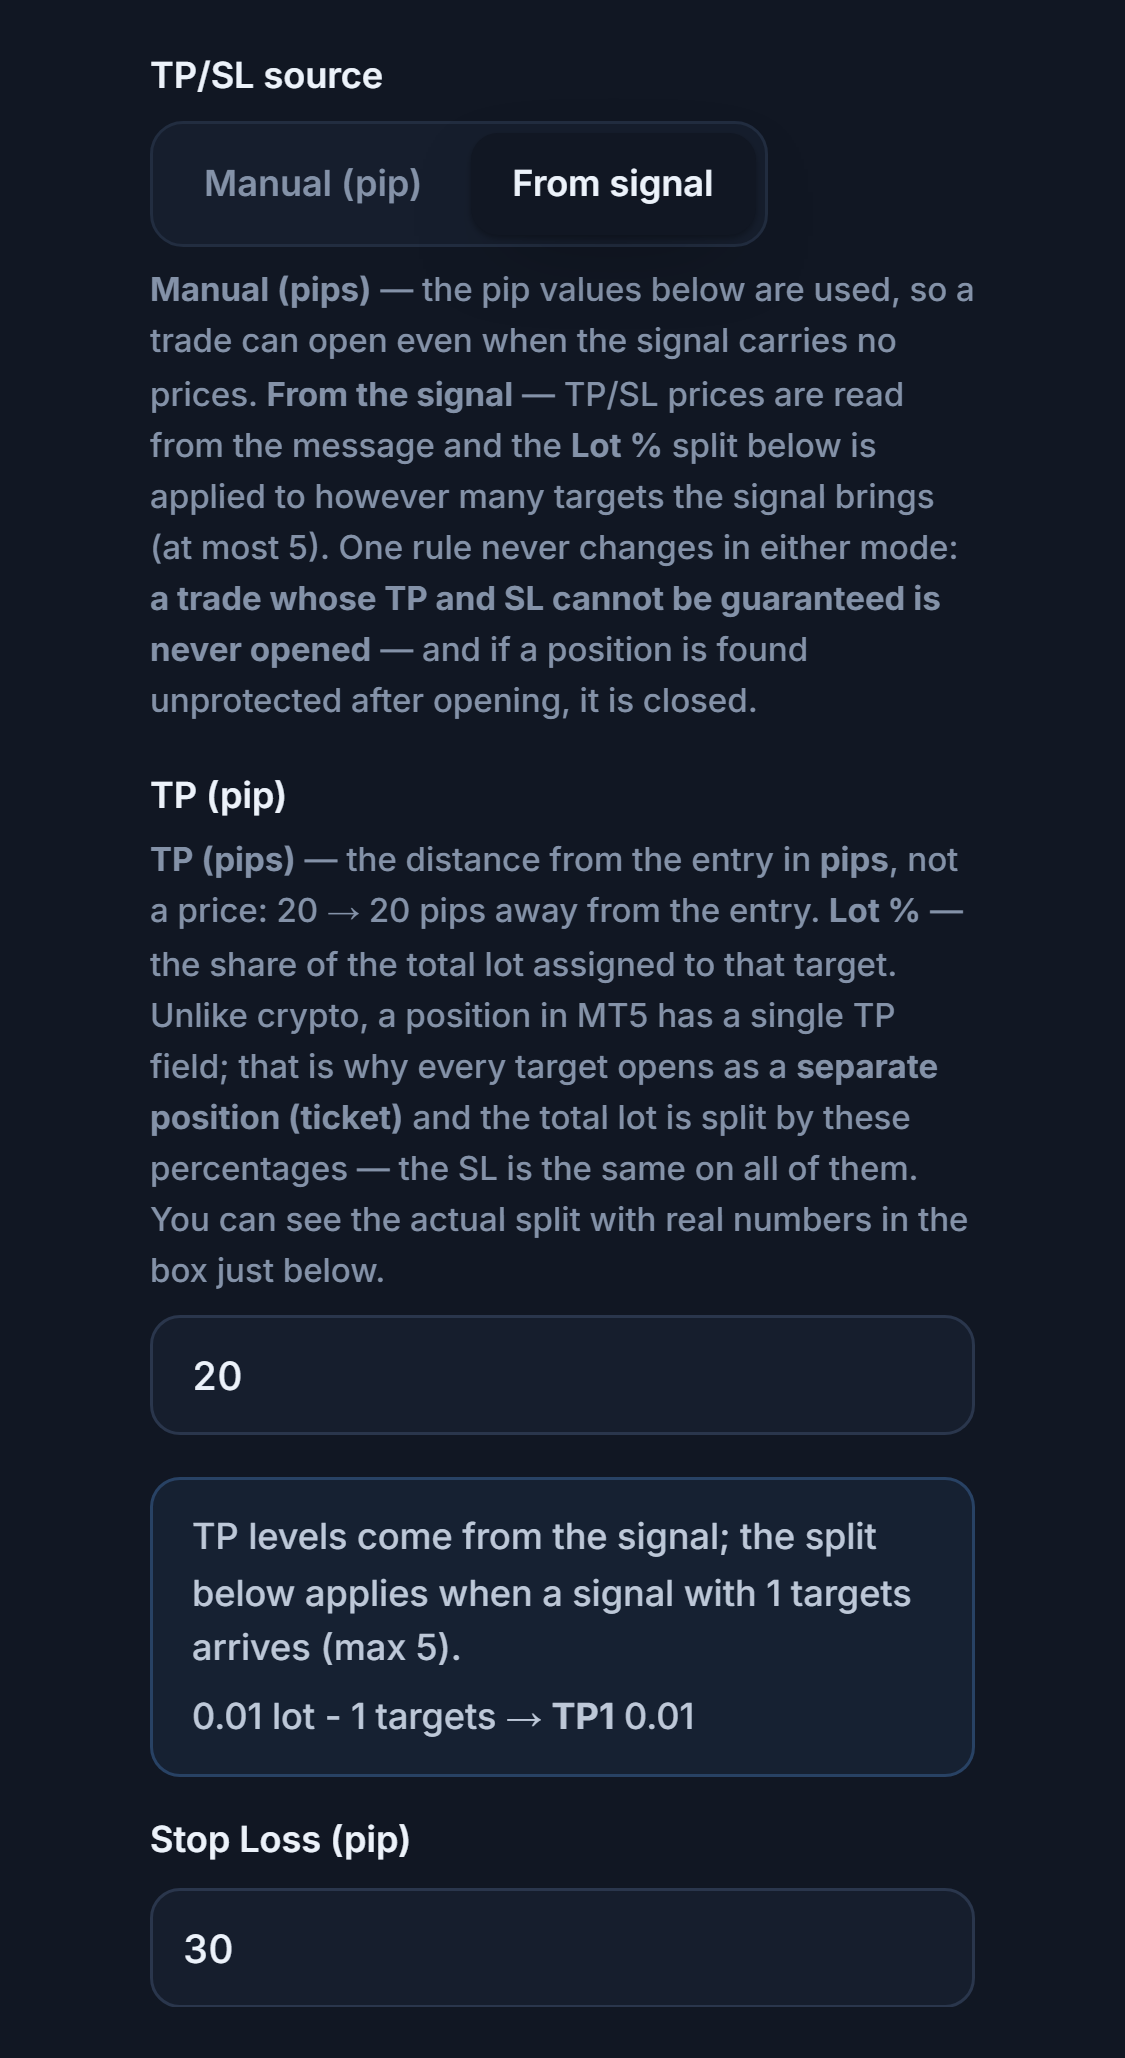
- From signal — The TP and SL prices are read from the message. If the message has several targets (up to 5), a separate position is opened for each target; how the lot is split is decided by the Lot % column in advanced mode.
- Stop Loss (pip) — Also shown in From signal mode, where it is a safety net: if the signal has no stop price or it is clearly wrong, this pip value is used.
| Comparison | Manual (pip) | From signal |
|---|---|---|
| Where TP/SL comes from | Your pip values | The prices in the message |
| Signal with no prices (“XAUUSD BUY NOW”) | The trade is opened | No trade is opened if there is no target |
| Who it's for | Channels that post short messages, and people who want to keep their own risk measure | People who trust the channel’s TP/SL |
Step 12Enter the loss brake and trade limits
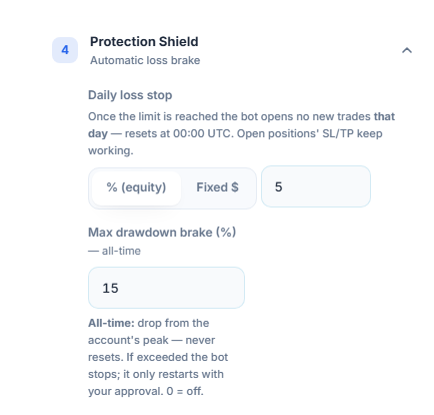
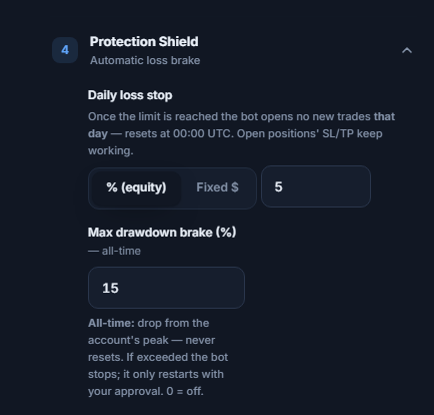
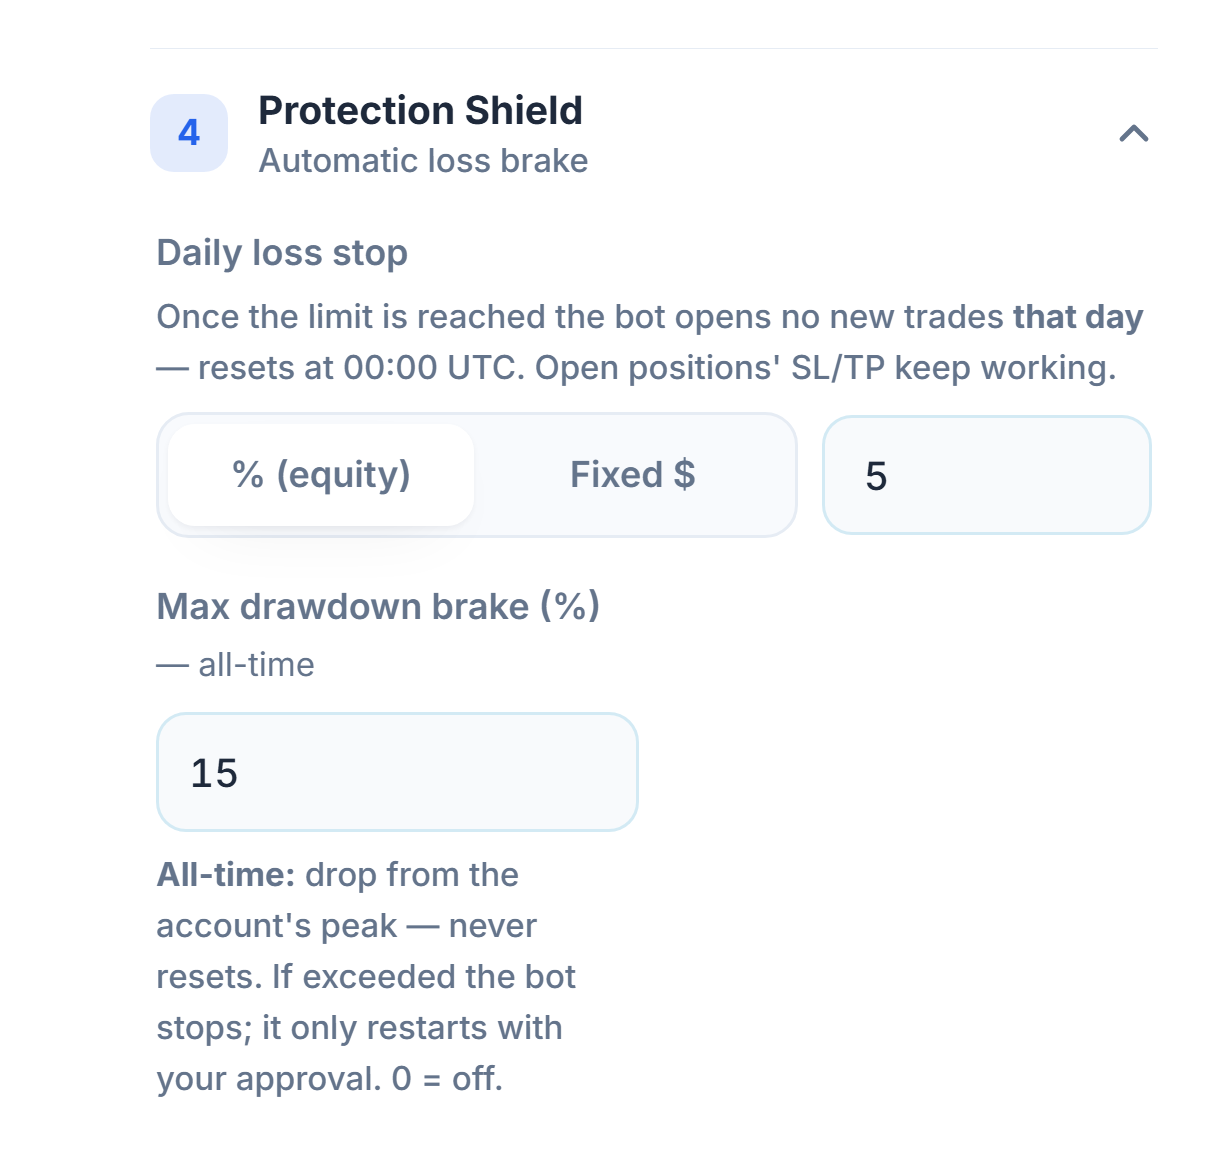
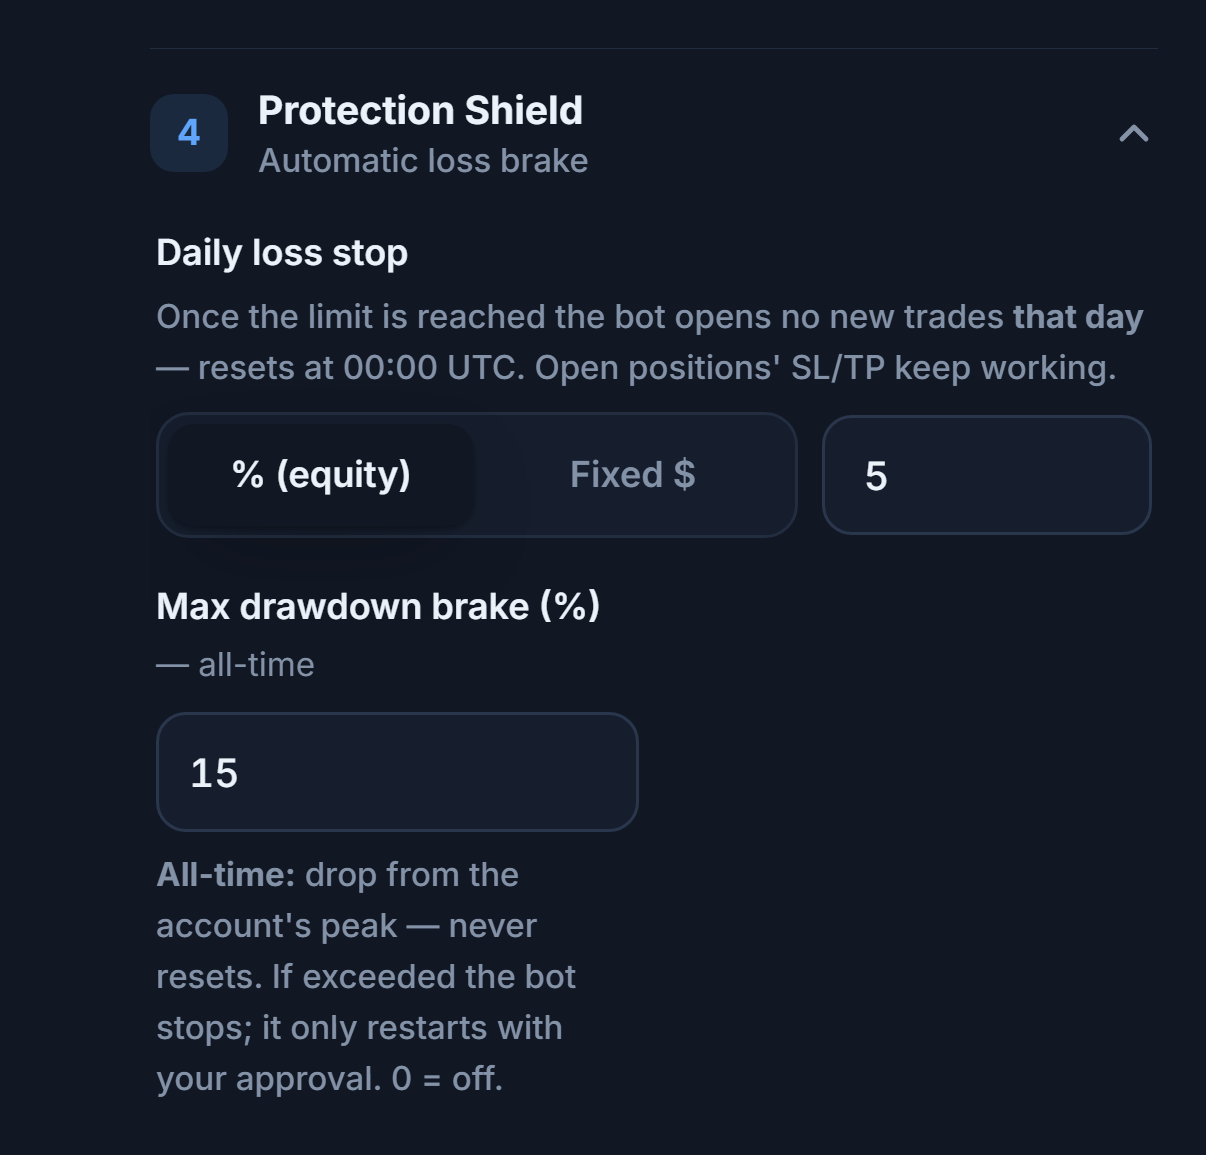
- Daily loss stop — When that day’s loss reaches this value, the bot opens no new trades for the rest of the day; it resets at 00:00 UTC. The SL/TP of open positions keep working.
- Max drawdown brake (%) — If the account falls this much from its peak, the bot stops completely; it never resets and restarts only with your approval.
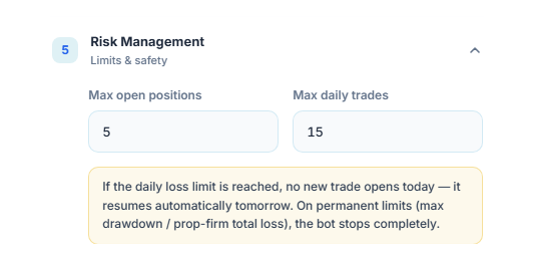
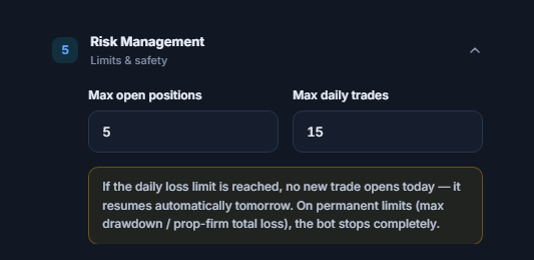
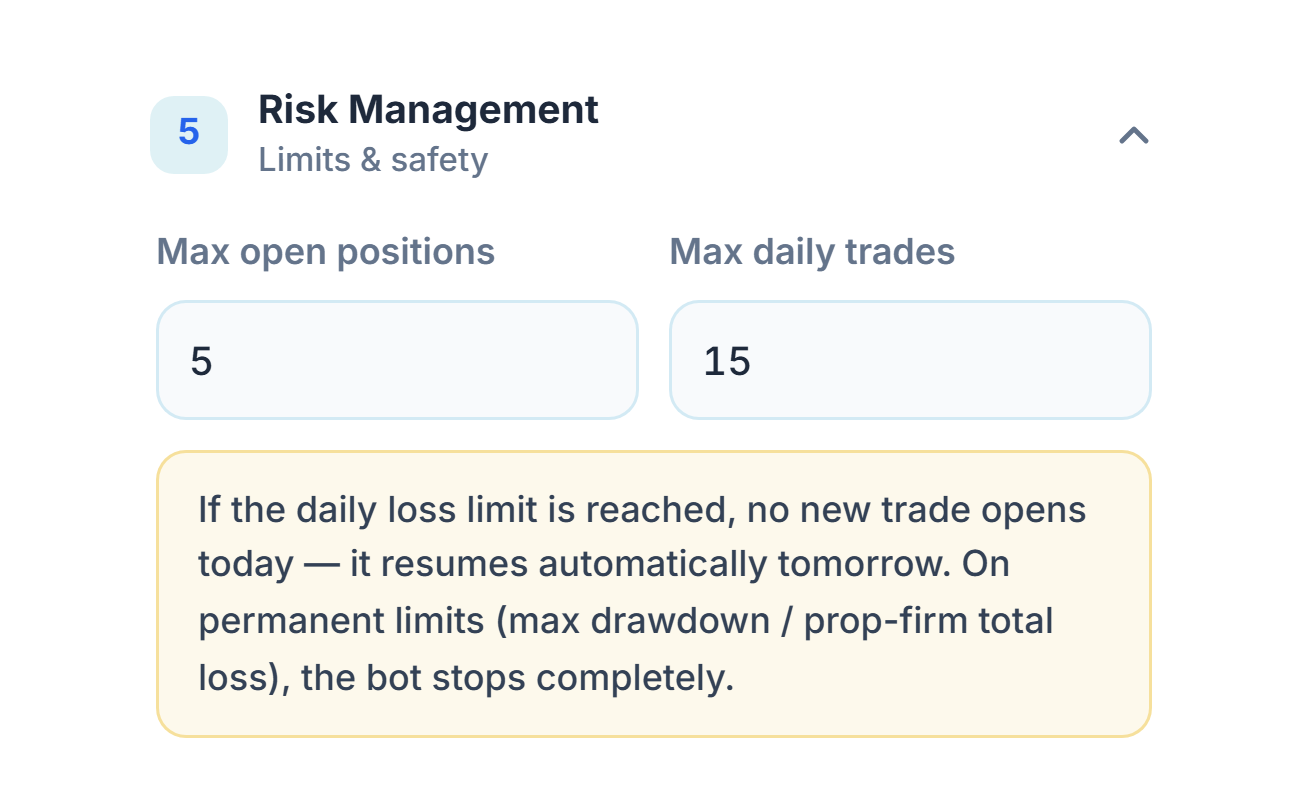
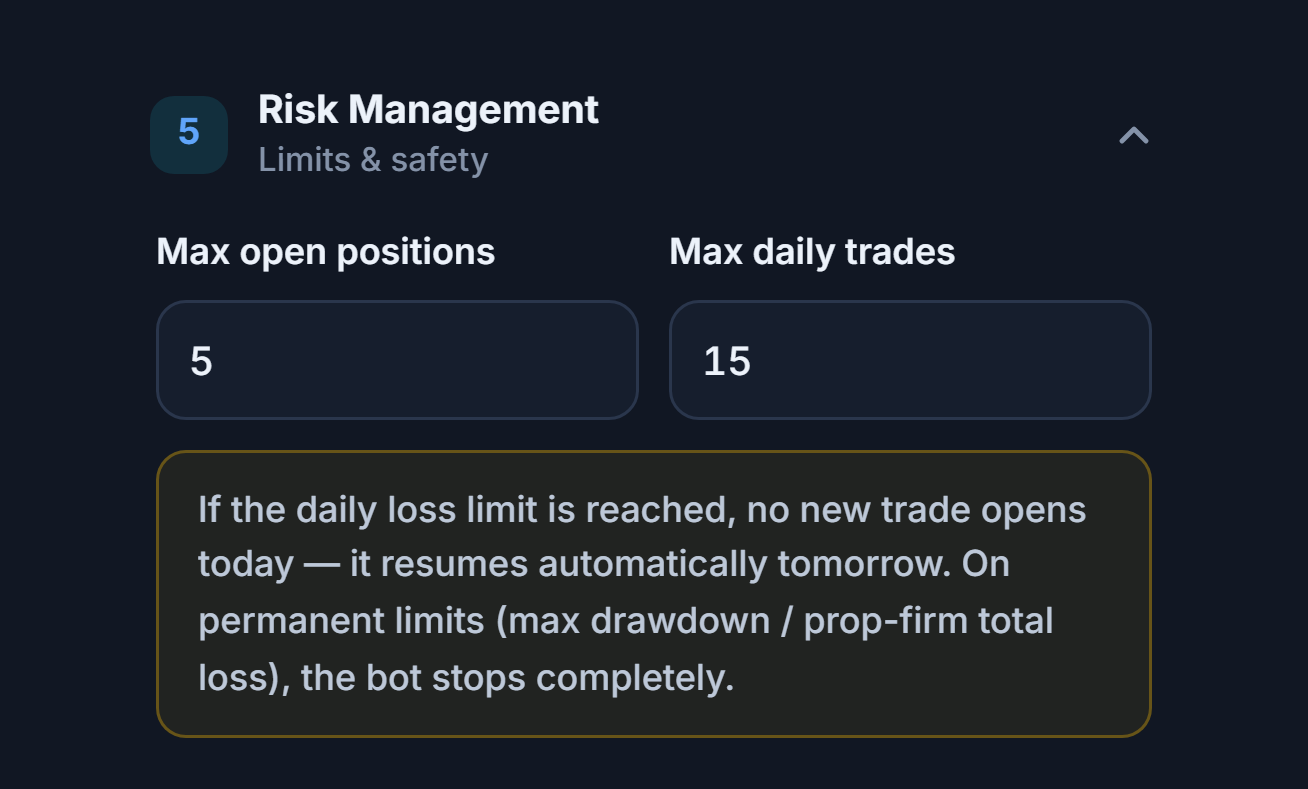
- Max open positions — The most positions this bot can keep open at the same time. With multiple TPs, each target counts as a separate position.
- Max daily trades — The most trades that can be opened in one day (UTC).
- % (equity) / fixed $ — Chooses whether the daily loss limit is a percentage or a fixed amount.
Step 13Check the summary and create the bot
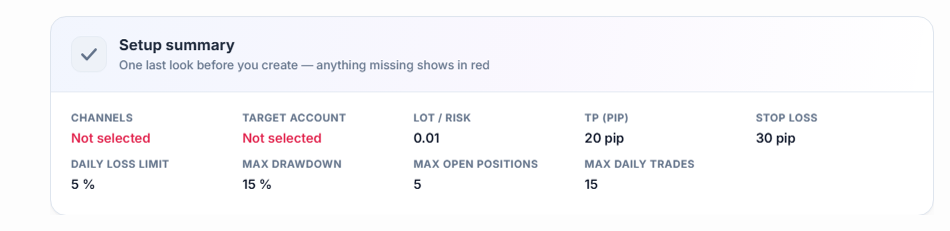
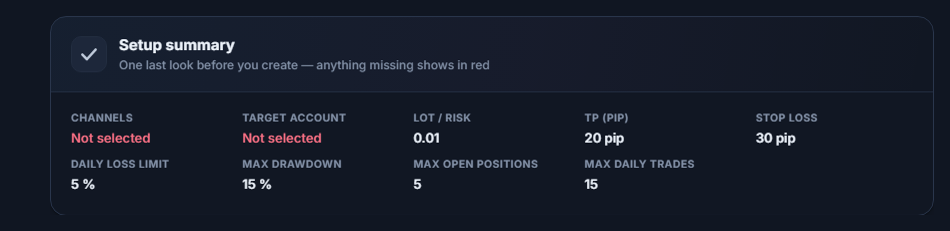
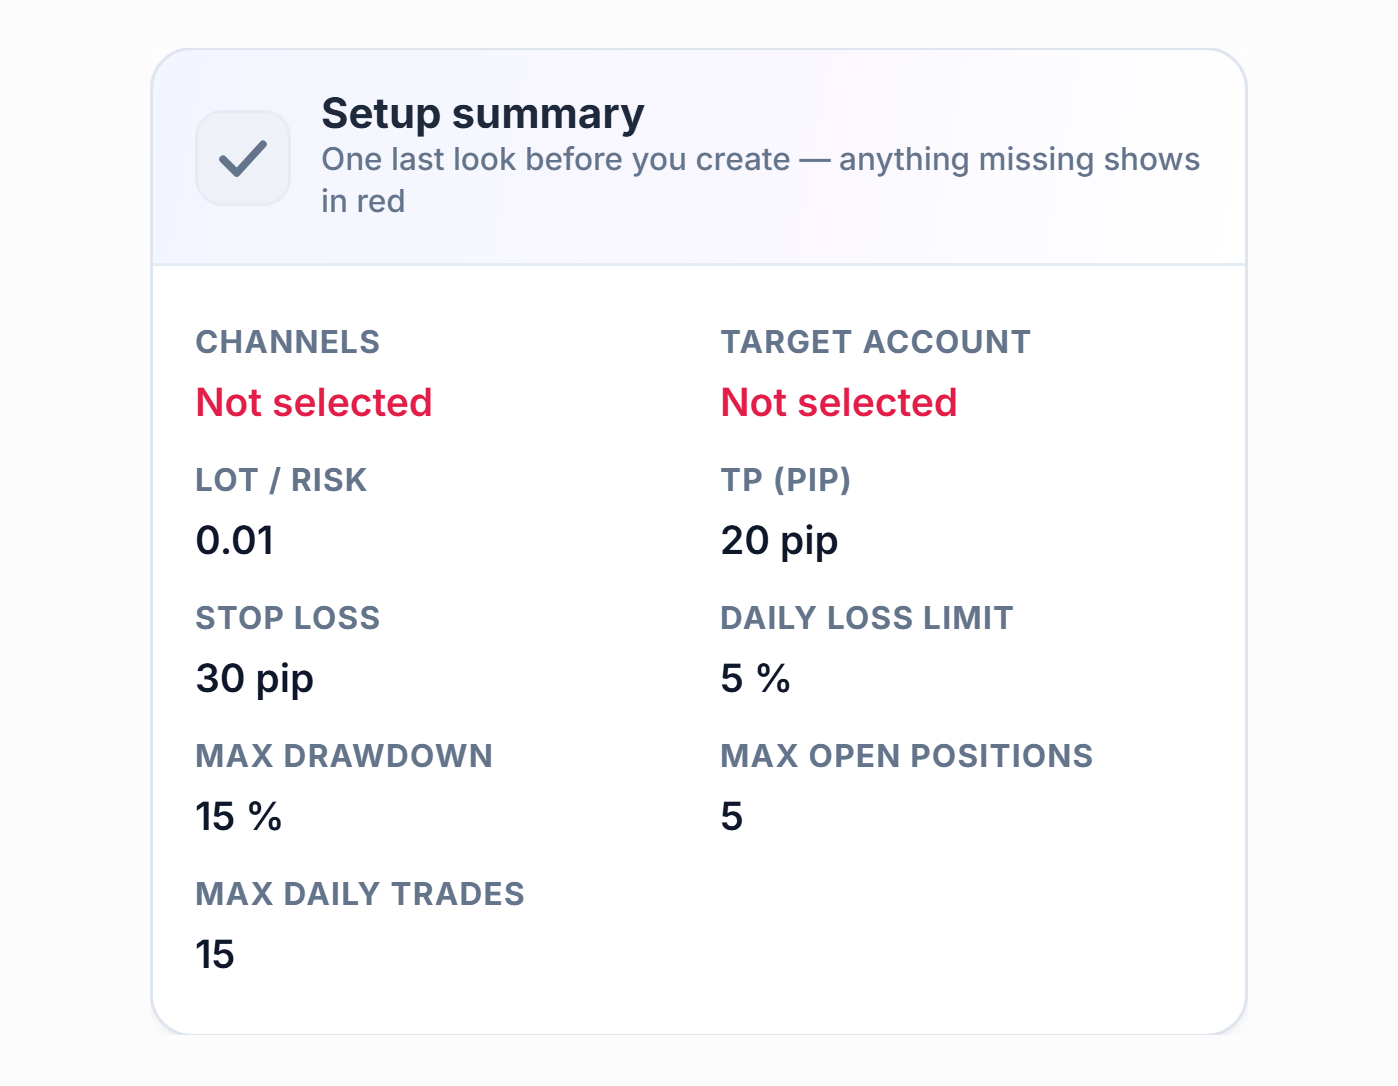
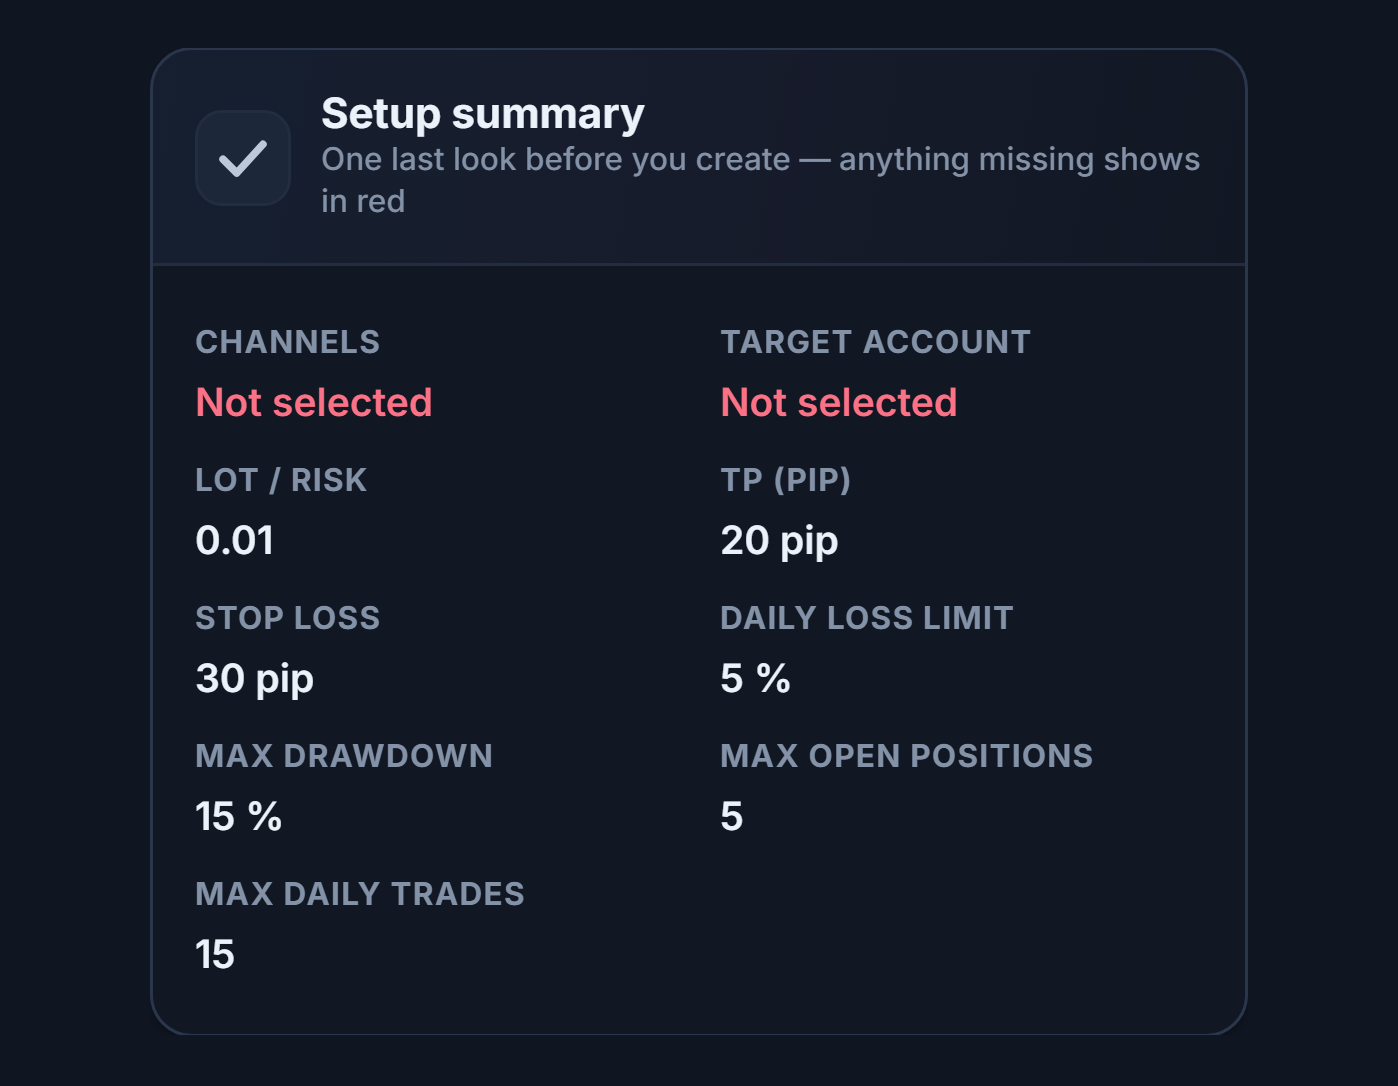
- Channel — If no channel is selected in the Settings scope, it shows a red “Not selected”. It is red in the picture because no channel has been selected yet.
- Target account — If there is no connected MT5 account, it shows a red “Not selected”. The bot doesn’t open trades until the red fields are completed.
The rest of the summary shows the lot, TP (pip), Stop Loss, daily loss limit, max drawdown, max open positions, and max daily trades values. If everything is right, press Create Bot at the top.
Advanced settings
In advanced setup every field is visible and is split into six tabs. The defaults are the same as in quick setup; you simply see more.


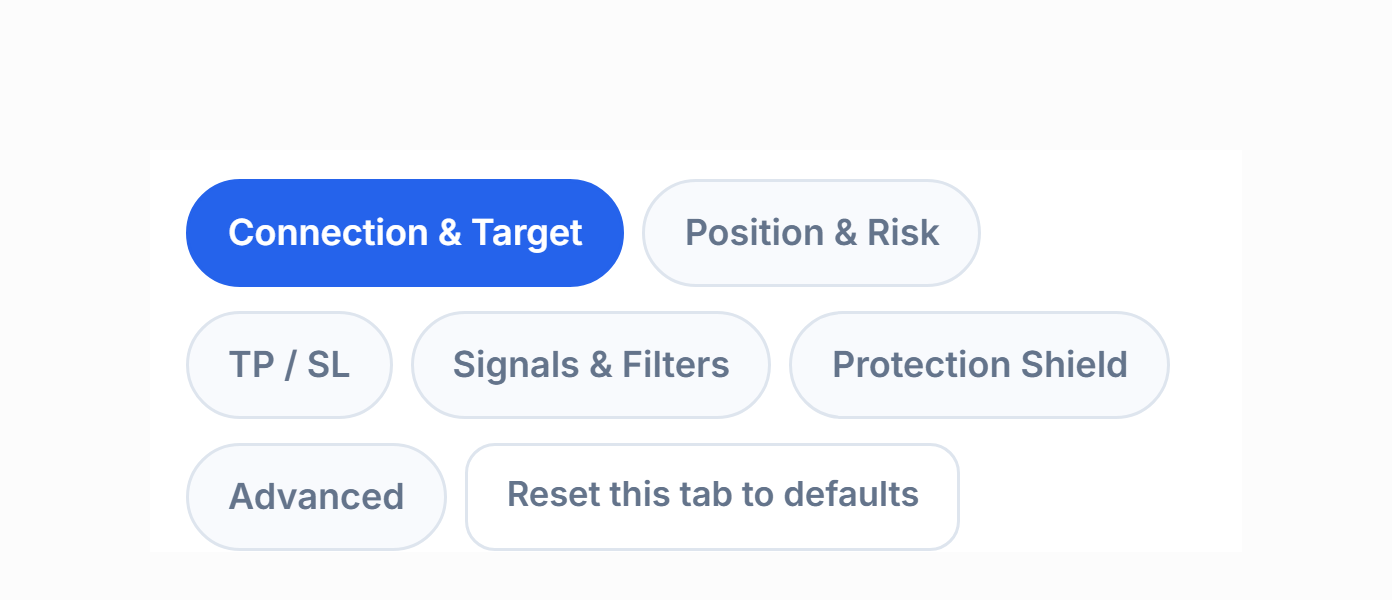
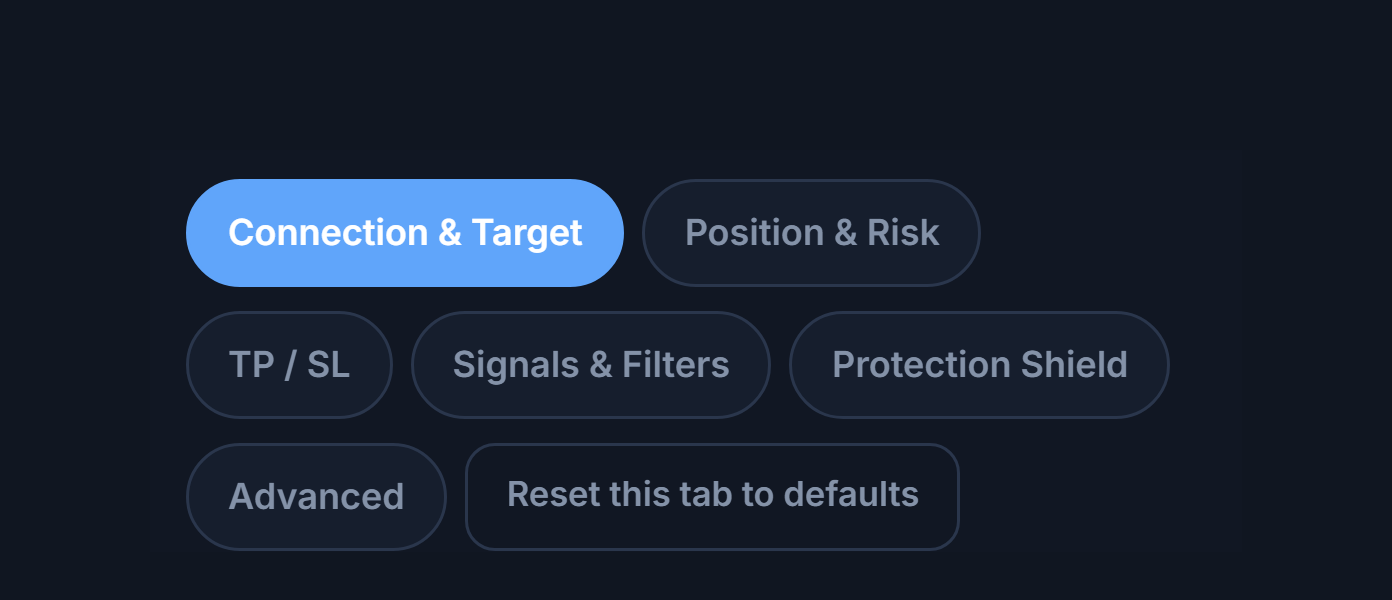
- Connection — Telegram, channels, settings scope, and the MT5 account.
- Position — Lot mode, lot limits, and risk limits.
- TP and SL — Multiple targets, breakeven, trailing stop.
- Signal — Symbol mapping, keyword filters, parsing, and notifications.
- Protection — Loss brakes, economic calendar, prop-firm rules.
- Advanced — Order mode, deviation and spread limits, direction and time limits.
- Reset to defaults — Returns the settings in the open tab to their default values. The number of fields you’ve changed appears as a badge above the tab.
Multiple TPs and lot split
In MT5 a position has only one TP field. So when you set up several targets, each target is opened as a separate position (ticket), the total lot is split across the targets, and the SL is the same on all of them. The panel shows you the split in numbers before you save.
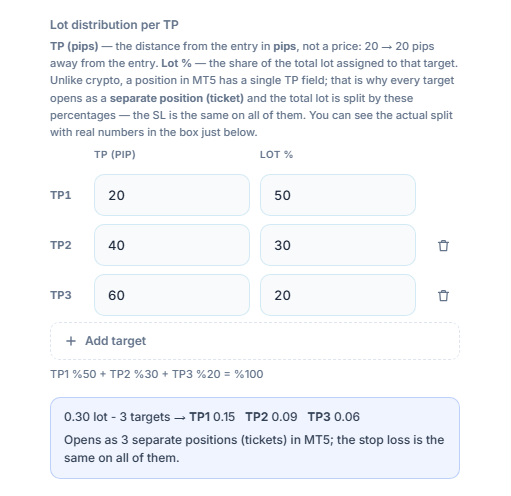
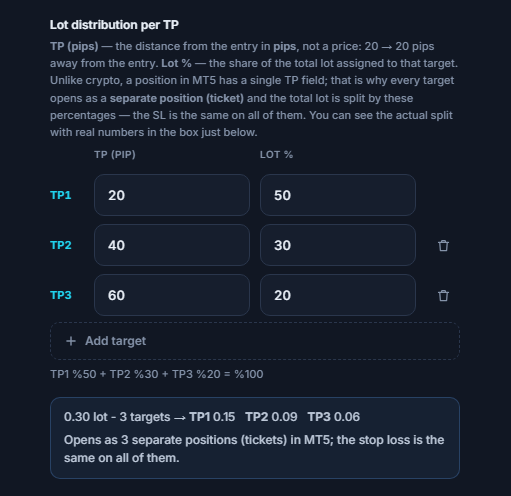
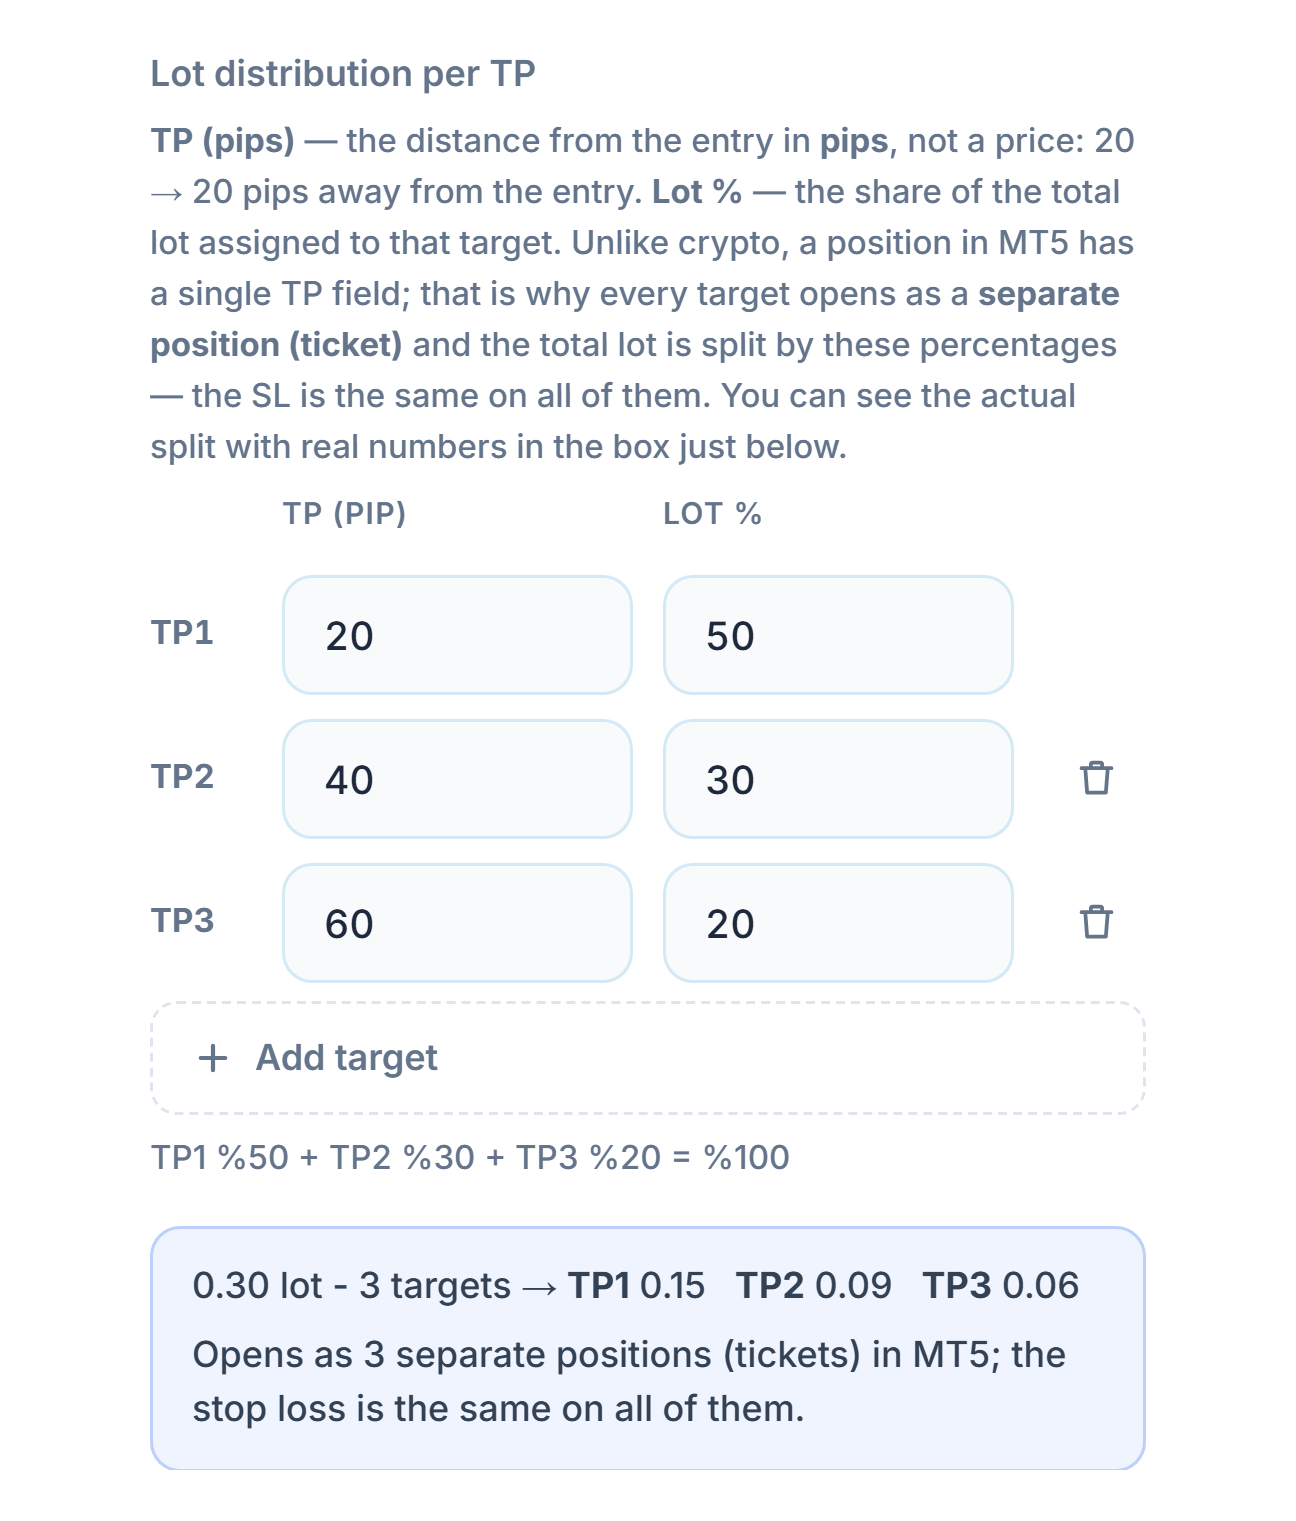
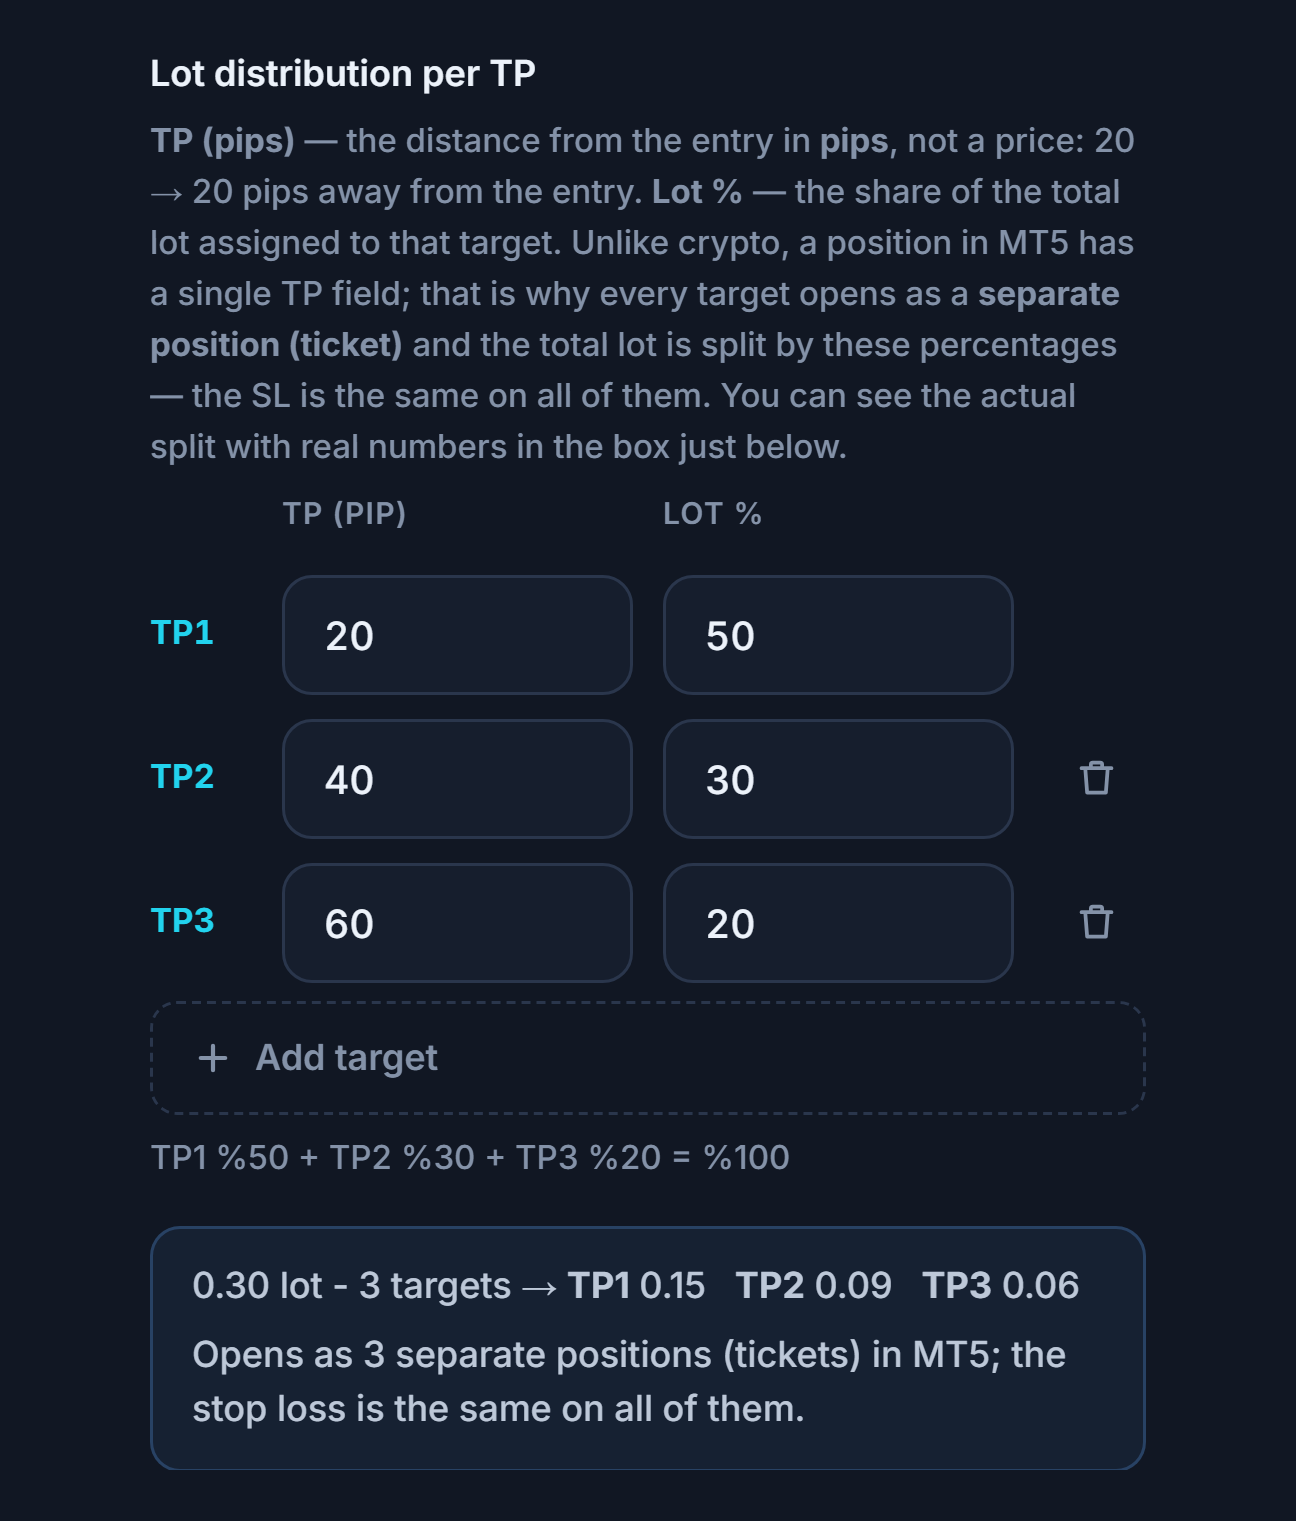
- TP (pip) — The pip distance of each target from entry. The first target is the nearest one.
- Lot % — The share of the total lot assigned to that target. The percentages must add up to 100%; the total is shown below.
- Add target — Adds a new target row (up to 5). The trash icon on a row deletes the target.
- Split box — In Fixed Lot mode it shows the real split: “0.30 lot - 3 targets → TP1 0.15 · TP2 0.09 · TP3 0.06” and “Opened as 3 separate positions (tickets) in MT5”. In other lot modes the total lot is only known at trade time; the box just shows the minimum lot required.
If the total lot isn’t large enough to give each target at least one valid lot, the panel warns you:
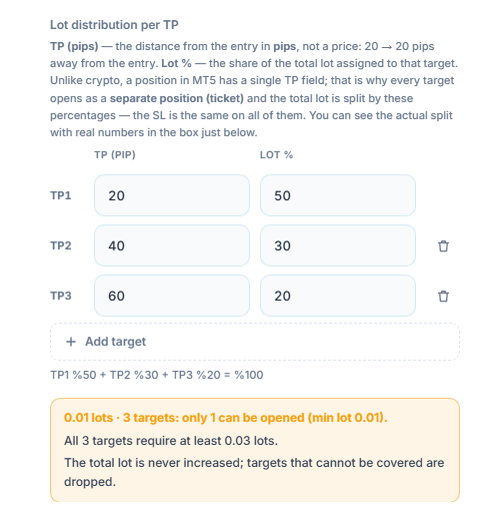
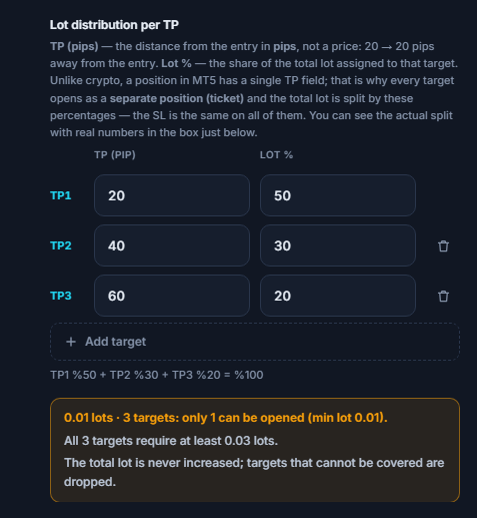
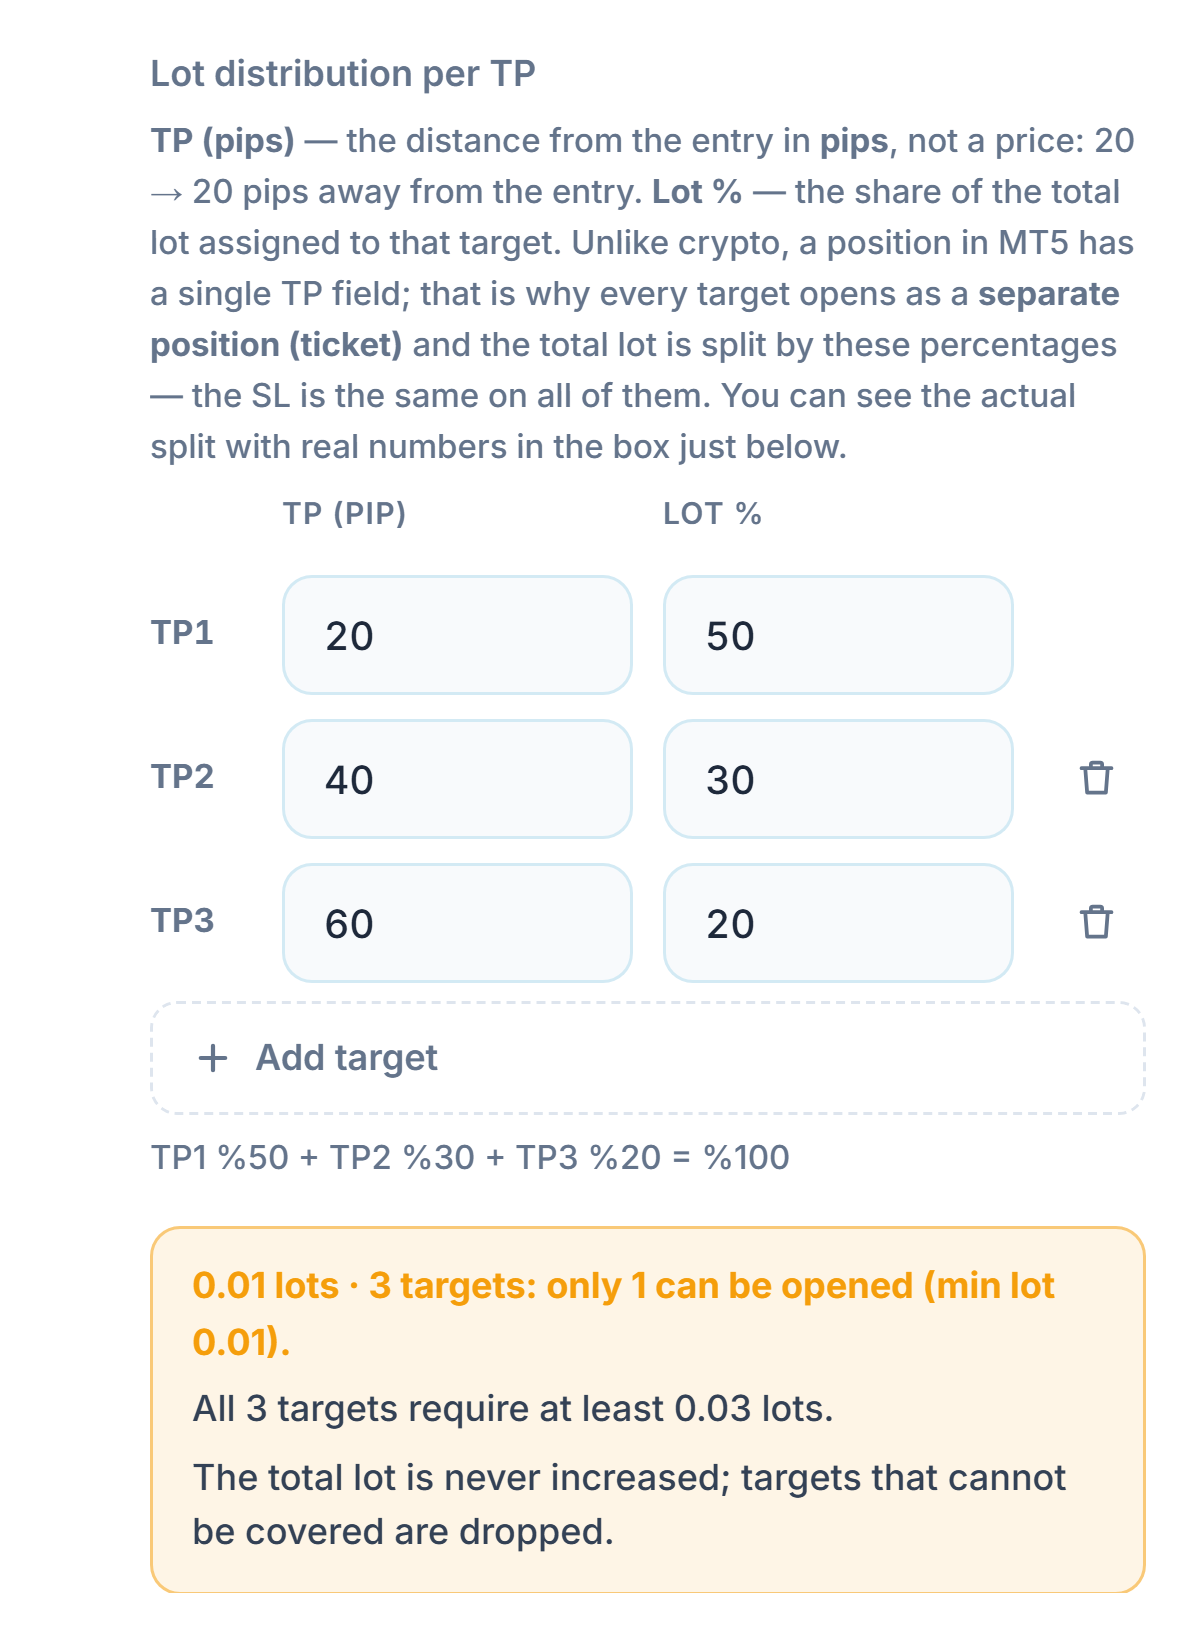
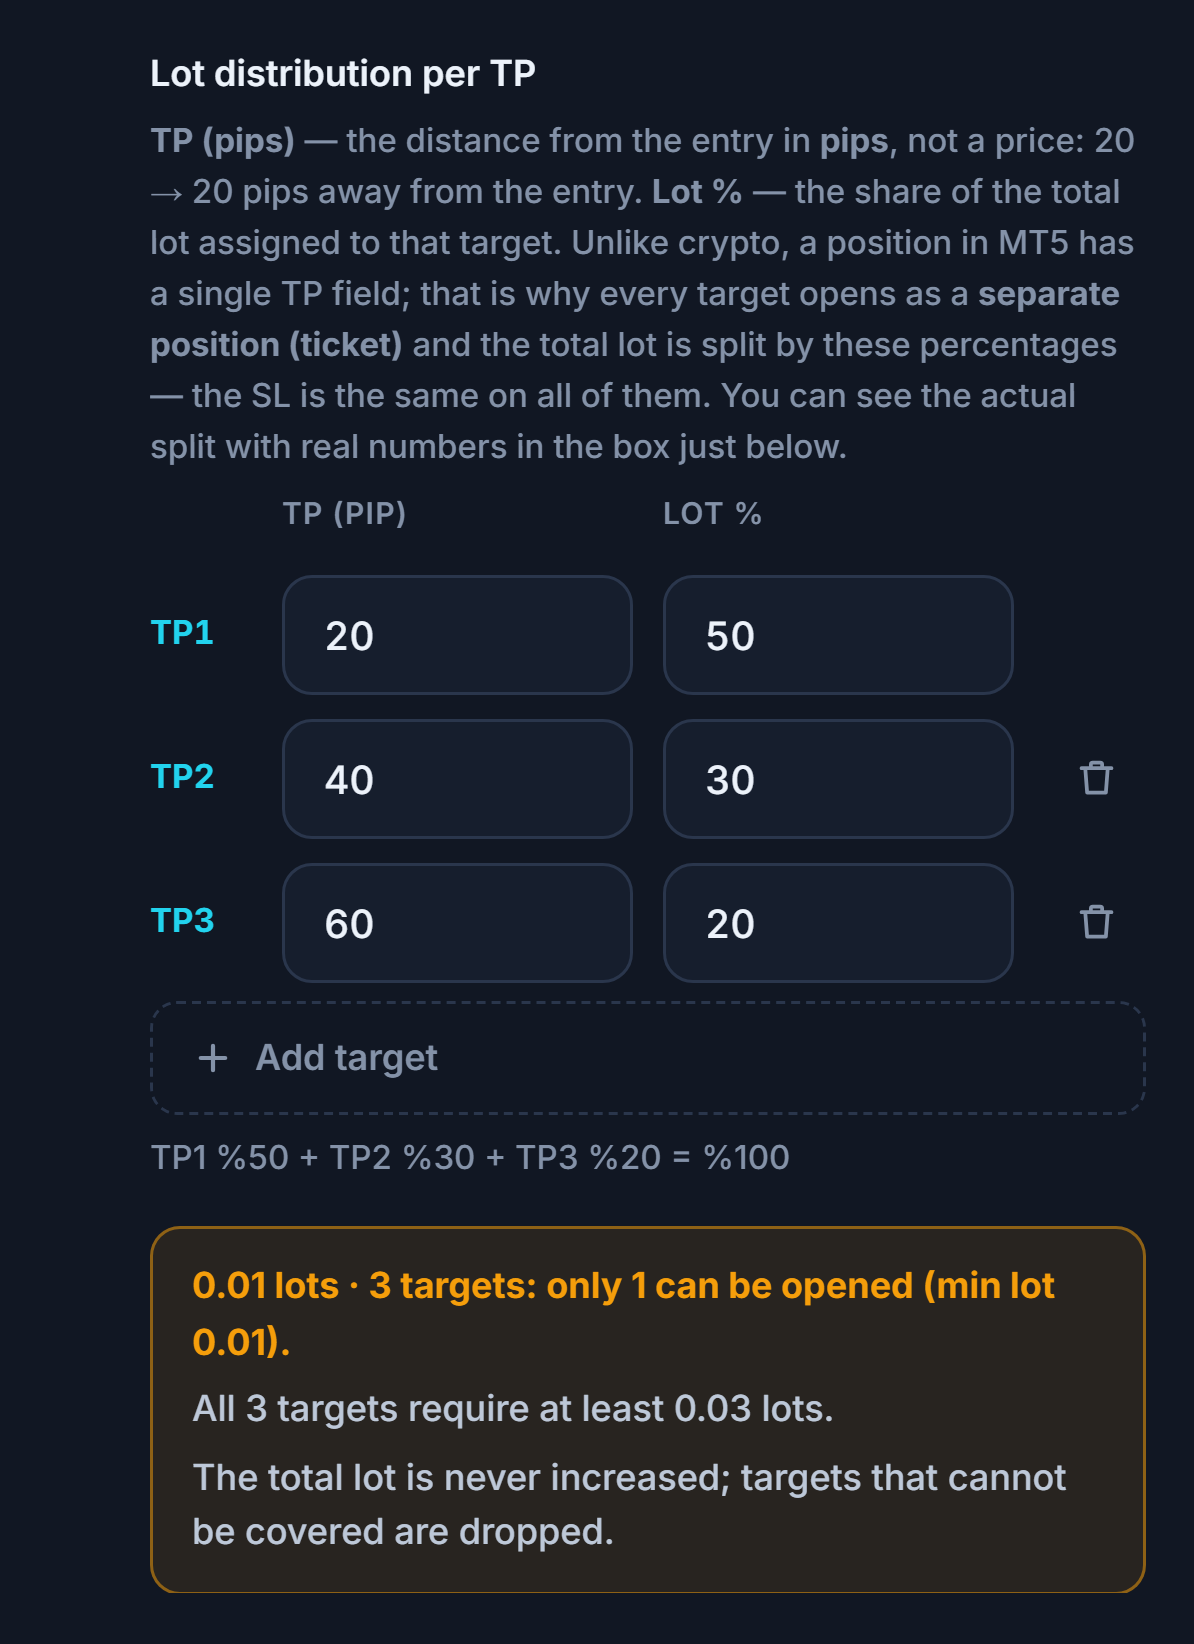
- Not enough lot — In the example, 0.01 lot can’t be split across three targets; only 1 target is opened, and you need at least 0.03 lot for all three. The total lot is never increased; targets that can’t be covered are dropped. The fix: increase the lot or reduce the number of targets.
If your account is in NETTING mode, MT5 merges orders in the same direction into a single position. In that case the panel shows a separate note:
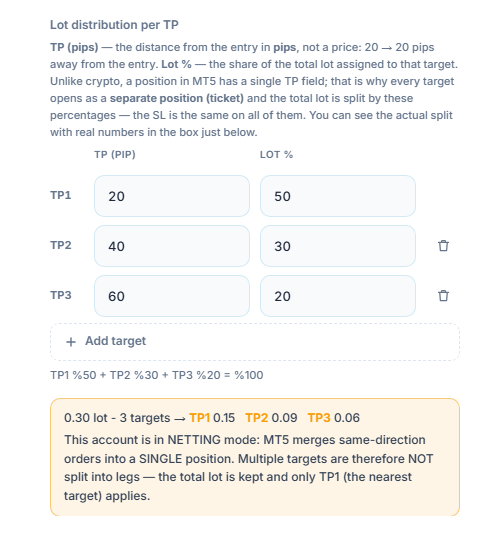
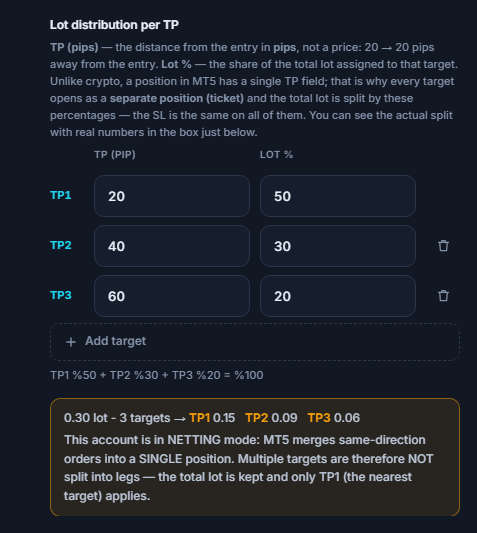
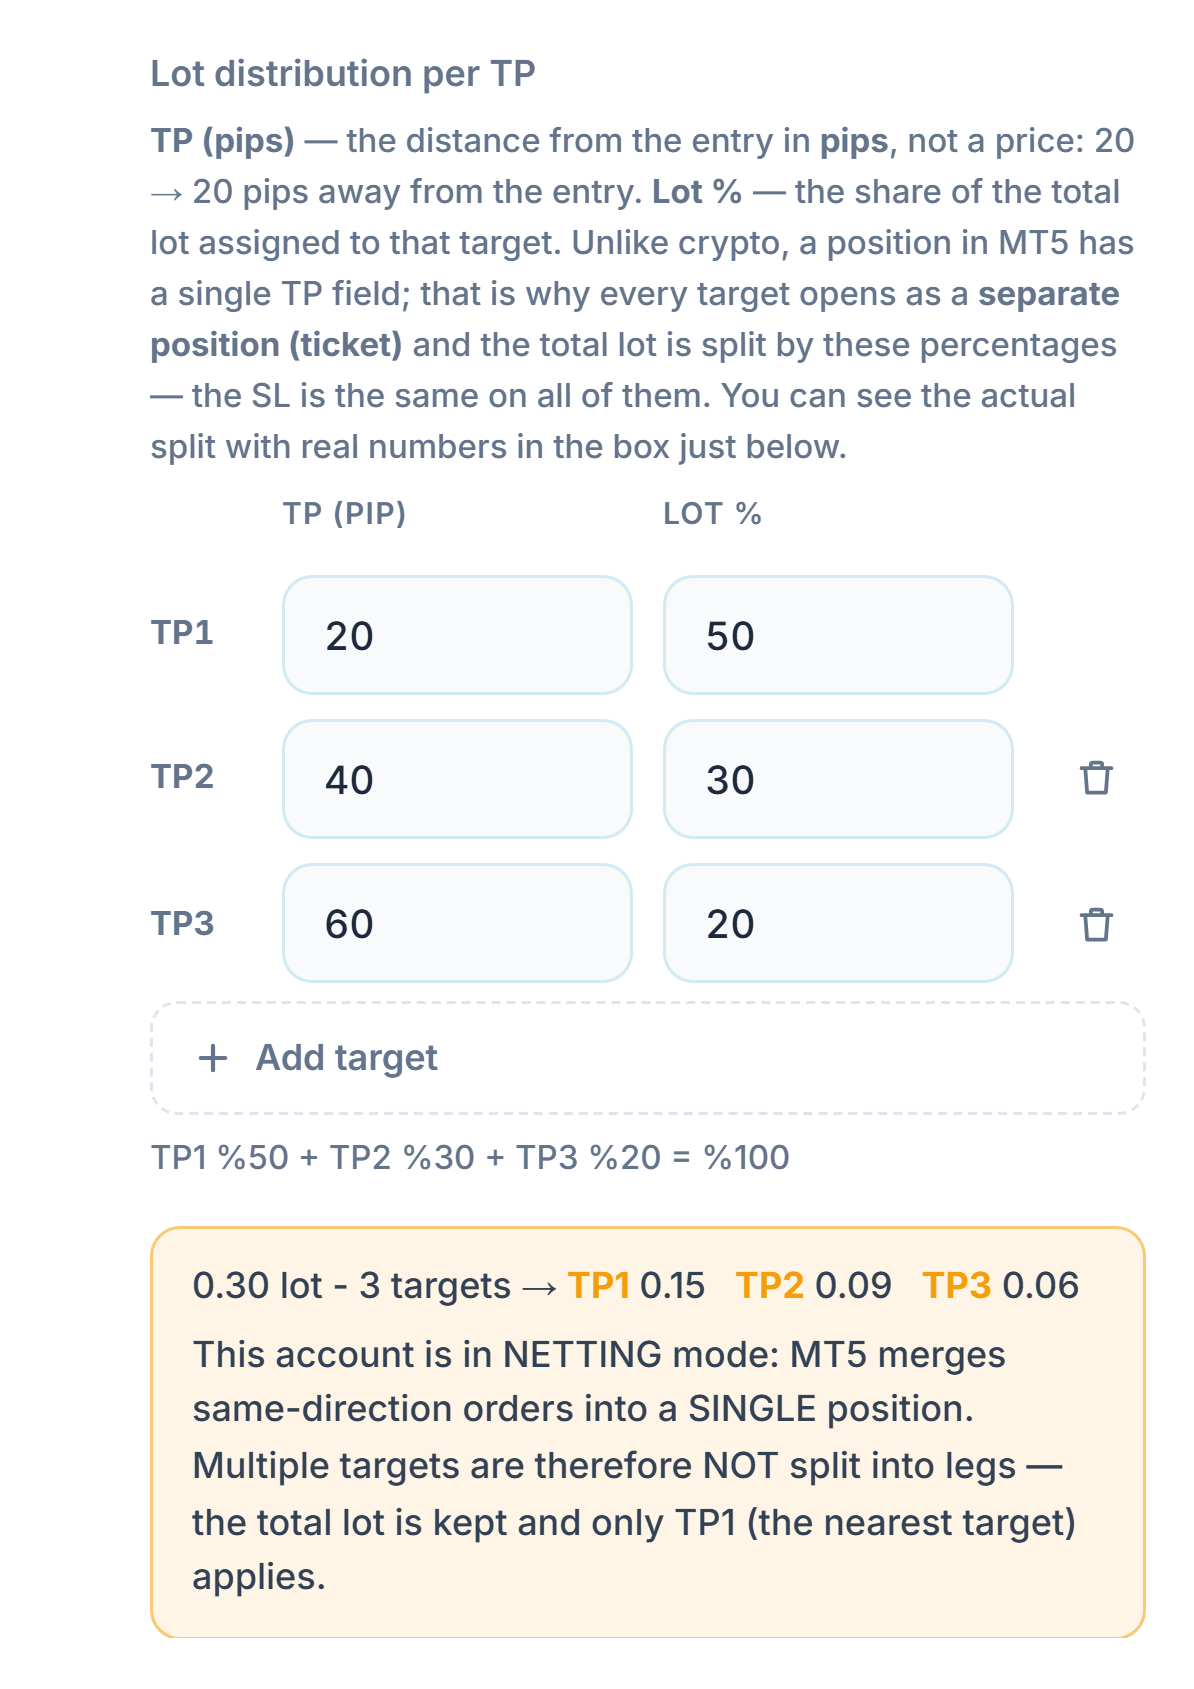
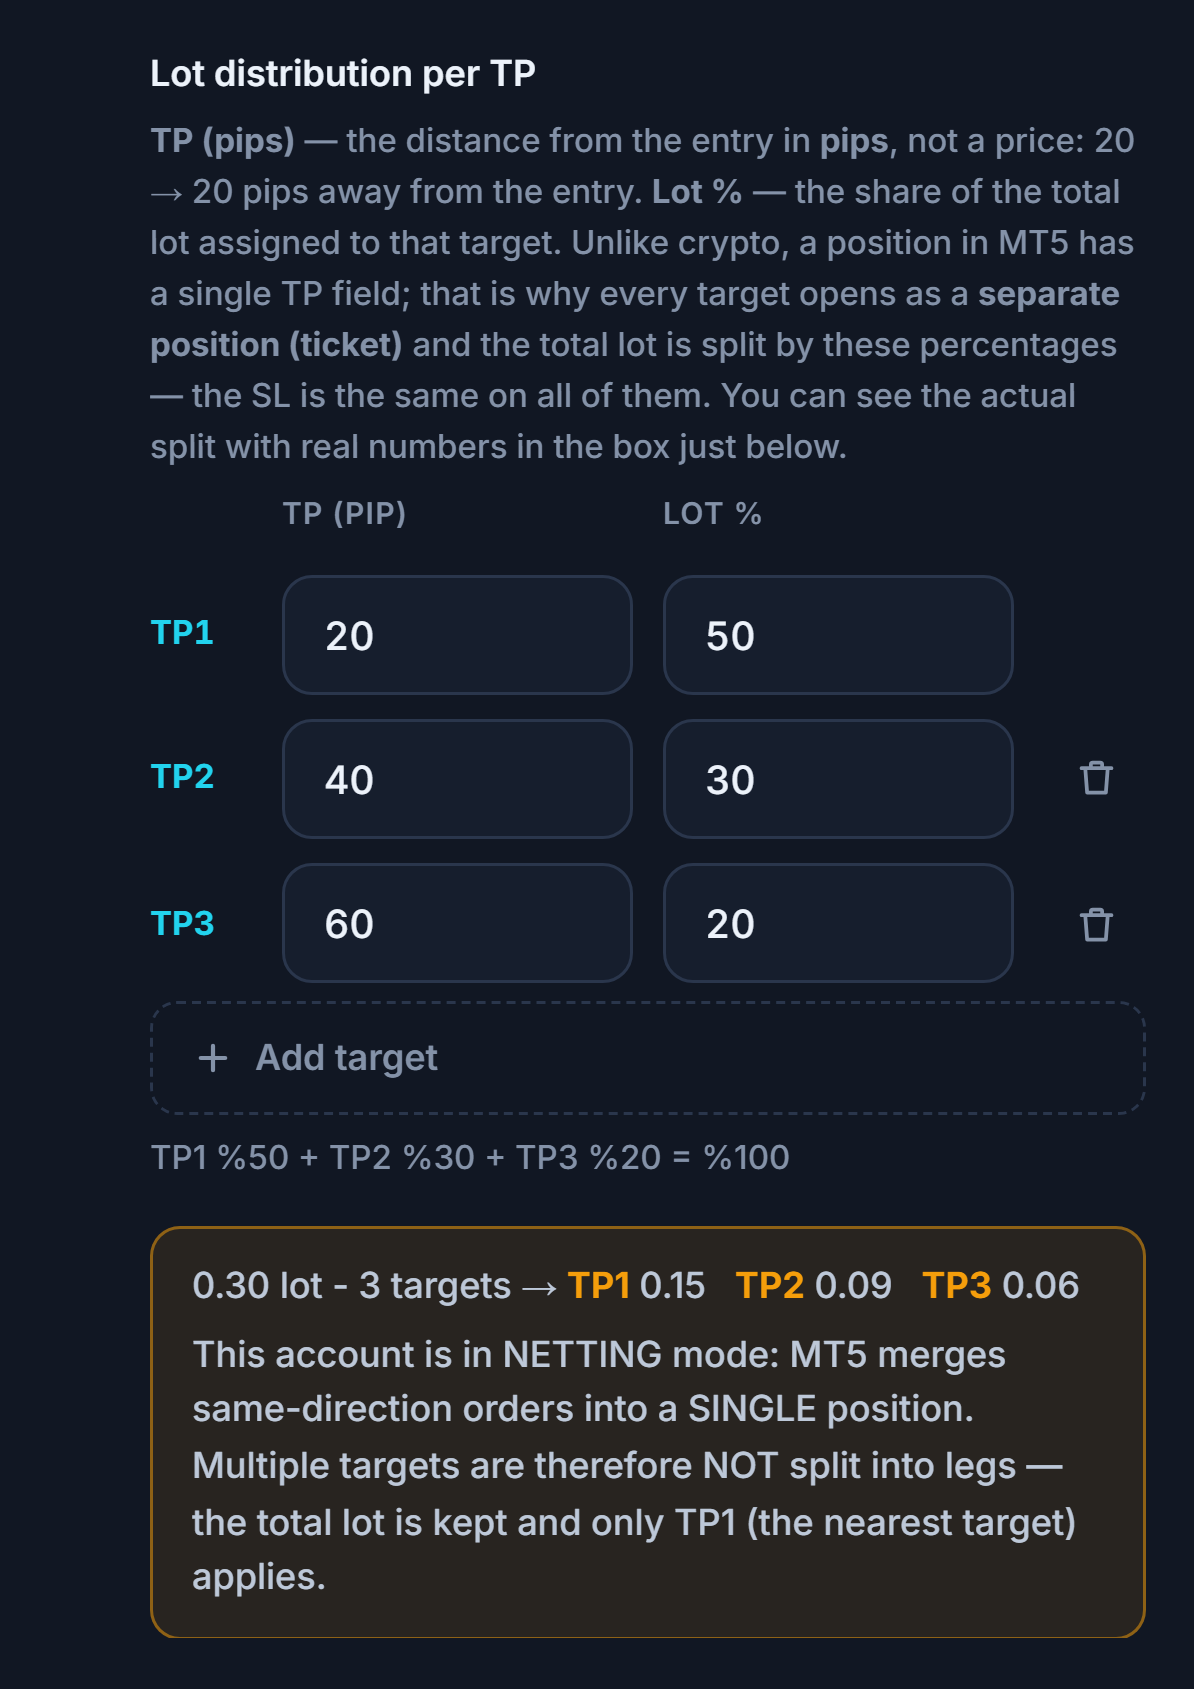
- NETTING note — Multiple targets aren’t split into legs: the total lot is kept and only TP1 (the nearest target) is applied. If you want to take profit in stages, ask your broker for a HEDGING account. Most broker accounts are HEDGING by default.
Lot limits (broker rules)
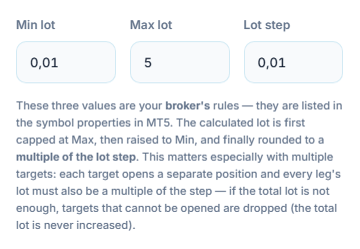
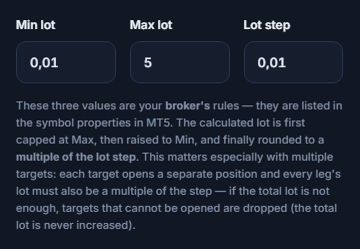
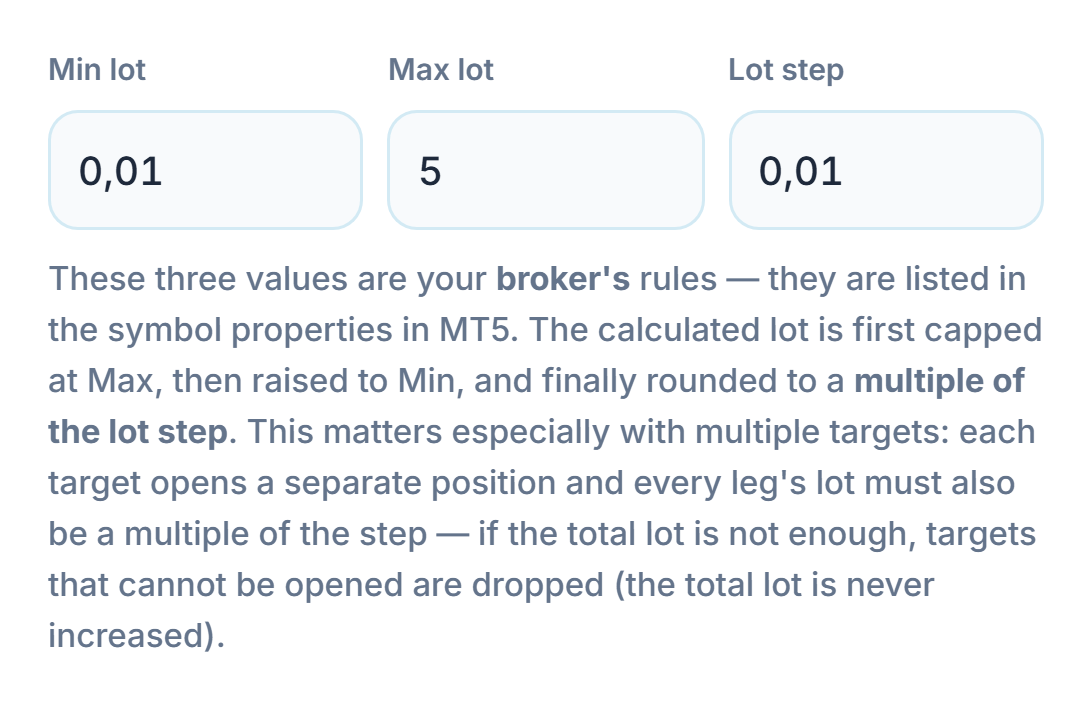
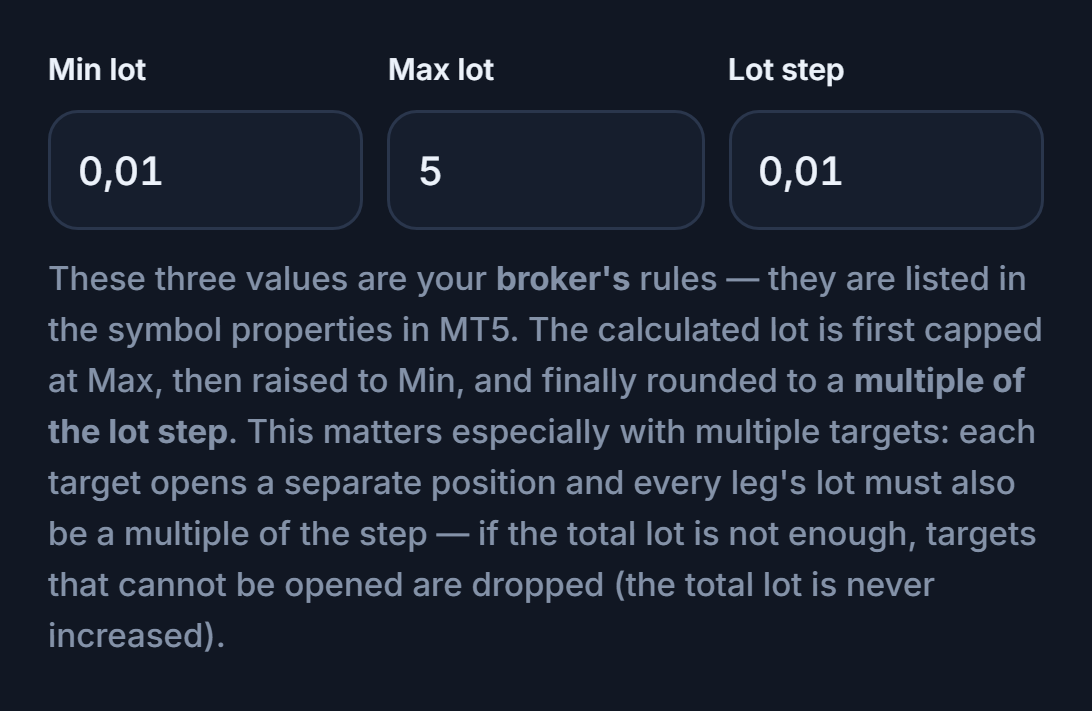
- Min lot — The smallest lot your broker accepts.
- Max lot — The largest lot that can be opened in a single trade; if the calculated lot exceeds it, it is capped to this.
- Lot step — The step the lot must be a multiple of.
These three values are your broker’s rules and are listed in the symbol’s specifications in MT5. The calculated lot is first capped to Max, then raised to Min, and finally rounded to a multiple of the lot step.
Breakeven, trailing stop, and partial close
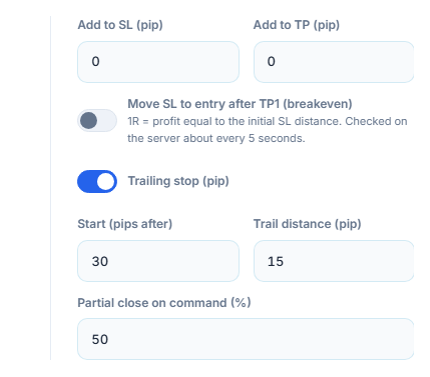
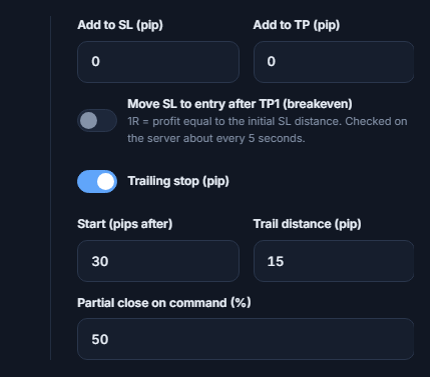
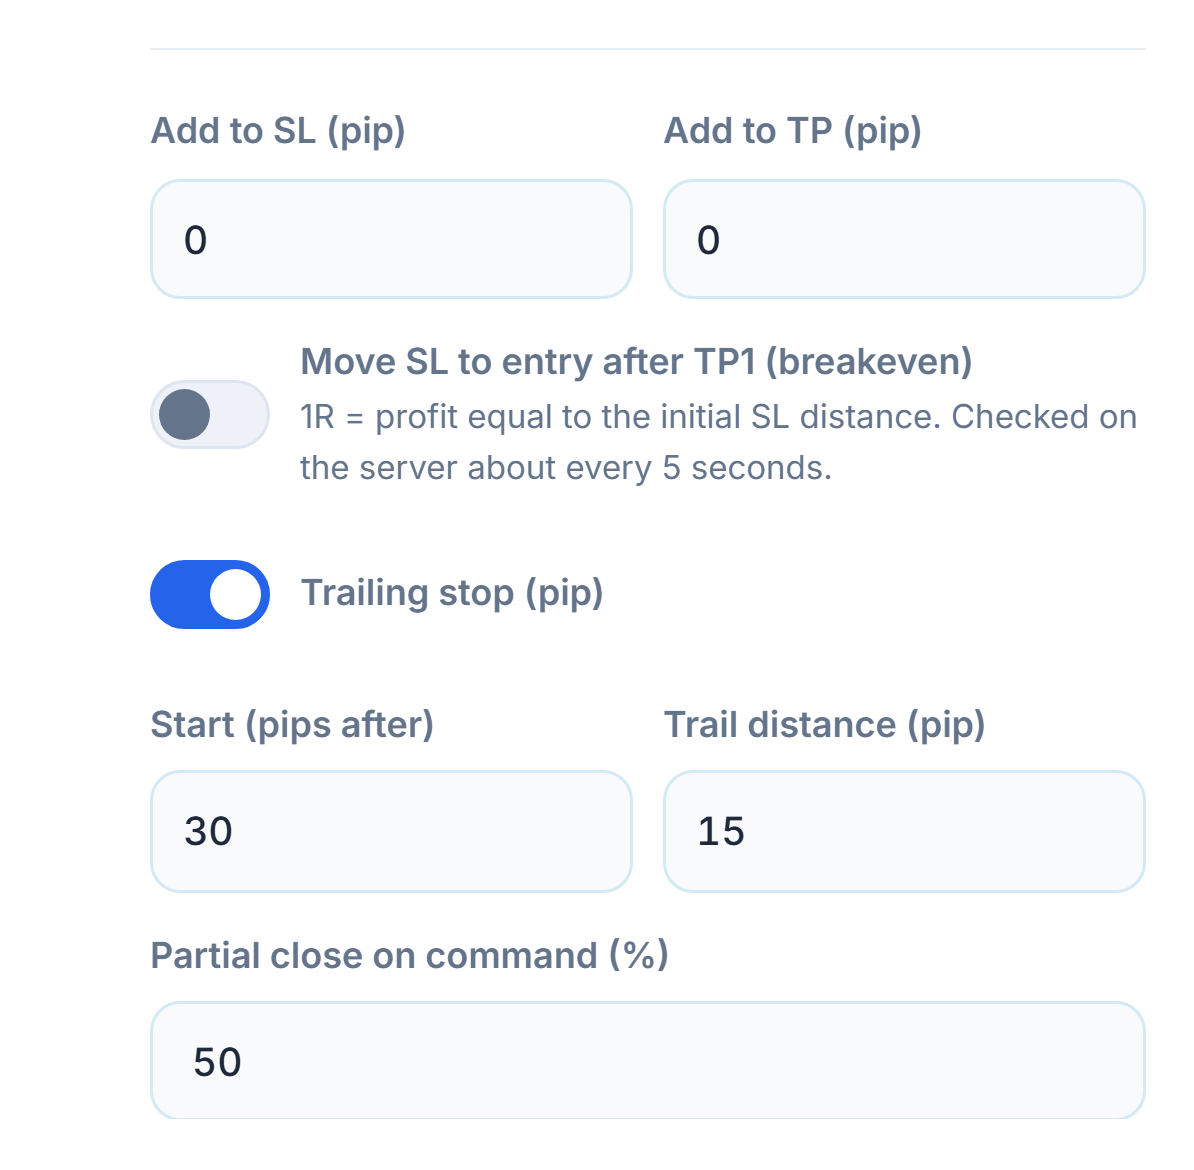
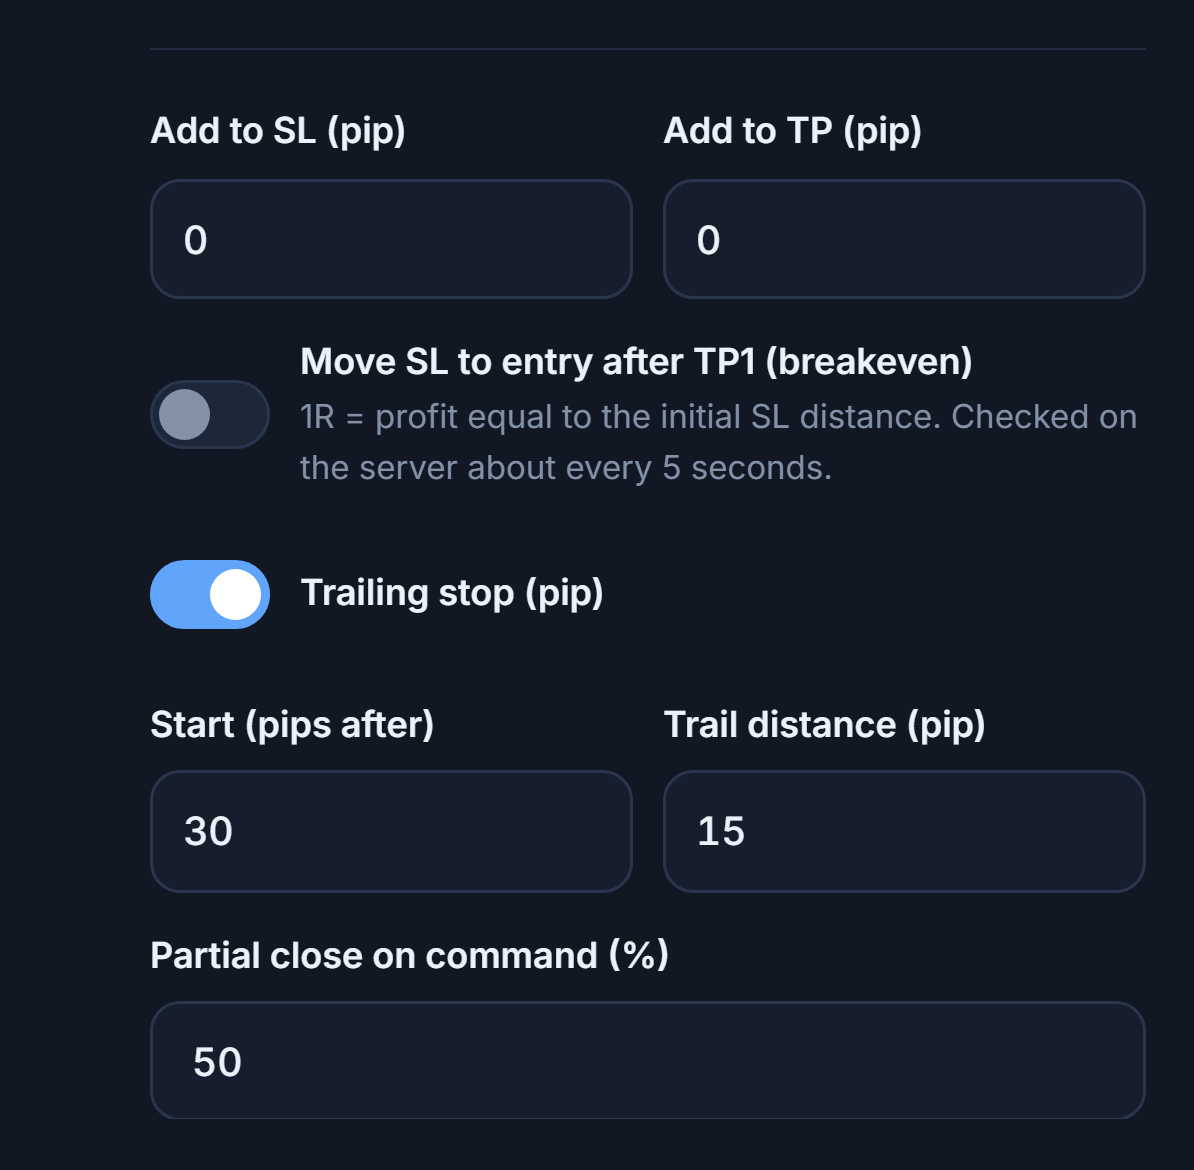
- Add to SL (pip) — Places the signal’s stop this many pips further away (a spread buffer).
- Add to TP (pip) — To shift the targets by this many pips.
- Breakeven — When the profit reaches 1R (the initial stop distance), the SL is moved to entry. It is checked on the server roughly every 5 seconds.
- Trailing stop (pip) — As the price moves in your favor, the stop follows behind it.
- Start and trail distance — Trailing starts when the trade is this many pips in profit, and the stop follows this many pips behind the price.
- Partial close on command (%) — When the channel sends a “partial close” message, this percentage of the position is closed.
- Only process signals that include SL — When on, signals whose message has no stop price are skipped.
- Trail distance (pip) — When trailing is on, the stop follows this many pips behind the price.
Symbol mapping and broker suffix
Brokers may name the same symbol differently: GOLD instead of XAUUSD, EURUSDm or EURUSD.pro instead of EURUSD. The bot recognizes these itself in most cases; for names it doesn’t recognize, you write a mapping.
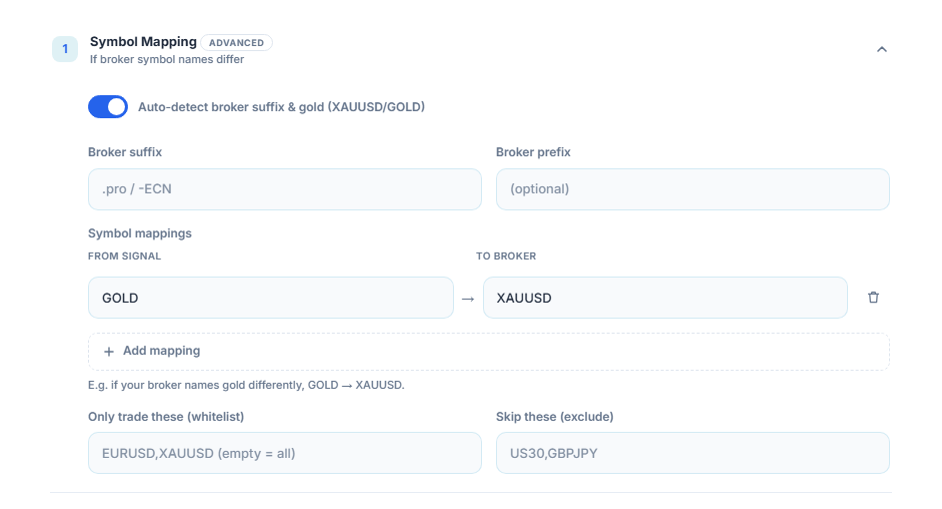
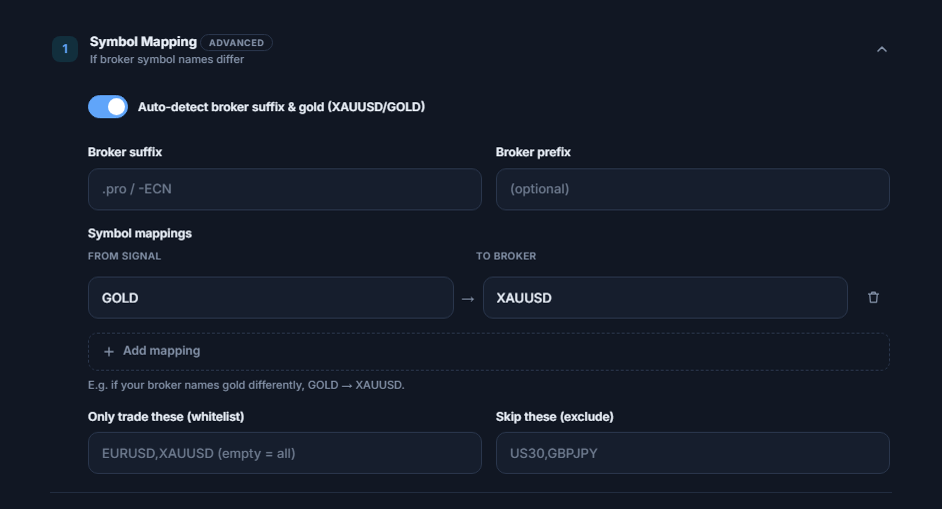
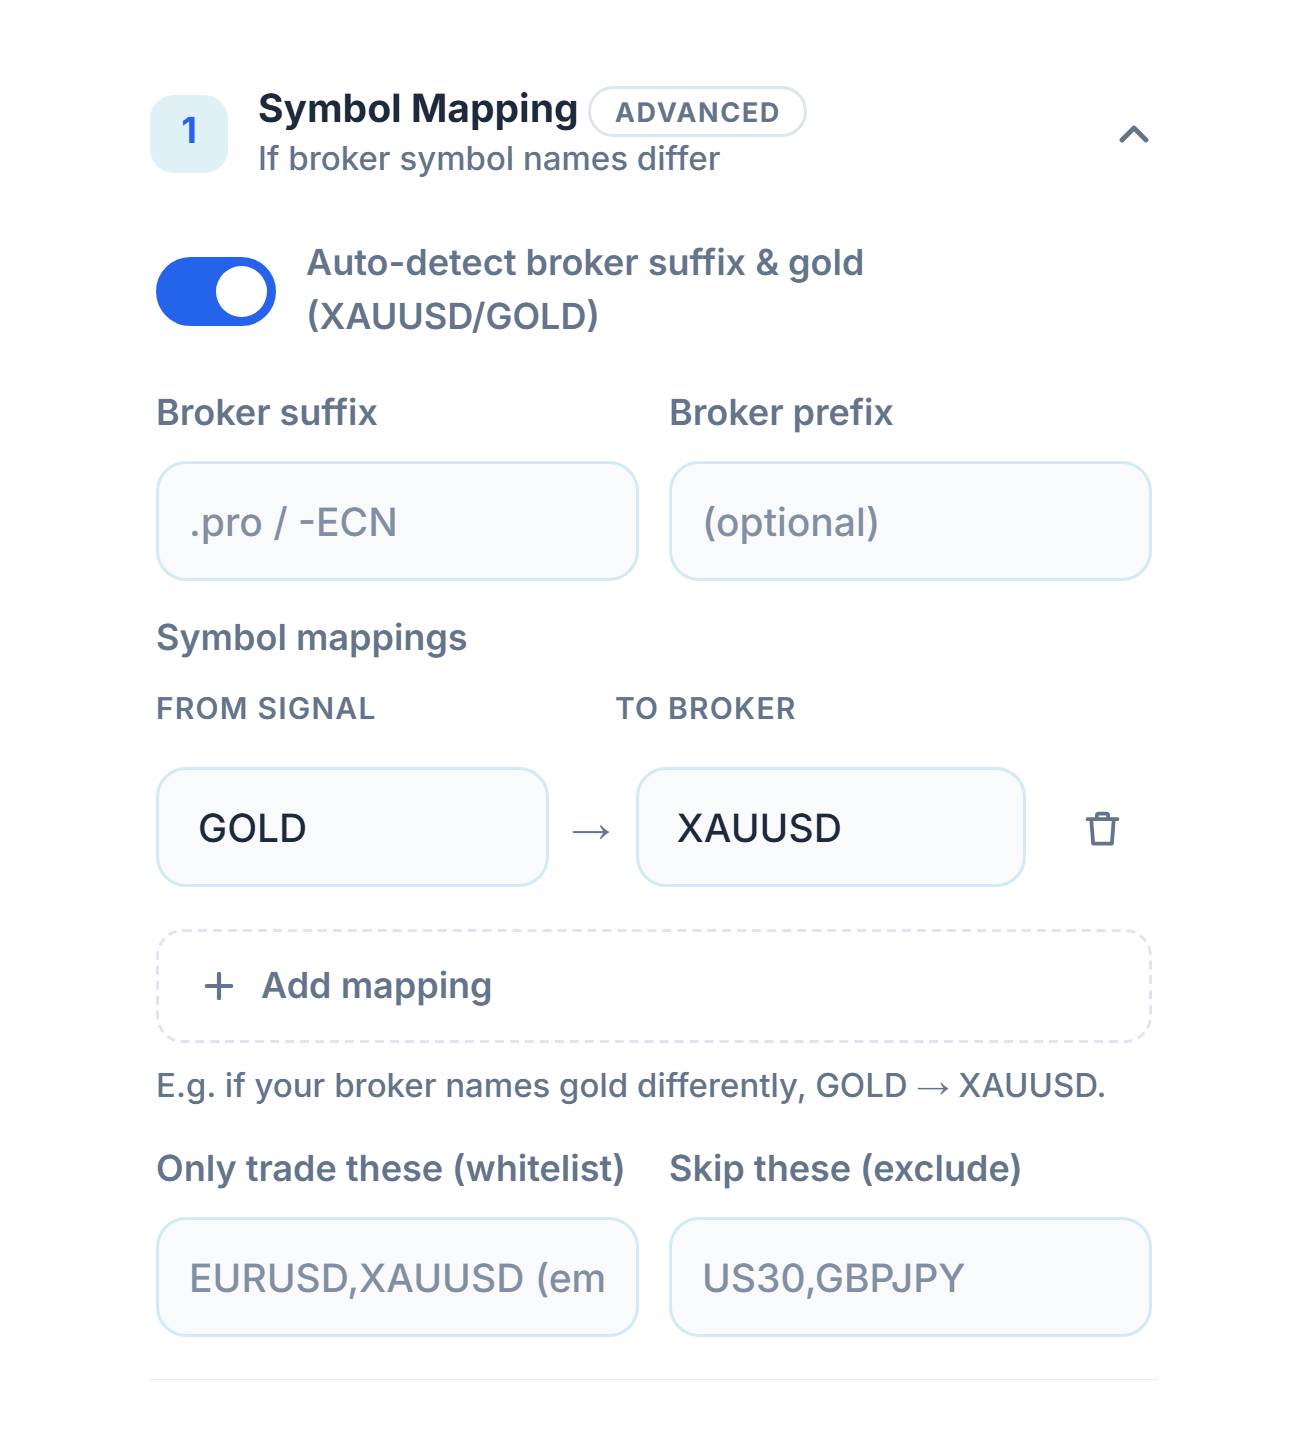
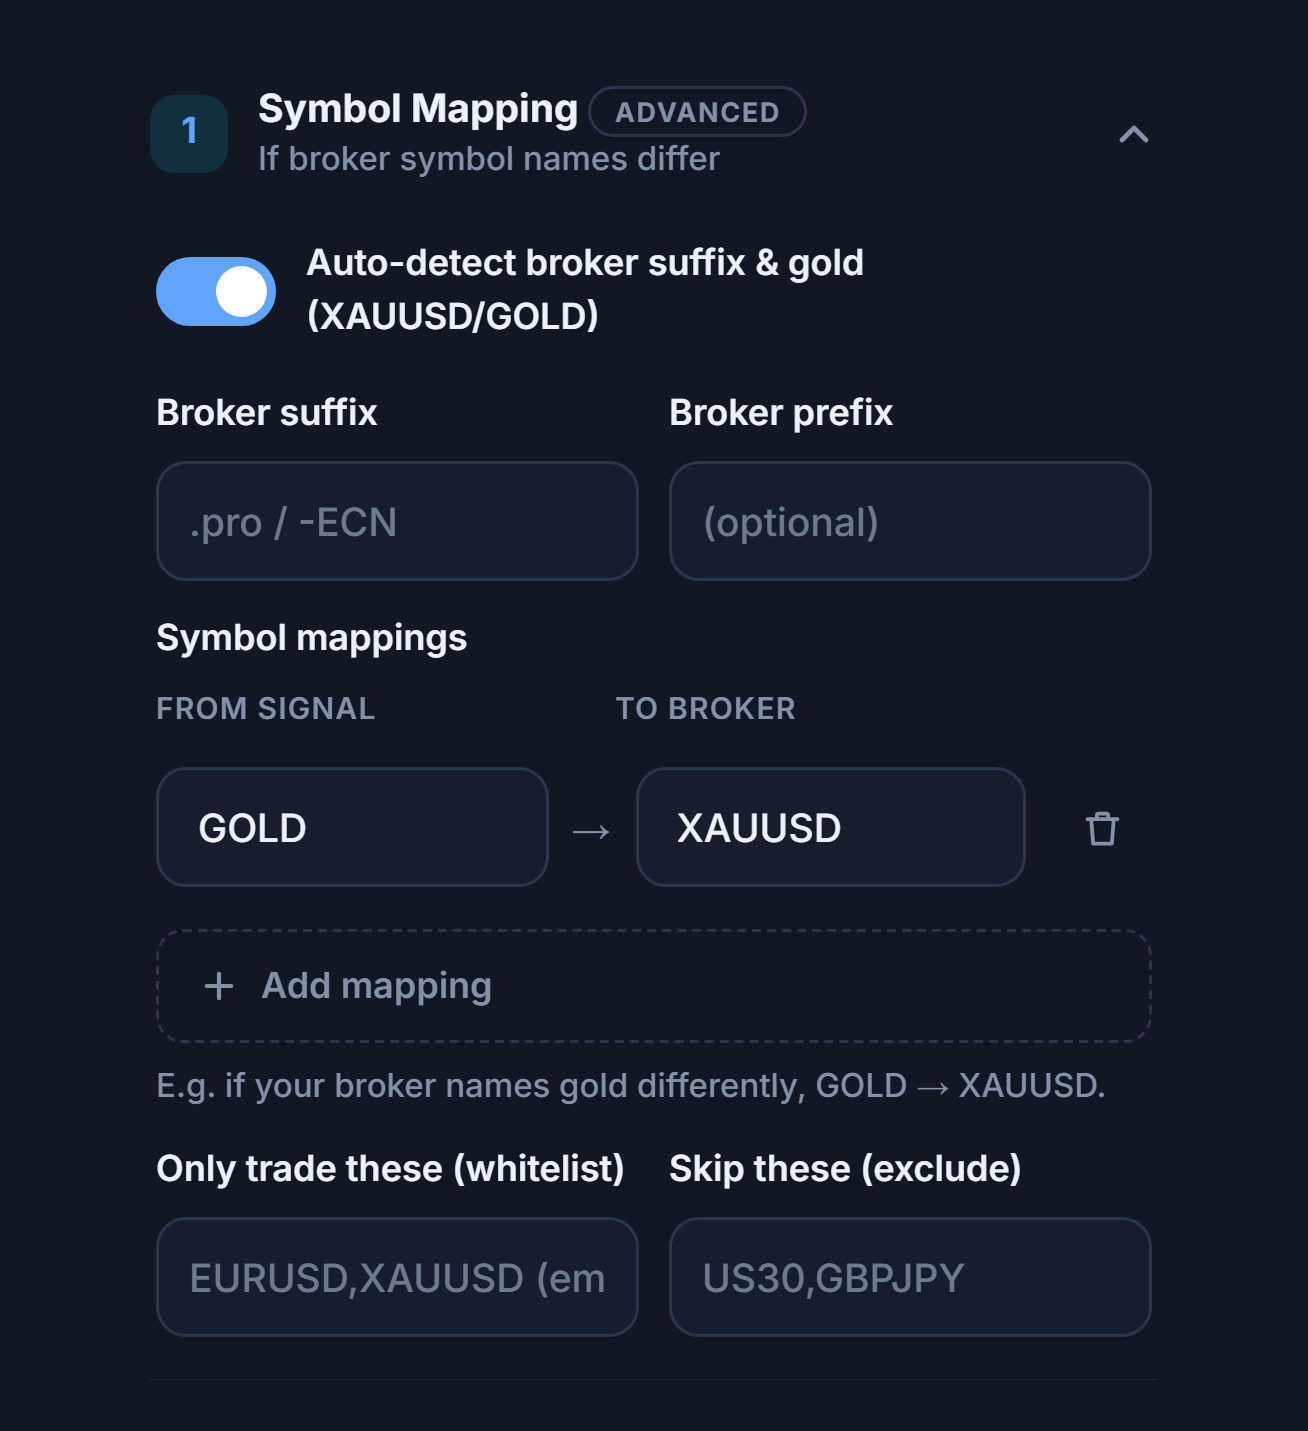
- Auto-detect broker suffix and gold — Automatically maps your broker’s symbol names (XAUUSDm, EURUSD.pro) and the GOLD/XAUUSD naming of gold.
- Broker suffix and prefix — If auto-detection doesn’t work, enter your broker’s symbol addition by hand.
- Symbol mappings — The name on the left is what appears in the signal; the one on the right is the name at your broker.
- Add mapping — Adds a new mapping row.
- Only trade these (whitelist) — If you fill it in, only signals for these symbols are processed; empty = all.
- Skip these (exclude) — Signals for these symbols are never processed.
- Broker prefix — Enter it if your broker adds something in front of the symbol name.
Filter which messages become trades
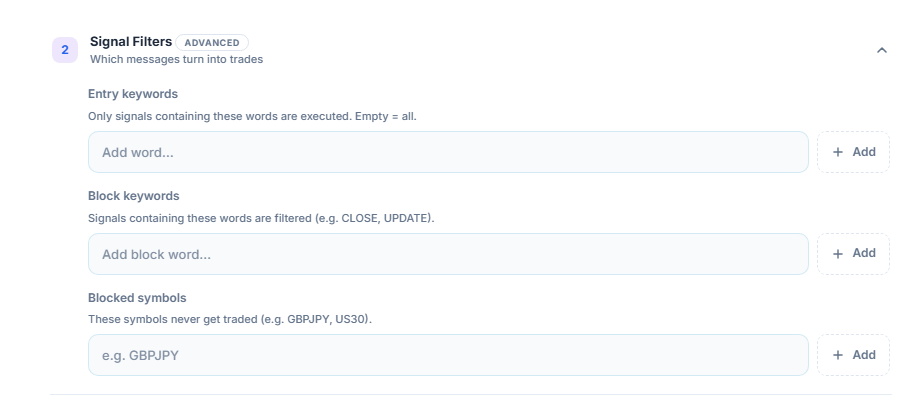
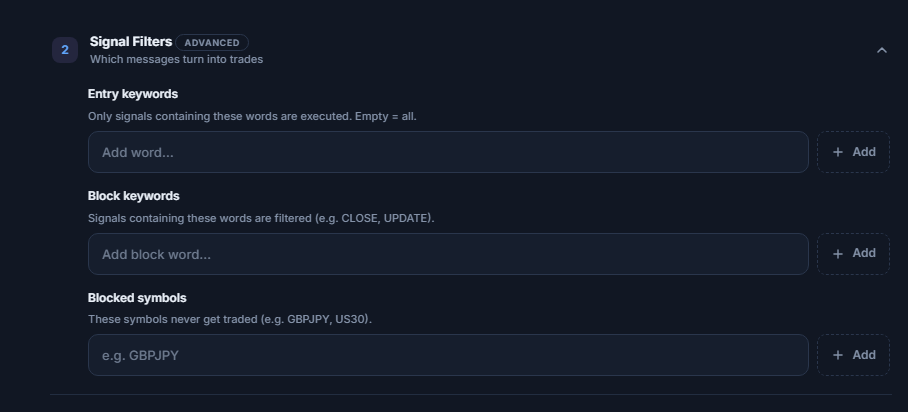
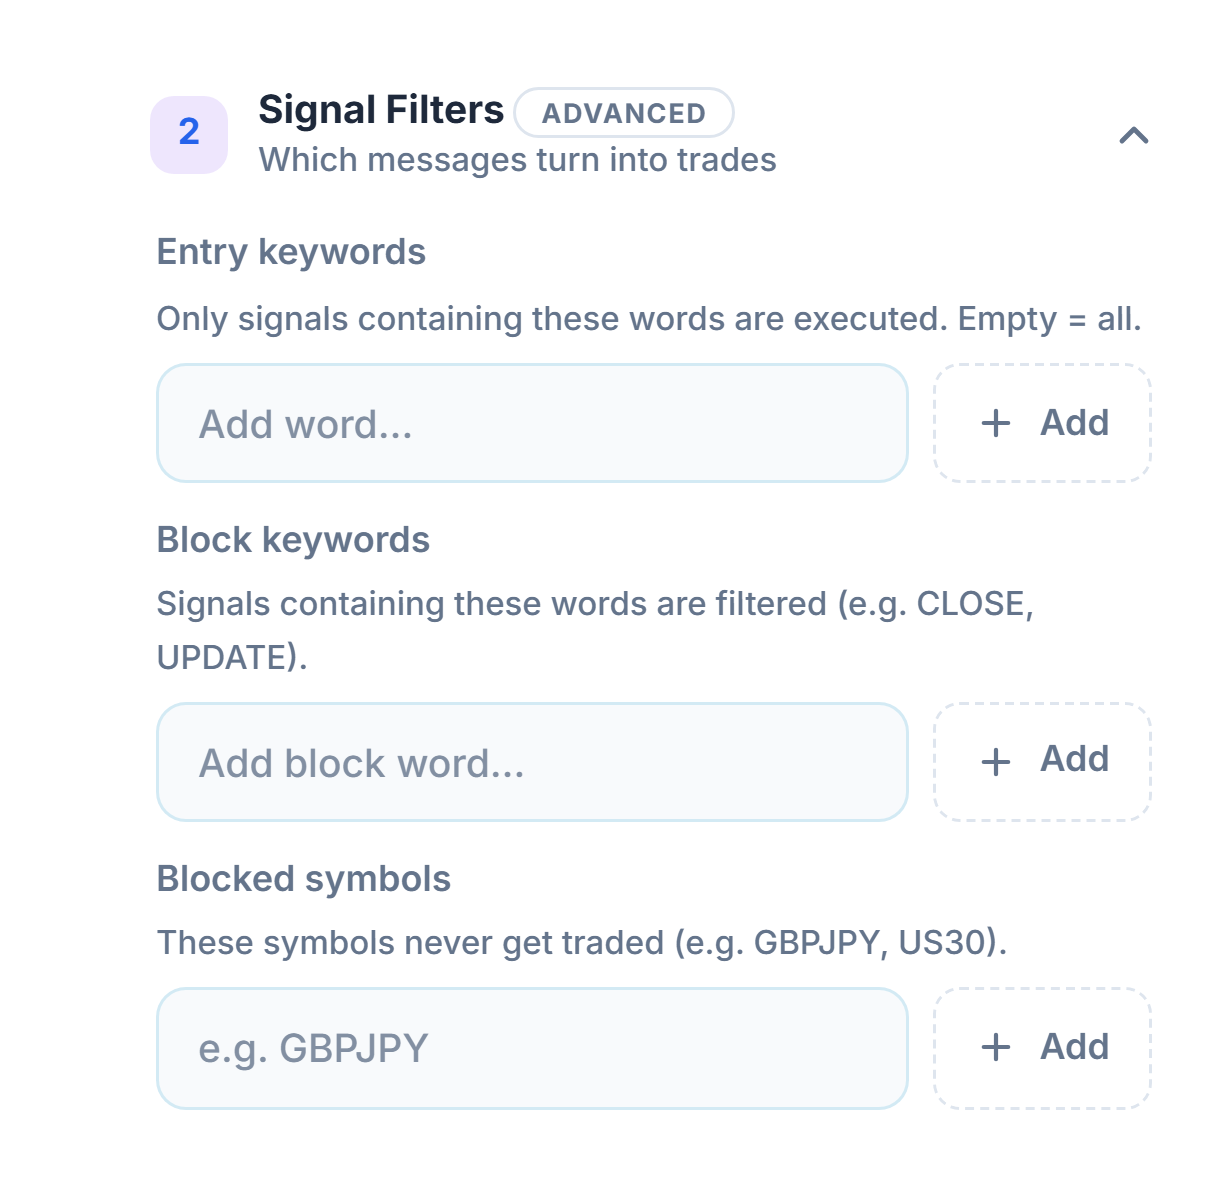
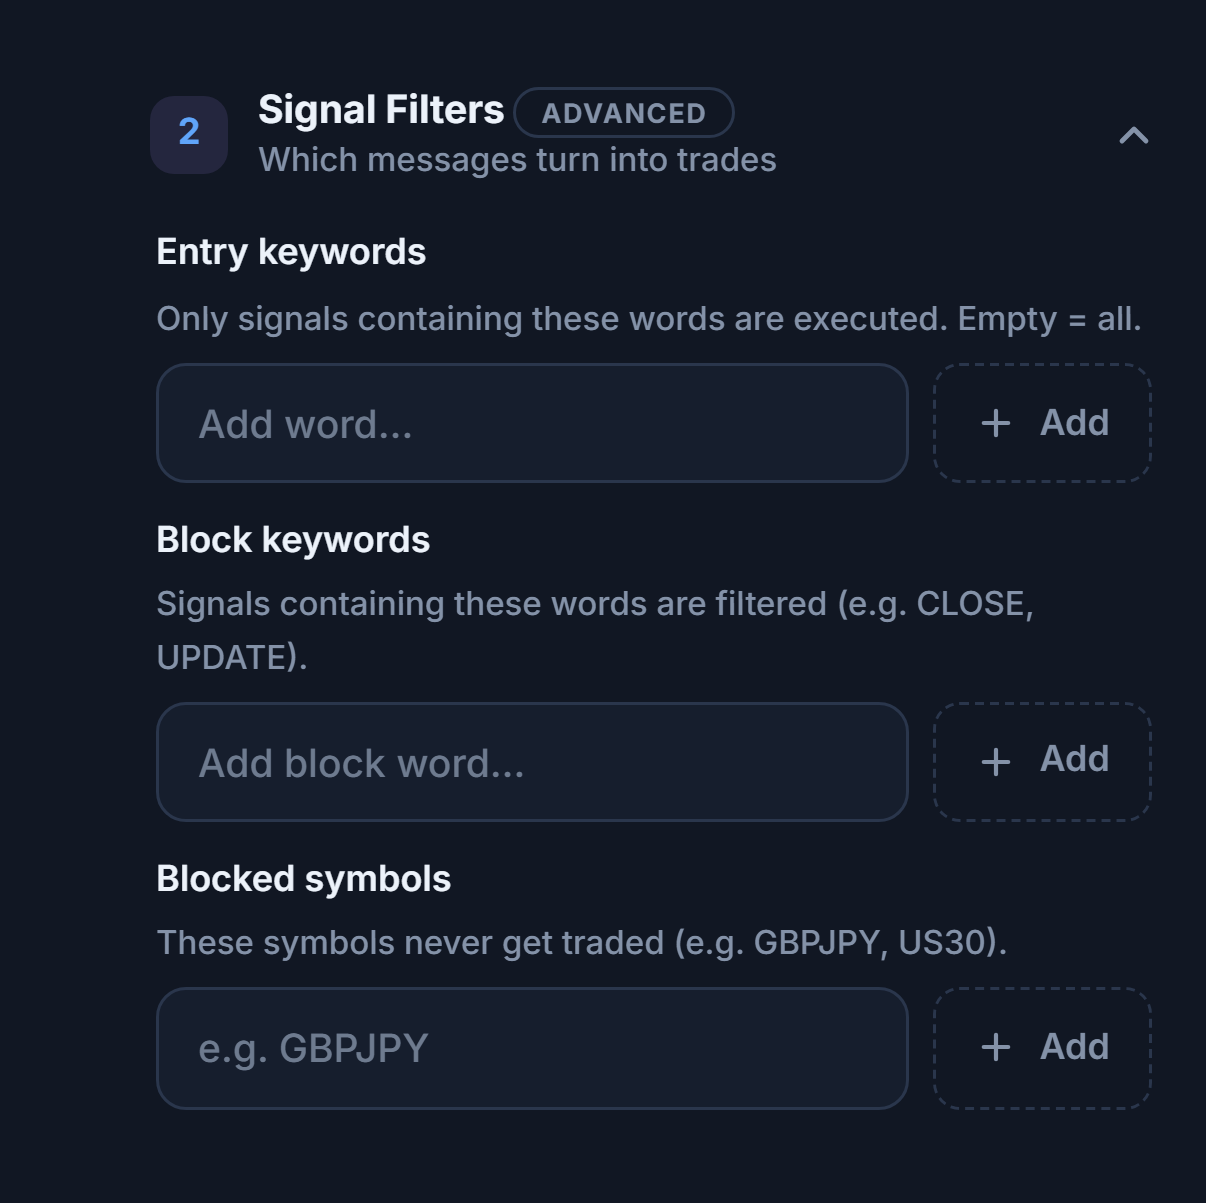
- Entry keywords — Only signals containing these words are executed. Empty = all.
- Block keywords — Messages containing these words are filtered out.
- Blocked symbols — These symbols are never traded.
If the channel’s messages use non-standard words, you can adjust parsing yourself:
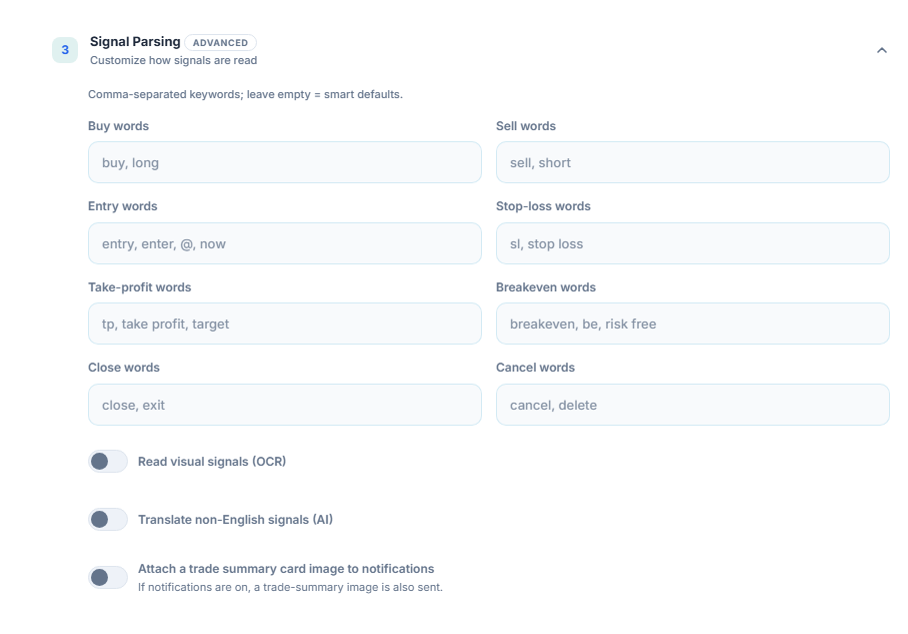
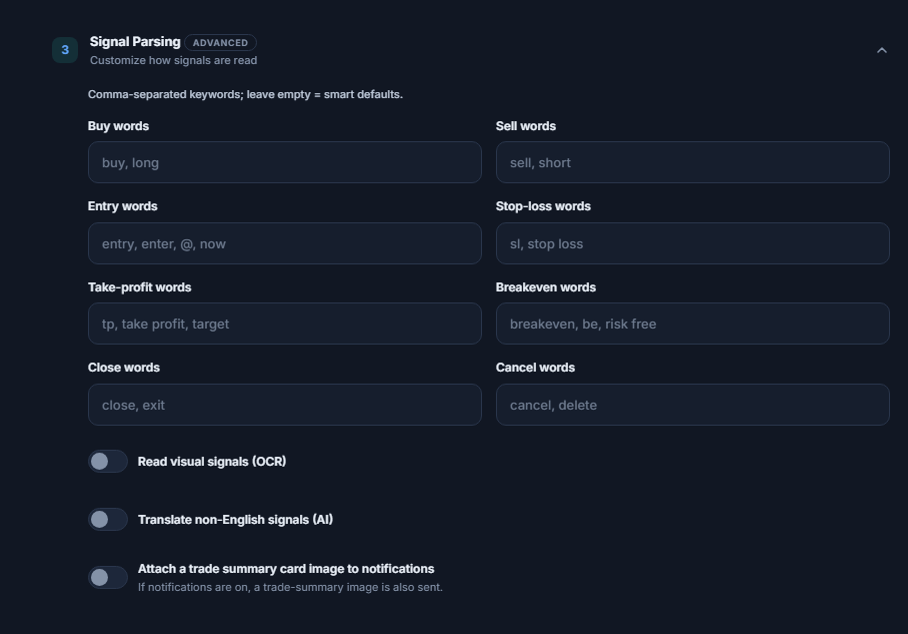
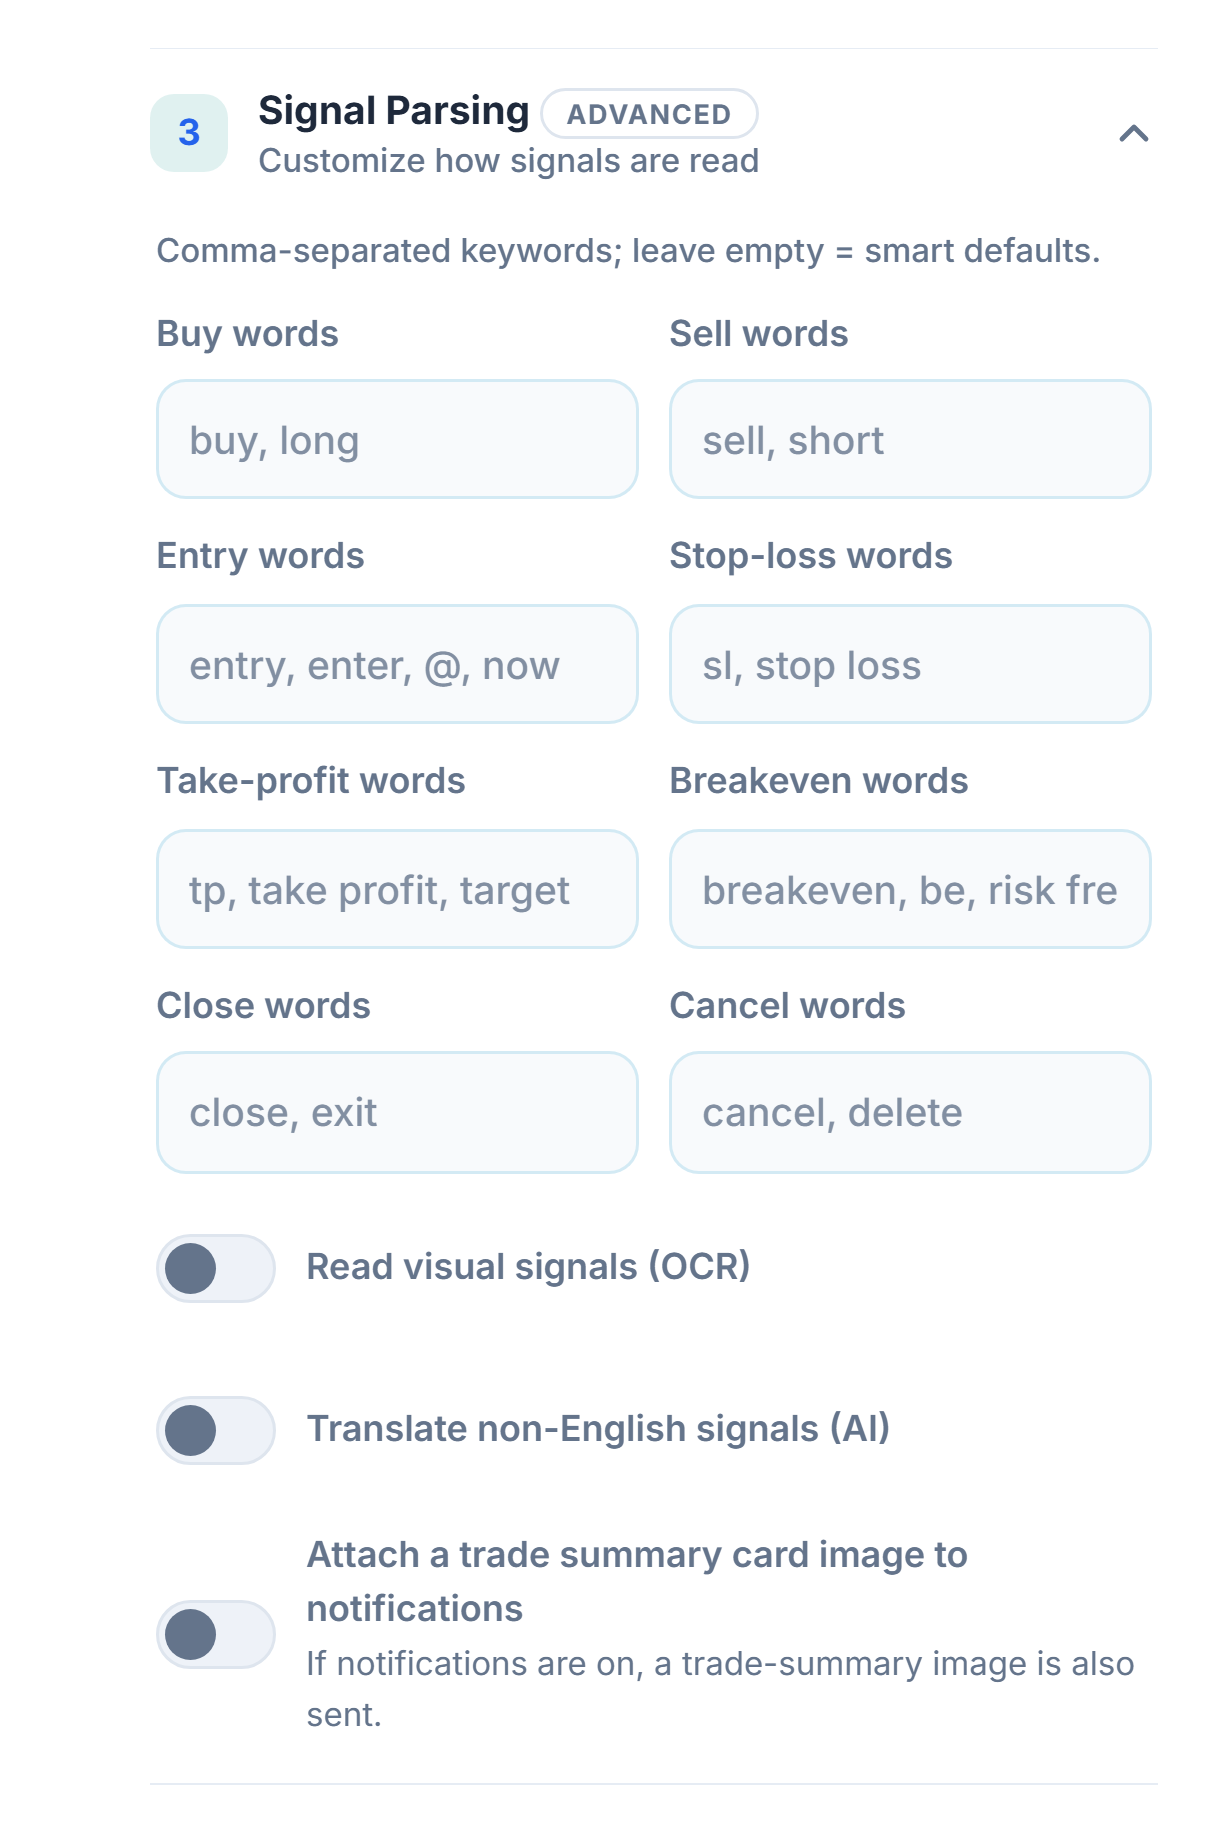
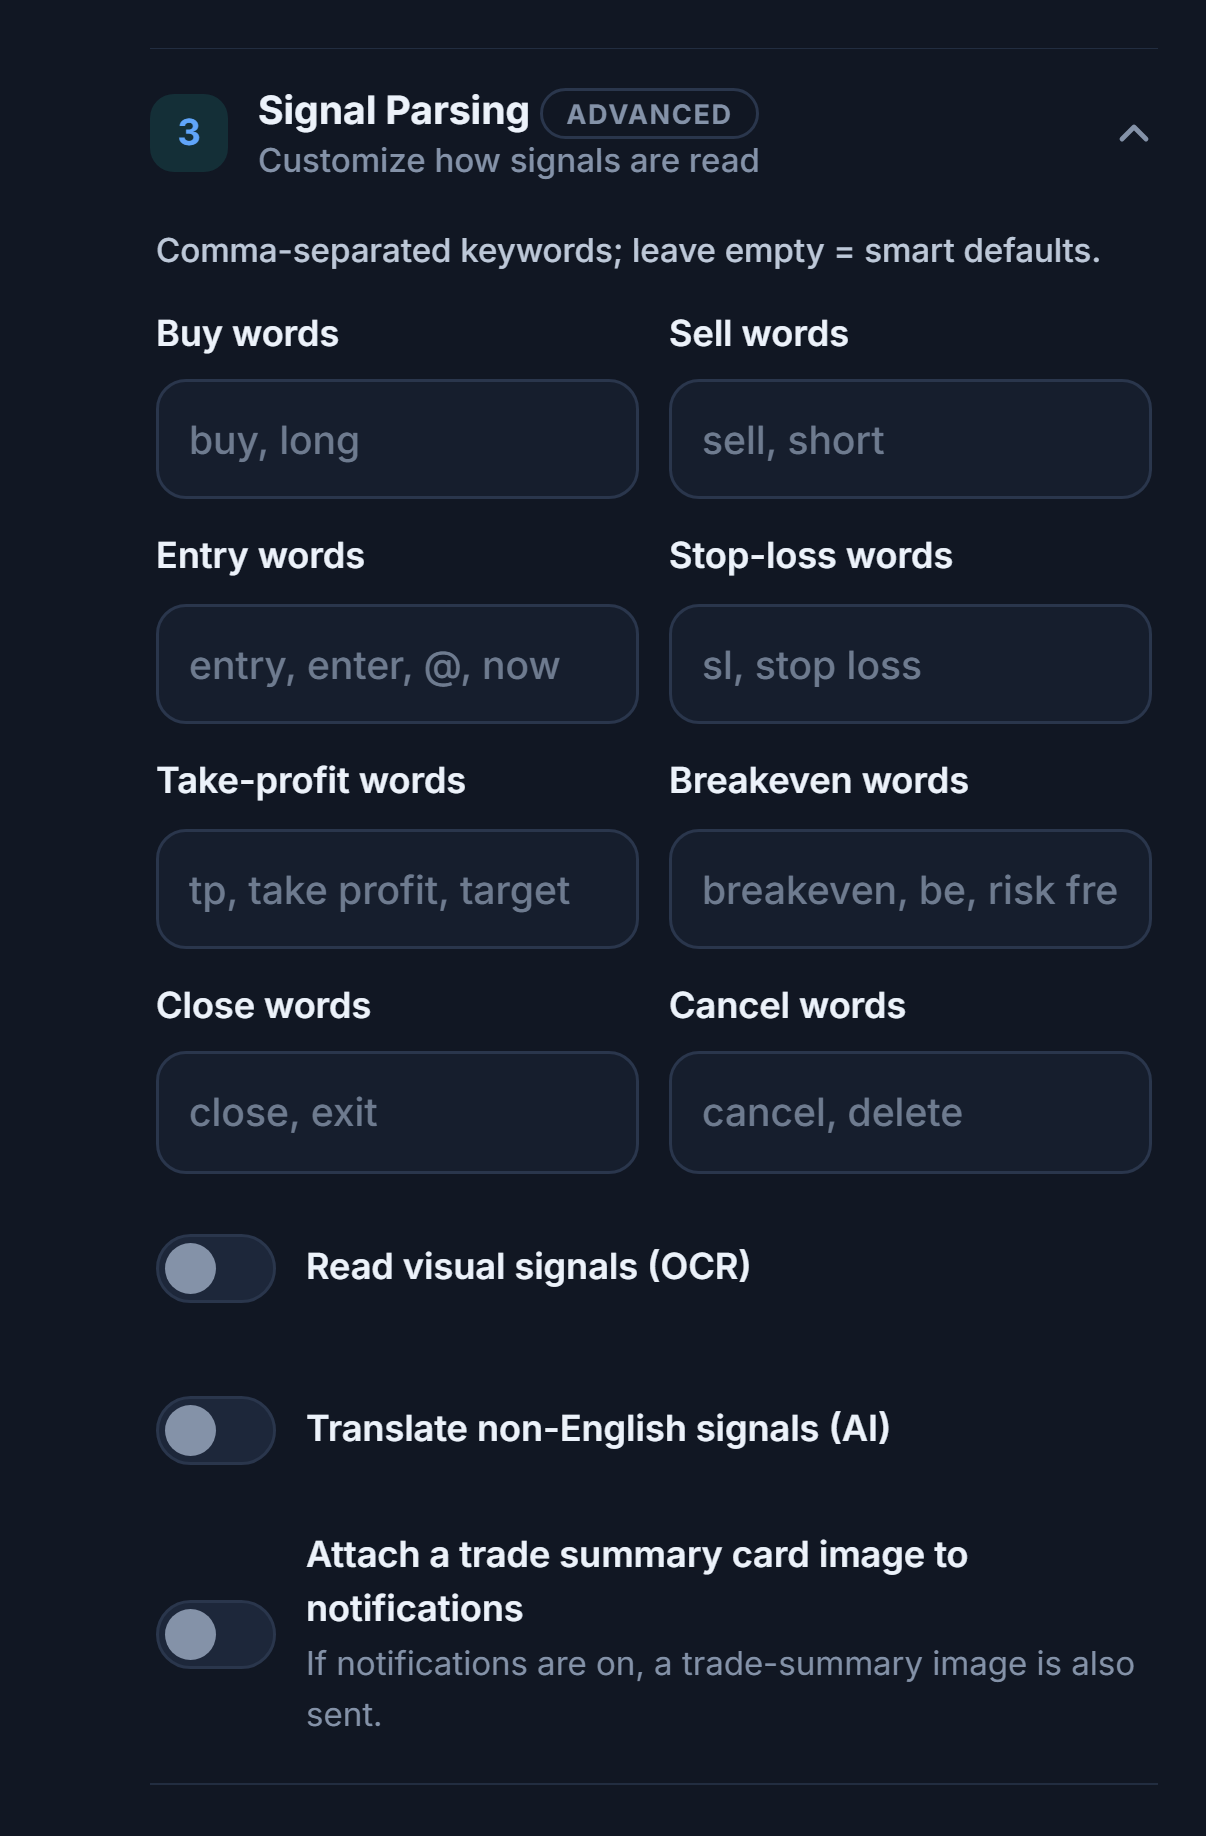
- Buy and sell words — Add them if the channel writes direction differently. Separated by commas; empty = smart defaults.
- Entry, stop-loss, and take-profit words — If the channel names its price lines differently.
- Breakeven words — When the channel sends this word, the open trade’s SL is moved to entry.
- Close and cancel words — When the channel sends these words, the related trade is closed or the pending order is cancelled.
- Read visual signals (OCR) — For channels that share signals as images.
- Translate non-English signals (AI) — For channels that write in another language.
- Attach a trade summary card image to notifications — If notifications are on, a summary image of the trade is sent too.
- Sell words — If the channel writes the sell direction differently.
- Entry words — The name of the entry price line.
- Take-profit words — The name of the target lines.
- Cancel words — When the channel sends this word, the pending order is cancelled.
Trade notifications
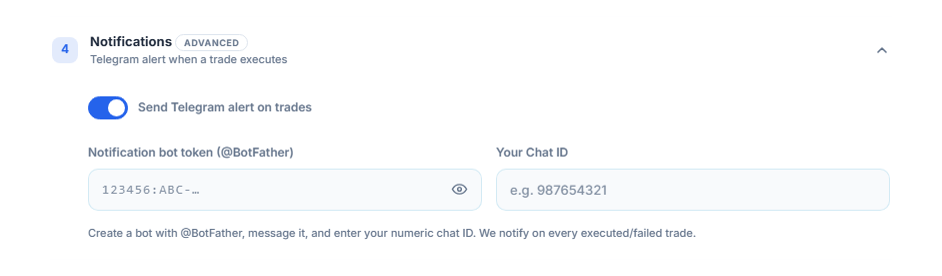
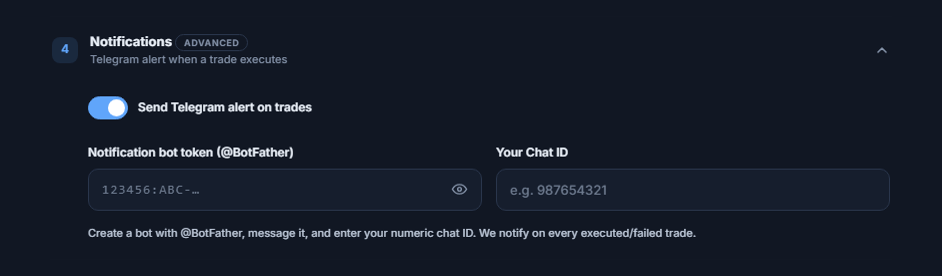
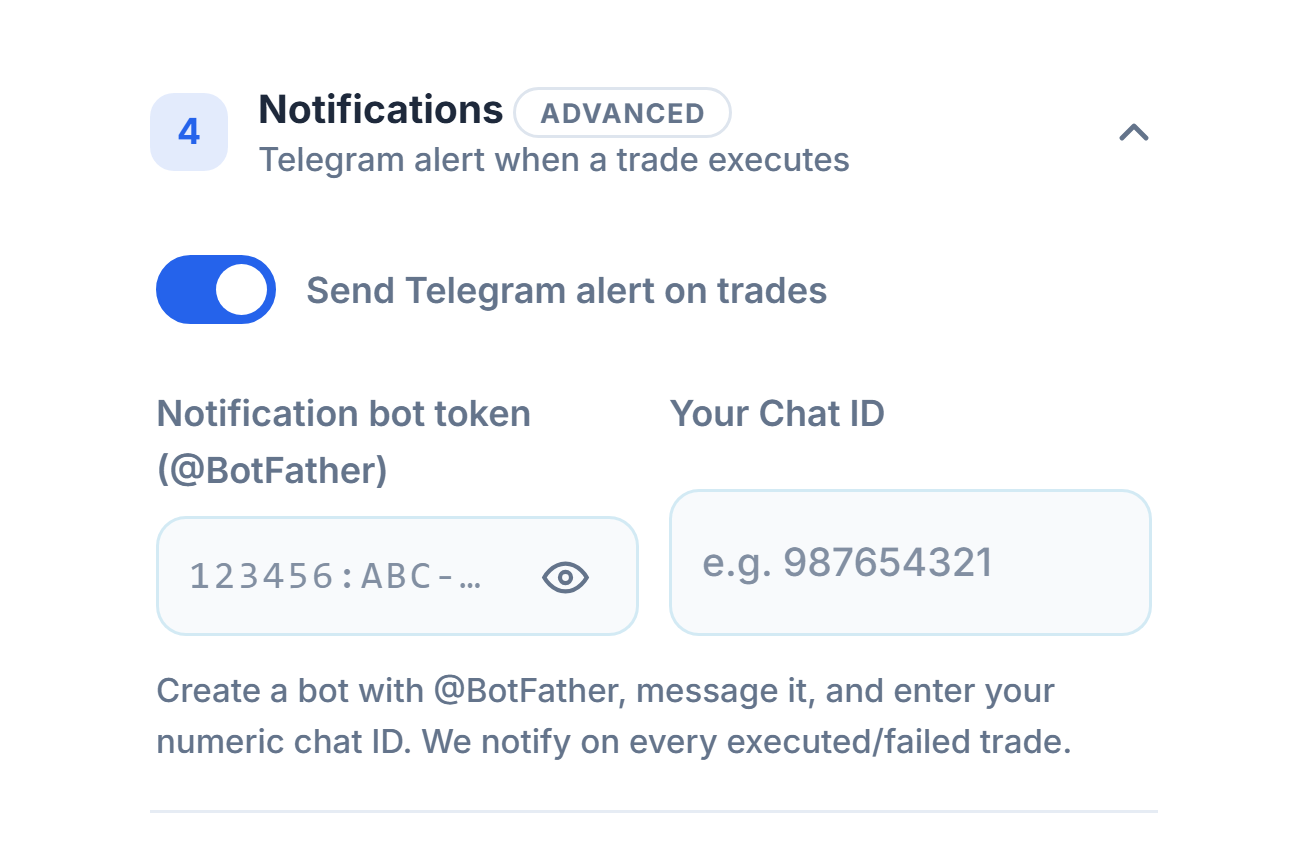
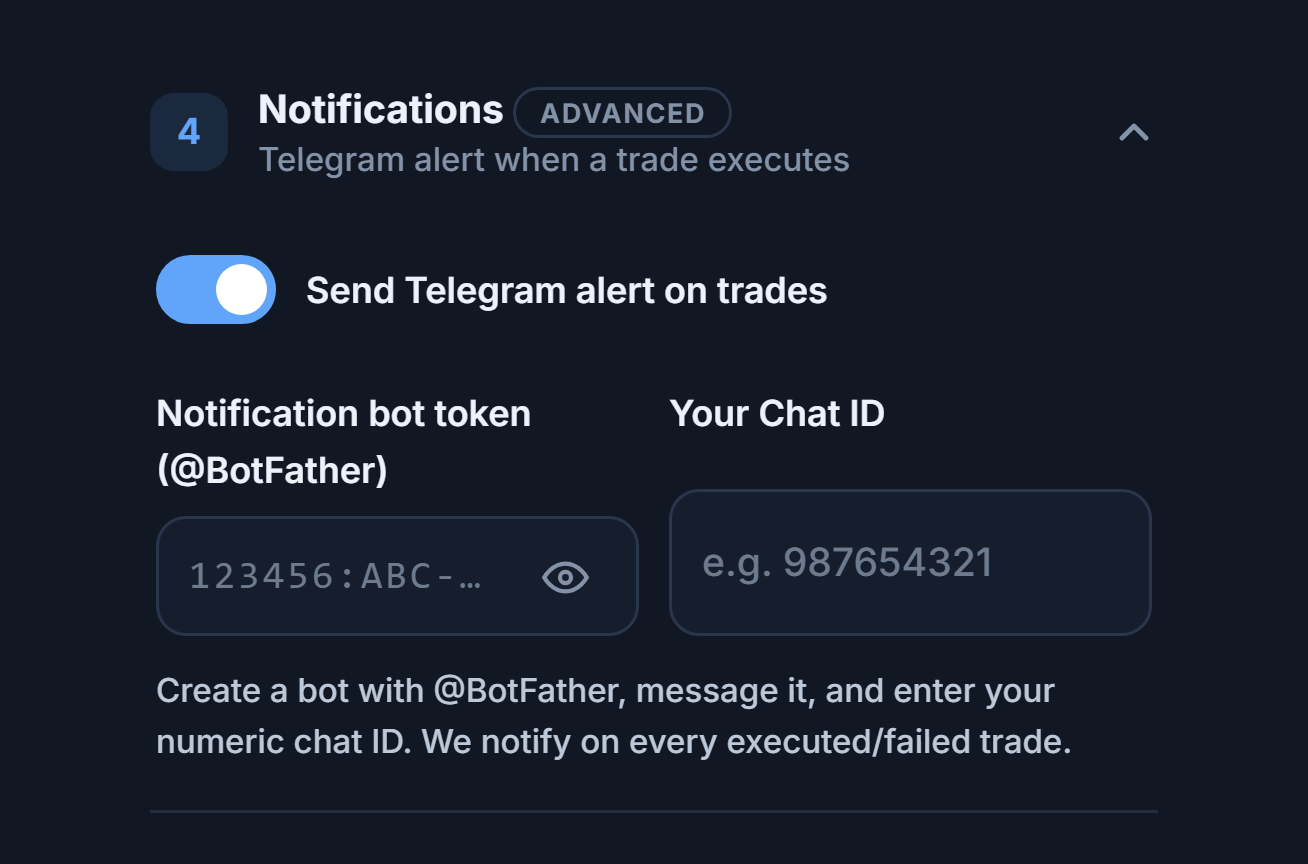
- Send Telegram alert on trades — You get a message from your own Telegram bot for every executed or failed trade.
- Notification bot token — The token you get when you create a bot with @BotFather in Telegram.
- Chat ID — Your numeric chat ID, after you send the bot a message.
Order mode, deviation, and spread limit
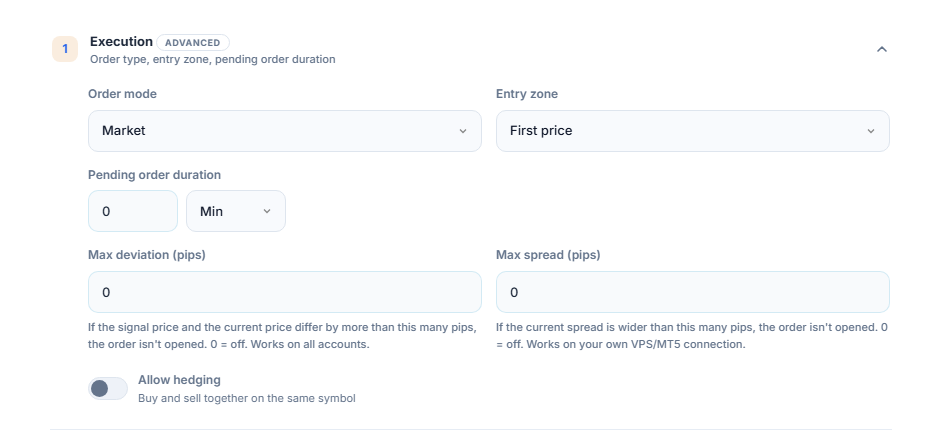
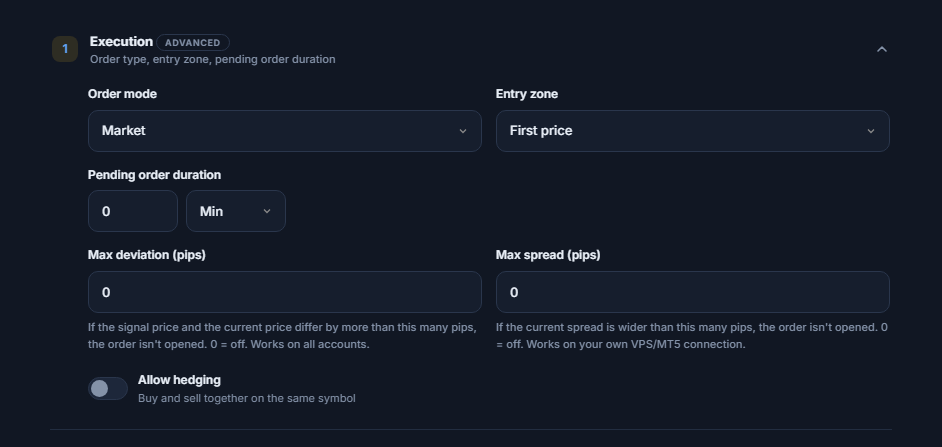
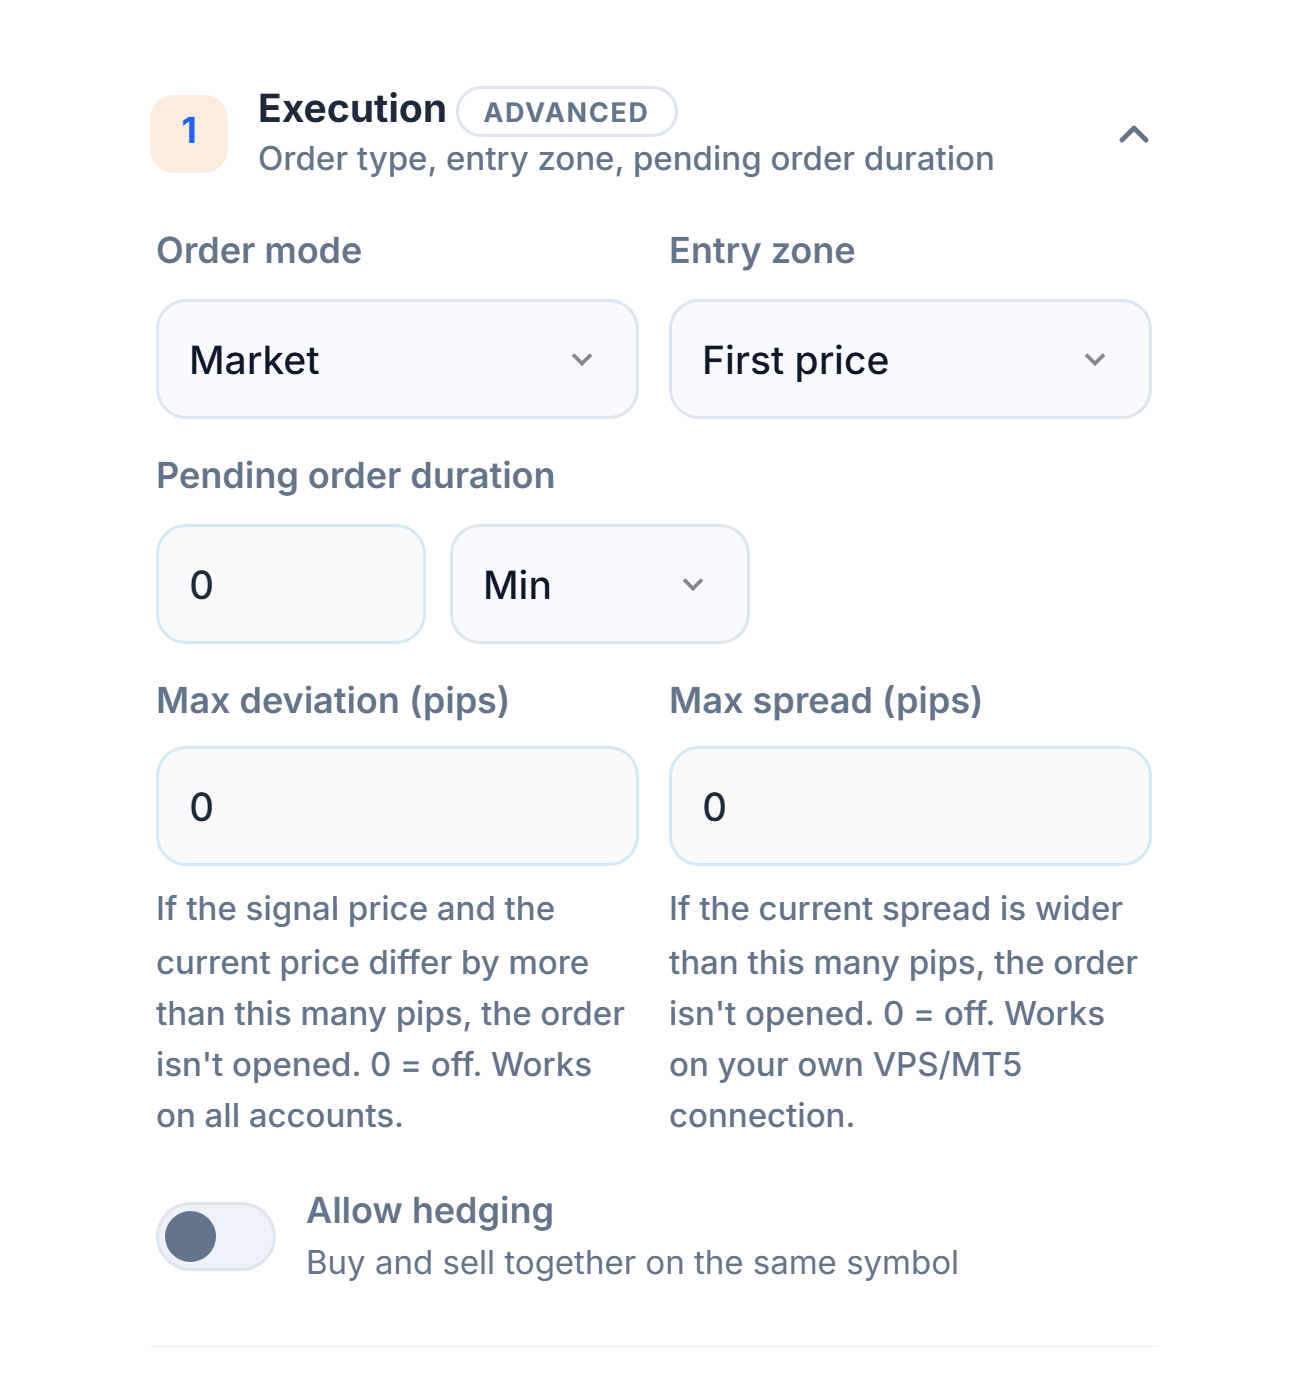
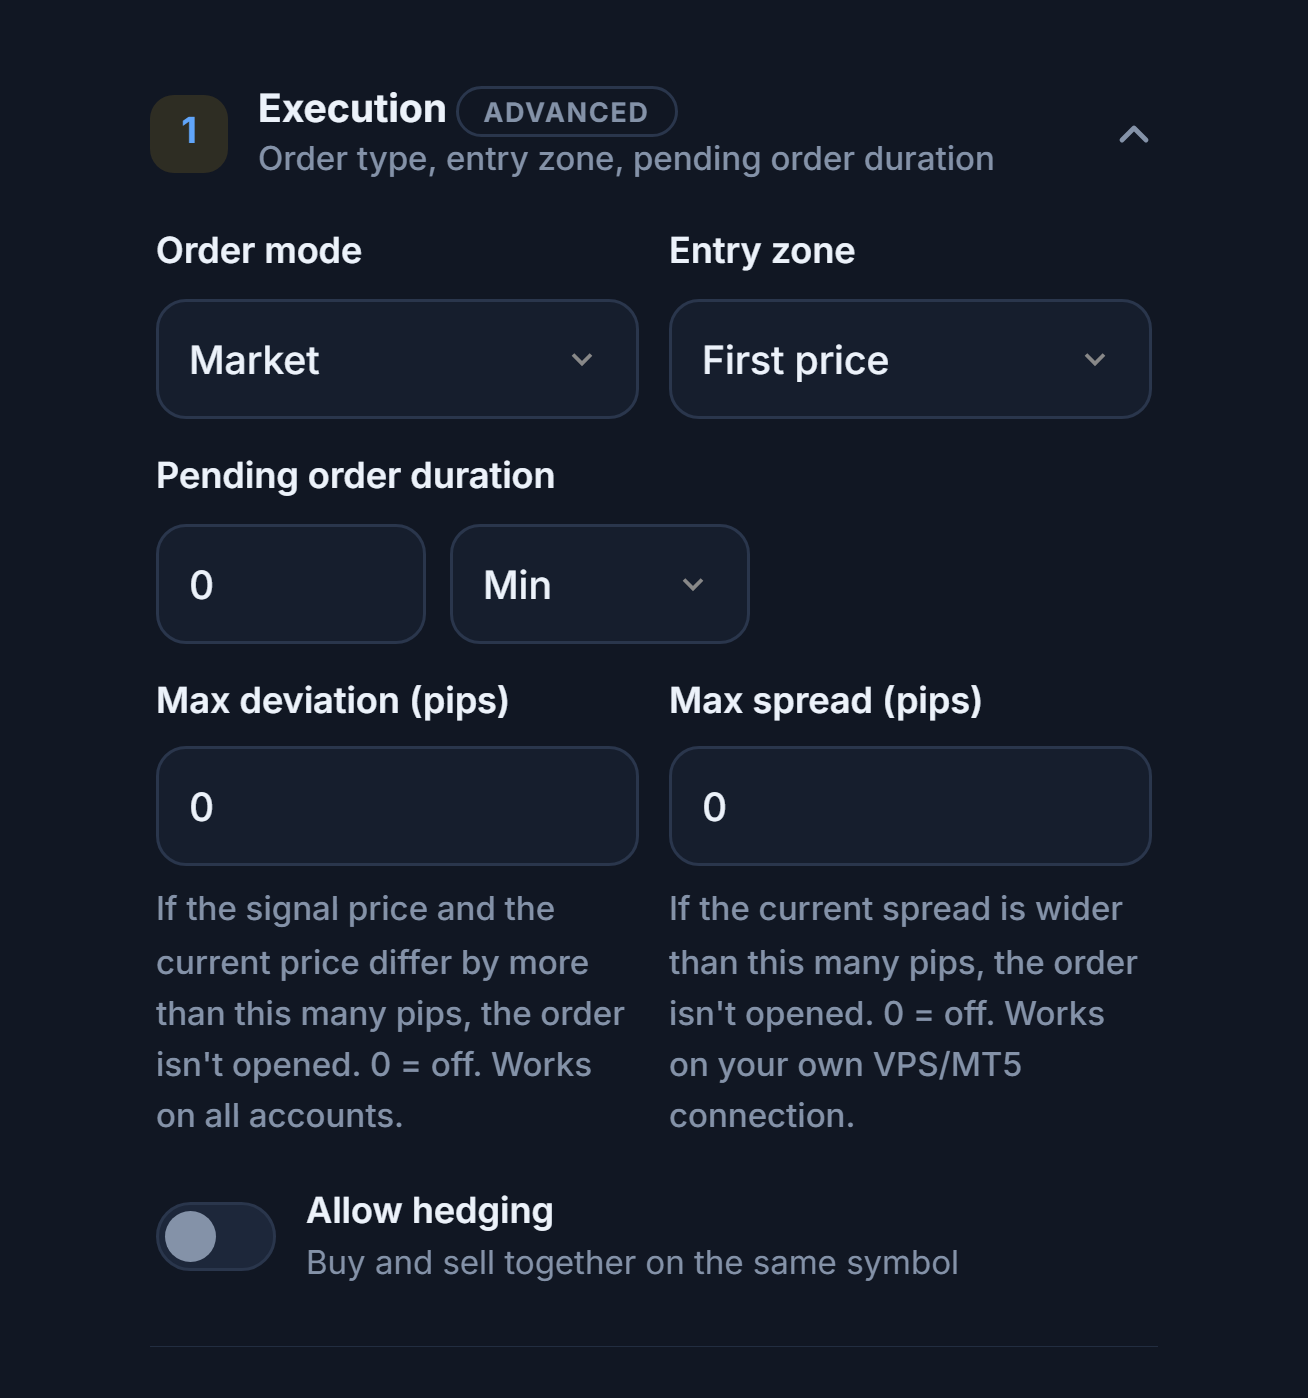
- Order mode — Market: opens at the current price as soon as the signal arrives. Pending: places a limit/stop order at the entry price in the signal. Entry zone: opens when the price enters the range in the signal.
- Entry zone — When the signal gives a price range, chooses whether to use the first price or to open only while inside the zone.
- Pending order duration — If the pending order isn’t filled within this time, it is cancelled; you choose minutes or hours.
- Max deviation (pips) — If the difference between the signal price and the current price exceeds this many pips, the order isn’t opened.
- Max spread (pips) — If the current spread is wider than this many pips, the order isn’t opened.
- Allow hedging — Allows buy and sell positions on the same symbol to be open together. When off, a new signal in the opposite direction of an open position on the same symbol isn’t opened.
- Duration unit — Whether the pending order duration is in minutes or hours.
Direction, frequency, and time limits
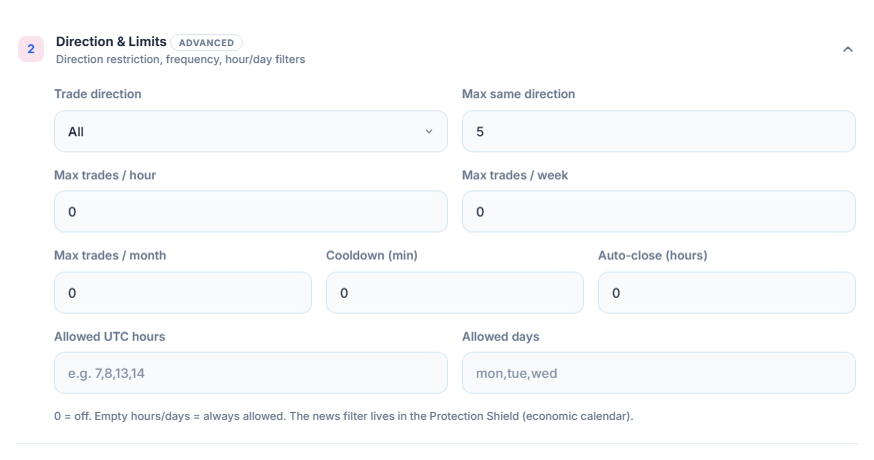
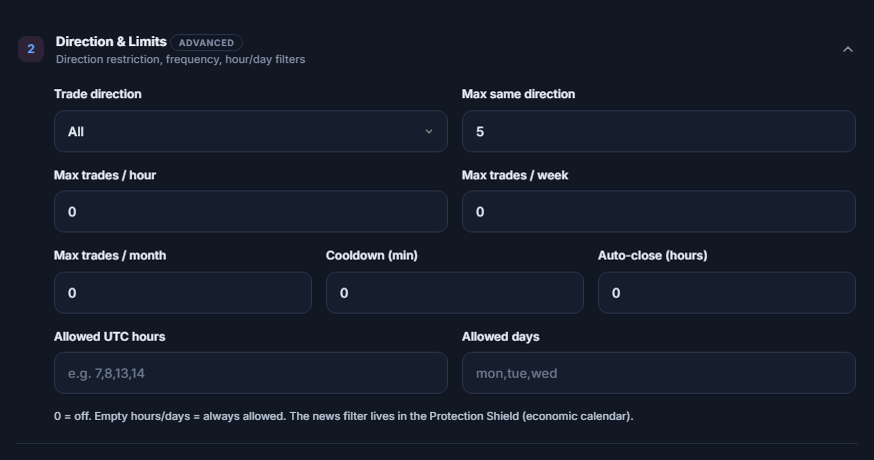
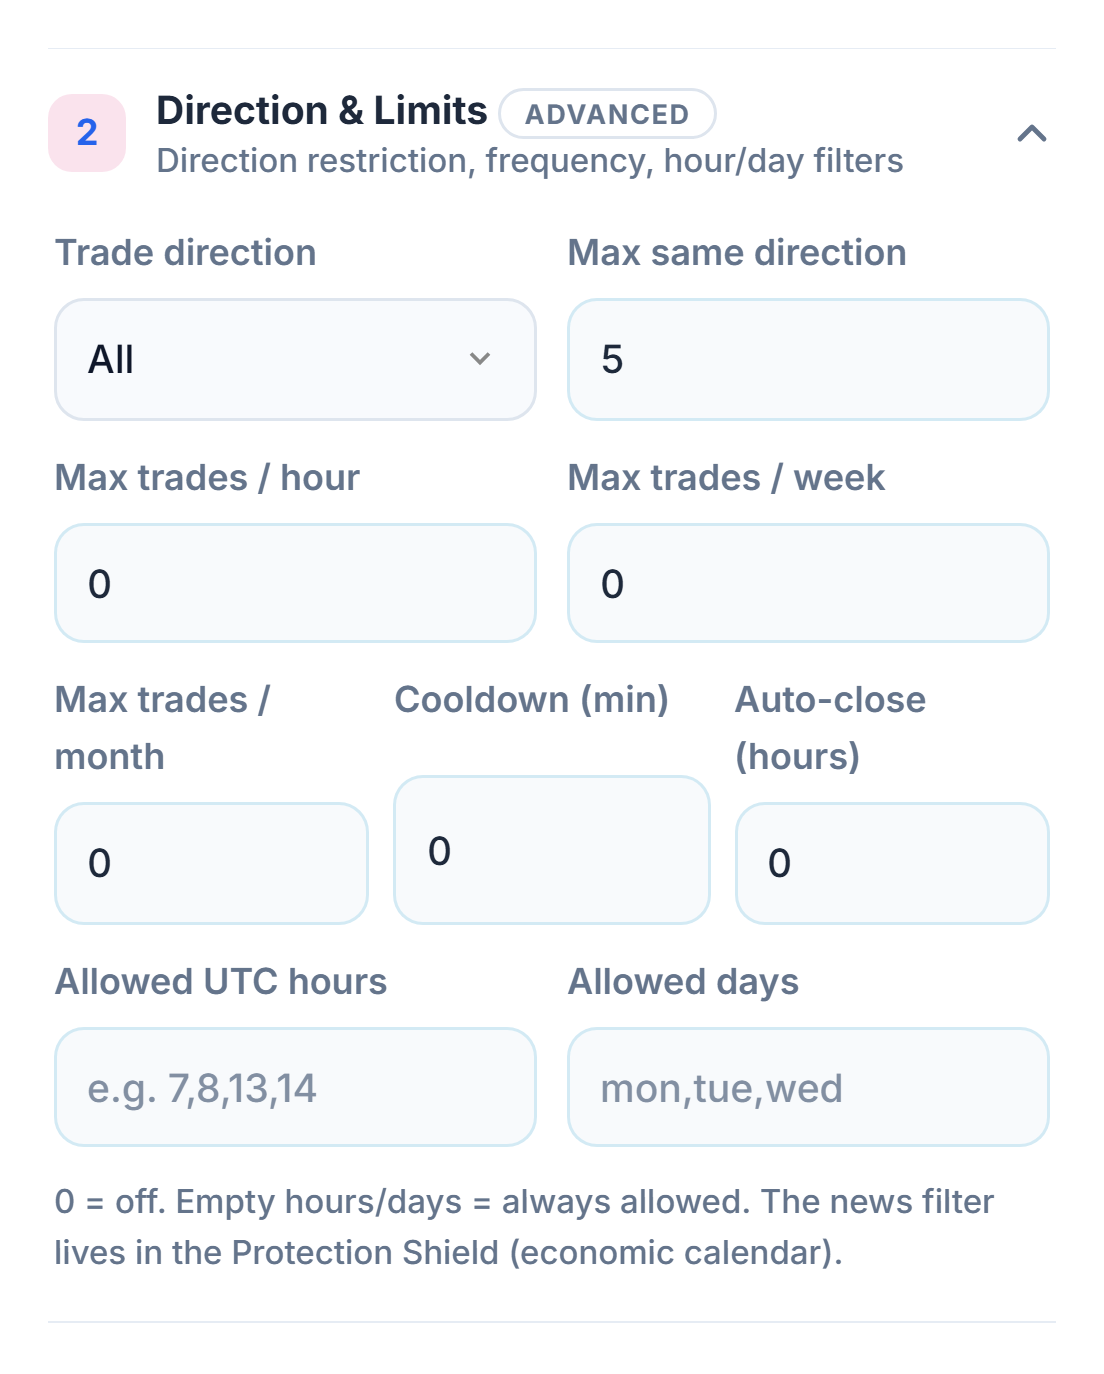
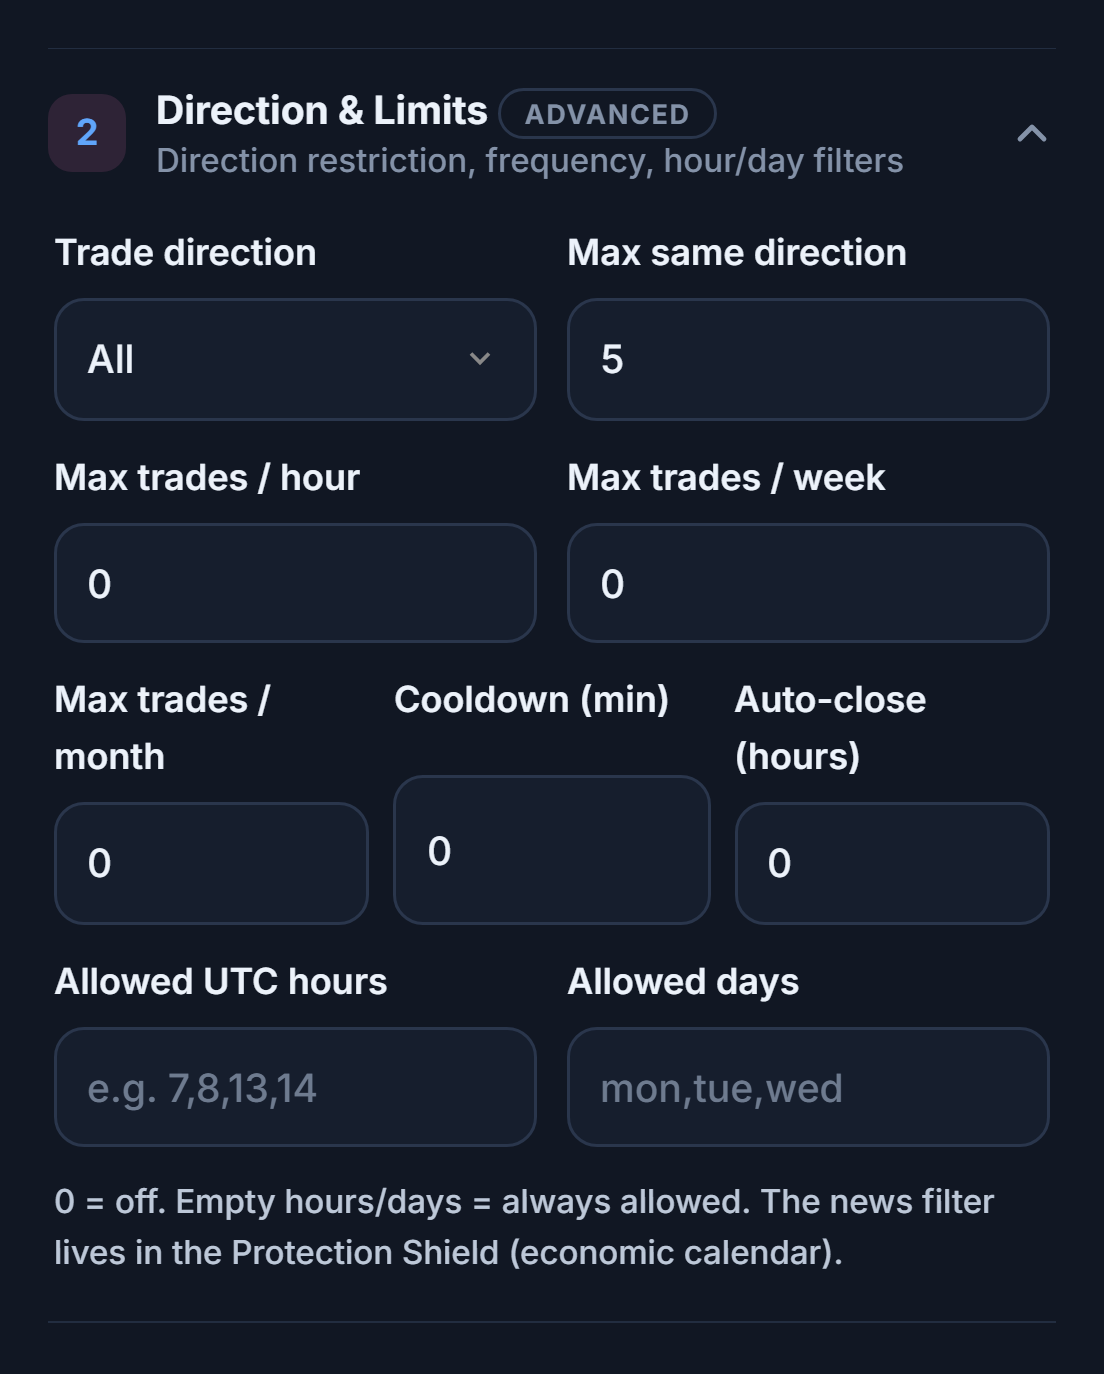
- Trade direction — All, buy only, or sell only.
- Max same direction — The most positions that can be open at once in the same direction (e.g. BUY).
- Max trades / hour and / week — The most trades that can be opened in these periods.
- Max trades / month — The most trades that can be opened in a month.
- Cooldown (min) — The time to wait after a trade before opening a new one.
- Auto-close (hours) — An open trade is closed when this time has passed.
- Allowed UTC hours — Only signals that arrive during these hours are processed.
- Allowed days — Trades are opened only on these days.
- Max trades / week — The most trades that can be opened in a week.
Loss brakes and prop-firm rules
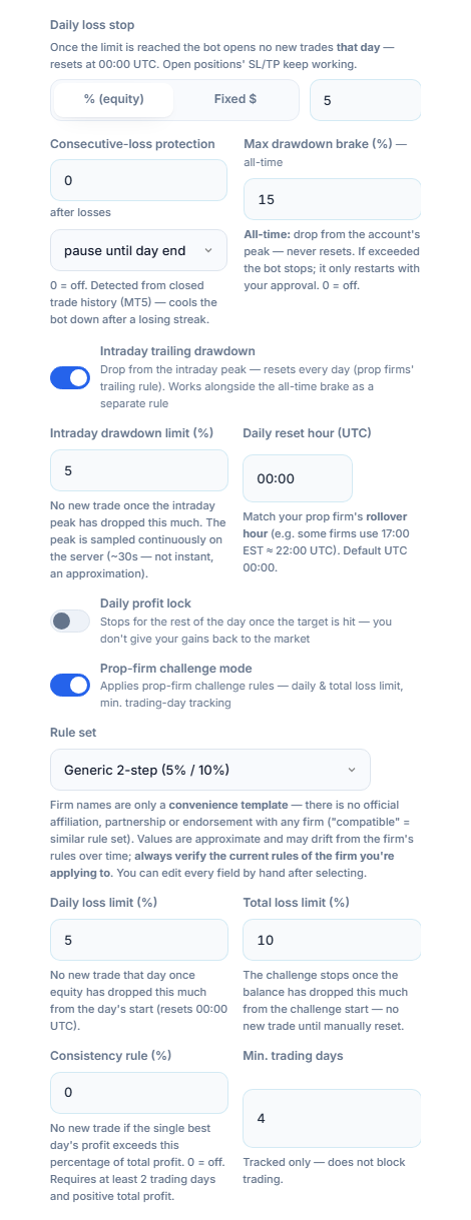
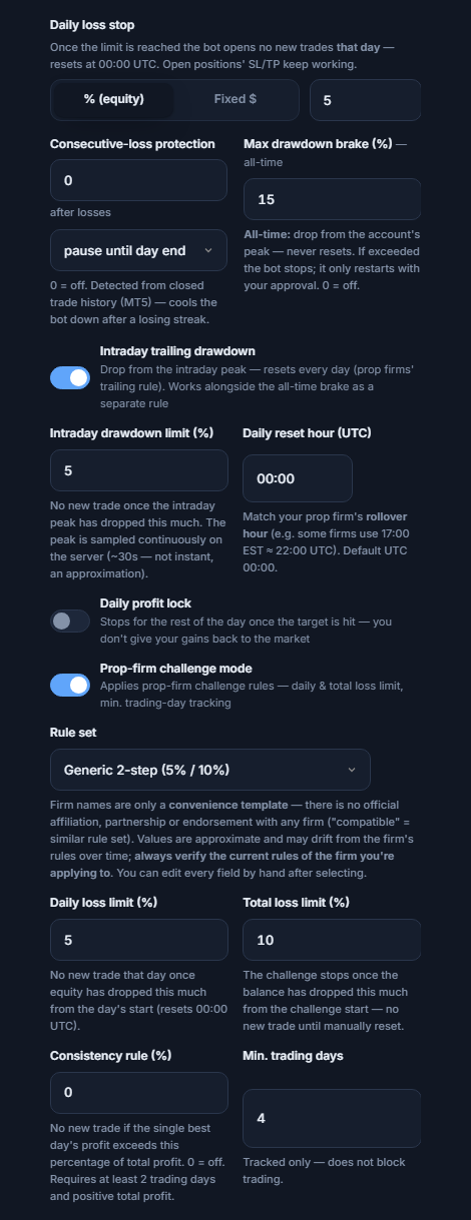
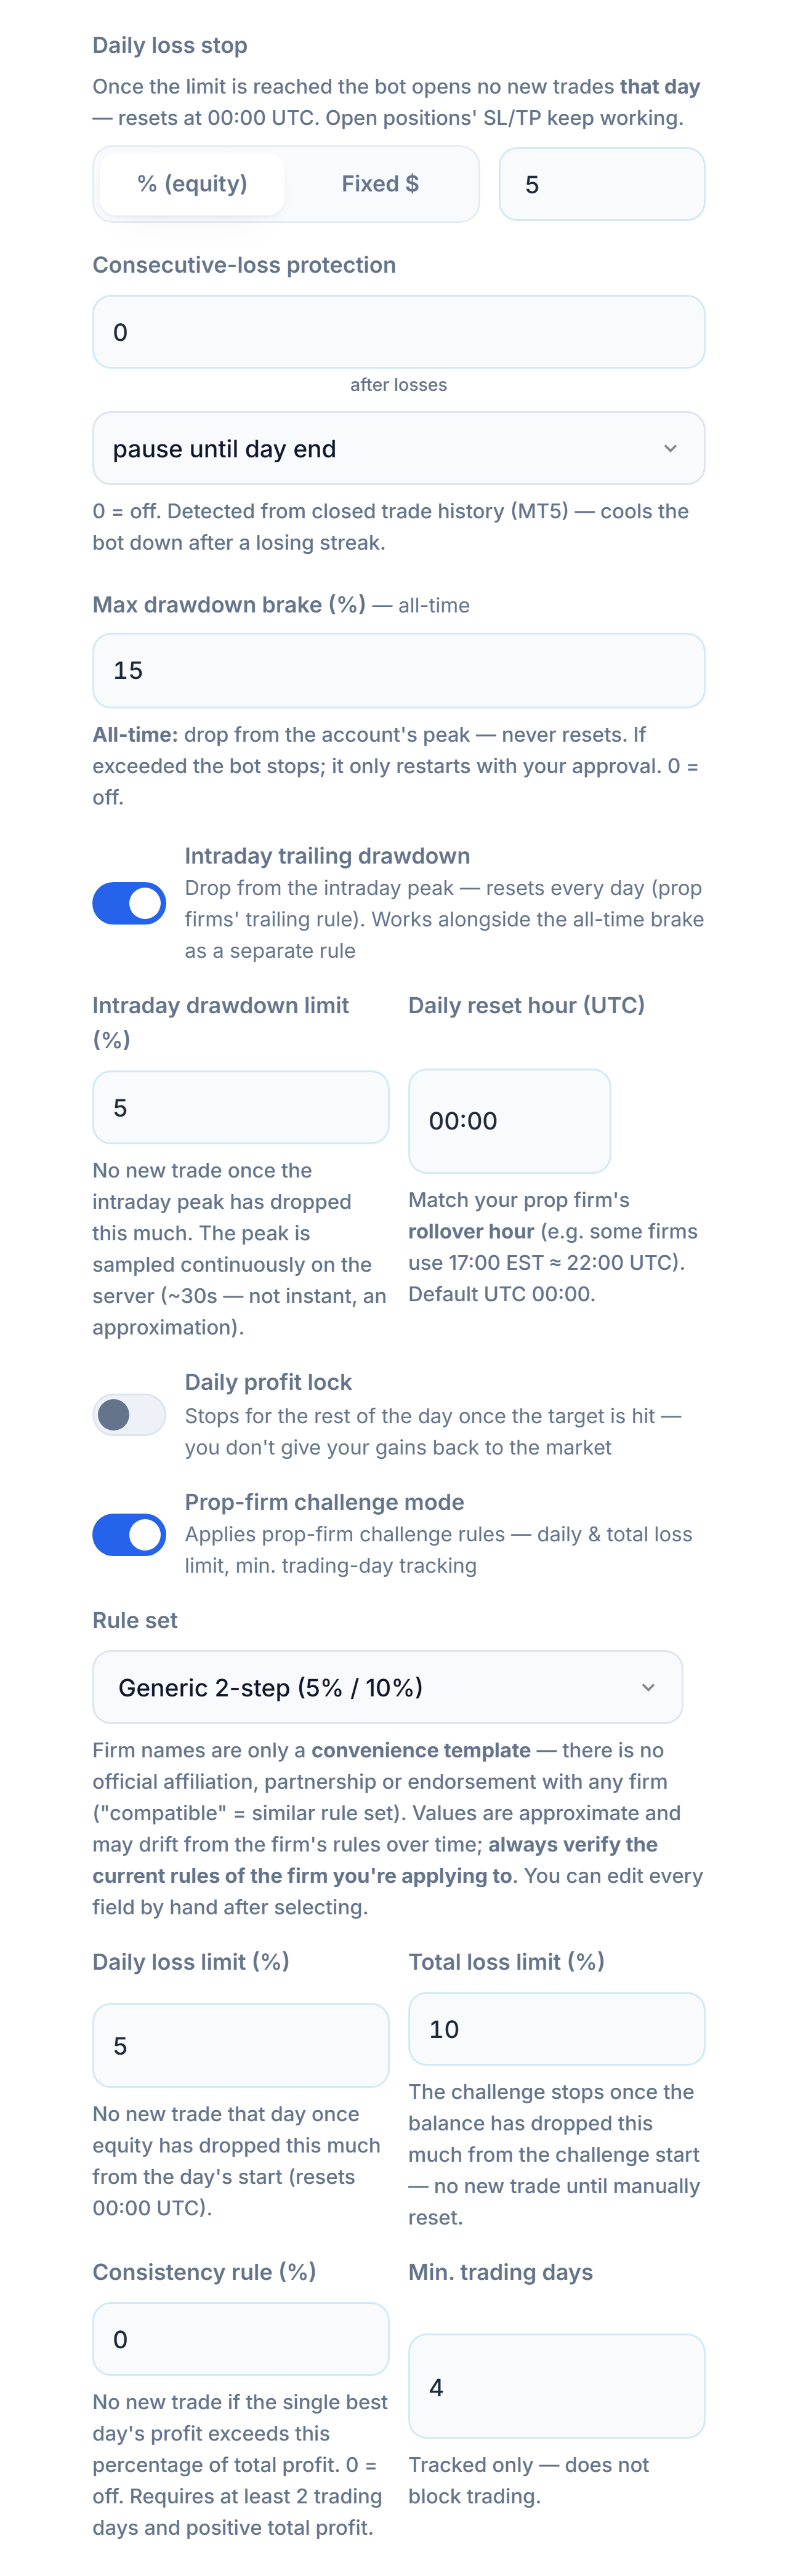
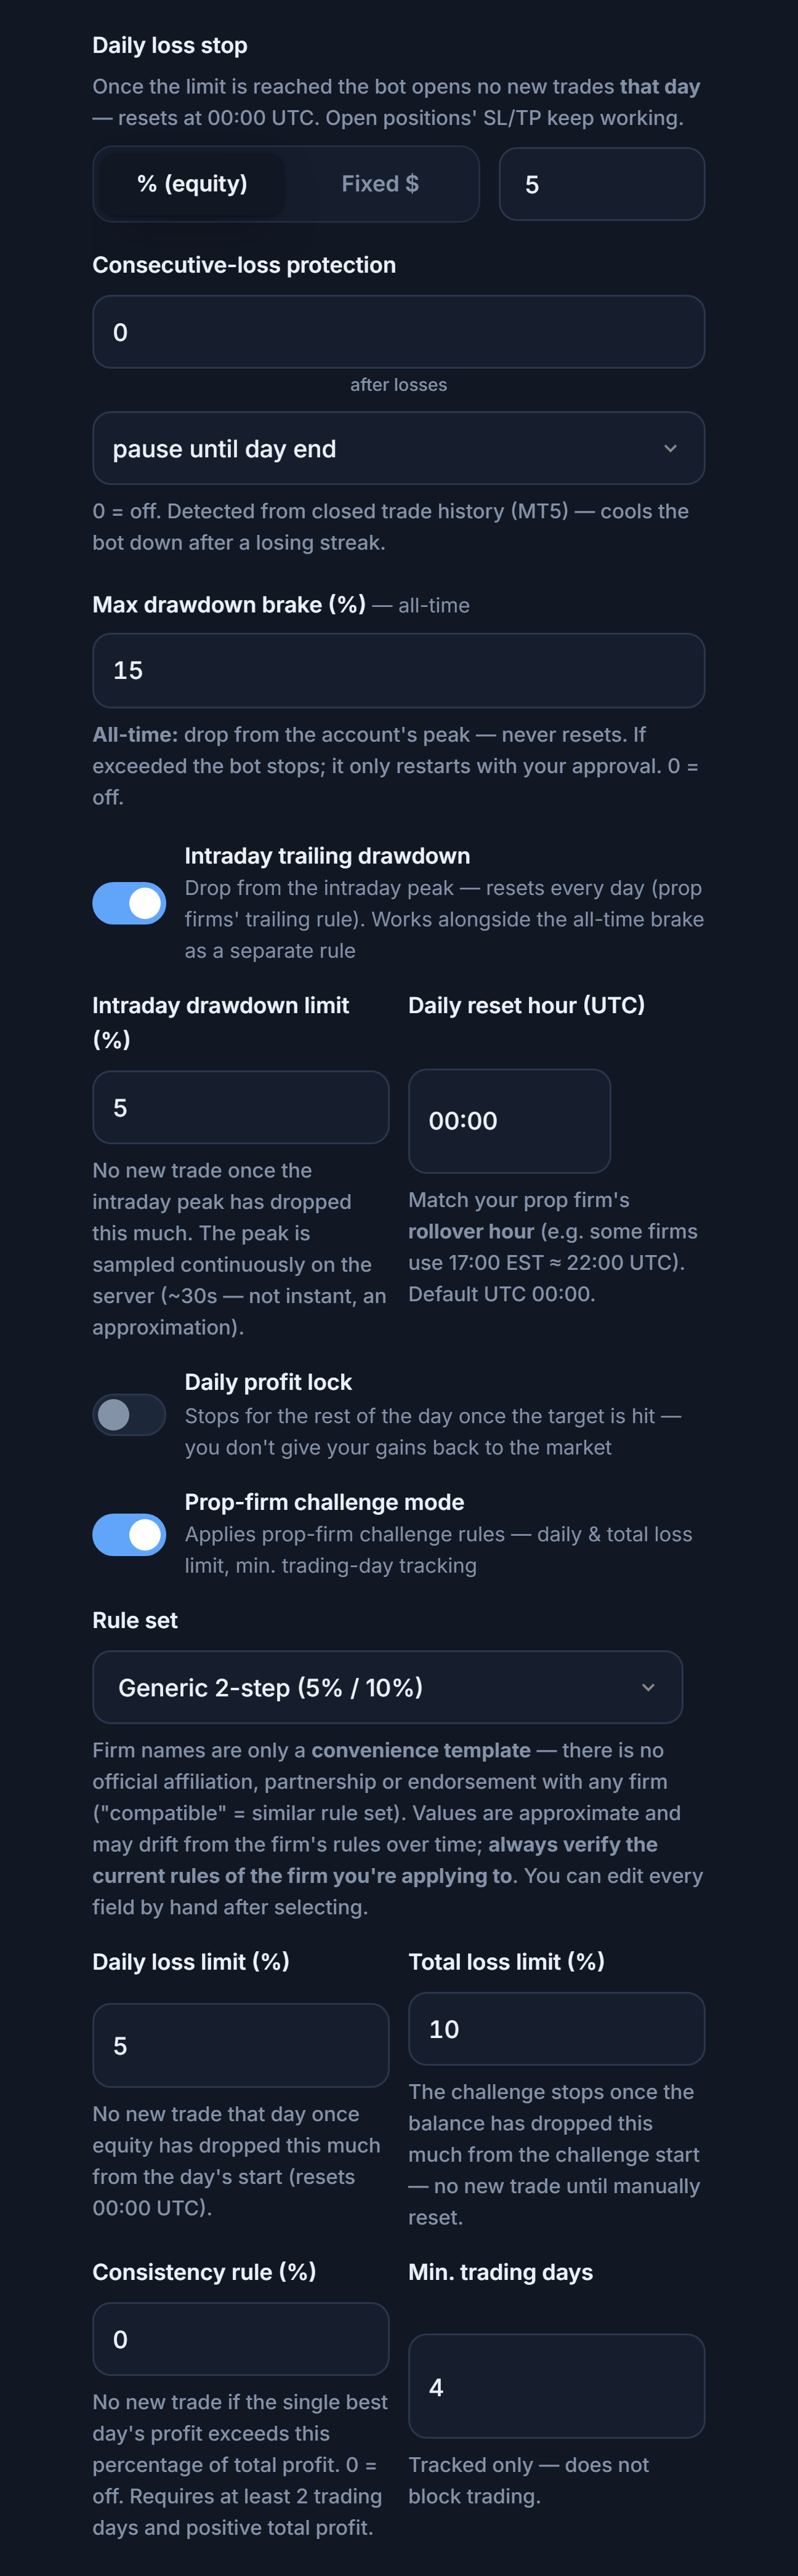
- Daily loss stop — The field from Step 12.
- Consecutive-loss protection — After this many losses in a row, the bot pauses for the time you choose (e.g. until the end of the day). The closed trade history is read from MT5.
- Max drawdown brake — The field from Step 12; it never resets.
- Intraday trailing drawdown — When the account falls this much from that day’s peak, no new trades are opened; it resets every day. For prop firms’ trailing rule.
- Intraday drawdown limit and reset hour — The drawdown percentage and the UTC hour at which the day resets; match it to the prop firm’s rollover time.
- Daily profit lock — When the daily profit target is reached, the bot stops until the end of the day.
- Prop-firm challenge mode — Applies challenge rules: daily and total loss limits, the consistency rule, and minimum trading days tracking.
- Rule set — You can pick a ready-made template and change the values by hand. Firm names are only convenience templates; there is no official affiliation with any firm. Always verify the current rules of the firm you apply to.
- After the loss — How long the bot pauses once the consecutive-loss limit is reached.
- Daily reset hour (UTC) — The hour at which the intraday drawdown and daily counters reset.
- Daily profit target (%) — Shown when the daily profit lock is on; when this profit is reached, the bot stops until the end of the day.
- Daily loss limit (%) — A challenge rule: when equity falls this much from the day’s starting equity, no new trades are opened that day (resets at 00:00 UTC).
- Total loss limit (%) — When the balance falls this much from the challenge’s starting balance, the challenge stops; no new trades are opened until it is reset manually.
- Consistency rule (%) — If the largest single-day profit exceeds this percentage of the total profit, no new trades are opened. It needs at least 2 trading days and a positive total profit.
- Min. trading days — The minimum number of trading days required for the challenge; it is only tracked and doesn’t prevent opening trades.
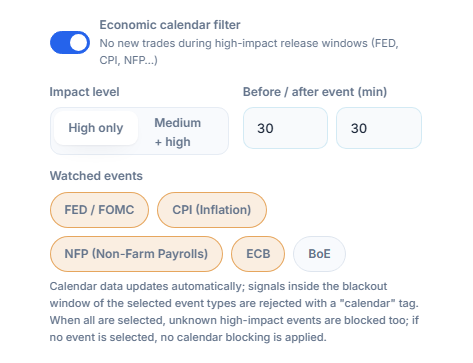
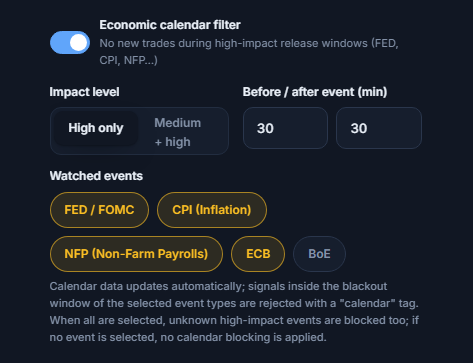
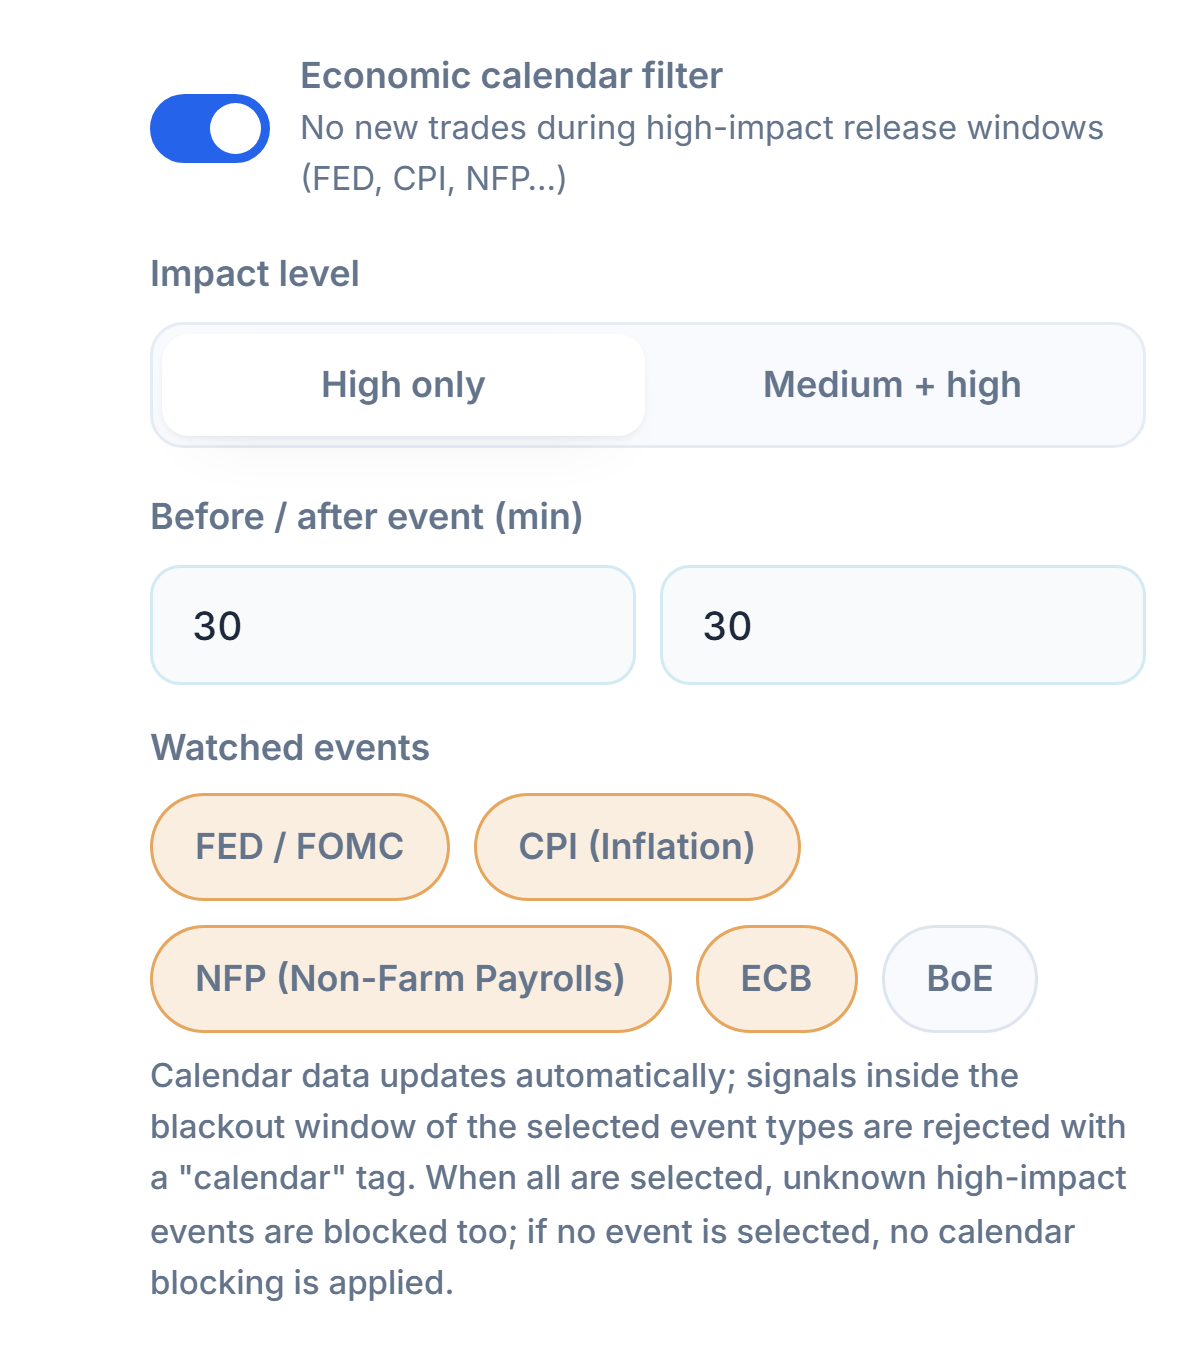
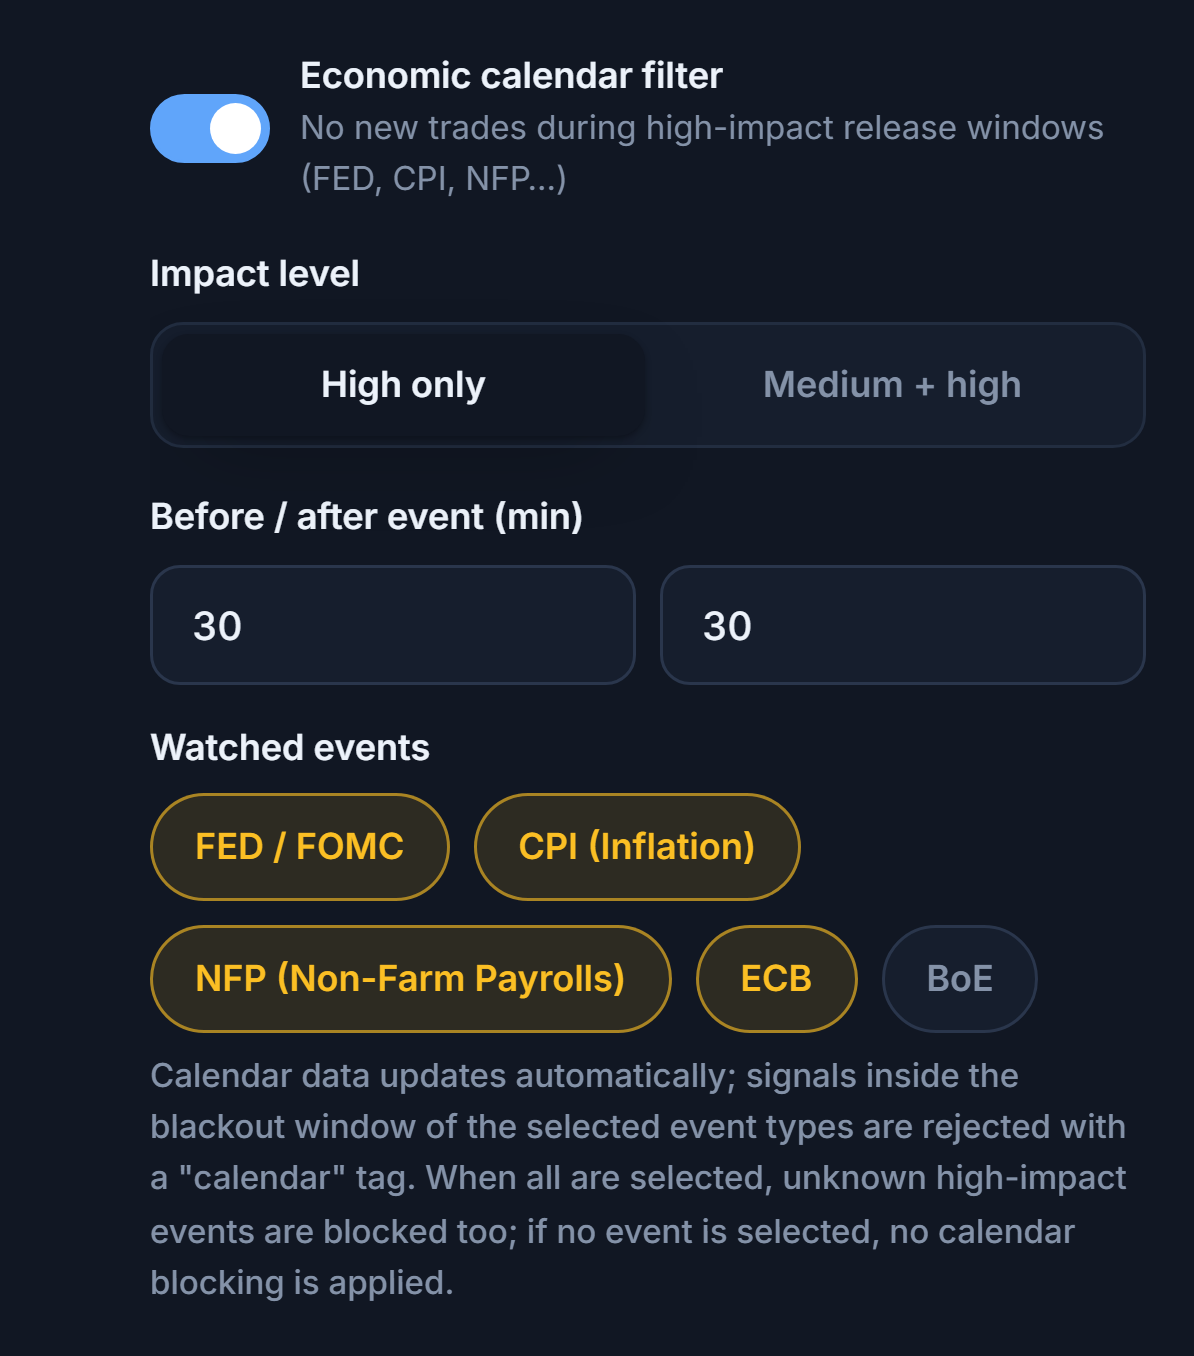
- Economic calendar filter — No new trades are opened around important news.
- Impact level — Which importance level of news is filtered.
- Minutes before and after news (min) — How many minutes before and after the news no trades are opened.
- Event types — Fed, inflation (CPI), non-farm payrolls (NFP), ECB and BoE decisions; the ones you tick are filtered.
- Minutes after news (min) — How many minutes after the news no new trades are opened.
- Fed — US central bank rate decisions and statements.
- CPI — Inflation data.
- NFP — The US non-farm payrolls report.
- ECB — European Central Bank decisions.
- BoE — Bank of England decisions.
Account and symbol limits
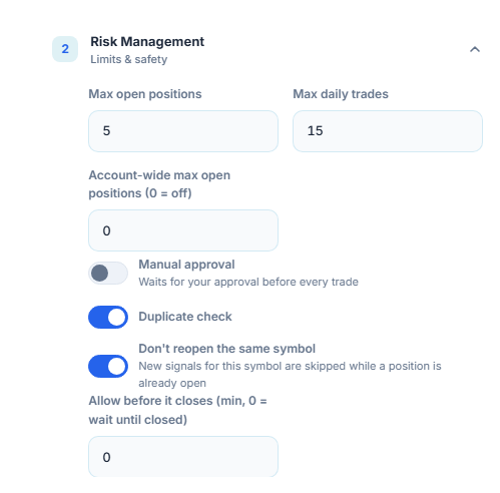
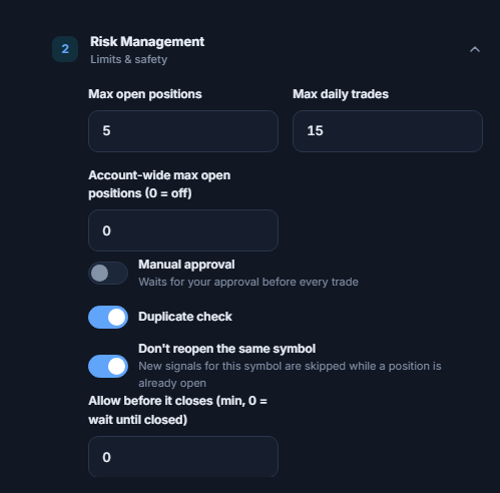
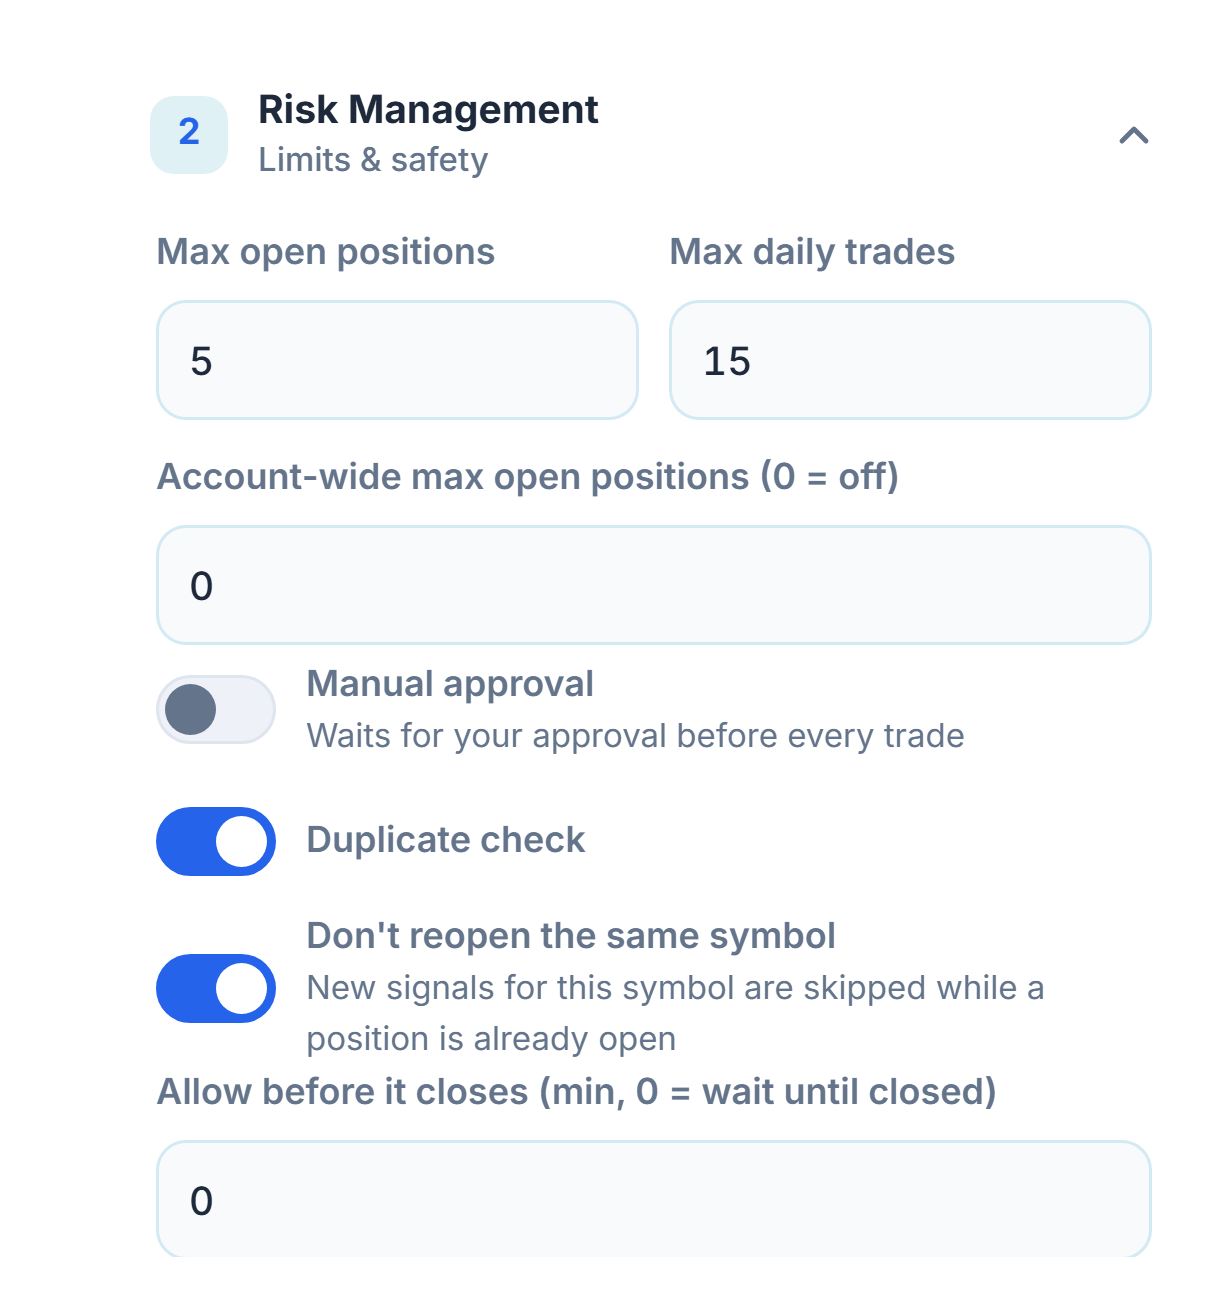
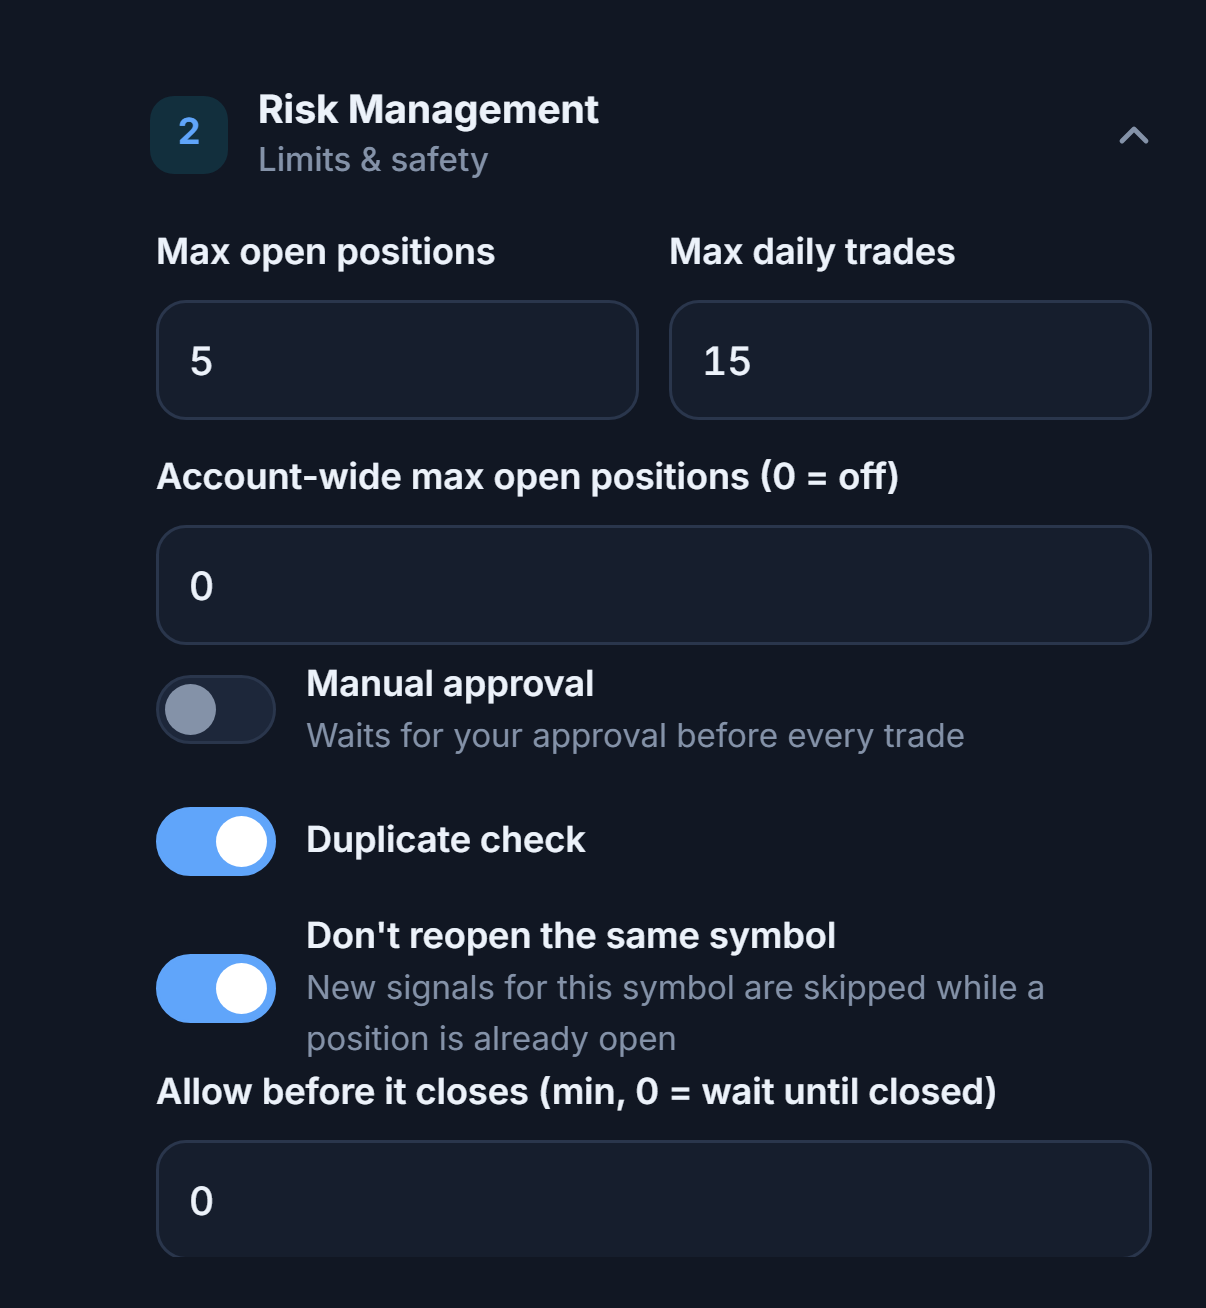
- Max open positions — The field from Step 12; it counts only this bot’s positions.
- Account-wide cap — If there is more than one bot on the same MT5 account, the open-position limit across the whole account.
- Manual approval — An approval card appears in the panel for every signal; if you don’t approve it within 45 seconds, the trade isn’t opened.
- Duplicate check — If the same signal arrives a second time, it isn’t processed.
- Don’t open another trade on the same symbol — While a position is open on a symbol, no new trade is opened on the same symbol.
- Minimum wait (min) — The time to wait before a new trade on the same symbol.
Per-channel reversal and win-rate filter
Inside the Telegram section there is a “Channel Settings” accordion that appears in advanced mode. The settings here apply only to signals from the channel you select.
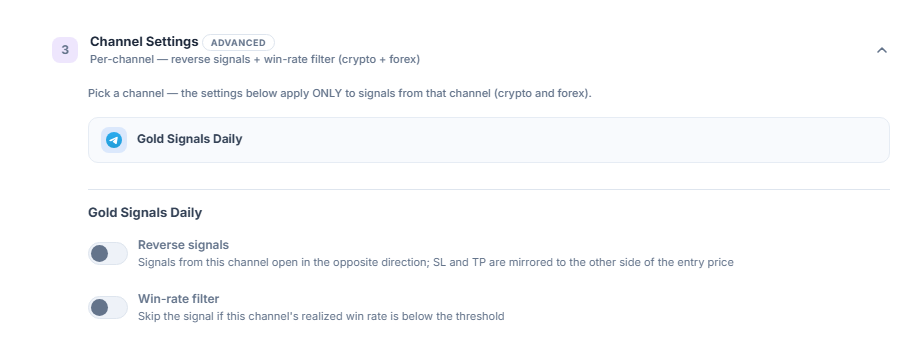
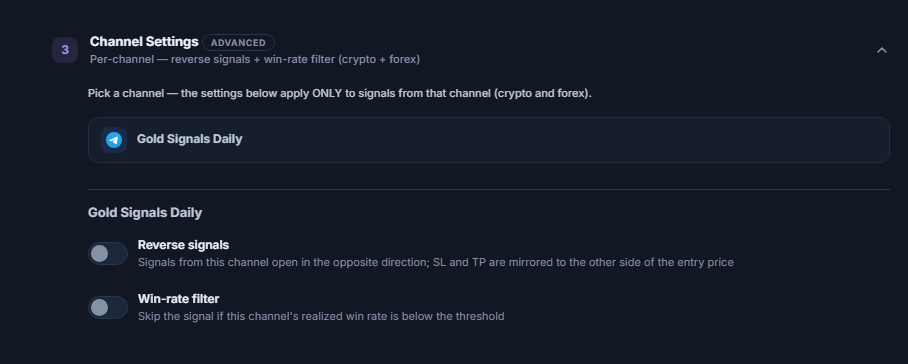
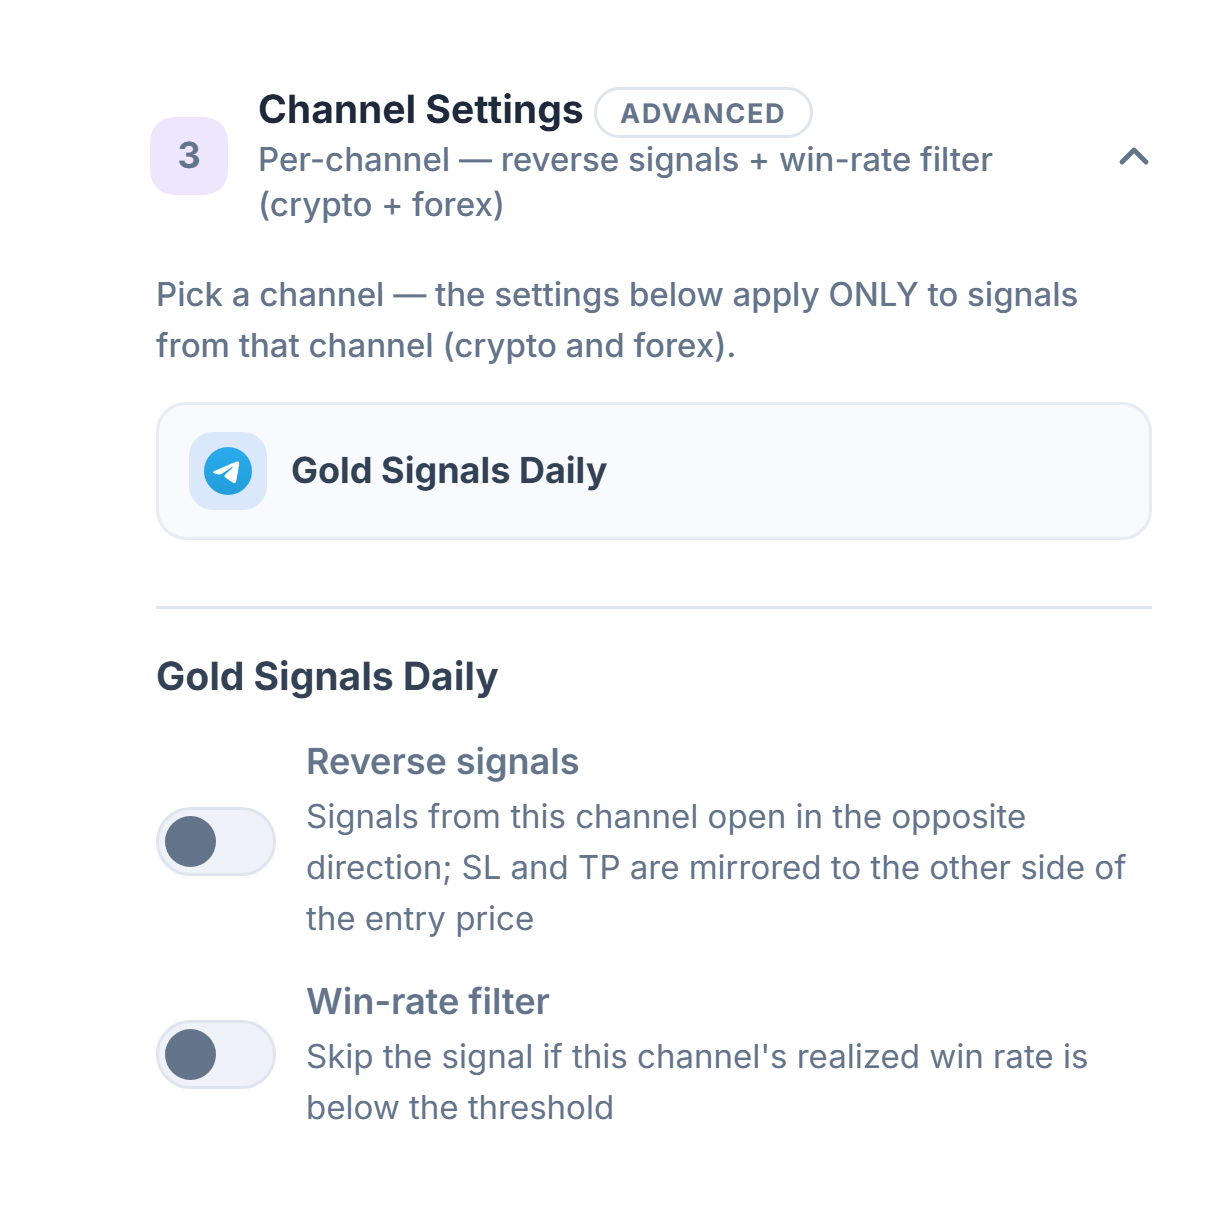
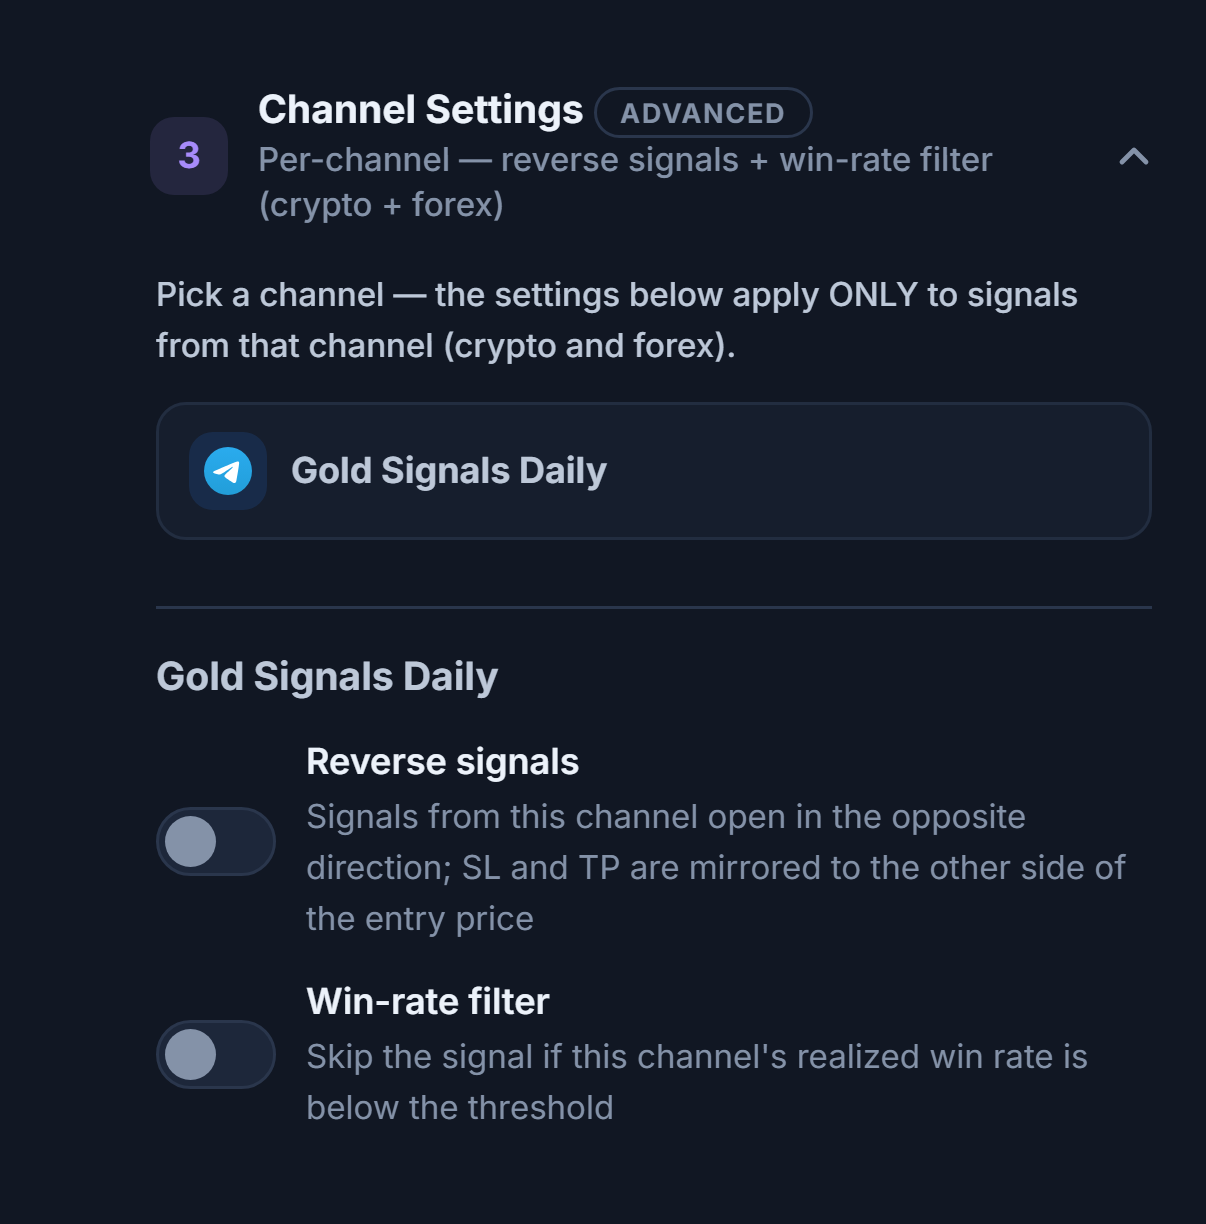
- Channel list — The channels you added are listed here; when you click one, the settings below apply only to that channel.
- Reverse signals — Signals from this channel are opened in the opposite direction: BUY → SELL, SELL → BUY. The SL and TP are mirrored to the other side of the entry price.
- Win-rate filter — If the channel’s realized win rate is below the threshold, the signal is skipped; at least 10 closed trades are required.
- Minimum win rate % — The filter’s threshold; shown when the filter is on. At least 10 closed trades are required; below that, the filter stays inactive.
After you create the bot
When you press Create Bot, the wizard closes and a new bot card appears in the My Bots panel. From here on, everything happens on the card:
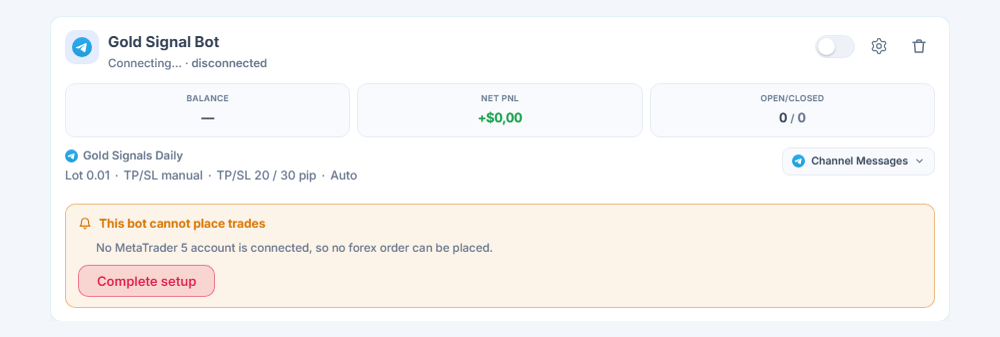
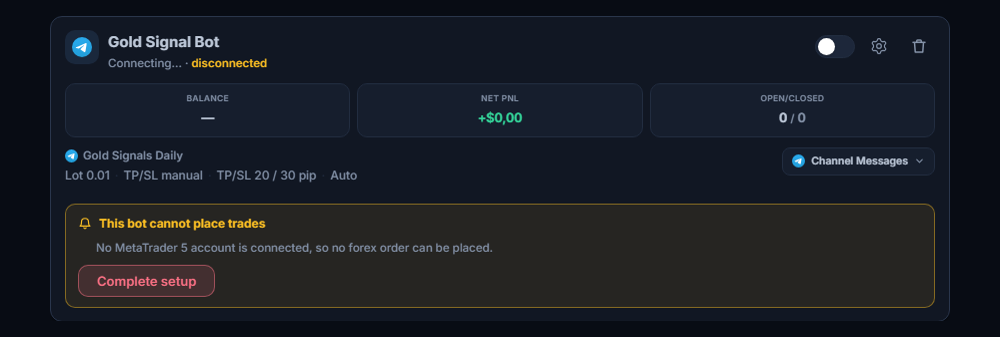
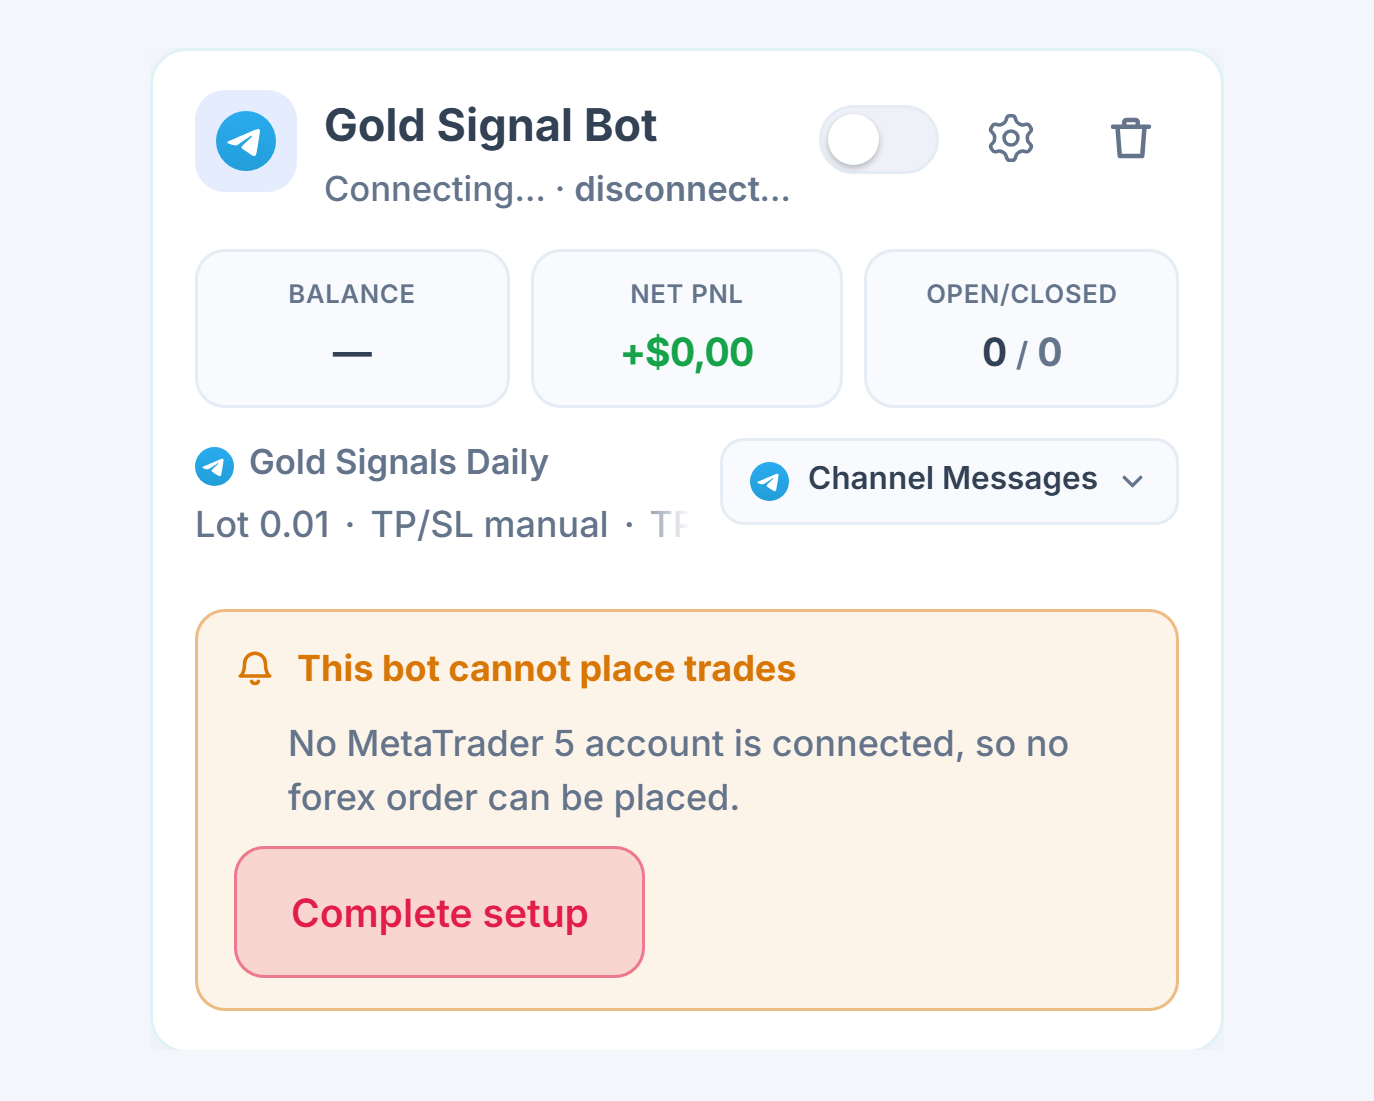
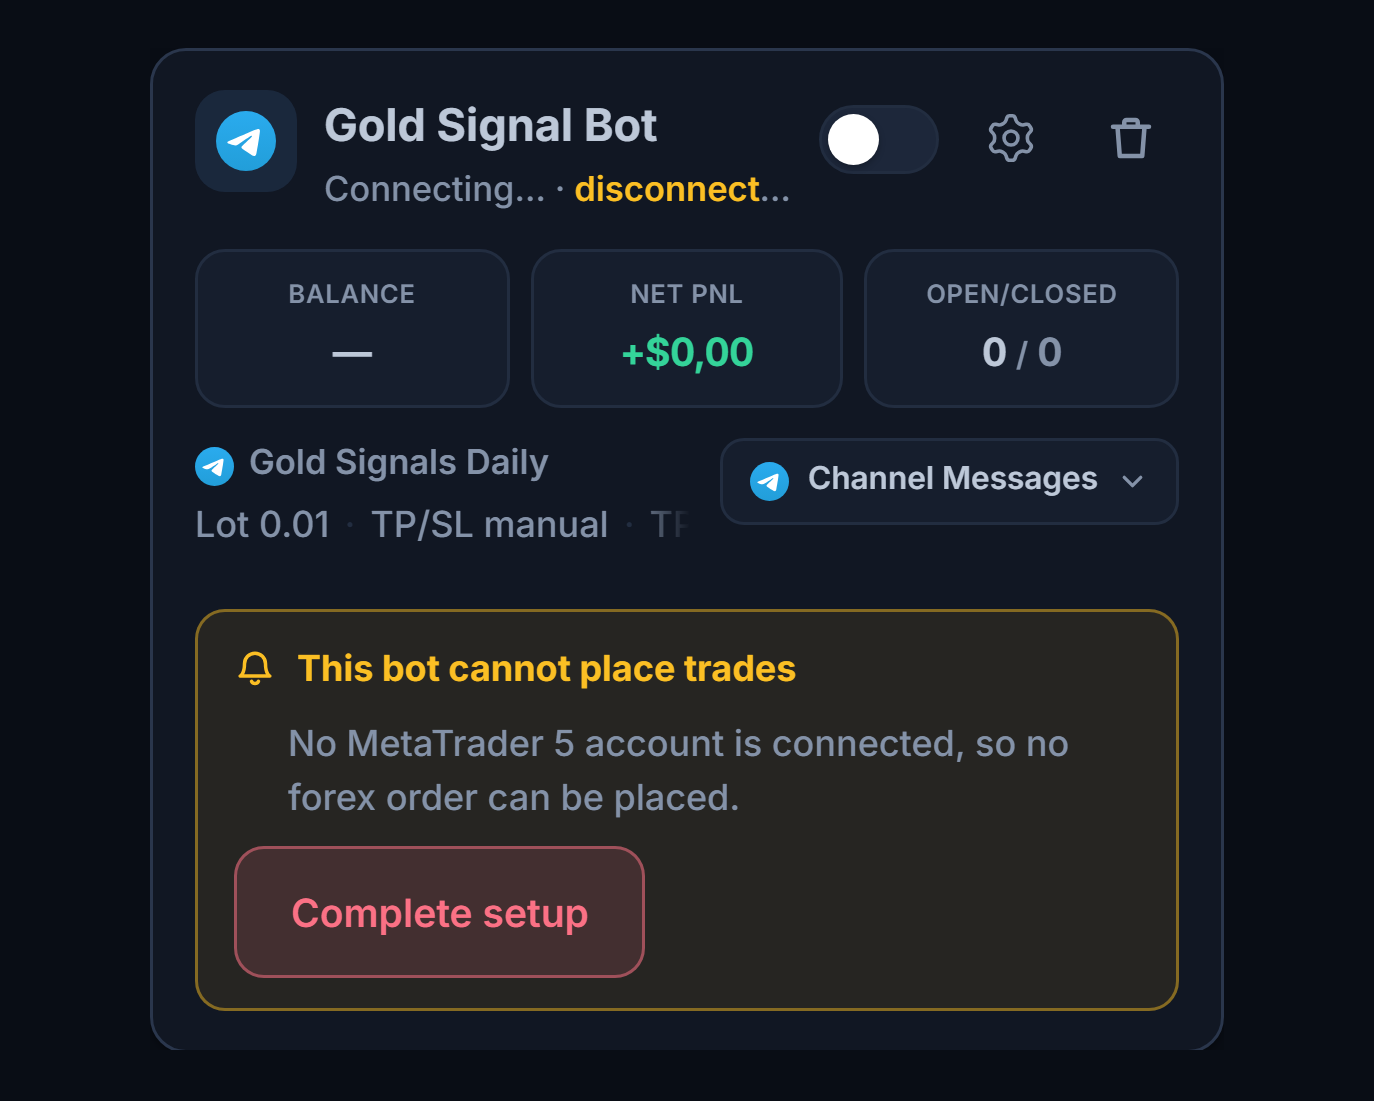
- Bot card — Name, source (Telegram · Forex), and status.
- “This bot cannot place trades” list — If a prerequisite is missing (Telegram not connected, no channel selected, no MT5 account), the card doesn’t show a green “Running”; it lists what’s missing, one by one.
- Complete setup — Takes you to the relevant section of the wizard; once the missing item is completed, the bot is ready to run.
- Start / Stop — You can stop and restart the bot from the card. A stopped bot doesn’t process new signals; it doesn’t touch your open positions or their SL/TP in MT5.
- When the first signal arrives — The bot reads the signal, checks your limits, and opens the order on your MT5 account; the SL and TP are written onto the position and verified. If manual approval is on, an approval card appears in the panel first.
- Where you see the trade — In the panel’s Open positions section every ticket is its own row; entry price, lot, SL/TP, and live profit/loss are shown exactly as read from MT5. You also see the same trades in your own MT5 app. If a signal didn’t turn into a trade, the card shows a “signal received, no trade opened” note and the reason.
- Changing settings — With Edit on the card, the wizard opens with the same bot’s settings; changes apply to later signals and open positions are not affected.
- Notifications — You can turn on Telegram notifications for opened and closed trades, rejected signals, and errors that need your attention from the panel’s Notifications page.
Frequently asked questions
The most common questions during and after setup. Click a question to open its answer.
Connection and setup
No. Your MT5 account runs on AlgoVesta’s own MetaTrader 5 terminals. Your computer or phone doesn’t need to be on. If you like, you can open your own MT5 app with the same account to watch the trades.
Enter the trading (master) password. The investor password is read-only: a connection is made but no trades can be opened, and the panel says “Terminal trading is disabled”. The master password is only for opening and closing trades; it doesn’t grant withdrawal permission.
No, only MetaTrader 5 is supported. You can open an MT5 account of the same account type with your broker; most brokers do this for free.
It is written in the email your broker sent when the account was opened. It is also shown in MT5 on desktop under Tools → Options → Server, and on mobile in the account details screen. Type the name exactly, or type the broker’s name and pick from the list; demo and live servers are different.
The code usually arrives inside your Telegram app: open the official chat named “Telegram”, and the 5-digit code is there. In some cases Telegram may also send the code as an SMS to your phone; check both. If the code doesn’t arrive, you can press Send Code again once the roughly 20-second countdown ends.
No. AlgoVesta sends no messages from your Telegram account; it only reads the messages in the channels you select. At any time you can end the AlgoVesta session under Telegram’s Settings → Devices.
The trial runs with Pro limits: 2 MT5 accounts and 5 bots. On the plans: Starter 1, Pro 2, Elite 5 MT5 accounts. Details: plans and trial · pricing.
A signal arrived but no trade opened
On the bot card, below the latest signal, there is a “signal received, no trade opened” note with the reason. If the same bot receives signals one after another within 24 hours and can’t open any trade, you’ll also get one email.
- The channel isn’t selected in the Settings scope — Adding the channel isn’t enough; it must also be selected in the Settings scope in Forex Setup.
- The MT5 account isn’t connected, or live account approval wasn’t given — On a live account, no trade opens without the Allow live trading… approval (Step 9).
- Market closed — On weekends and holidays, signals aren’t turned into trades.
- The symbol doesn’t exist at your broker — It says “Symbol not available”; add a symbol mapping.
- TP or SL couldn’t be guaranteed — In From signal mode, no trade opens if the stop or target is missing. Switch to Manual (pip) mode or enter a Stop Loss (pip) value.
- The bot is stopped — A stopped bot doesn’t process incoming signals.
- The daily loss limit or max daily trades was reached — No new trades open that day; it resumes automatically at 00:00 UTC.
- Hedging is off — A signal in the opposite direction of an open position on the same symbol isn’t opened.
- Filters — A keyword, blocked symbol, economic calendar, spread/deviation limit, or hour filter may have skipped the signal on purpose.
Yes, if your Stop Loss (pip) value is filled in. After the order is filled, the bot places the stop this many pips from the actual entry price. A trade whose TP and SL can’t be guaranteed is never opened; if it is found unprotected after opening, it is closed for safety.
There are two possible reasons. Not enough lot: if the total lot isn’t large enough to give each target at least one valid lot, the targets that can’t be covered are dropped (e.g. 0.01 lot opens a single target). The panel shows this in an orange box before you save. NETTING account: MT5 merges orders in the same direction; on this account multiple targets aren’t split and only TP1 is applied. Details: Multiple TPs.
No. The Duplicate check is on by default; the same signal isn’t processed a second time.
Lot, pip, and order
1 pip is 0.0001 price units on major pairs, 0.01 on JPY pairs, 0.1 on XAUUSD, and 0.01 on XAGUSD. On XAUUSD, 20 pips = 2.0 price units. Its money value depends on the lot and your broker’s contract size; you can check it in the symbol’s specifications in MT5.
In forex, leverage is a setting of your account at your broker; there is no leverage field in the panel. The lot determines the trade size (Step 10).
Yes. With Auto-detect broker suffix and gold on (the default), suffixed names like XAUUSDm and EURUSD.pro and the GOLD/XAUUSD difference are mapped automatically. For a name that isn’t recognized, add a row in Symbol mapping.
It doesn’t touch them on its own initiative. If there is more than one bot on the same account, each bot manages only the positions it opened. If the account has a single bot, when the channel sends a “close” message for a symbol, a position you opened by hand on that symbol may be closed as well. If you will trade by hand, use an account separate from the MT5 account the bot uses.
Control and security
No. A position closes only in these cases: if you press Close in the panel, if you use the Panic Button, if the channel you follow sends a close message for that position, if the TP or SL in MT5 is hit, if your own Auto-close (hours) time runs out, or if an opening is immediately reversed for safety because the opened trade’s SL/TP couldn’t be set.
A stopped bot doesn’t process new signals; your open positions aren’t closed and their SL/TP in MT5 stay in place. If you want to close them, use Close in the panel or the Panic Button.
It didn’t shut down; it paused for that day. Daily limits reset at 00:00 UTC and the bot resumes automatically the next day. The Max drawdown brake, however, is permanent; the bot stops completely and restarts only with your approval.
Open a free MT5 demo account with your broker and connect it with the form in Step 9; pick the server with the Demo badge from the server list. No approval is needed on a demo account and no real money is used. When you move to real trading, connect your live account, give approval with Allow live trading…, and select that account in the bot.
Troubleshooting
| Situation | What to do |
|---|---|
| The MT5 account is stuck on “Connecting” | Verification can take a few minutes; wait and press I connected it, refresh. If it takes a long time, check your details. |
| The account number or password couldn’t be verified | Verify the login and the trading (master) password by signing in to your MT5 app; make sure the server matches your account (Demo / Live) and connect again. |
| The server isn’t in the list | Type the server name exactly as in your broker’s email or in MT5. New servers are accepted too; the list is only a helper. |
| “Terminal trading is disabled” | This usually happens when the investor (read-only) password was entered. Disconnect the account and reconnect with the master password. |
| No trades open on the live account | If the account card says “Automatic trading off — awaiting approval”, give approval with Allow live trading…. |
| “Symbol not available” | The symbol has a different name at your broker. Find the exact name in MT5 Market Watch and add a symbol mapping or suffix. |
| Invalid volume (lot) error | Your broker’s lot step may be different. Enter the Min lot, Max lot, and Lot step in Advanced according to the symbol specifications in MT5. |
| Only one position opened with multiple TPs | The lot isn’t enough for the number of targets, or the account is in NETTING mode. Look at the split box in the panel (Multiple TPs). |
| A weekend signal didn’t open | No trades are opened while the market is closed; this is normal. |
| The verification code didn’t arrive | The code usually arrives in your Telegram app; in some cases it may also arrive as an SMS, so check both. When the roughly 20-second countdown ends, press Send Code again. |
| The channel doesn’t appear in the list | Make sure you are a member of that channel in Telegram; after joining, press Fetch My Channels again. |
| Red “Not selected” in the summary | Channel: add a channel and select it in the Settings scope. Target account: connect your MT5 account. |
| Manual approval is on, no trade opened | You need to approve each signal within 45 seconds. If you want automatic trading, turn Manual approval off. |
Glossary of terms
- MetaTrader 5 (MT5)
- The trading platform brokers offer for forex and commodity trading. AlgoVesta works only with MT5.
- Broker server
- The server your MT5 account is attached to, belonging to your broker (e.g. ICMarketsSC-Demo). Demo and live accounts use different servers.
- Login
- The MT5 account number.
- Master / investor password
- The master password allows opening and closing trades; the investor password allows reading only.
- Lot
- The unit of trade size. 1.00 = standard lot, 0.10 = mini lot, 0.01 = micro lot.
- Lot step
- The lot increment your broker accepts; the lot must be a multiple of this step.
- Pip
- The standard unit of price movement. 0.0001 on major pairs, 0.1 on XAUUSD.
- Ticket
- The unique number of each position in MT5. With multiple TPs, each target is a separate ticket.
- HEDGING / NETTING
- On a HEDGING account, more than one position on the same symbol can stay open separately. On a NETTING account, orders in the same direction merge into a single position.
- Spread
- The difference between the buy and sell price.
- Deviation (slippage)
- The difference between the price in the signal and the price at which the order was actually filled.
- Suffix / prefix
- Letters a broker adds to the symbol name (XAUUSDm, EURUSD.pro).
- TP (Take-Profit)
- The target at which profit is taken. In this wizard, the distance from entry is written in pips.
- SL (Stop-Loss)
- The level at which the loss is cut. It is written onto the position in MT5.
- R (1R)
- The distance between entry and stop; the unit of risk. Breakeven triggers at this threshold.
- Drawdown
- The percentage decline of the account from its peak.
- Pending order
- A waiting order that fills when the price reaches a specific level (limit or stop).
- UTC
- Coordinated universal time. Daily limits reset at 00:00 UTC.
Related guides
- Set up a crypto bot from Telegram signals — the same flow for crypto exchanges.
- Telegram account and channel connection — a short version of just the connection step.
- Copy Telegram signals to MT5 and Copy Telegram signals to MetaTrader — product pages.
- TradingView webhook setup — if your signal source is TradingView.
- Plans and trial — MT5 account and bot limits.
Our support team will finish the setup with you; if you attach a screenshot, we can solve it faster.