Set up a crypto bot from Telegram signals
Turn the signals from a Telegram channel you belong to into automatic orders on your exchange — set it up step by step, seeing every screen in the panel.
- About 10 minutes
- 13 steps
- Try it risk-free with Demo
Short answer: Here's how Telegram signals turn into automatic trades in AlgoVesta: in the panel, choose Set Up New Bot → Telegram → Crypto; connect Telegram with your phone number; add the signal channel and select it in Settings scope; connect an exchange API key or turn on Demo; enter your amount, leverage, stop, and daily loss limit; then tap Create Bot. Every signal becomes an order on your exchange within your limits; the stop is placed on the exchange as a real order.
Last verified: — checked screen by screen in the live panel. This page is updated whenever the panel changes.
On this page
What to have ready before you start
What to know before you set up
- Next to many sections in the wizard you'll see "Can be done later". You can skip these sections now and finish them later from the bot card.
- Connecting an account isn't required to create the bot. But the bot won't open a trade until at least one channel is selected and it has a target account (exchange API key) or Demo mode. Once the missing pieces are filled in, the bot can start working.
- In Demo mode, no real orders are sent to your exchange. Signals are processed with a $5,000 virtual balance. Because of slippage, liquidity, and spread, virtual results can differ from real trading by ±10%; they don't reflect it exactly.
What should a signal in the channel look like?
The bot reads the channel message and extracts the symbol, the direction, and, if present, the entry, stop, and targets. A message like the one below turns straight into a trade:
#BTCUSDT LONG
Entry: 61800 - 62100
SL: 60900
TP1: 63200  TP2: 64500  TP3: 66000
Leverage: 10x
- Symbol and direction are required — Formats like "BTC LONG", "ETHUSDT SHORT", and "BUY XRP" are read. If the direction or the symbol is missing, the message isn't treated as a signal and no trade opens.
- If there's no stop, the bot uses the percentage in the Stop Loss (%) field; if there are no targets, your own TP percentages are used. A trade never opens without a stop.
- If a leverage is written (10x, x10, Lev 10) and the Leverage mode is From signal, that value is used; if it exceeds the exchange's upper limit, it's lowered to the limit.
- Messages that only contain commentary, a chart, or a results post ("TP1 hit", "40% profit") don't turn into trades.
Quick setup (recommended)
Quick setup shows only the required and most commonly used settings. For most users, the defaults here are enough. If you want to see every setting, check the Advanced setup section.
Step 1Open the setup wizard
- Get Started — This button on the "Set Up New Bot" card opens the setup wizard.
- Set Up Your First Bot — If you don't have a bot yet, you can also open the same wizard with this button. Both lead to the same place.
Step 2Choose Telegram as your signal source
- Telegram card — Tap the card with the "Recommended" badge. As soon as you tap it, you move on to step 2 (choosing a market). The bot reads messages from the channels you belong to and turns them into orders.
Step 3Choose Crypto as the market
- Crypto card — Tapping the card takes you straight to step 3 (setup). There's also a Continue button on screen; both do the same thing. If you'll use both crypto and forex, set up a separate bot for each, so limits and target accounts don't get mixed up.
Step 4Choose a setup mode
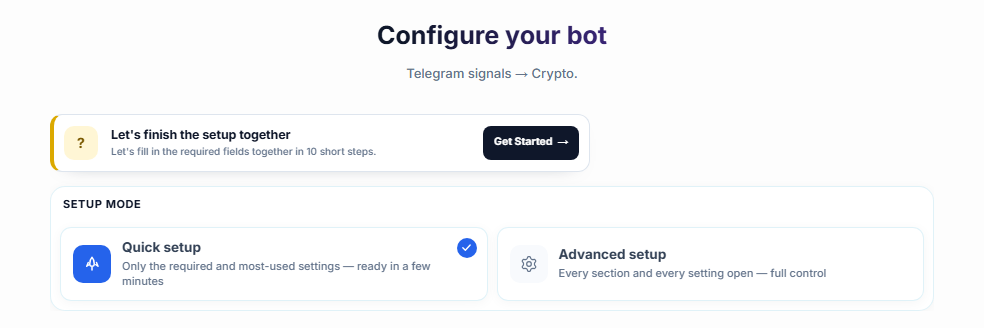
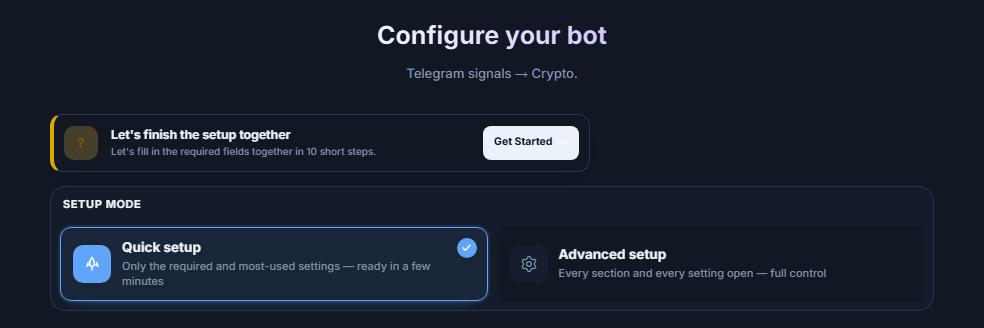
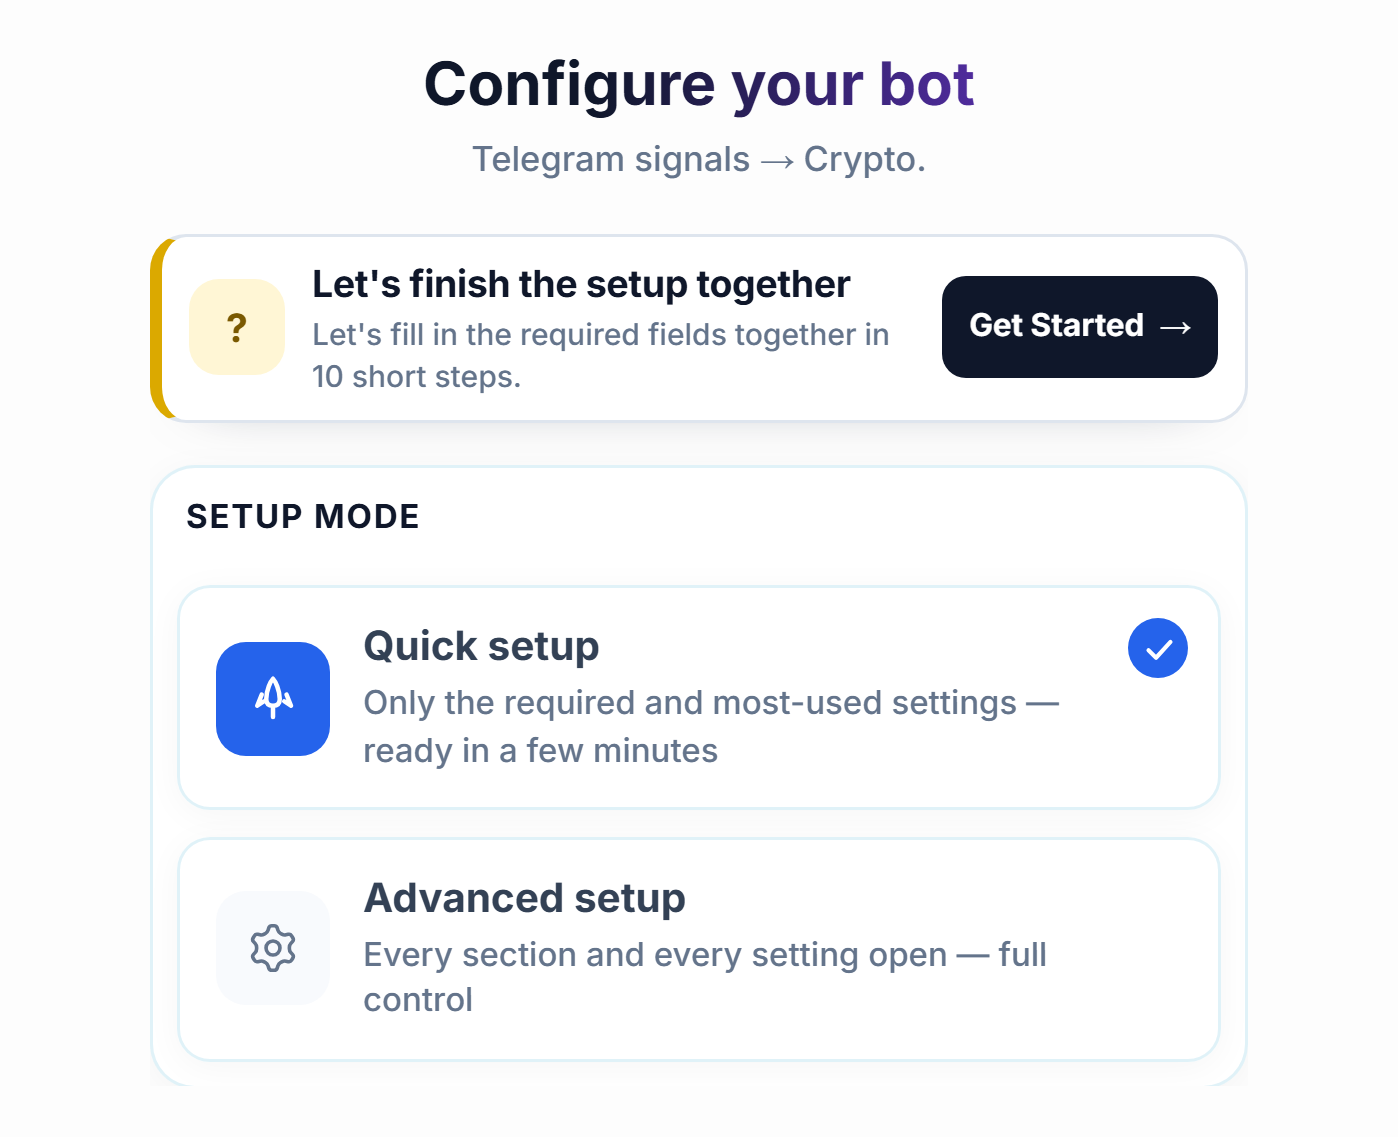
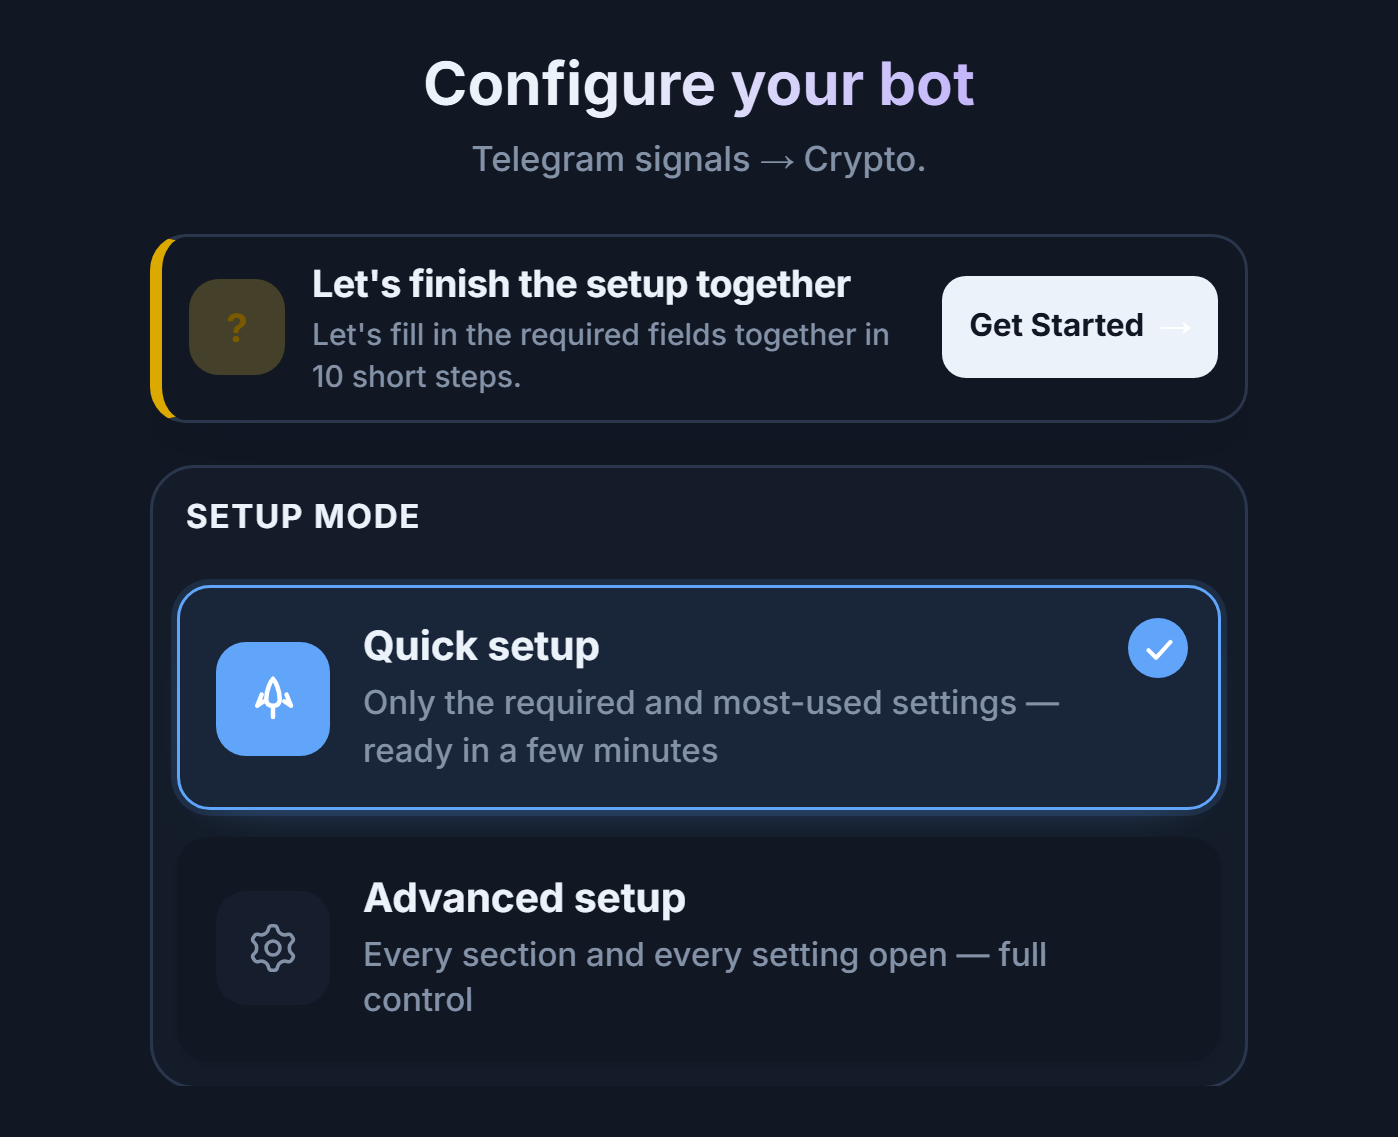
- Let's finish setup together — Get Started — If you'd like, you can start the interactive guide; it walks you through the required fields step by step in a short sequence. It's optional.
- Quick setup — Shows only the required and most commonly used settings. This guide's main walkthrough follows this mode.
- Advanced setup — Opens every section and every setting; the settings are split into tabs. Details are in the Advanced settings section.
| Comparison | Quick setup | Advanced setup |
|---|---|---|
| Who it's for | Setting up their first bot and wanting to start with the defaults | Wanting fine control, such as a channel filter, trailing stop, or a prop-firm rule |
| Fields shown | Only the required and commonly used settings | All fields, in 6 tabs |
| Defaults | The same | The same; just more of them are visible |
| Changing later | You can switch modes at any time; settings aren't deleted, only hidden | |
Step 5Name your bot and see what's missing
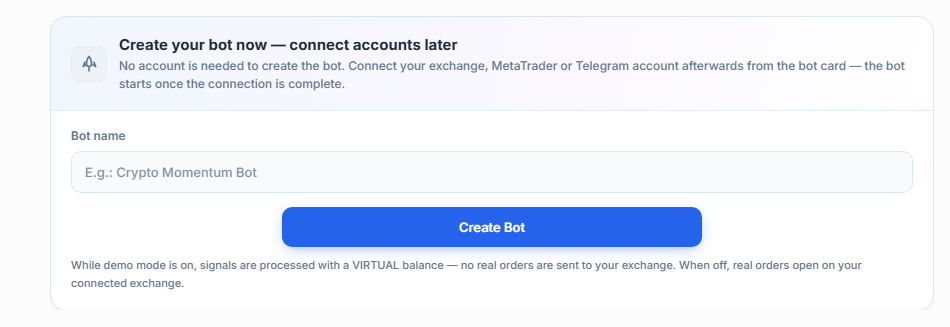
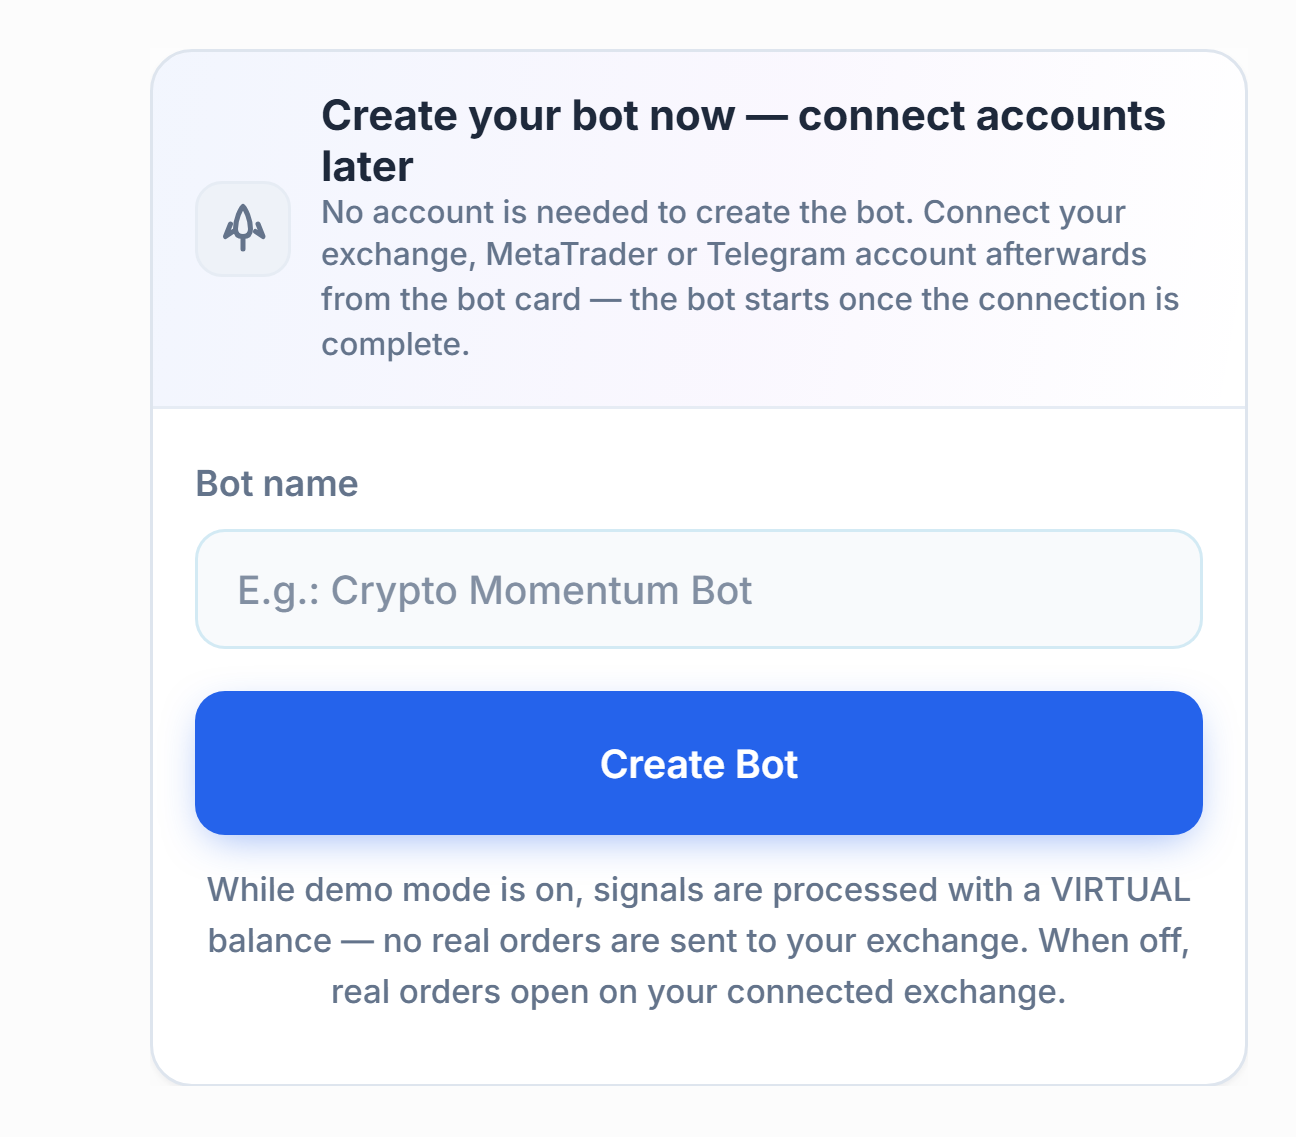
- Bot name — Give your bot a name; it will appear under this name in your panel.
- Create Bot — Saves the bot right away. Creating a bot doesn't require an account; you can finish connecting Telegram and the exchange later from the bot card. The bot starts once the connections are complete.
Right below this panel, a list appears showing what's still missing for the bot to be able to run:


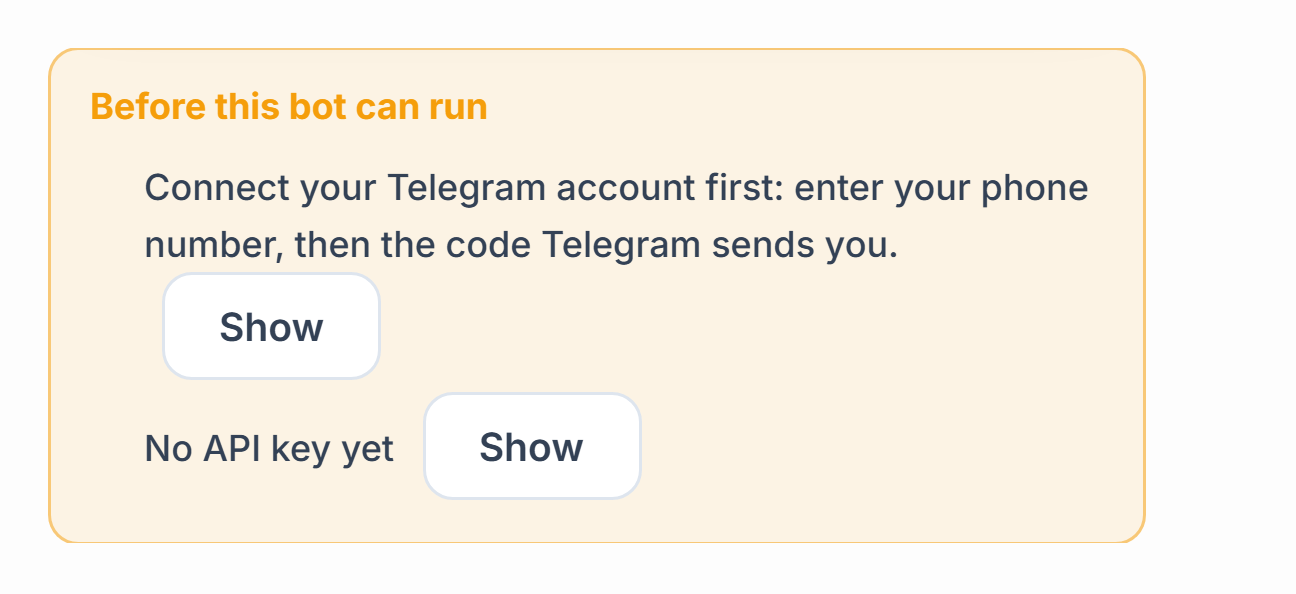
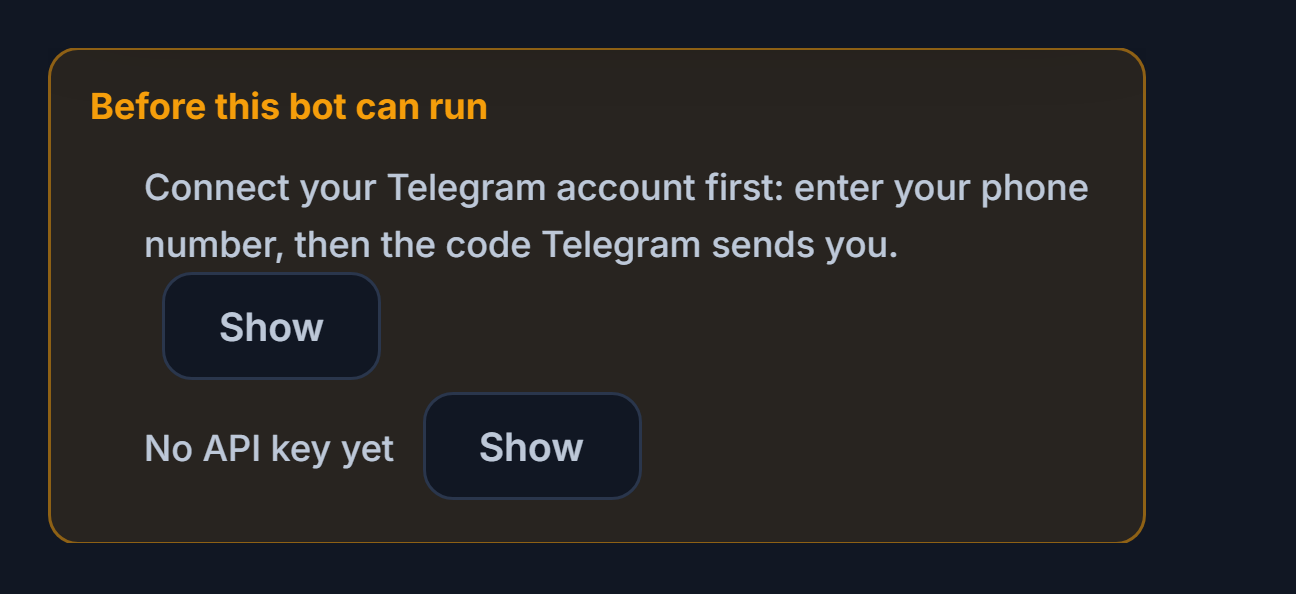
- Show (Telegram) — Takes you straight to the Telegram connection section.
- Show (API key) — Takes you to the exchange target section. There you can add an API key or turn on Demo mode.
Step 6Connect your Telegram account
The bot reads signal channels through your own Telegram account. Nothing is ever sent on your behalf; only the channels you choose are read. The connection stays live 24/7 and reconnects automatically if it drops.
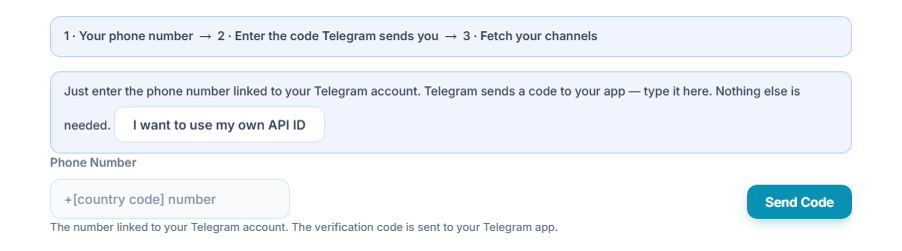
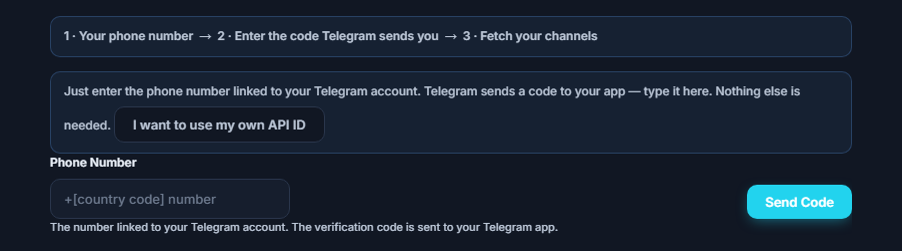
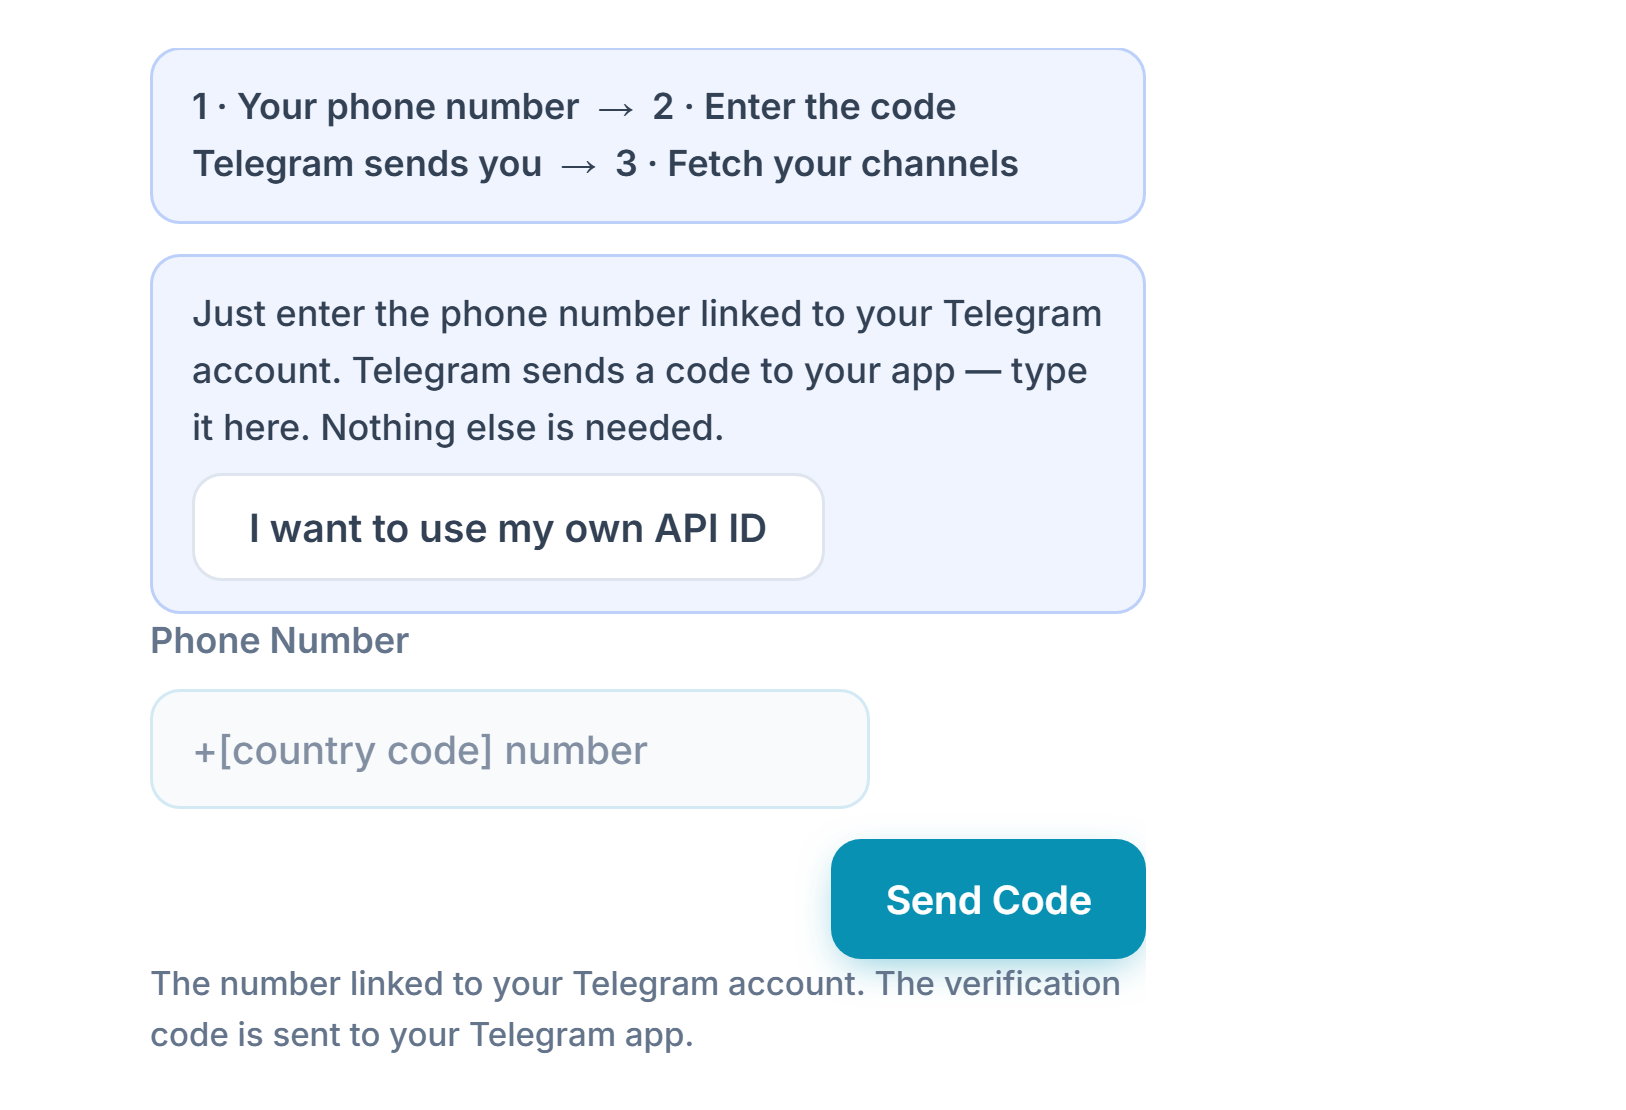
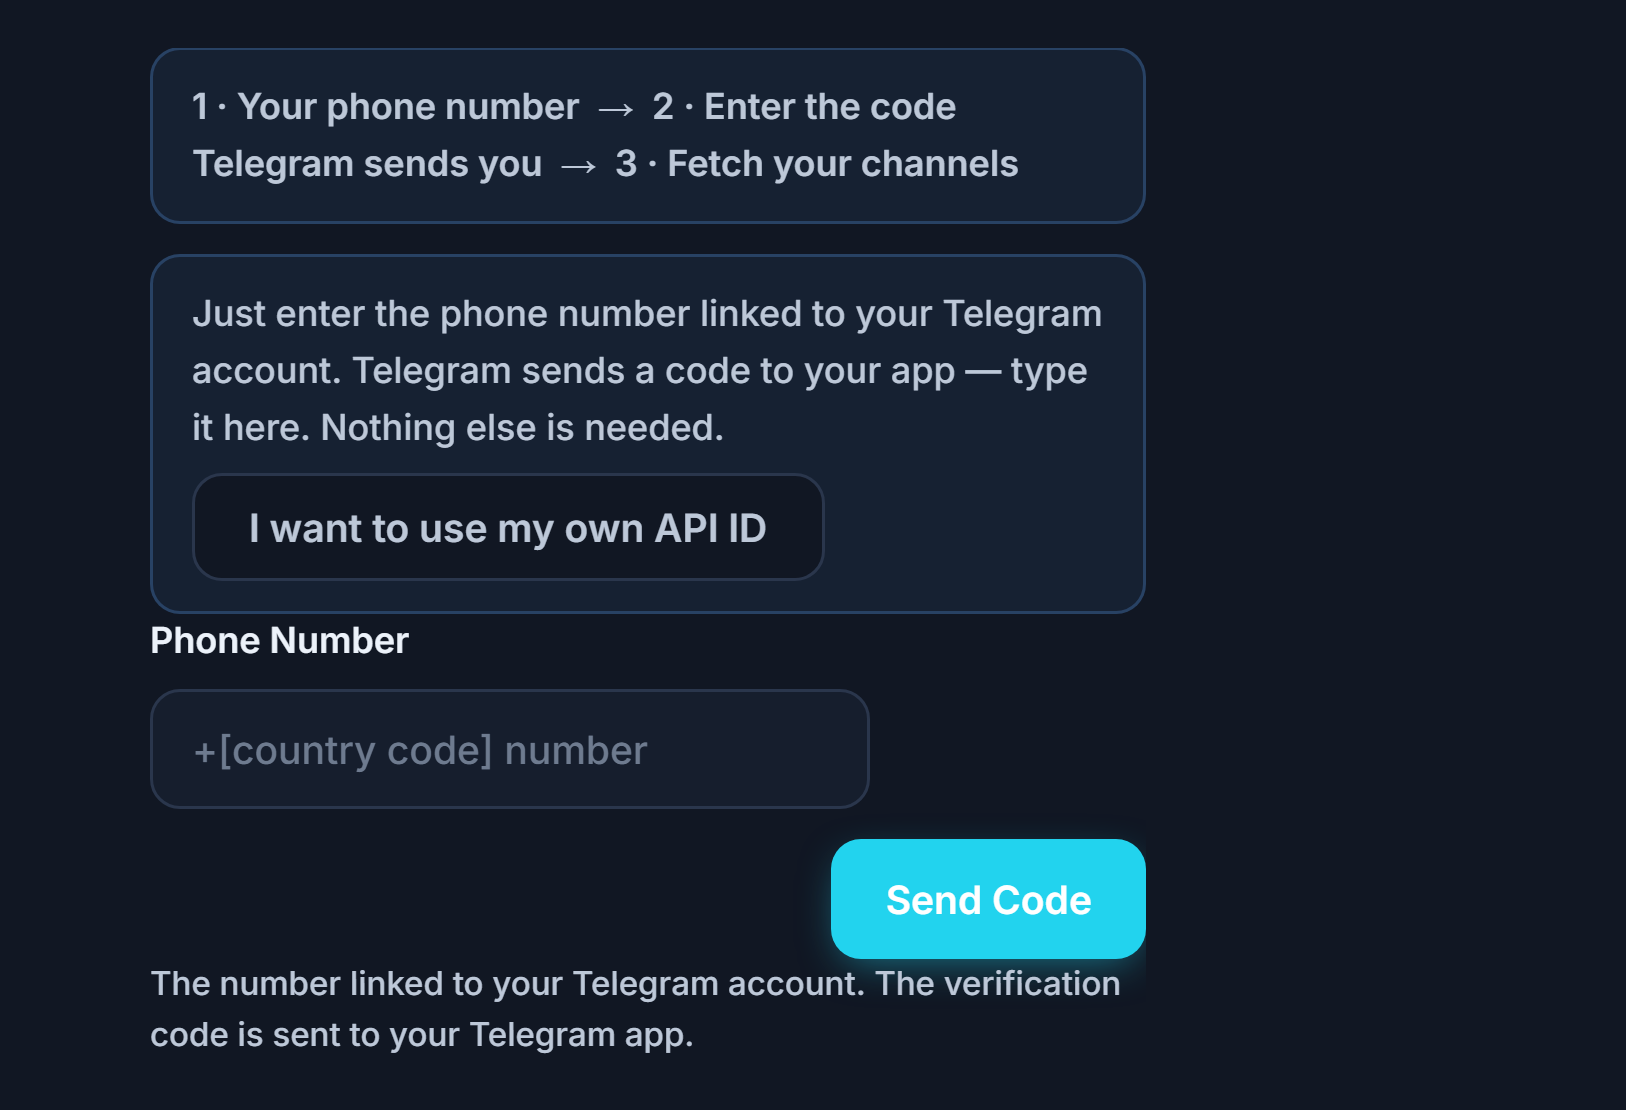
- Step strip — Shows three steps: 1 · Your phone number → 2 · Enter the code Telegram sends you → 3 · Fetch channels.
- Phone Number — Enter the number linked to your Telegram account with the country code.
- Send Code — A verification code is sent. The code usually arrives in the Telegram app; in some cases it may also arrive as an SMS to your phone. After tapping the button, a roughly 20-second countdown appears before you can tap it again.
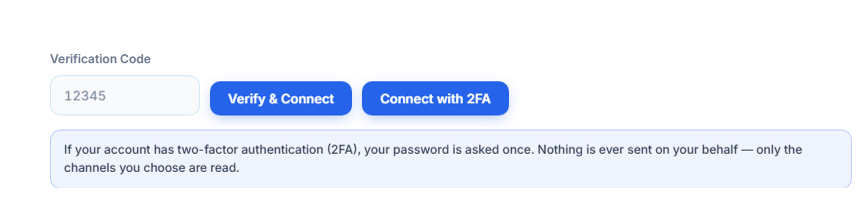
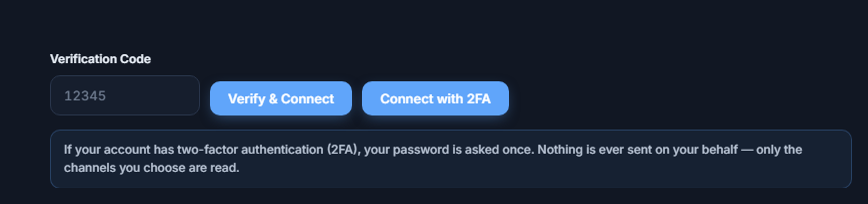
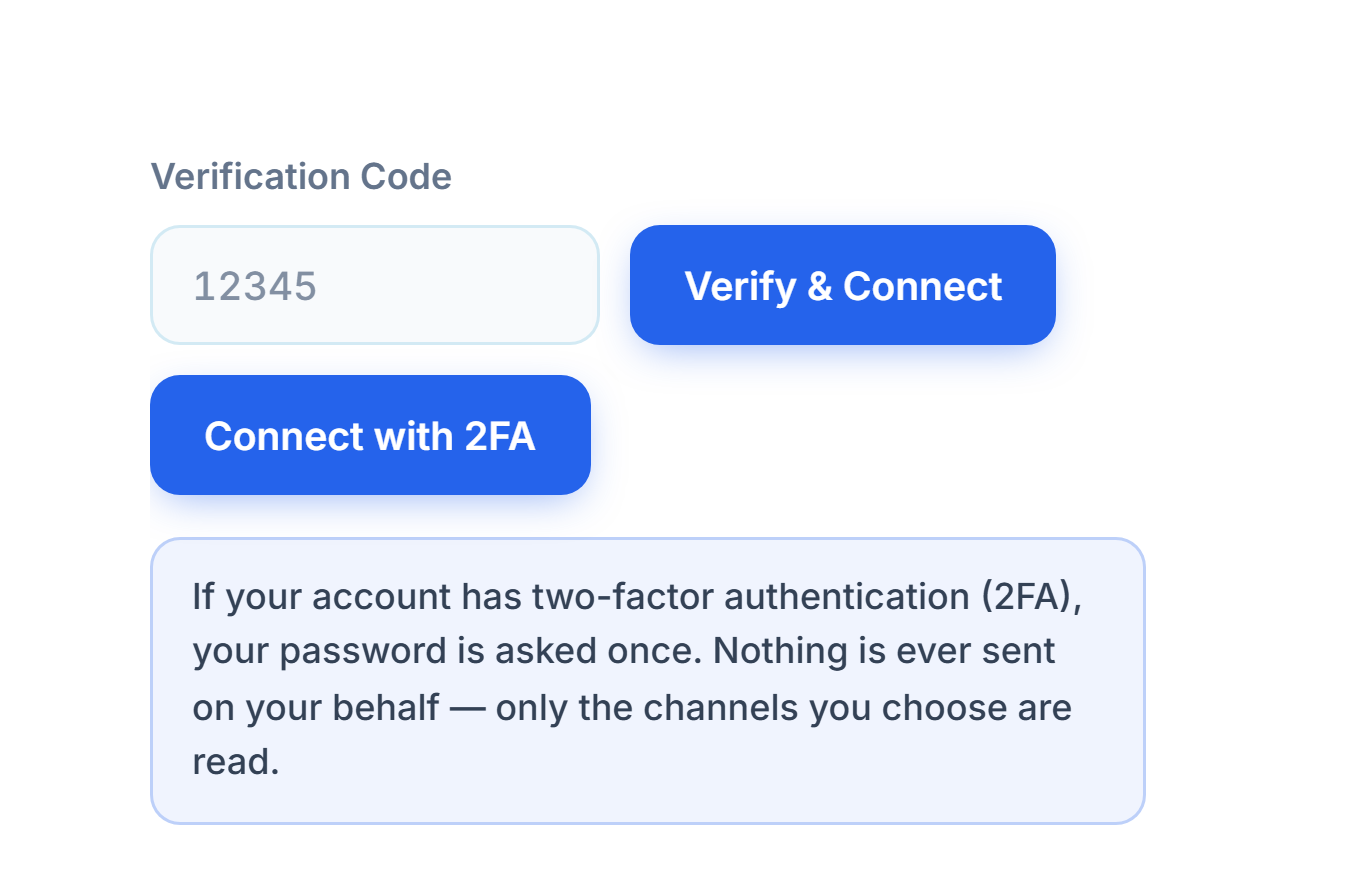
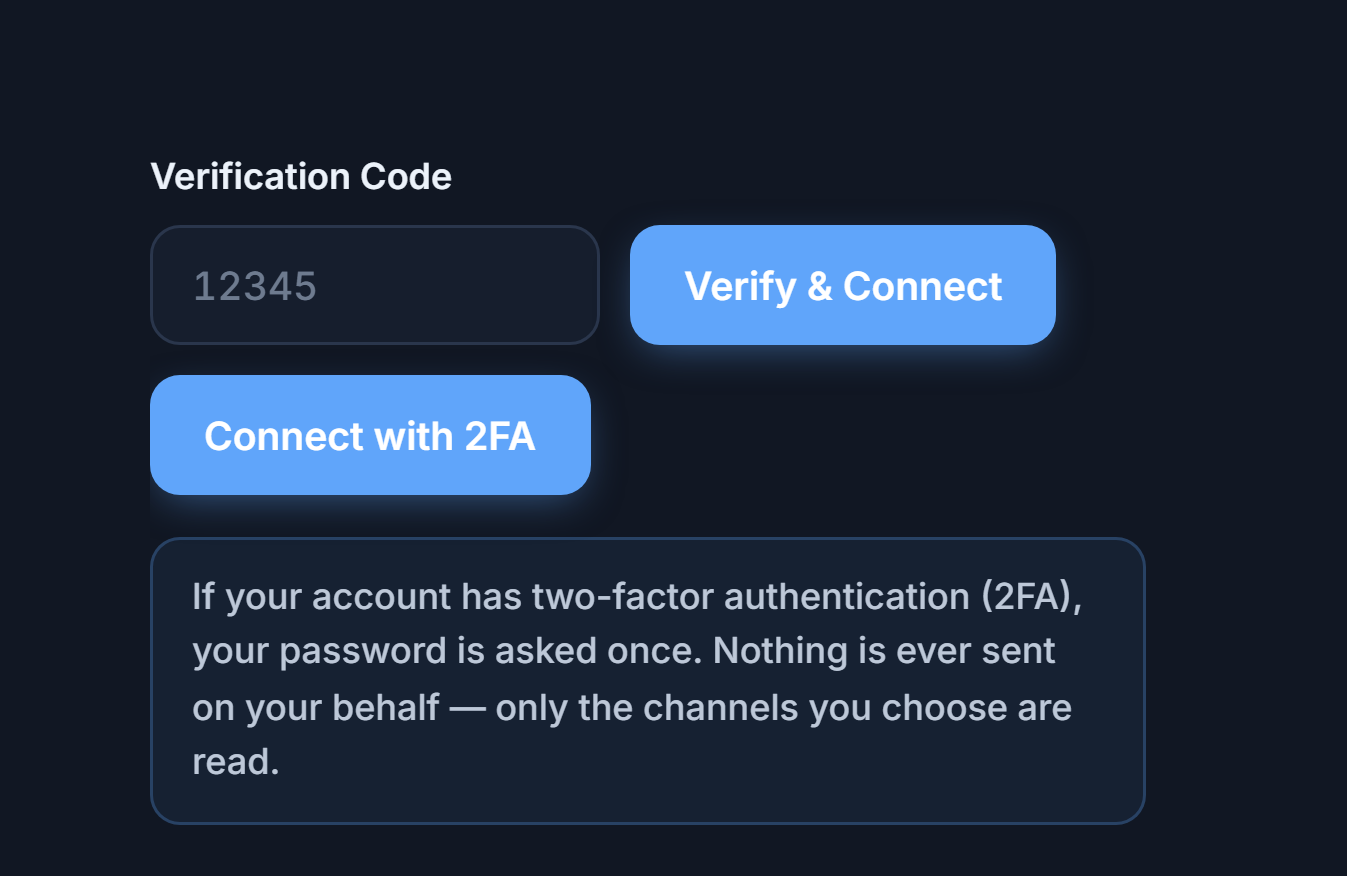
- Verification Code — Enter the 5-digit code sent to your Telegram app or by SMS to your phone.
- Verify & Connect — Confirms the code and connects your account. On success, the section shows "Connected".


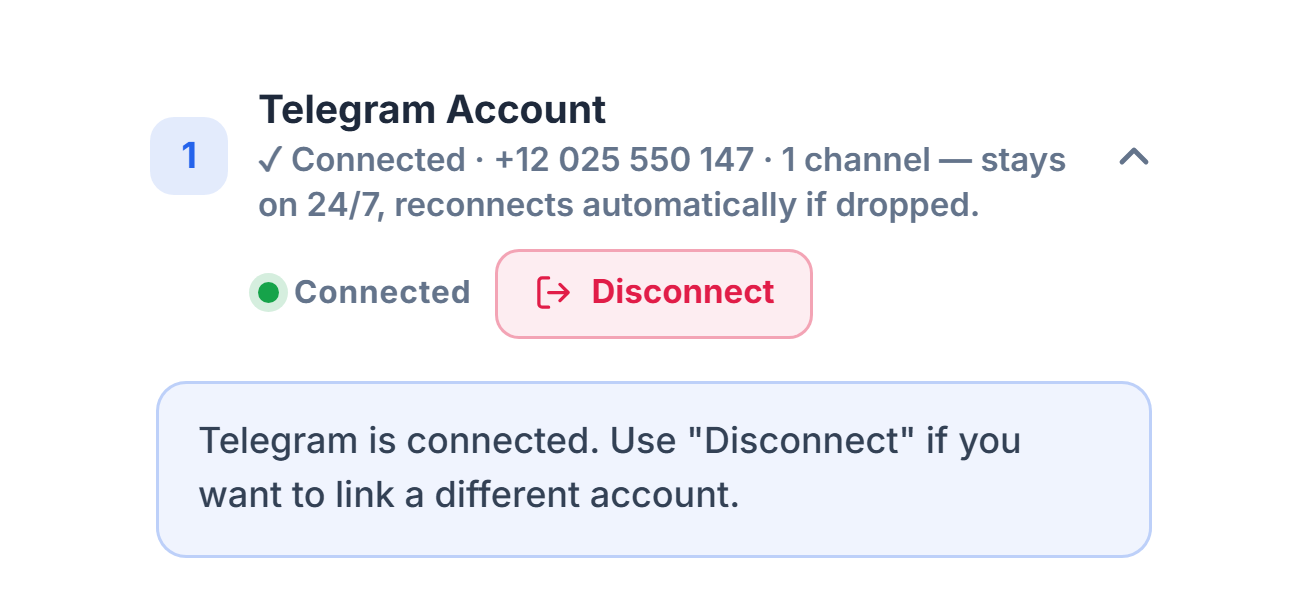
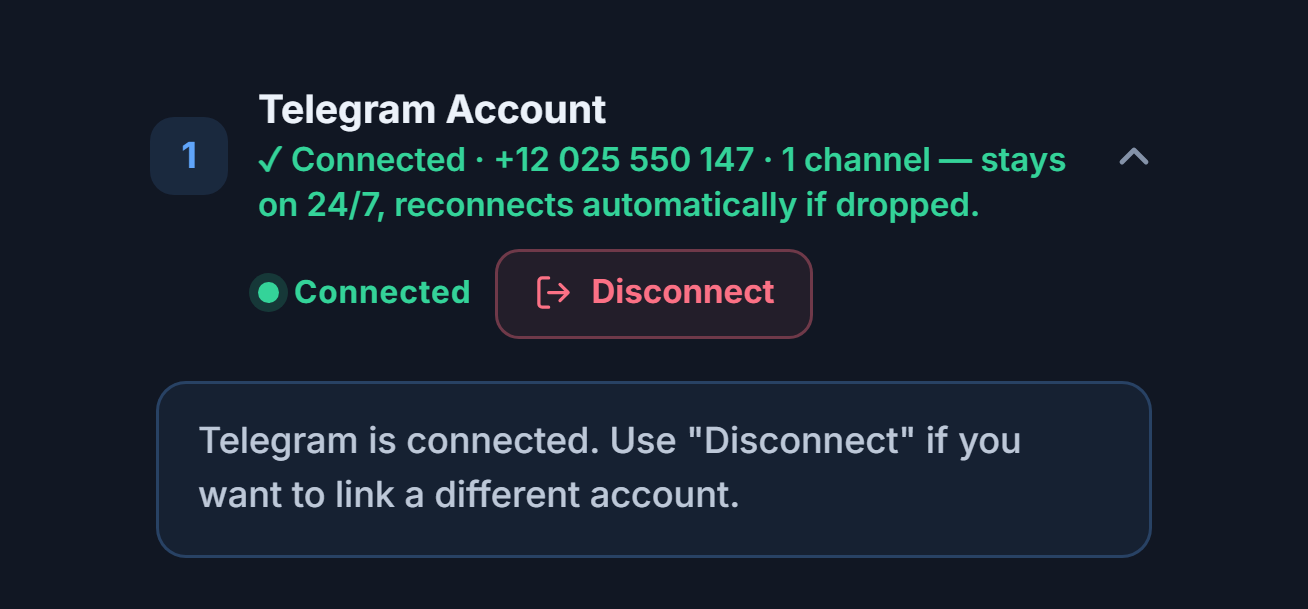
- Connected badge — The section title shows a green "Connected"; below it you'll see the connected number and how many channels you've added.
- Disconnect — Use it only if you want to connect a different Telegram account. Once you disconnect, the channel list disappears and the bot stops; you'll need to reconnect.
- Connection note — The phone and code form is now hidden. The connection stays live 24/7 and reconnects automatically if it drops.
If your account has two-factor authentication (2FA)
- 2FA Password and Connect with 2FA — If two-factor authentication is on for your Telegram account, you'll be asked for your password once after the code. Enter it and tap Connect with 2FA.
Alternative: connect with your own API ID
The default path only asks for a phone number. You can also connect using your own Telegram app credentials via the I want to use my own API ID link in this section. If the quick connection isn't available at that moment, the panel opens this form on its own.
- ← Connect with just my phone number — If you switched to this form by mistake, this takes you back to the default (phone-only) path.
- my.telegram.org — Log in there with your phone → API development tools → Create an app. The form asks for an App title and a Short name (any name you like, e.g. AlgoVesta) and a Platform (Other); the URL and description can be left empty. It's free. Open the page in a new tab; don't close the AlgoVesta tab. The login code arrives in your Telegram app or by SMS to your phone.
- API ID — The
api_idvalue shown on my.telegram.org; it's digits only. - API Hash — The
api_hashvalue on the same page; a 32-character code. You can show/hide it with the eye icon.
After entering the API ID and API Hash, the flow is the same: phone number → Send Code → code → Verify & Connect.
Step 7Choose your signal channels
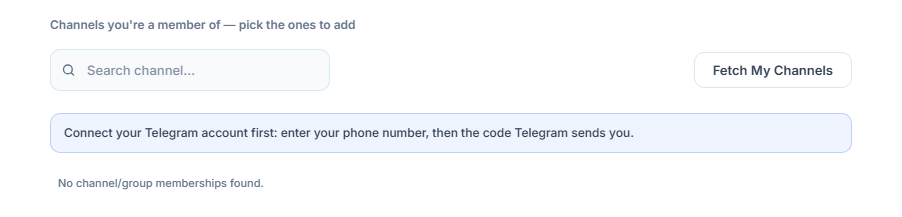
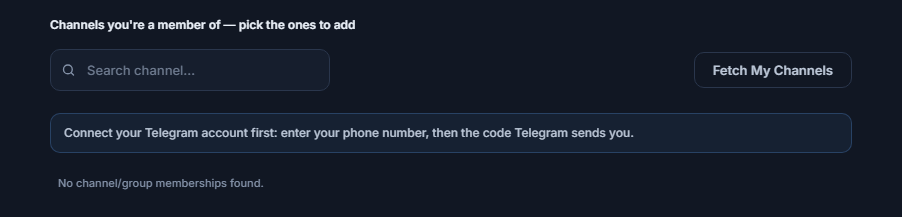
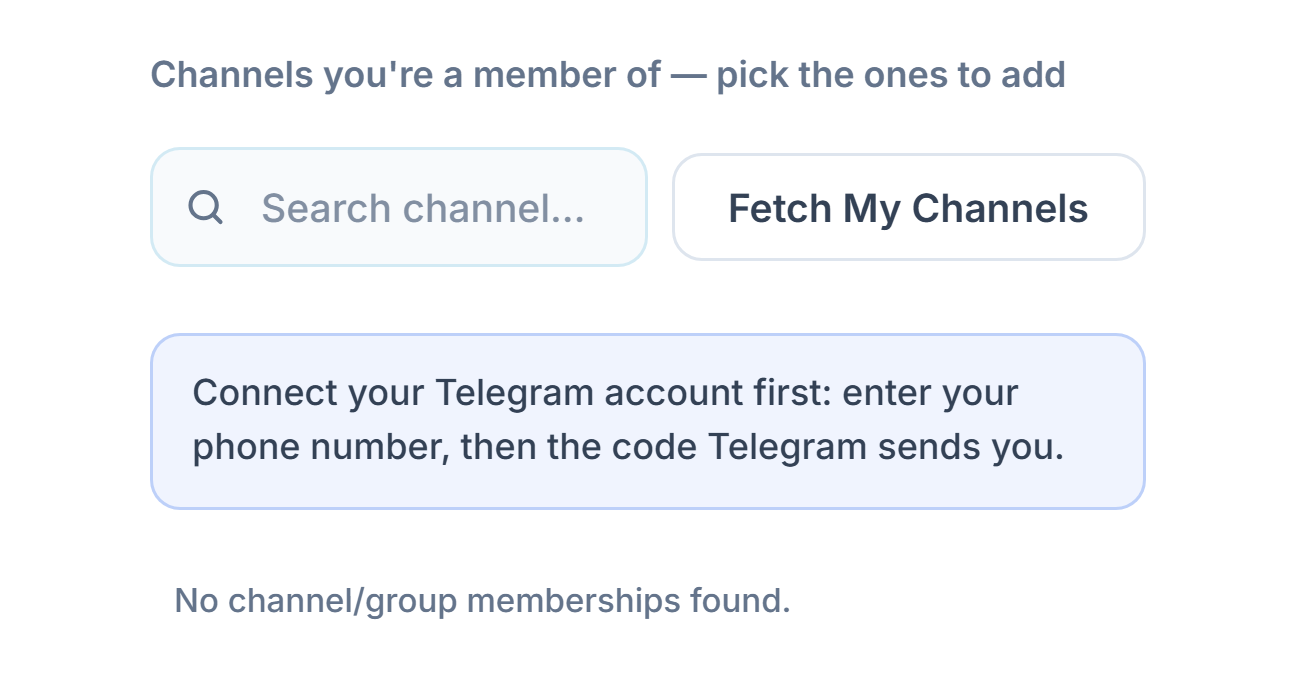
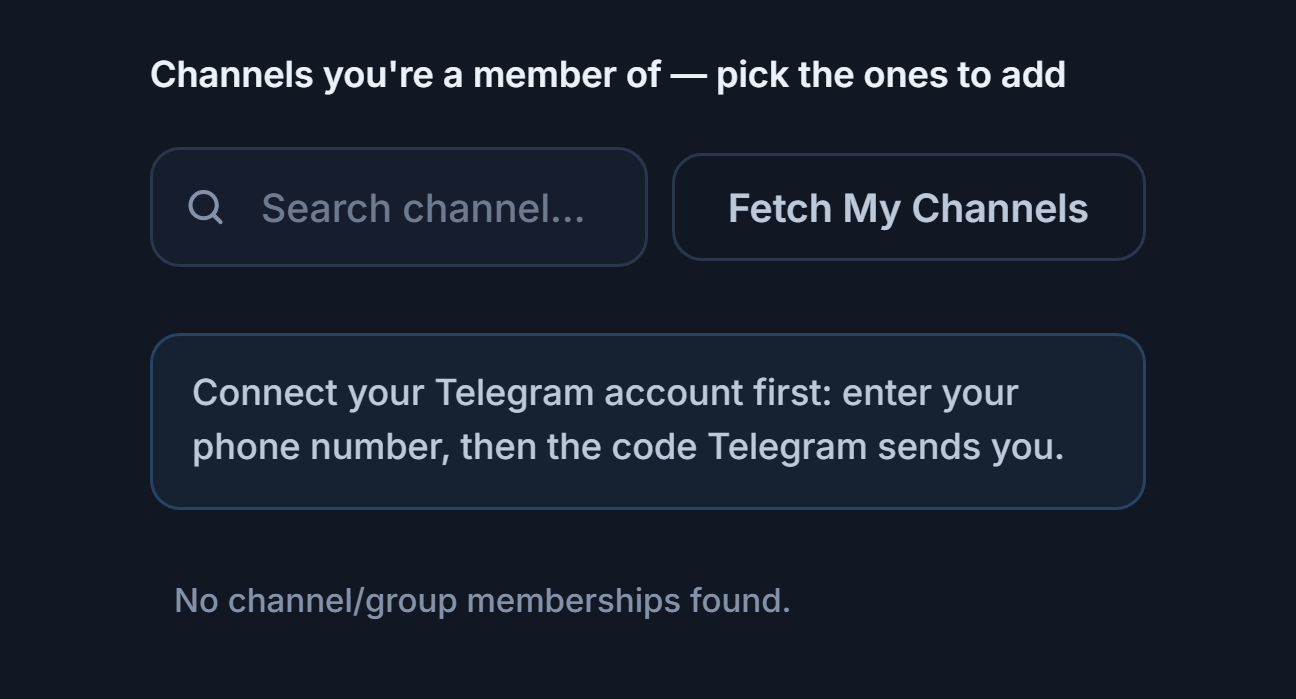
- Search channel… — Searches the listed channels by name.
- Fetch My Channels — Lists the channels and groups you're a member of. Each channel in the list has an Add next to it; an added channel becomes "✓ Added", and you can remove it with the delete icon.
- Connect your Telegram account first — The channel list won't appear until your account is connected. Finish Step 6 first.
Once Telegram is connected, the same section lists the channels you're a member of:
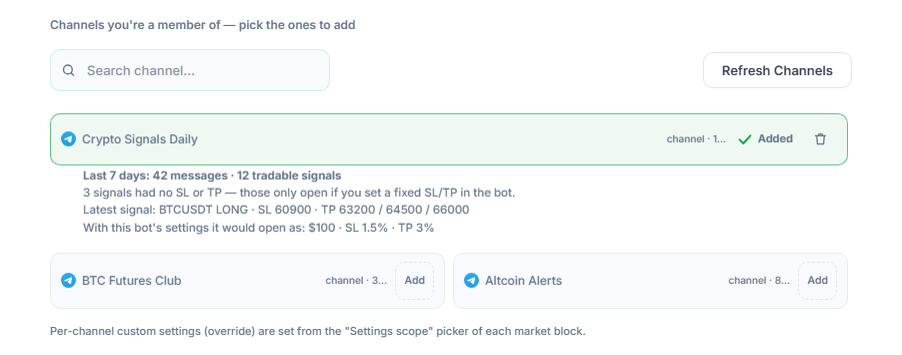
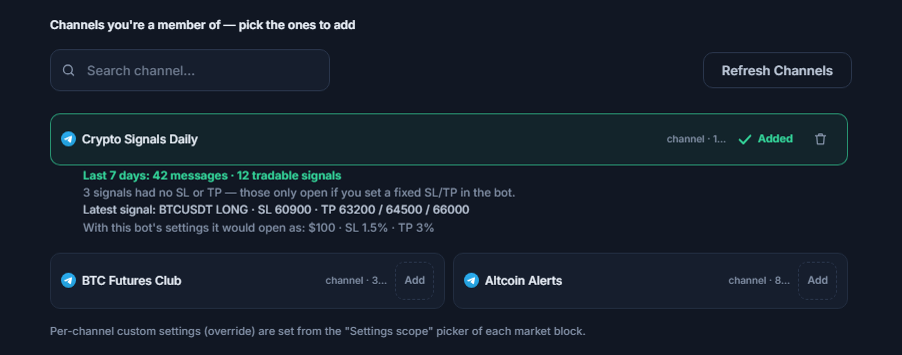
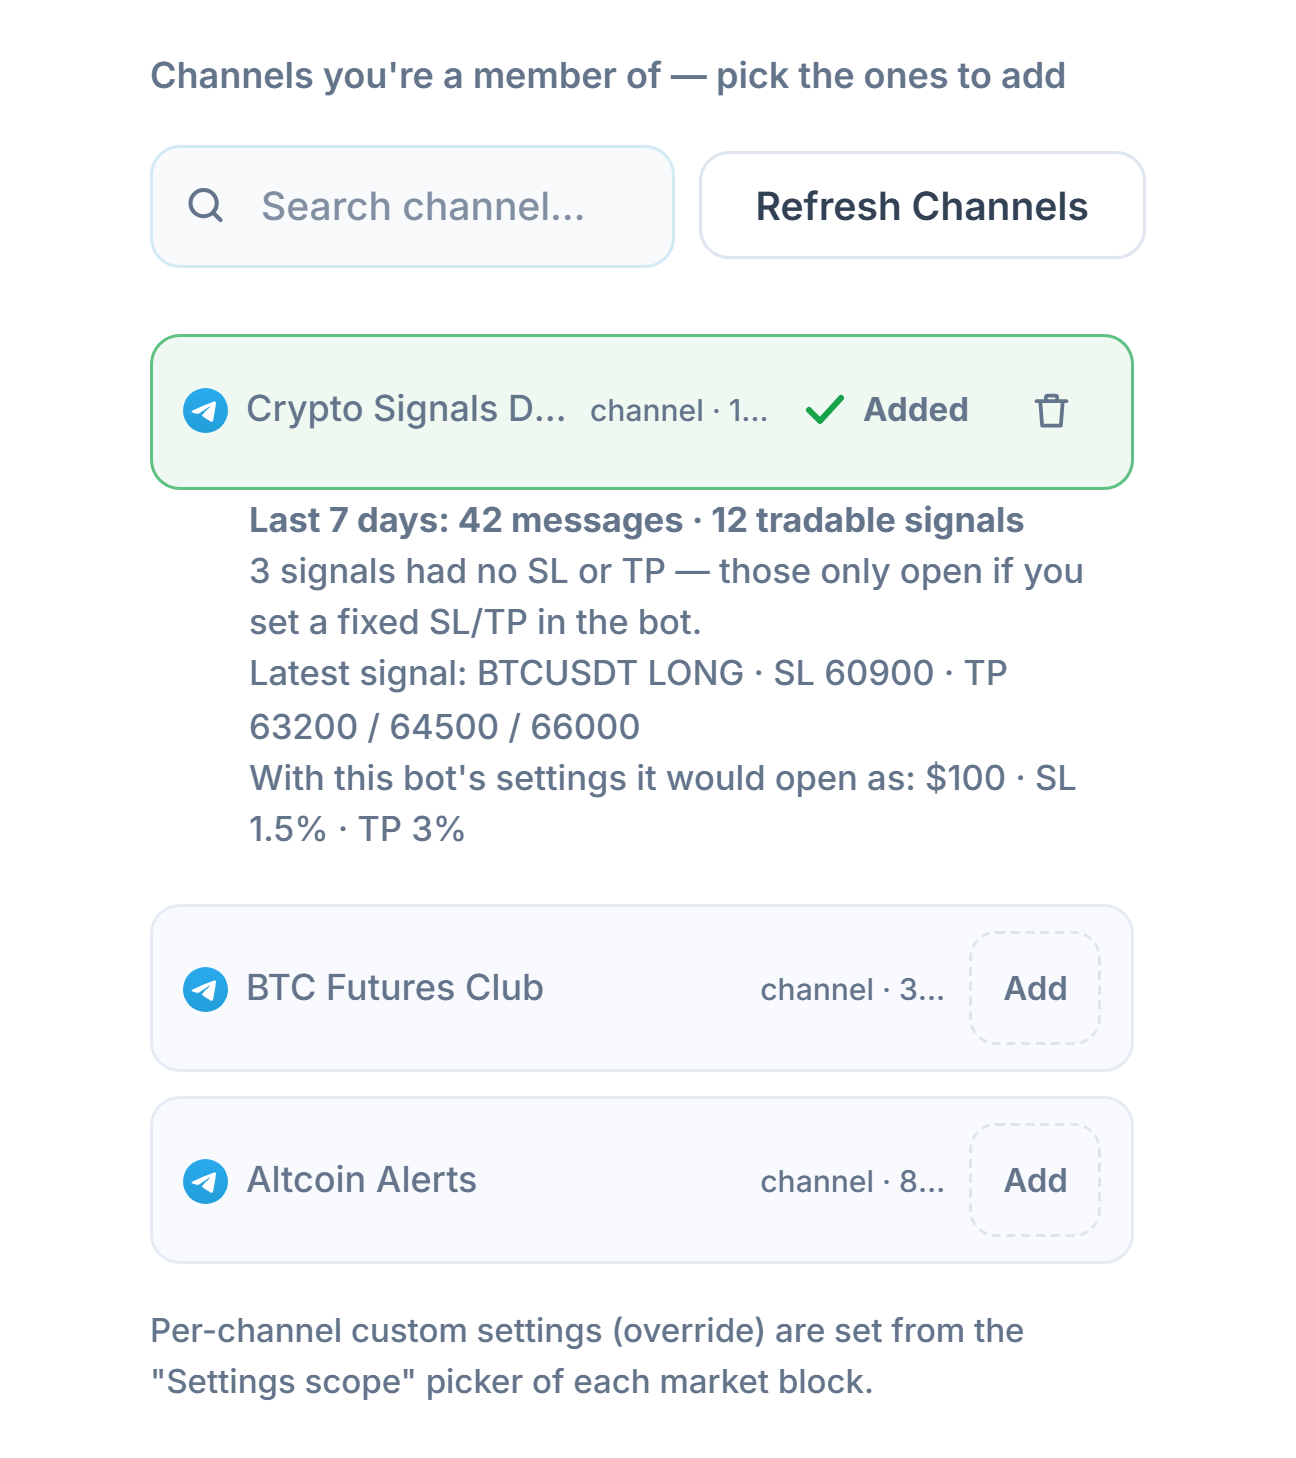
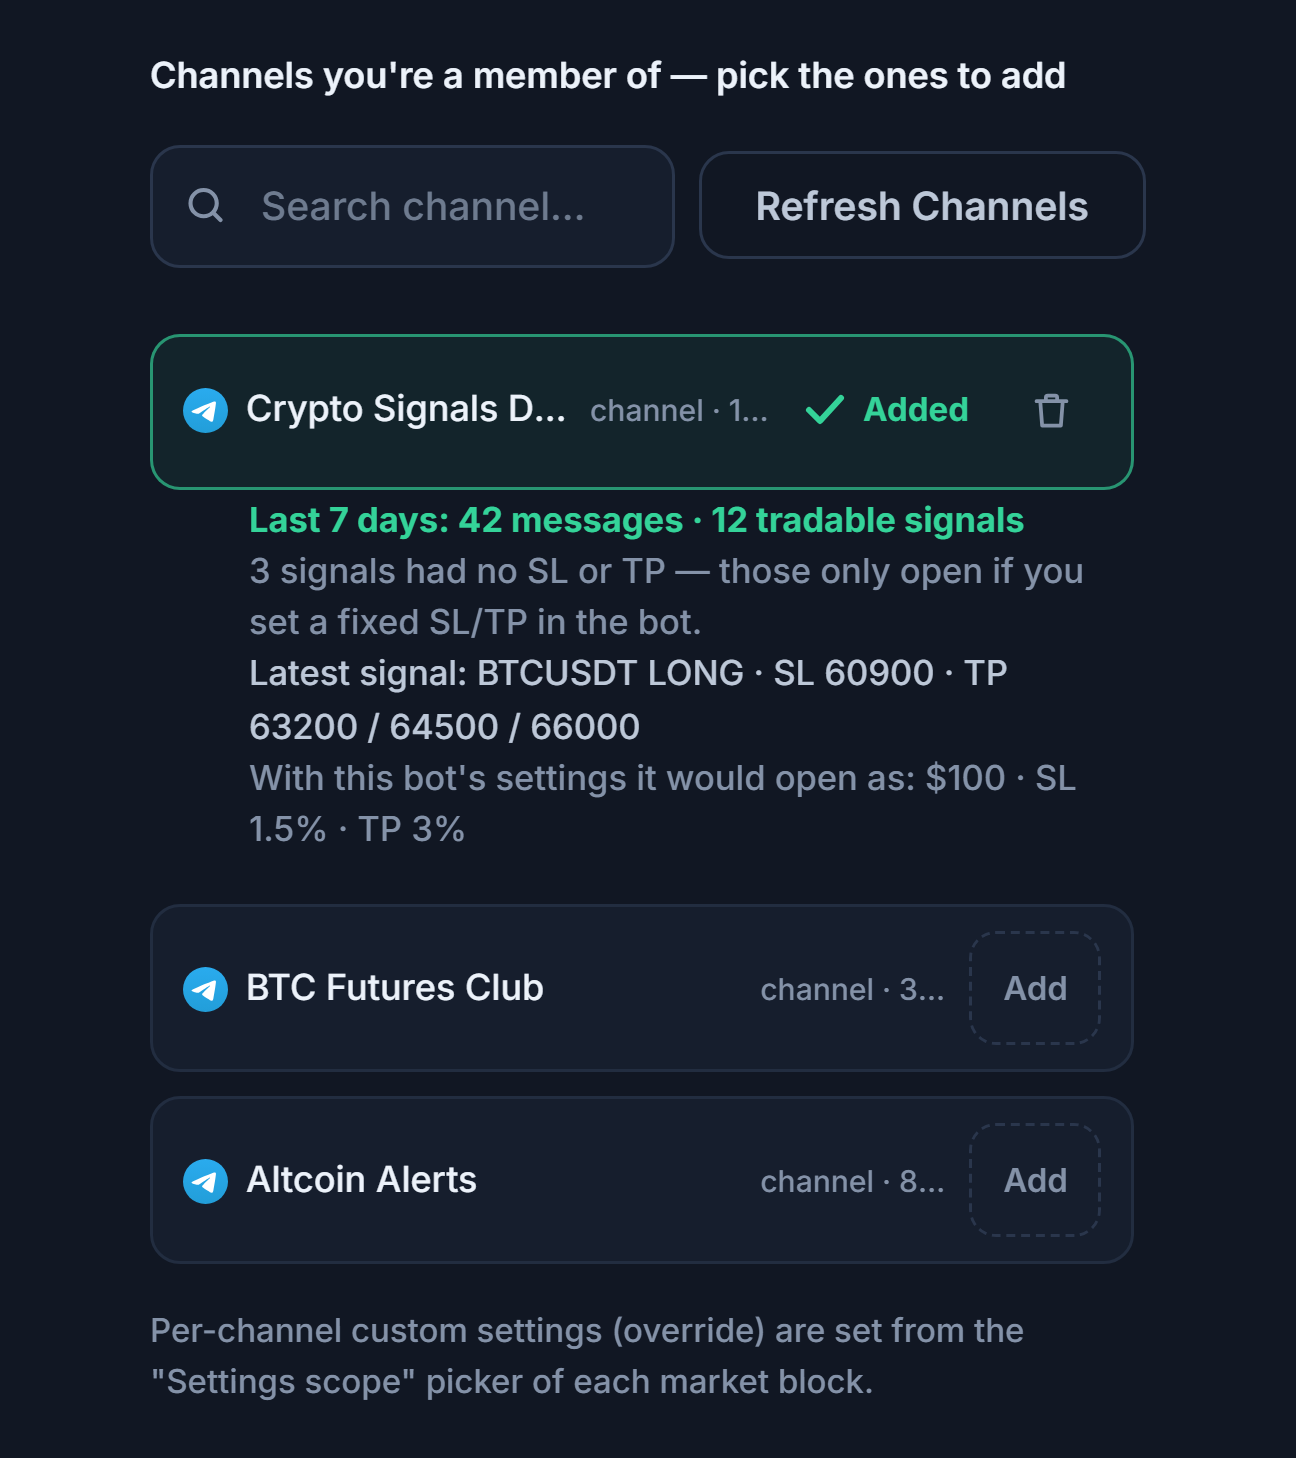
- Search channel… — To find a channel by name in a long list.
- Refresh Channels — This is the button's name once you're connected. If you've joined a new channel on Telegram, refresh the list here.
- Add — The button next to the channel you want the bot to listen to. The channel you add moves to the top of the list and is also added to the Settings scope in Step 8.
- ✓ Added and the trash icon — The channel has been added; you can remove it with the trash icon.
- Channel report card — Under an added channel you'll see a summary such as "Last 7 days: 42 messages · 12 tradeable signals" and the symbol, direction, SL, and TP values of the latest signal. If the channel is quiet or its messages can't be read, a warning appears here.
Step 8Set the settings scope and Demo mode
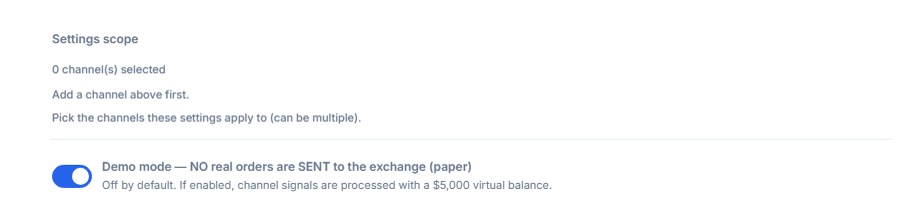
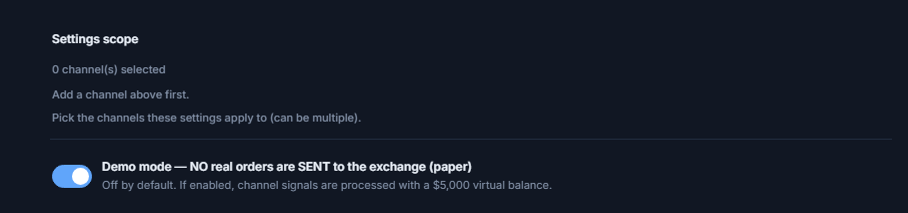
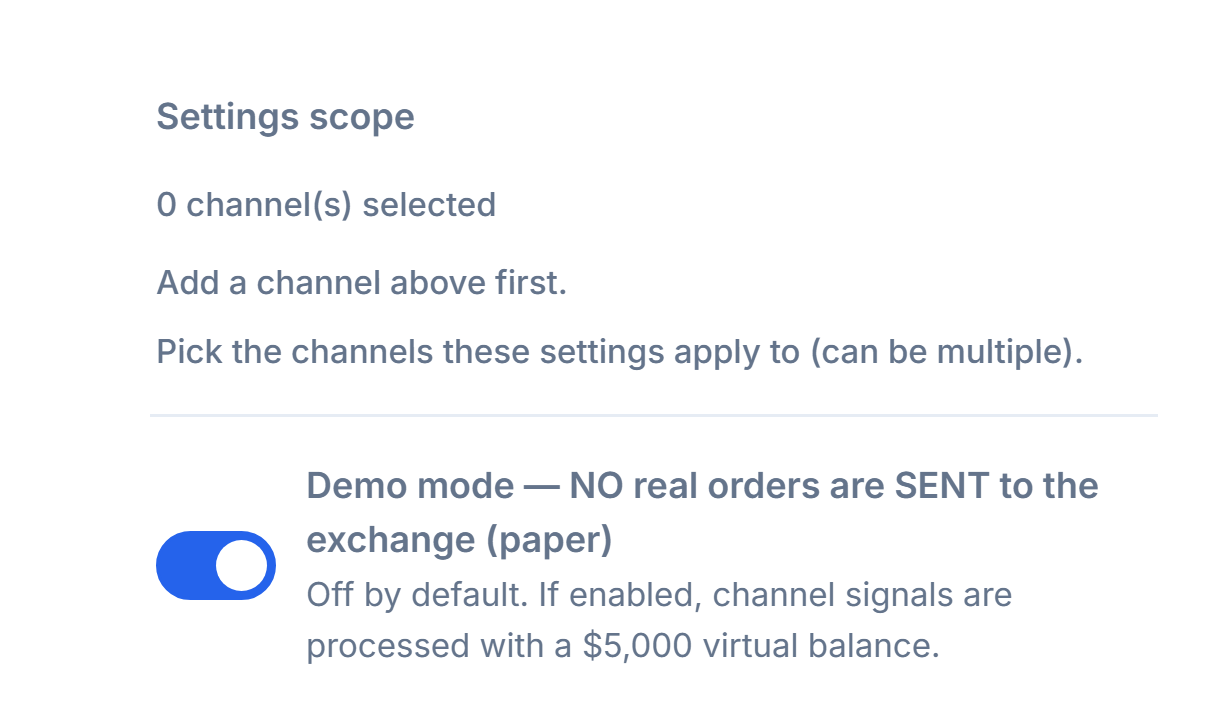
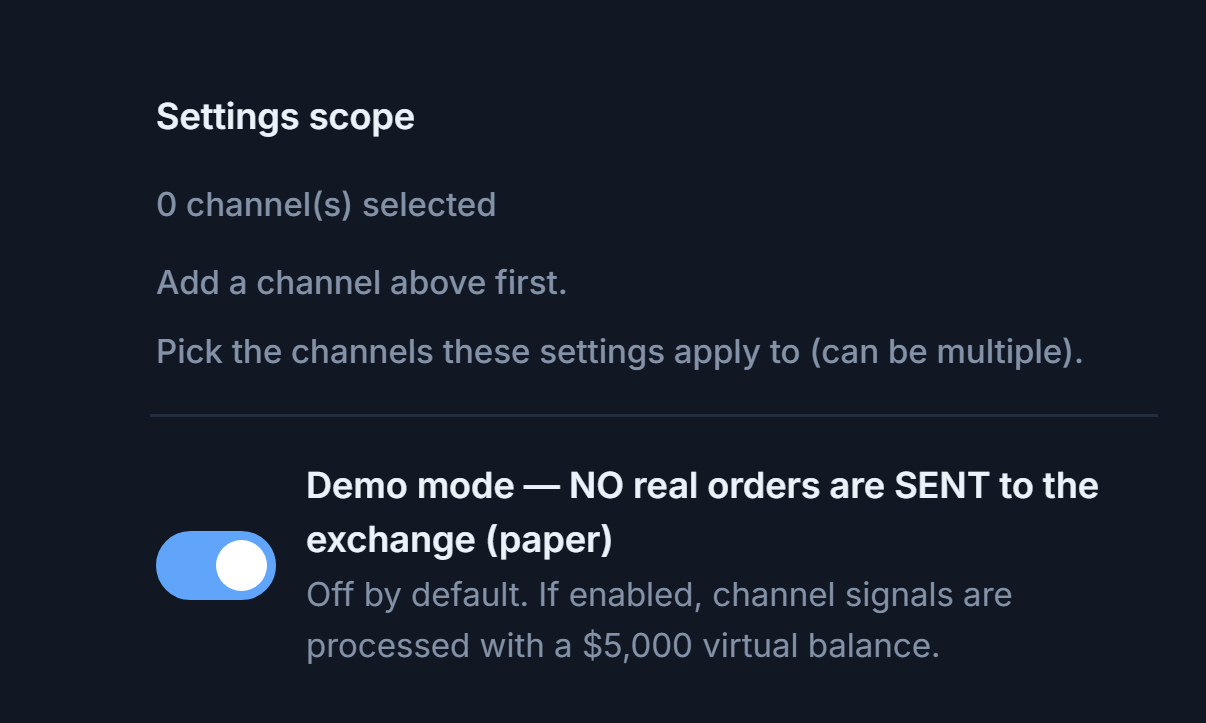
- Settings scope — Choose which channels' signals these crypto settings apply to; you can select more than one channel. You need to add a channel in Step 7 first; added channels appear here as selectable chips. In the screenshot, no channel has been added yet, so it shows "0 channels selected". For a Telegram bot, the bot can't be started until at least one channel is selected.
- Demo mode — NO real orders are SENT to the exchange (paper) — When turned on, channel signals are processed with a $5,000 virtual balance; nothing is sent to your exchange.
After you add a channel, the Settings scope looks like this:


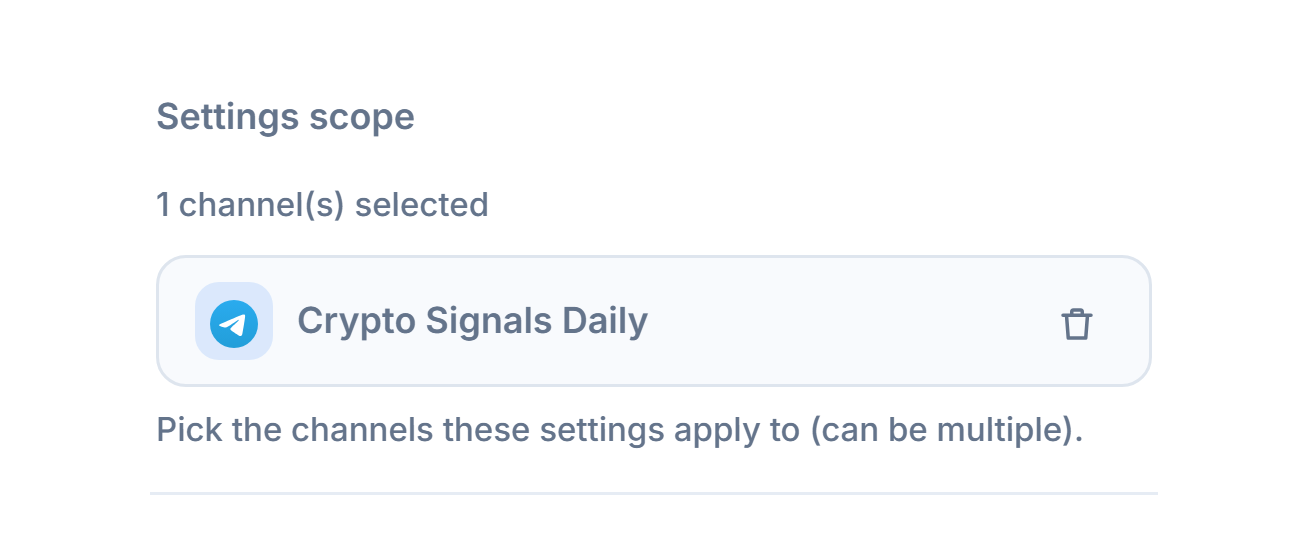
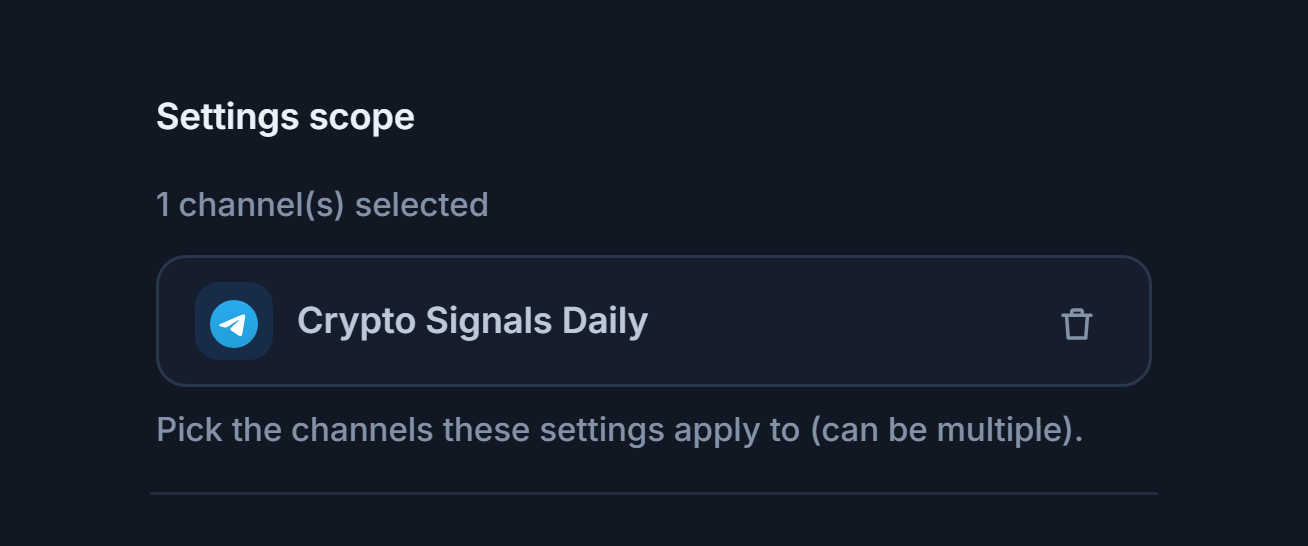
- Channel counter — Something like "1 channel selected", showing how many channels this bot listens to.
- Channel chip — Every channel you add becomes a chip here; tap it to select or deselect it. A selected chip has a green check. Only the signals from selected channels are processed with this bot's crypto settings.
- Remove — The trash icon on the chip removes the channel from the bot entirely; it also disappears from the list in Step 7.
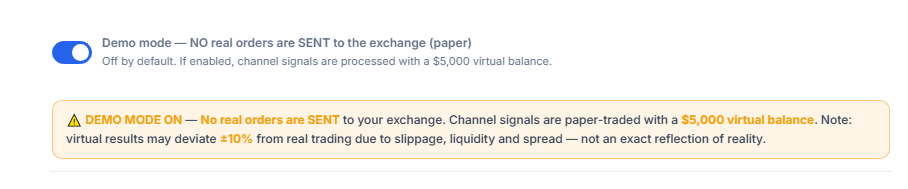
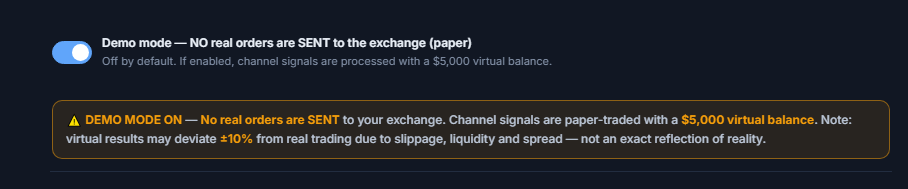
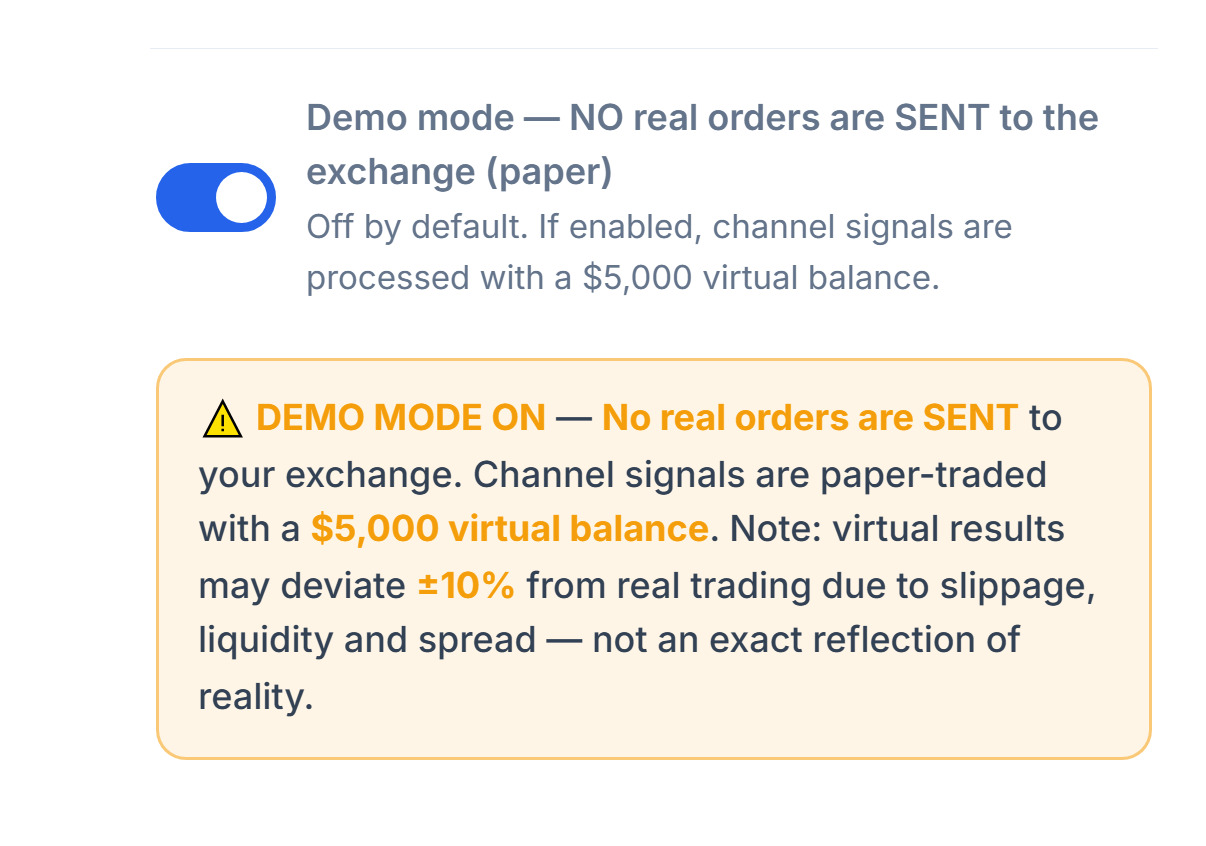
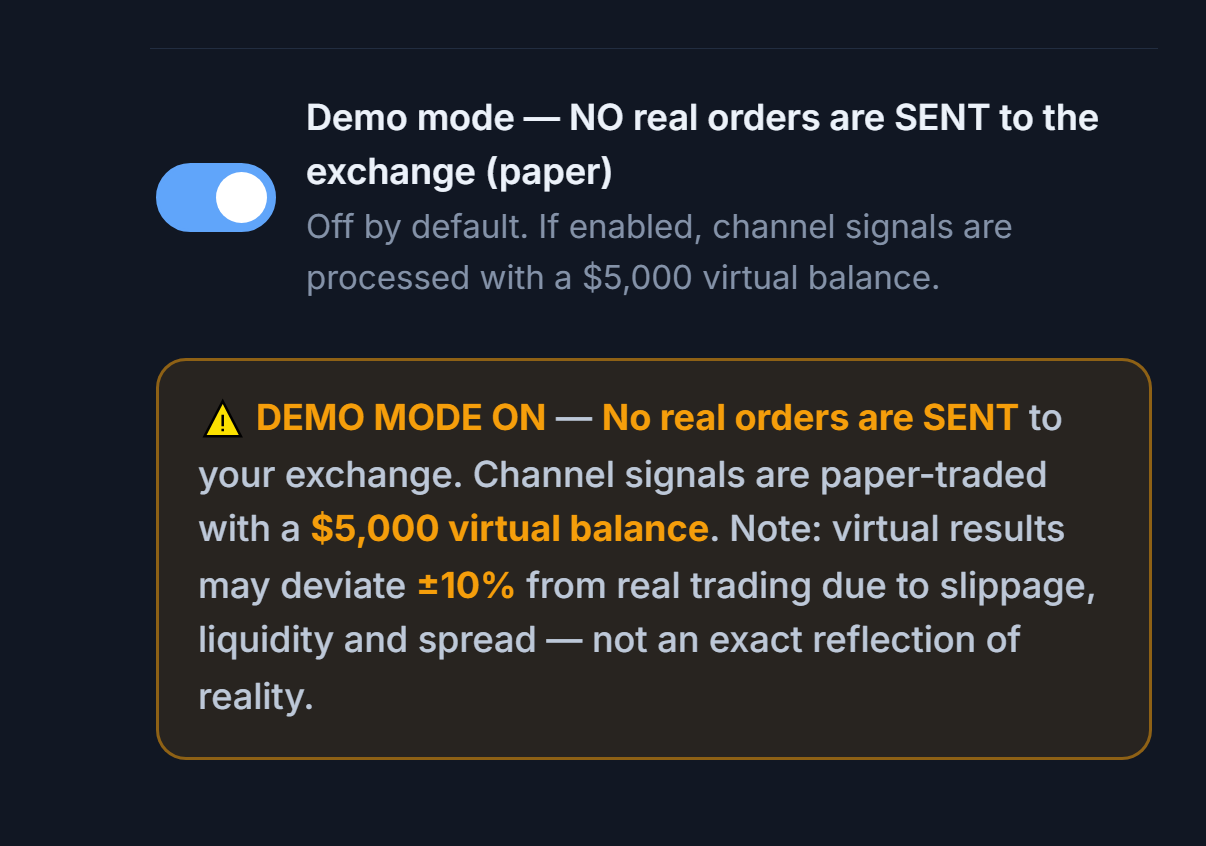
- Demo toggle on — The bot now runs with a virtual balance.
- "DEMO MODE ON" banner — The orange banner stays visible as a constant reminder that no real orders are being sent. Virtual results can genuinely differ by ±10%. A "Demo" badge also appears on the bot card.
Step 9Choose the exchange to trade on
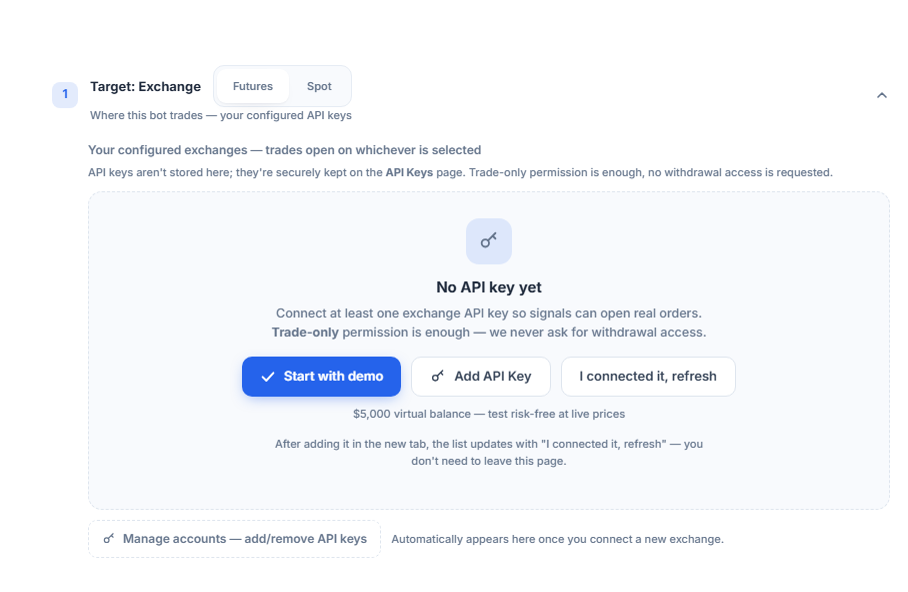
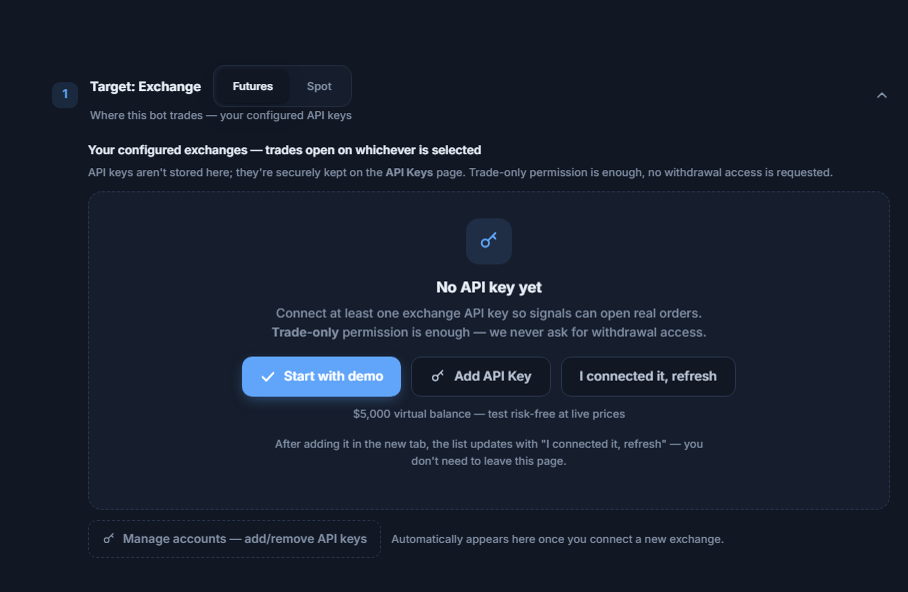
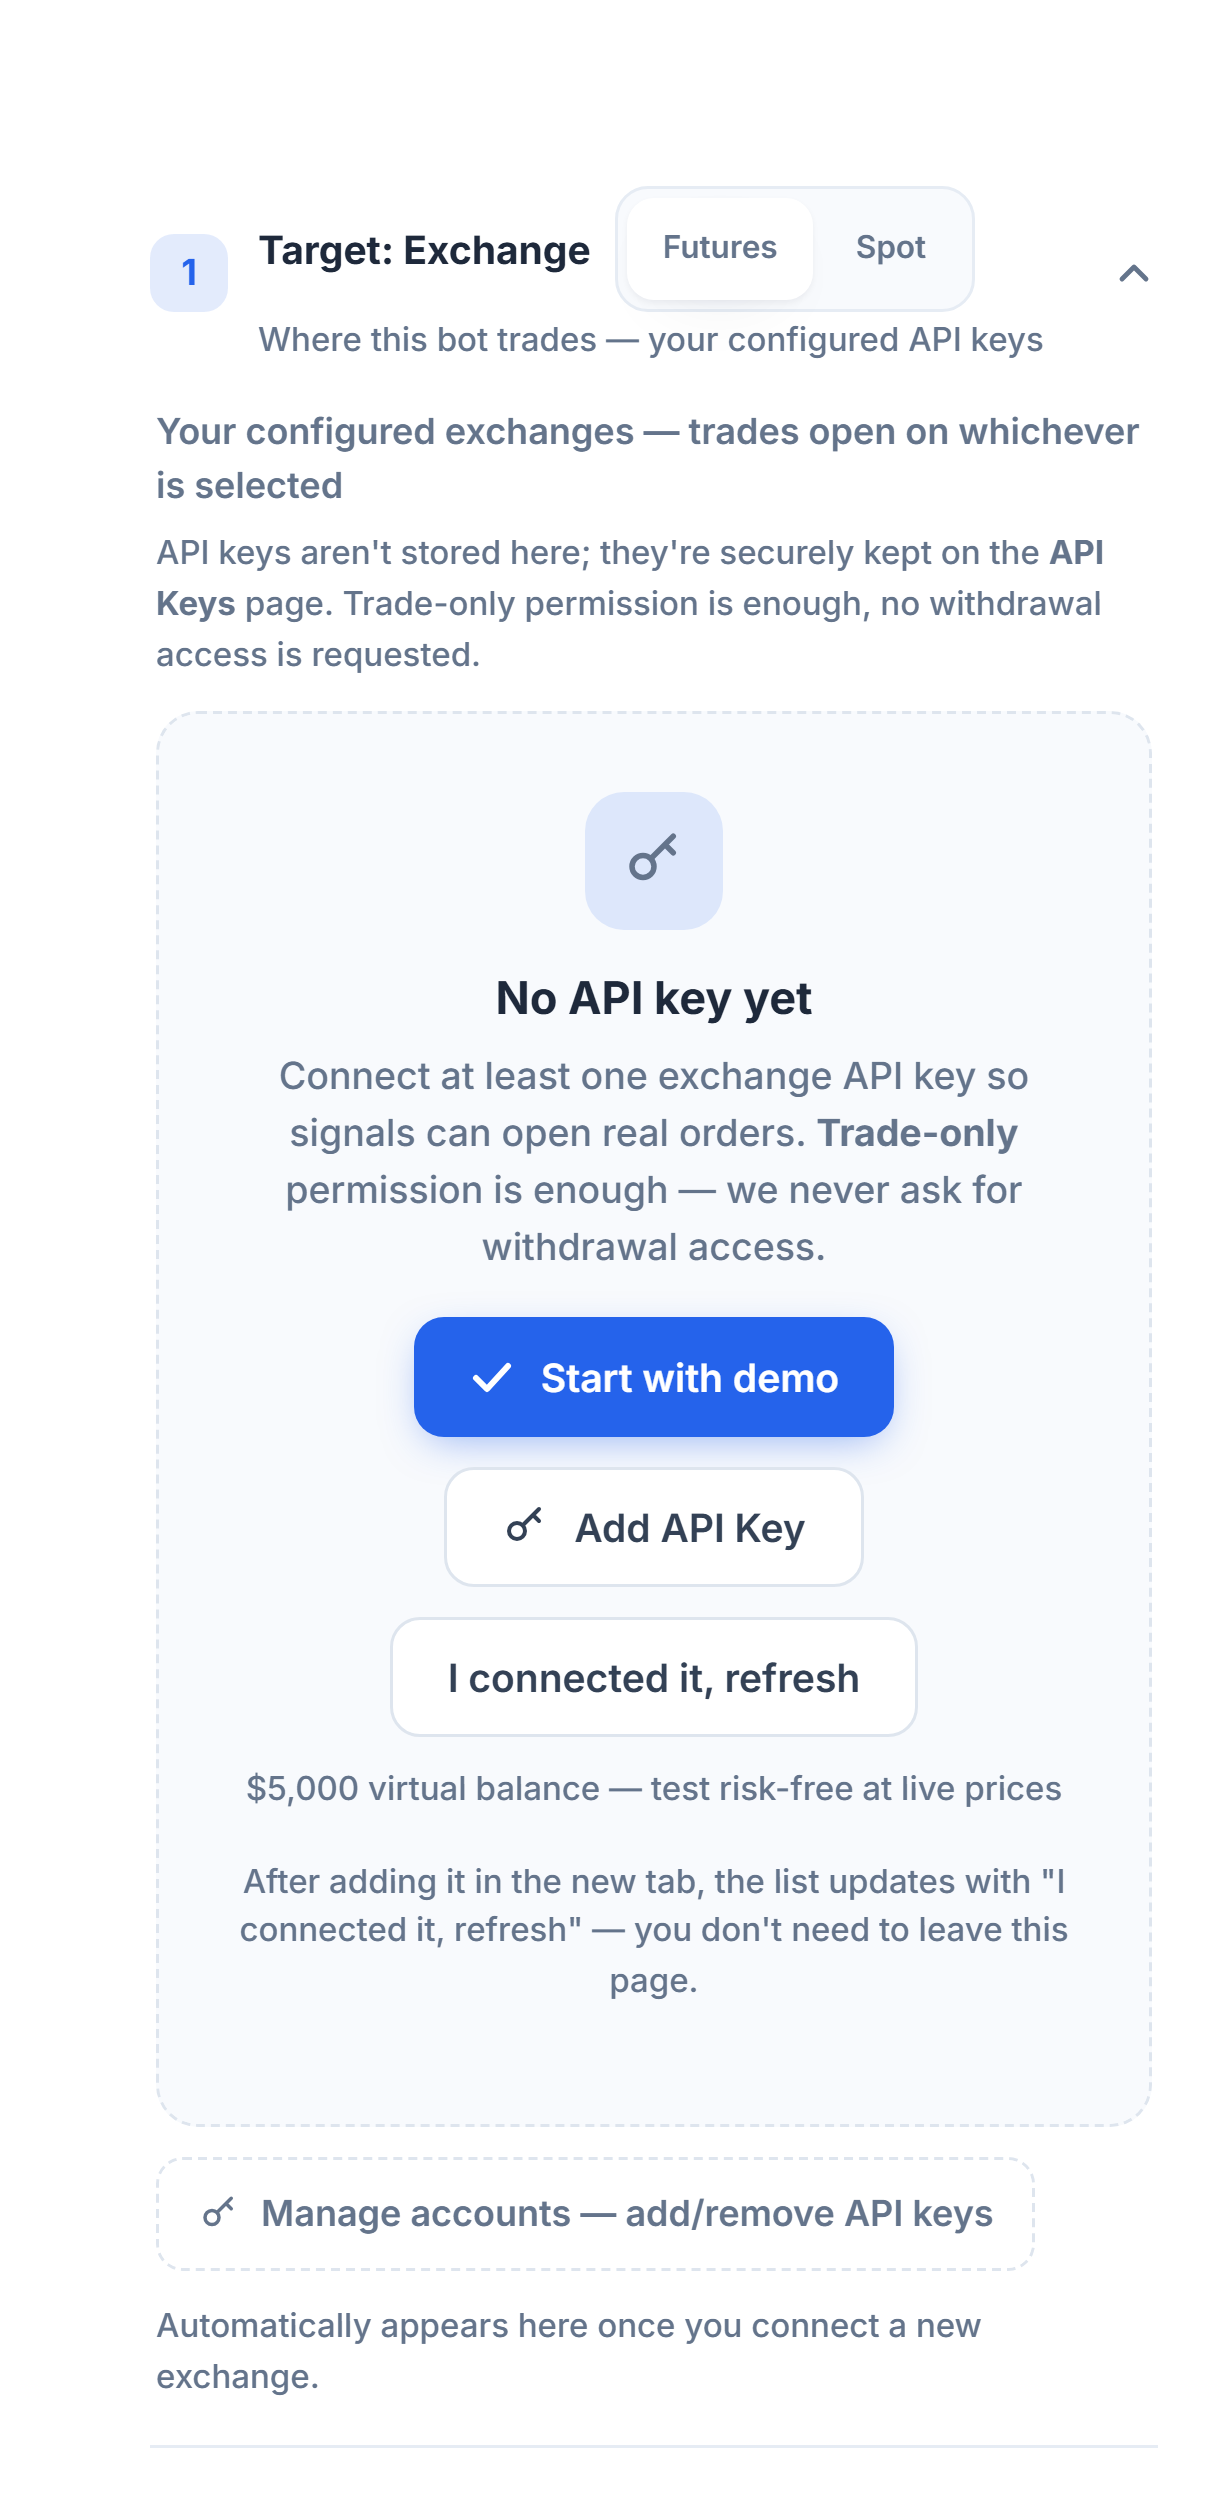
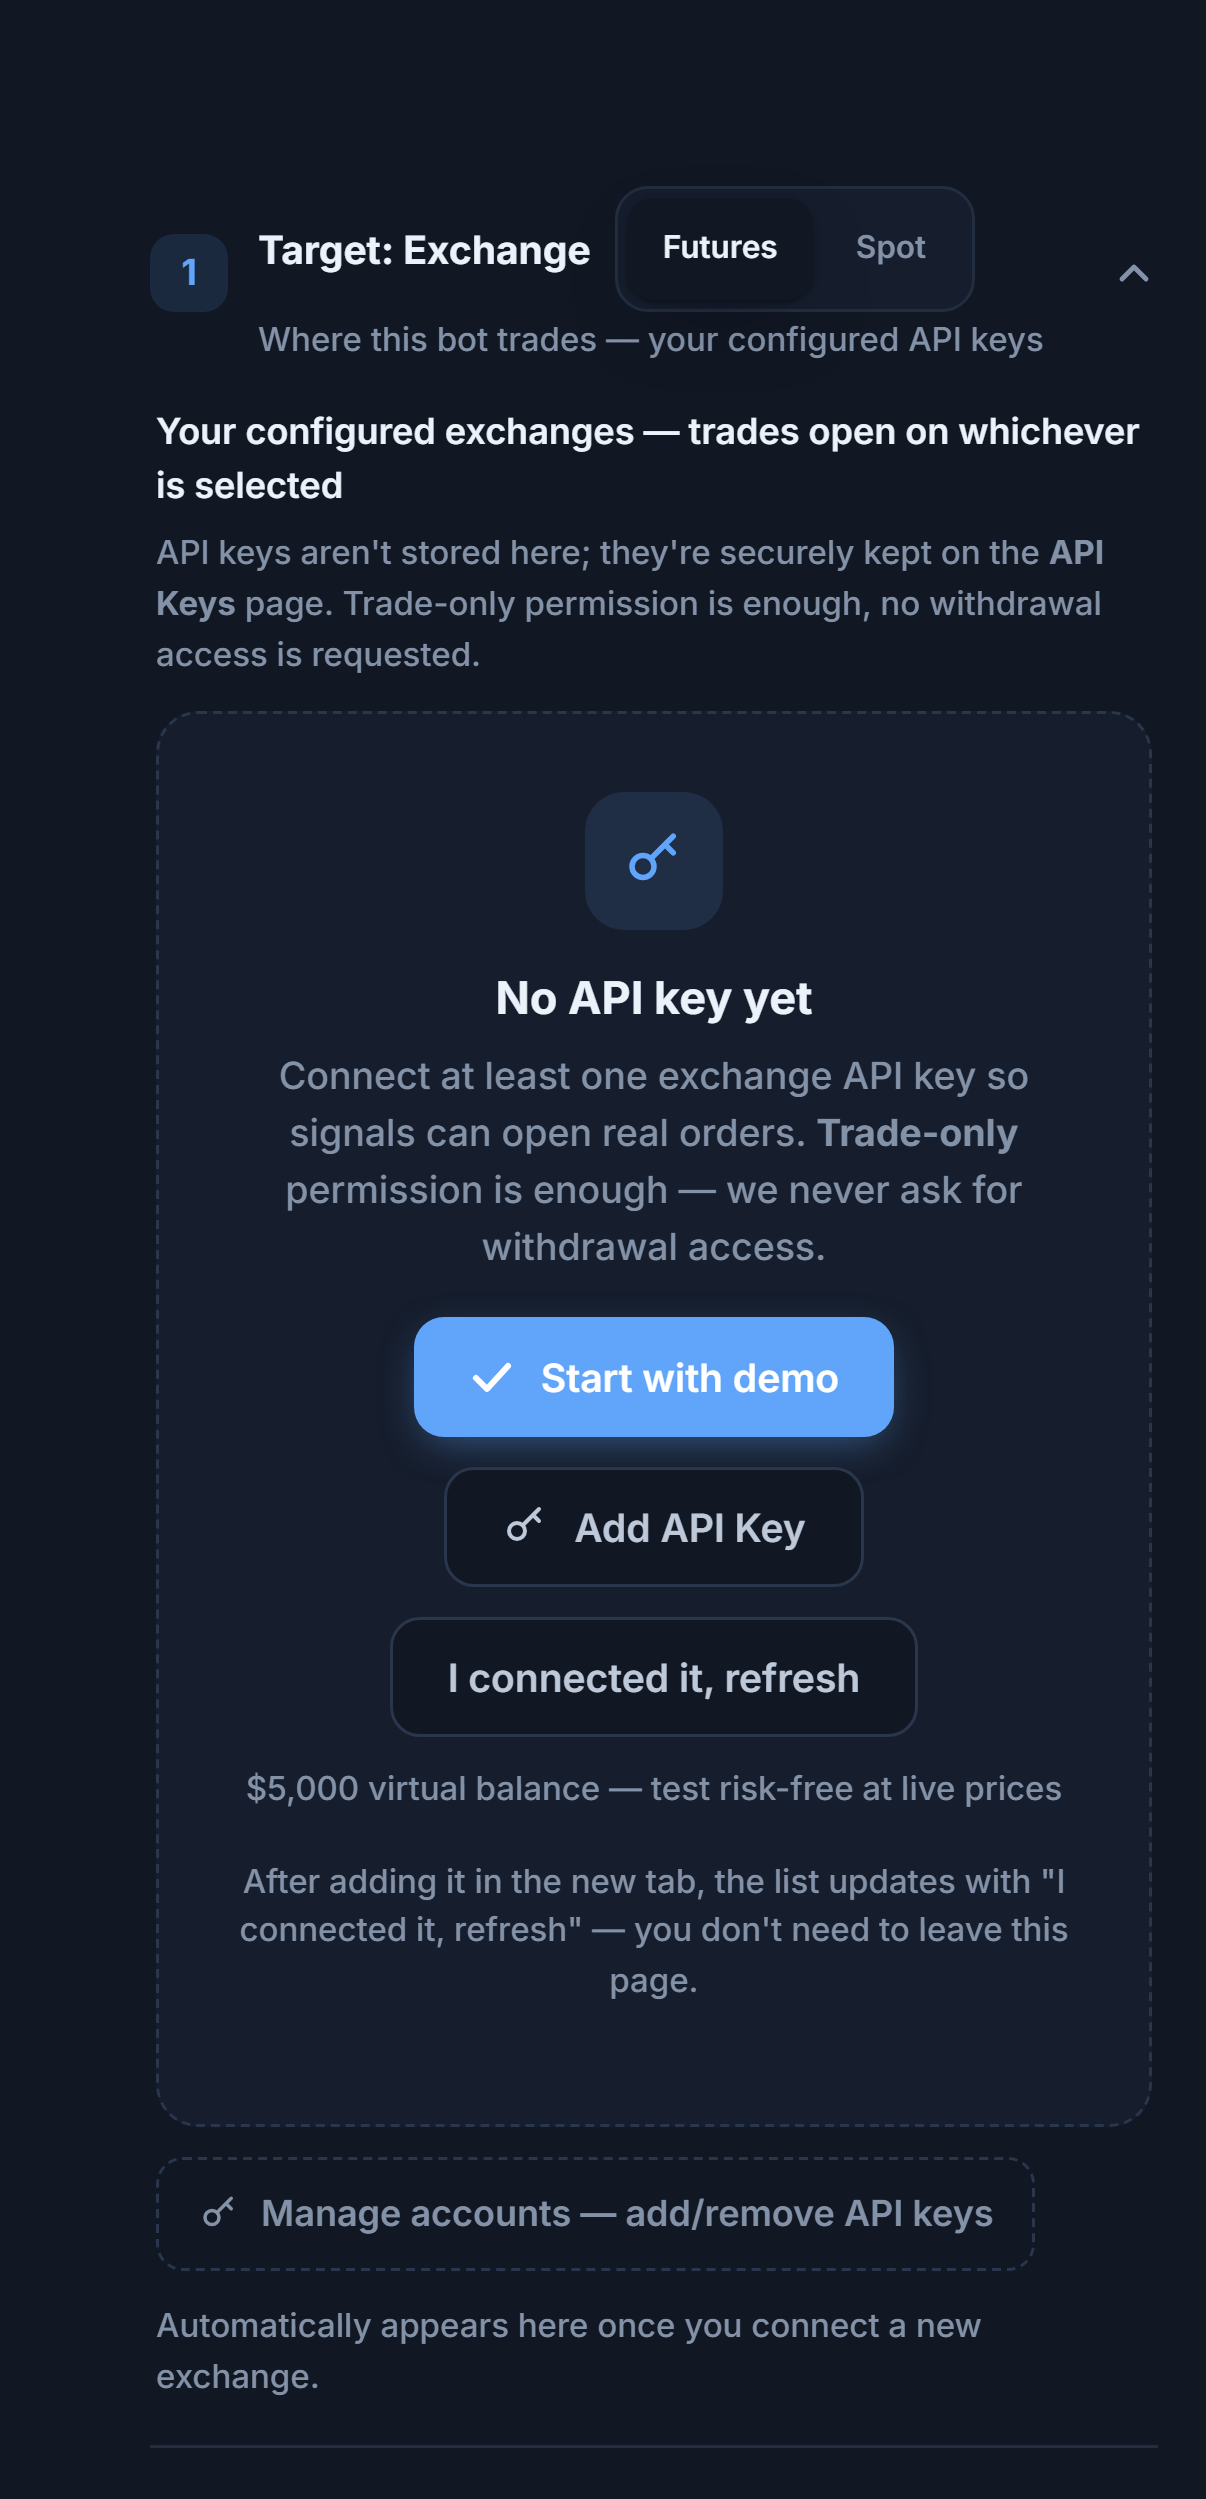
- Futures / Spot — Chooses which market type the bot trades on.
- Start with demo — If you don't have an API key yet, use this to turn on Demo mode and continue right away ($5,000 virtual balance, live prices).
- Add API Key — Opens the API Keys page. Keys are stored securely there, not in the wizard. Trade-only permission is enough; withdrawal access is never requested.
- I connected it, refresh — After adding the key in a new tab, use this button to refresh the list; you don't need to leave the page.
- Manage accounts — For adding or removing API keys. An exchange you just connected shows up here automatically.
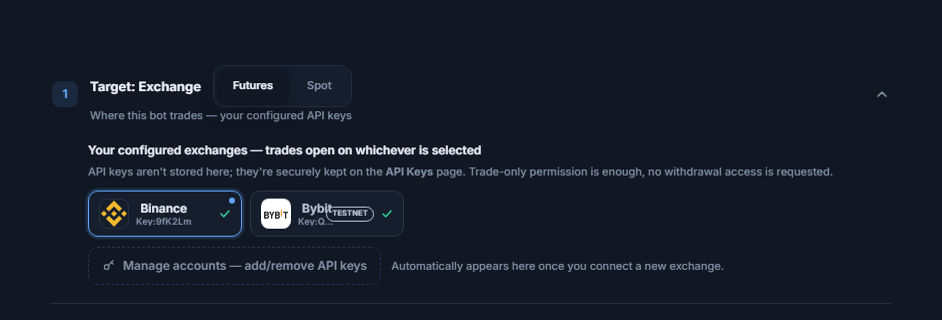
After you add a key, your exchanges are listed as cards; signals open trades on the selected exchange:
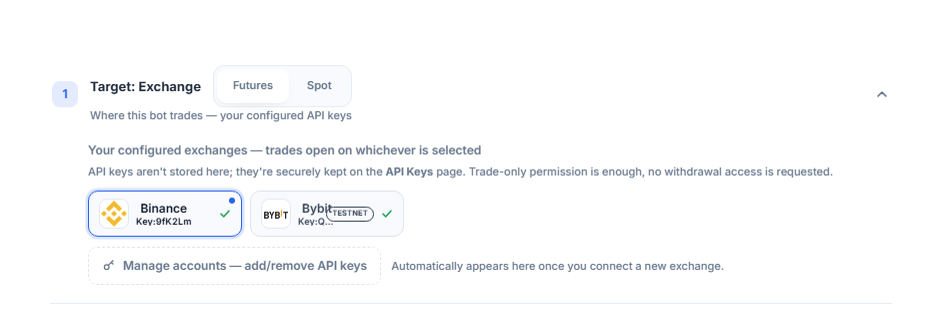
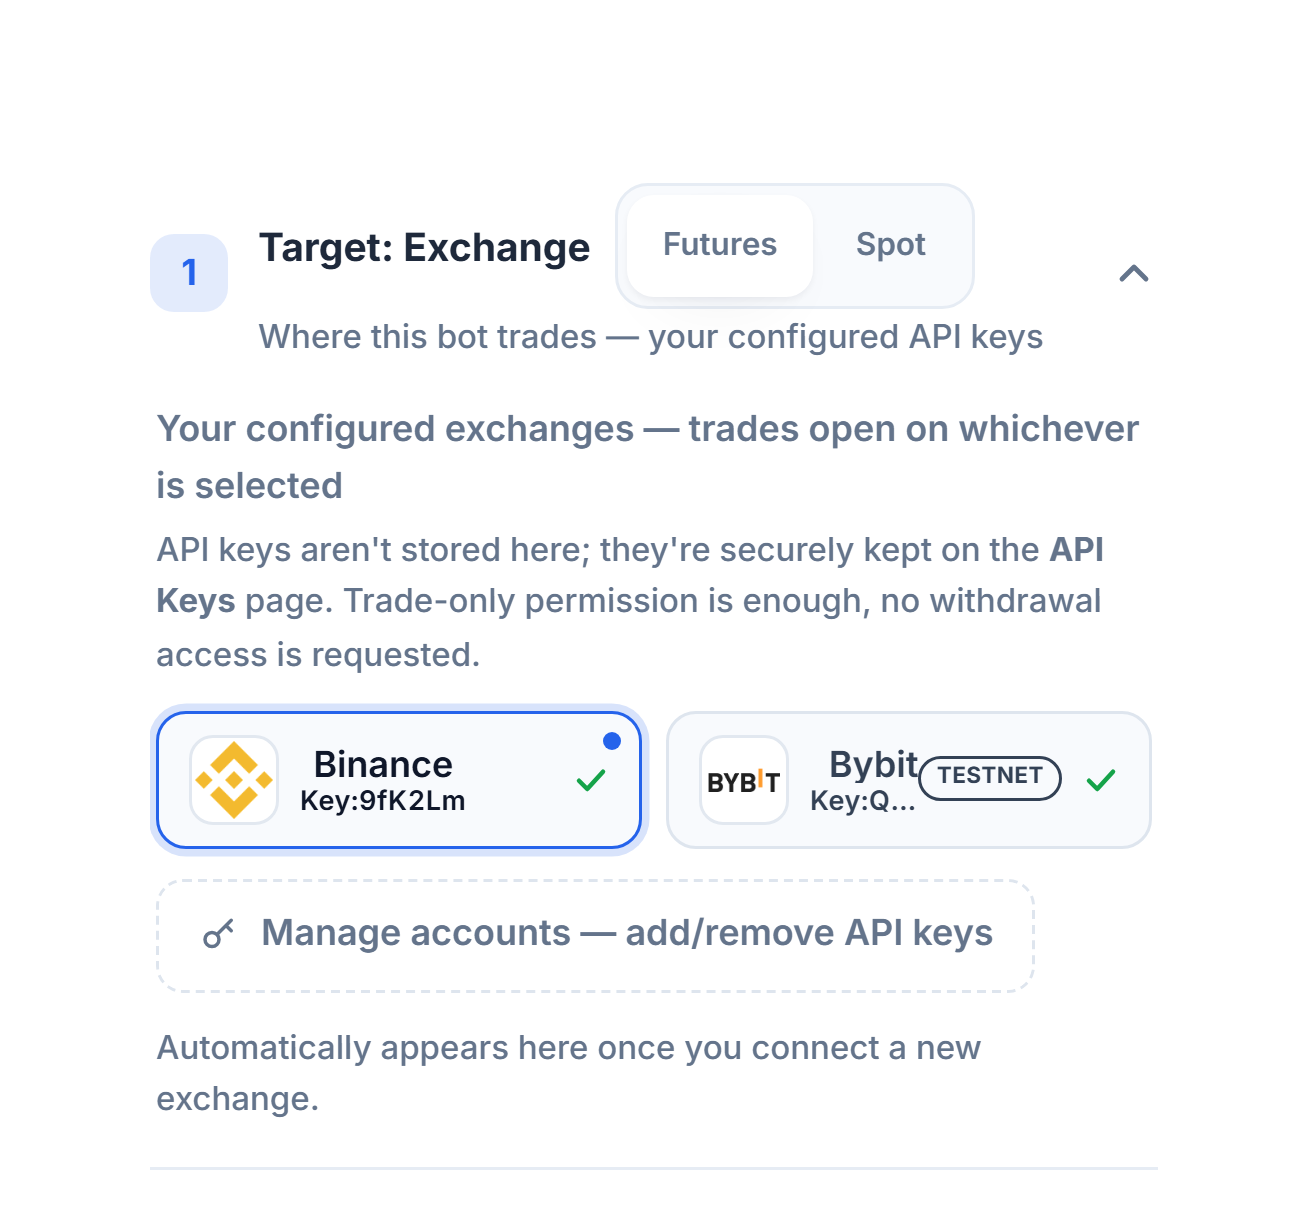
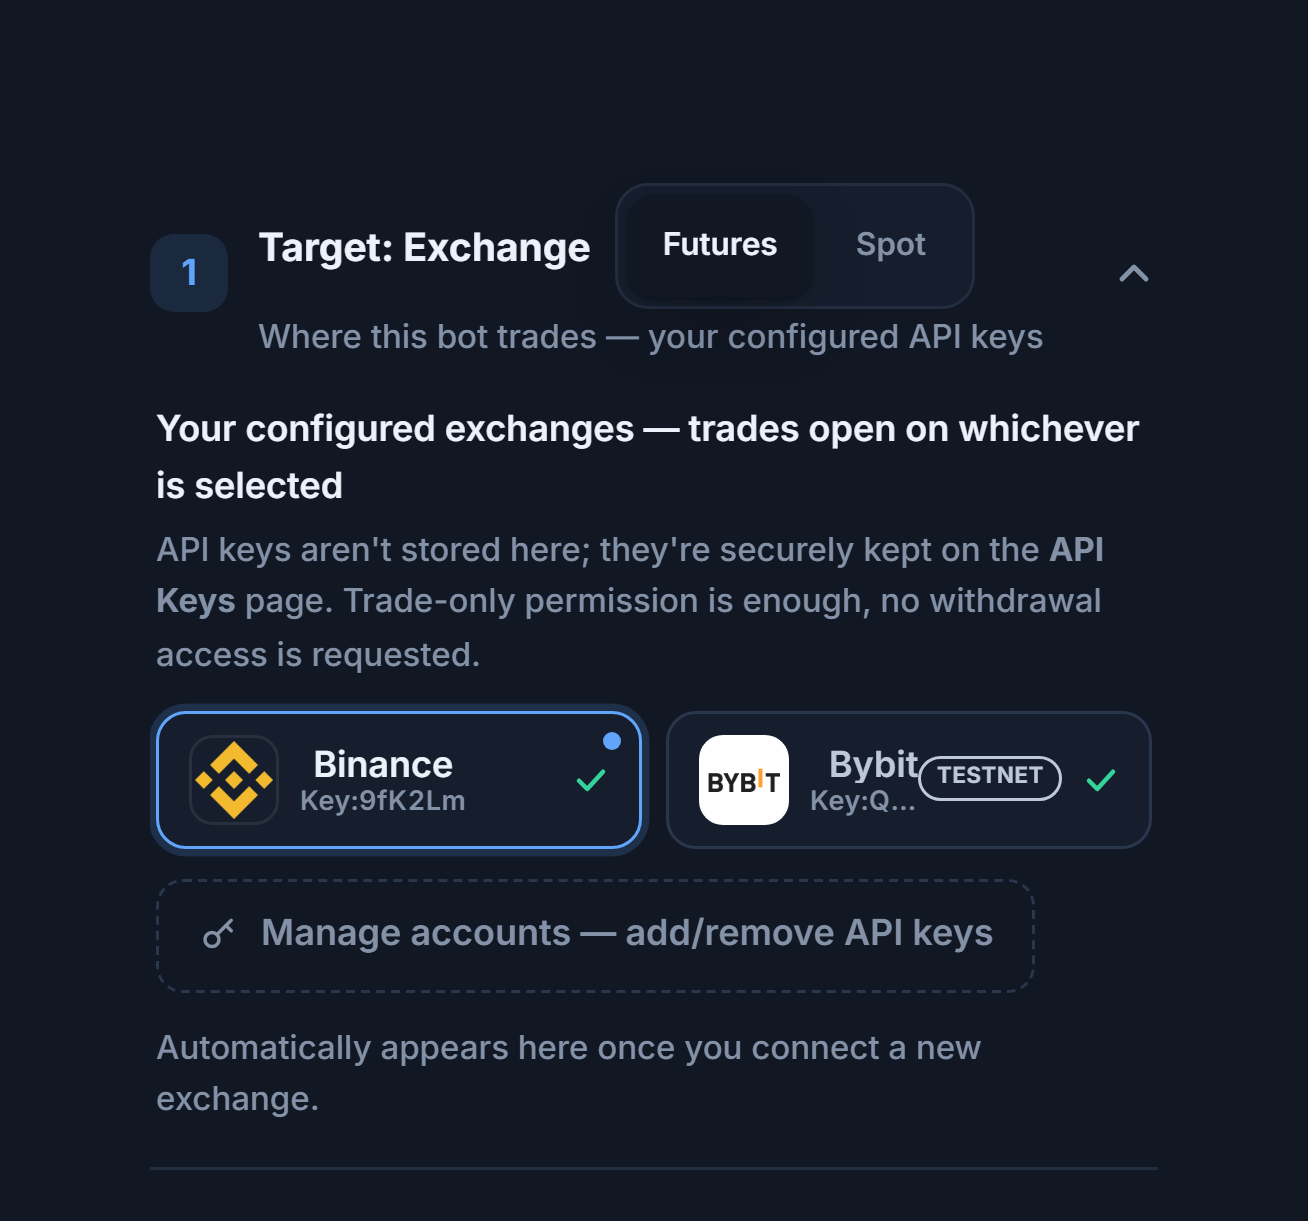
- Futures / Spot — You can change it here after the key is connected, too.
- Selected exchange card — The card with the blue border is the account signals will go to; "Key: …" is the last digits of the key. If you've connected more than one exchange, tap to switch.
- TESTNET badge — A test-account key: the balance and trades are not real money. For real trading, choose an account without the testnet badge.
- Manage accounts — Opens the API Keys page; you add or delete keys there.
| Comparison | Futures | Spot |
|---|---|---|
| What you buy | A price contract, not the coin itself | The coin itself |
| Leverage | From 1x to 125x, depending on the exchange limit | None |
| SHORT | Available | Not available; buy and sell only |
| TP and SL | Separate orders on the exchange; multiple targets can be set | A stop is set; TP can't be set on Bybit and Bitget |
| Amount field | Collateral (margin) | The purchase amount directly |
Step 10Set the amount per trade and leverage
This is where you decide how much money is committed to each trade. There are three amount modes; the screenshot shows the default Fixed $ mode, and the other two are explained below.
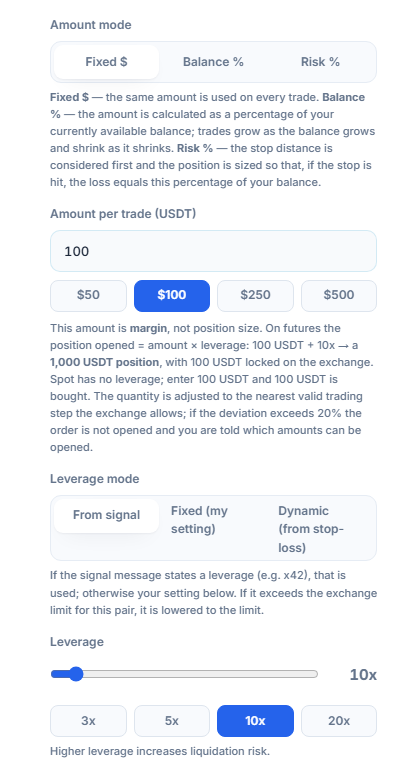
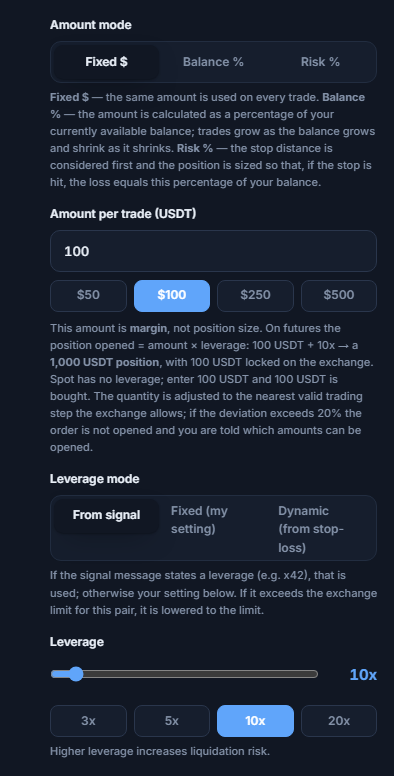
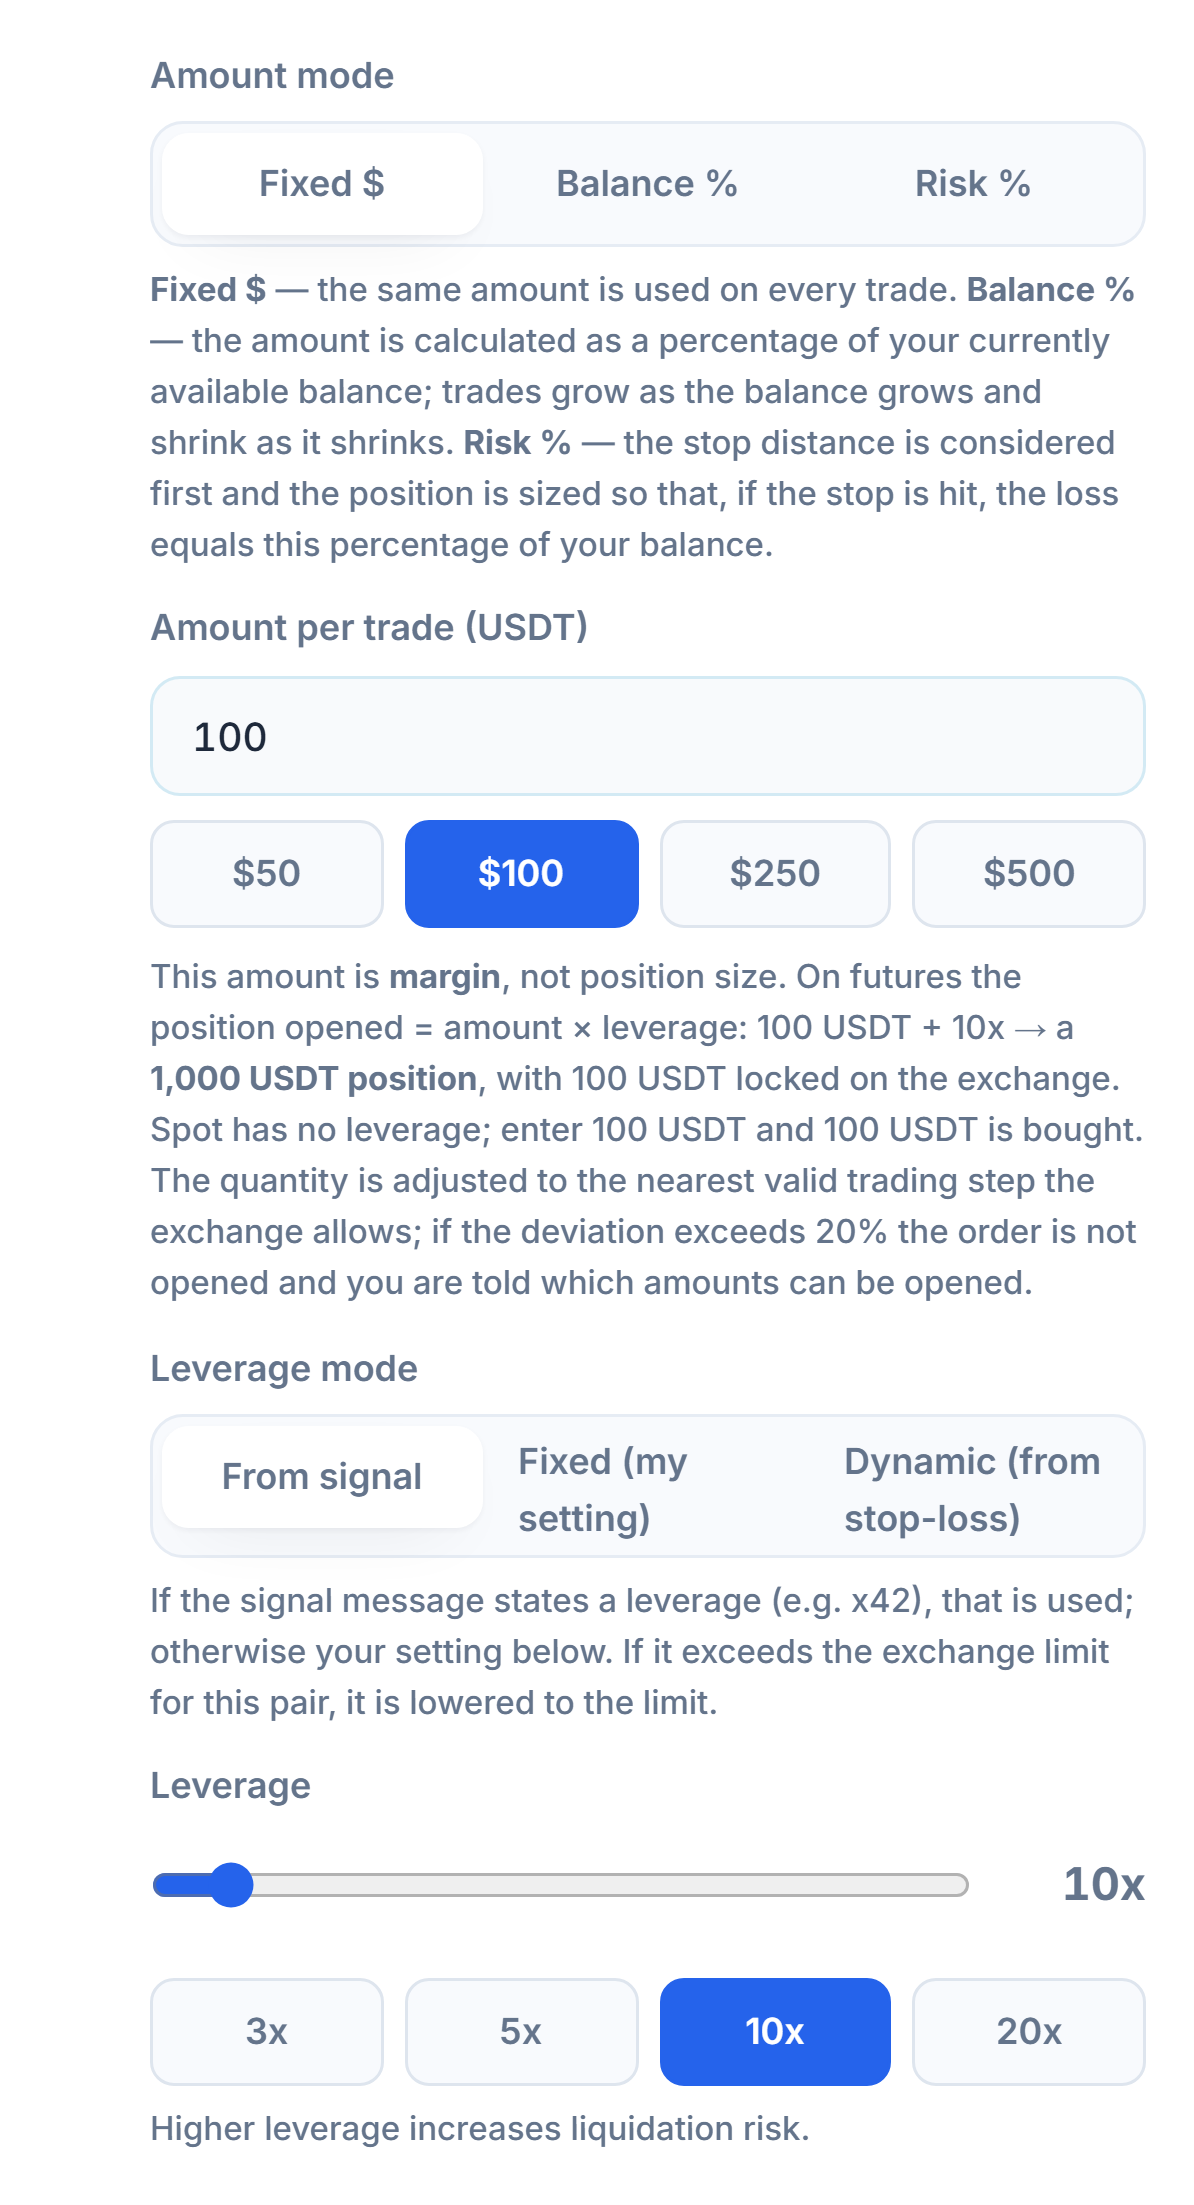
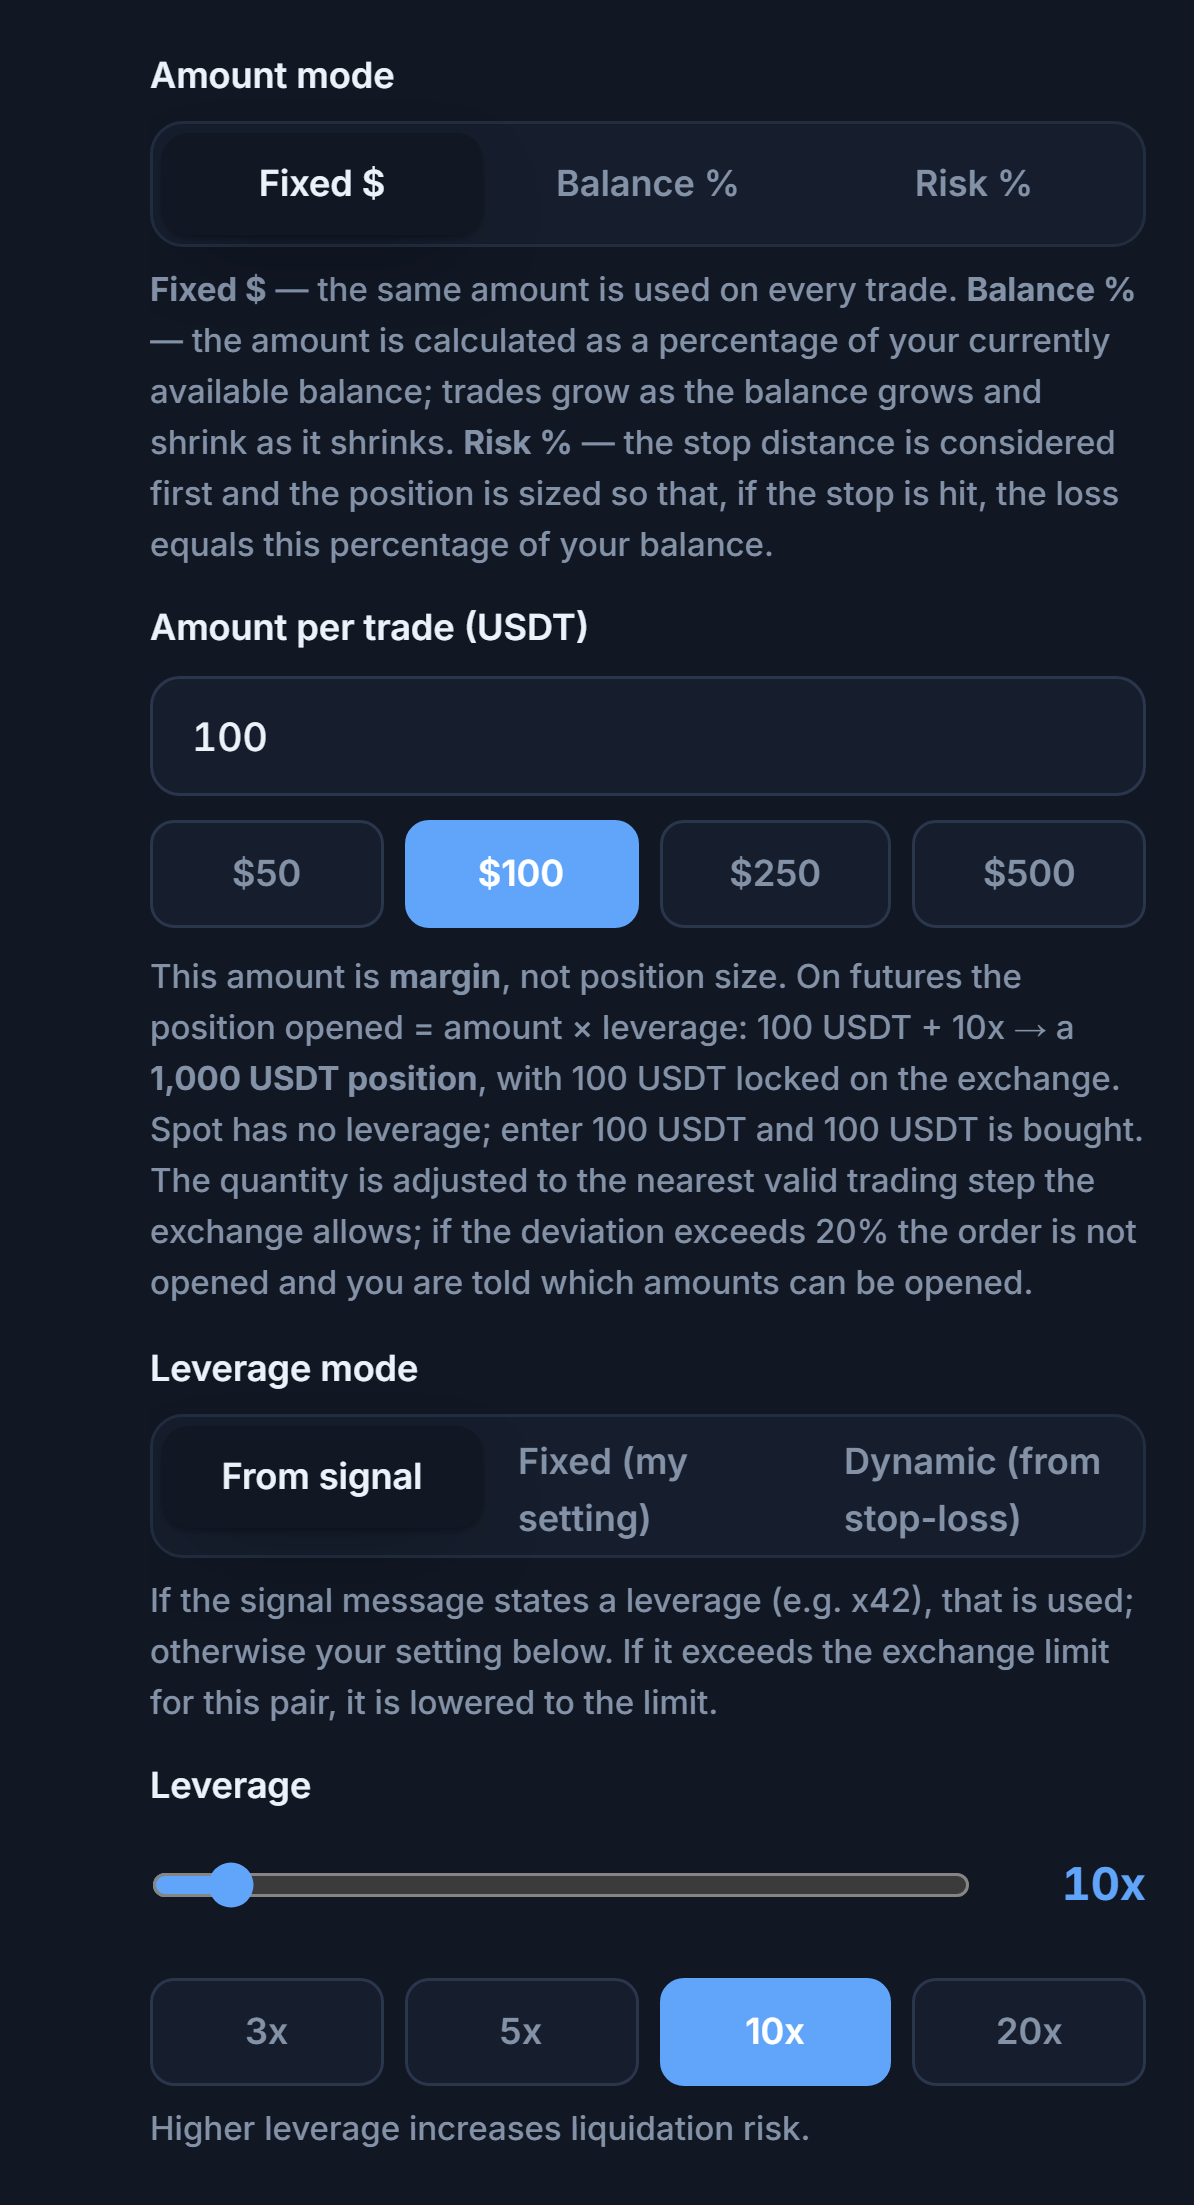
- Amount mode — Fixed $: the same amount every trade. Balance %: a percentage of your available balance; trades grow as your balance grows. Risk %: sized so that what you'd lose if stopped out is a set percentage of your balance.
- Amount per trade (USDT) — This amount is the collateral (margin), not the position size. On futures, position = amount × leverage. Quick buttons: $50, $100, $250, $500.
- Leverage mode (Futures only) — From signal: if the message states a leverage (e.g. x42), that's used; if not, your own setting is used. Fixed (my setting): the signal's leverage is ignored. Dynamic (from stop-loss): explained below. In every case, if the leverage exceeds the cap the exchange allows for that pair, it's brought down to that cap.
- Leverage (Futures only) — Slider from 1x to 125x; quick buttons at 3x, 5x, 10x, 20x. Higher leverage increases liquidation risk.
| Amount mode | What it does | Who it's for | Example (1,000 USDT balance) |
|---|---|---|---|
| Fixed $ | The same collateral on every trade | Those who want a predictable trade size | 100 → 100 USDT collateral on every trade |
| Balance % | A percentage of the available balance | Those who want trades to grow as the balance grows | 5% → 50 USDT collateral |
| Risk % | Fixes the loss to a percentage of the balance if the stop hits | Those who think in terms of loss | 1% → about 10 USDT loss if the stop hits; the position is sized by the stop distance |
- Balance % selected — The amount is no longer fixed; it's calculated from your balance.
- Balance percentage (%) — Each trade uses this percentage of your available balance.
- Risk % selected — Position size is calculated from the stop distance.
- Risk per trade (%) — What you'd lose if stopped out equals this percentage of your balance.
- Dynamic (from stop-loss) — Only works on Binance Futures. Leverage is calculated from the entry and stop-loss price, using the pair's maintenance margin on Binance: the highest leverage is chosen such that the liquidation price stays about 0.5% beyond the stop-loss. This mode uses isolated margin. On other exchanges, or if the data can't be read, the Leverage value above is used instead.
If you chose Spot, this section becomes simpler:
- Amount per trade (USDT) — On spot, this amount is the buy amount directly: if you enter 100 USDT, 100 USDT worth of coin is bought. The Leverage mode and Leverage fields don't appear, since spot has no leverage. The quick buttons ($50, $100, $250, $500) fill in the amount with one tap.
Step 11Set your take-profit (TP) and stop-loss (SL) levels
This decides where profit is taken (TP) and where losses are cut (SL). There are two sources: Manual and From signal.
| Comparison | Manual | From signal |
|---|---|---|
| Targets (TP) | Your percentages; the signal's targets are ignored | The target prices in the message; the close split is your setting |
| Stop (SL) | The same in both modes: the signal's stop if it has one, otherwise your percentage | |
| When | The channel doesn't give targets, or you don't trust its targets | The channel gives clear target prices |
| Default | Yes | No |
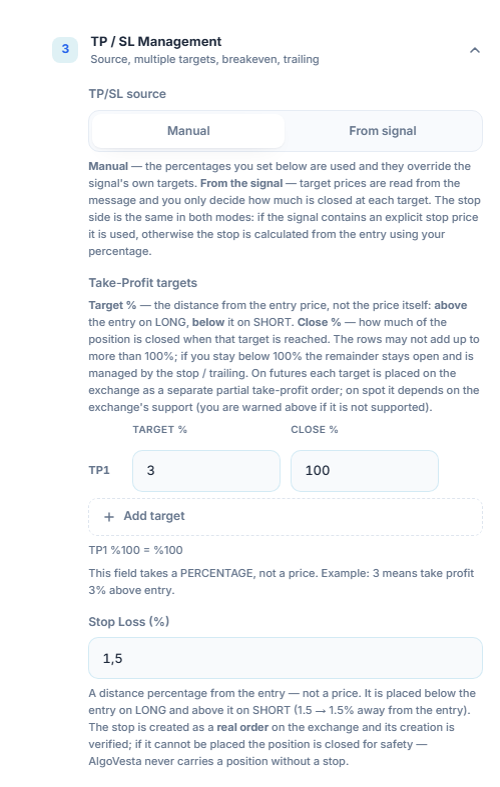
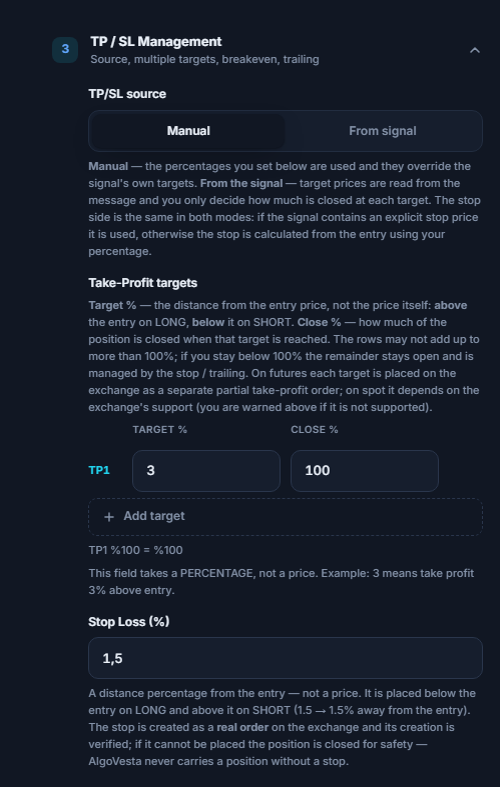
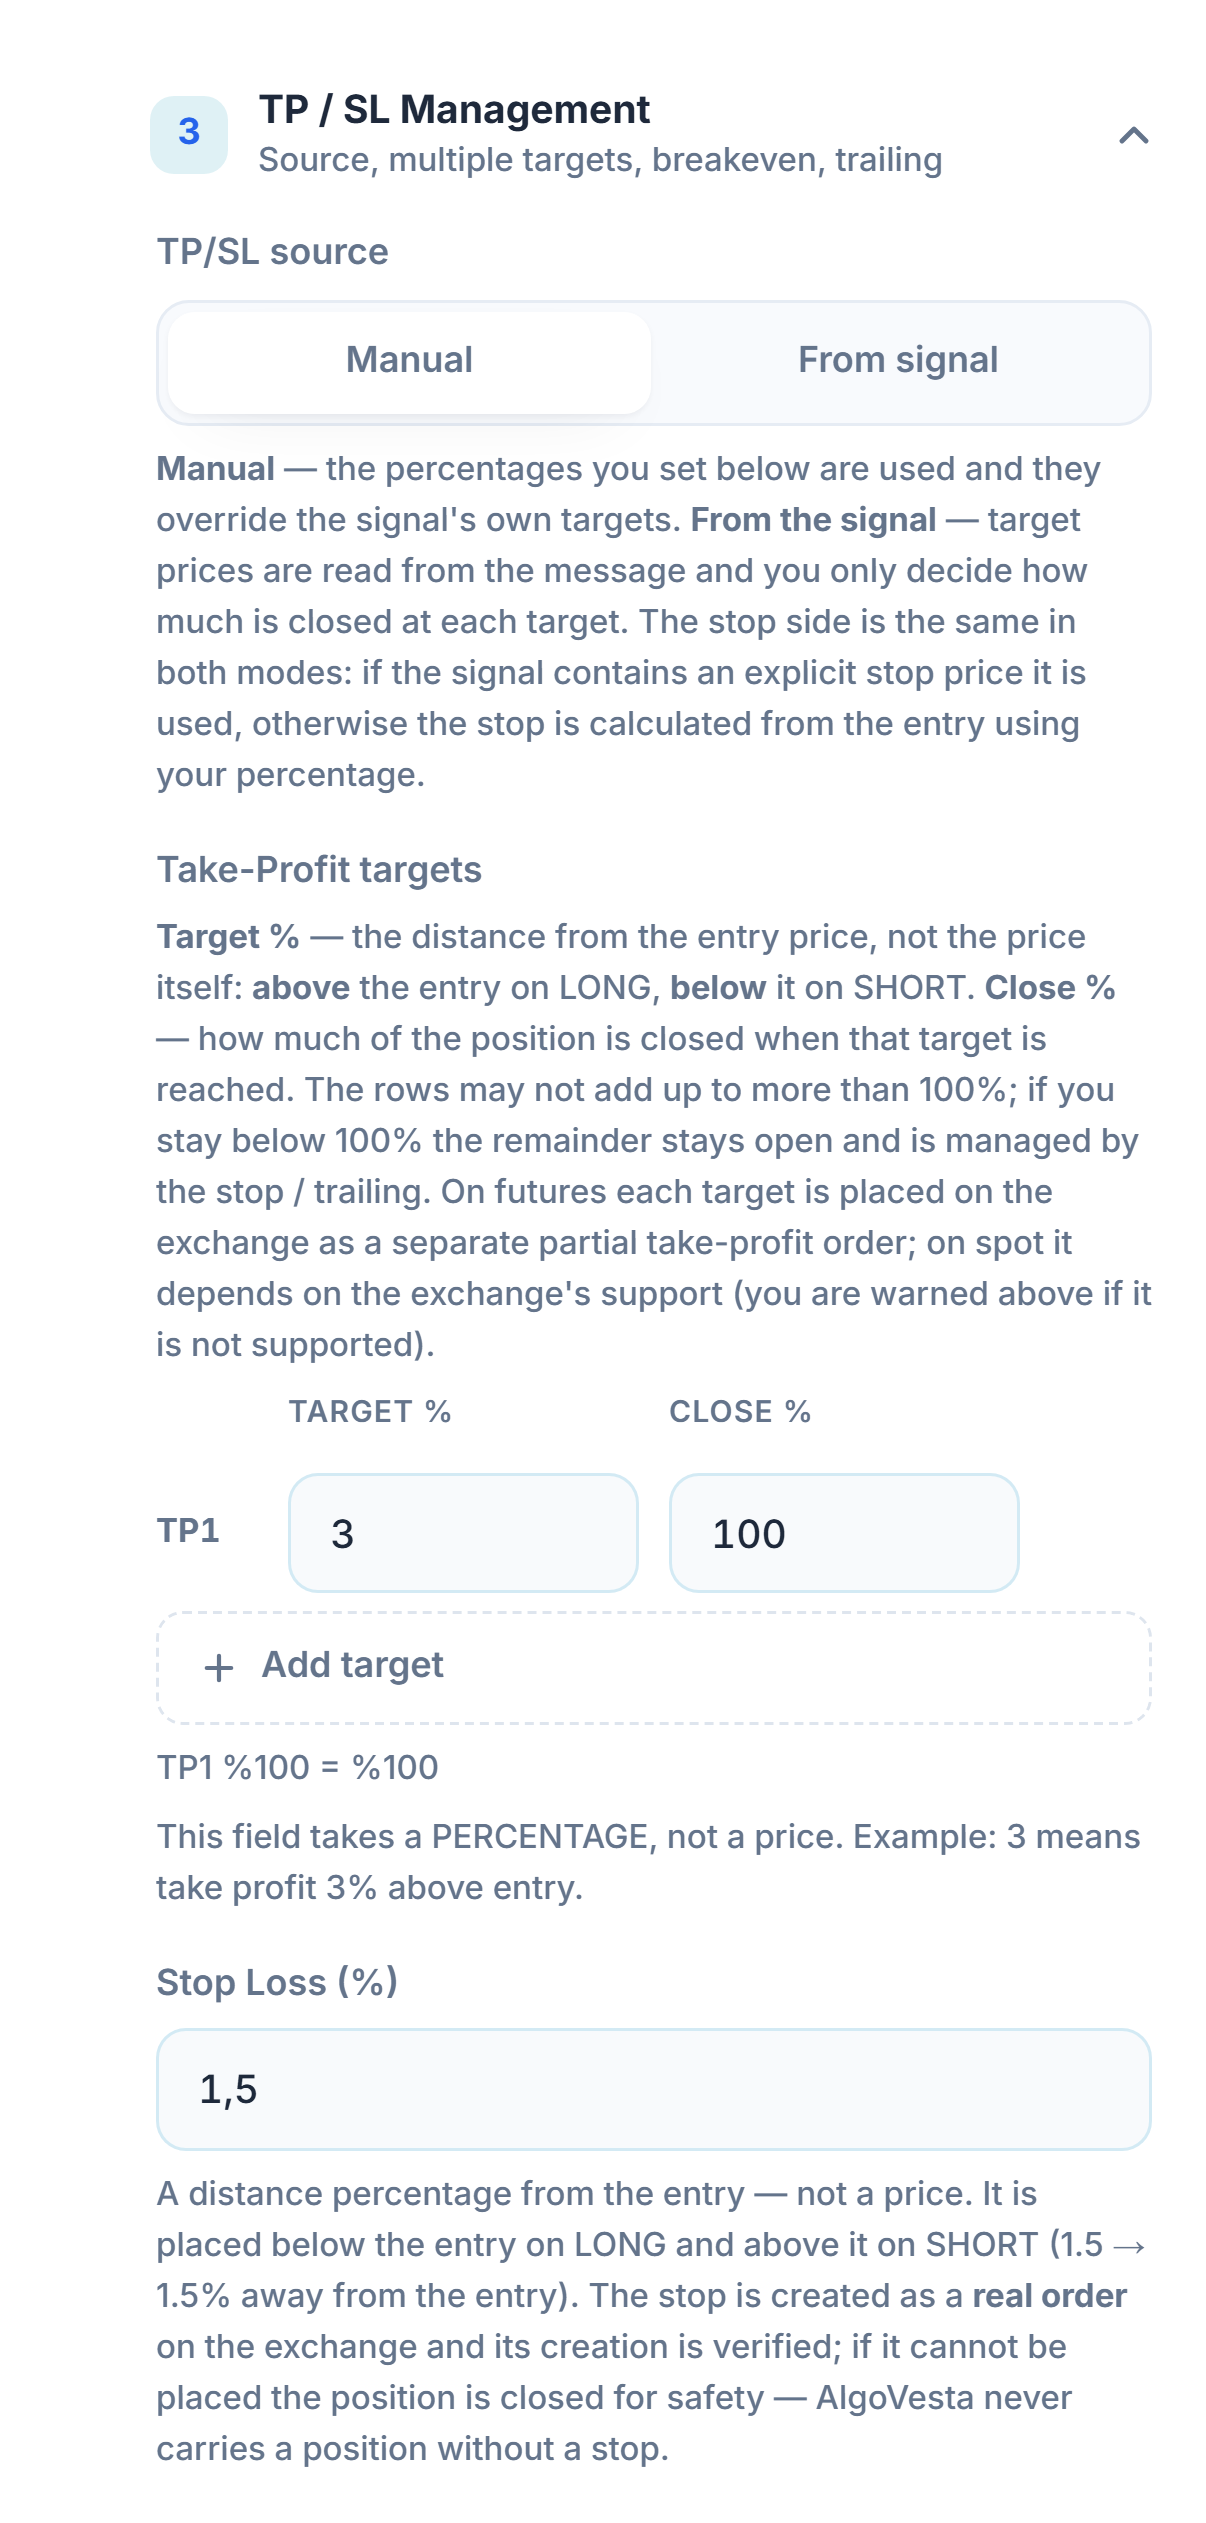
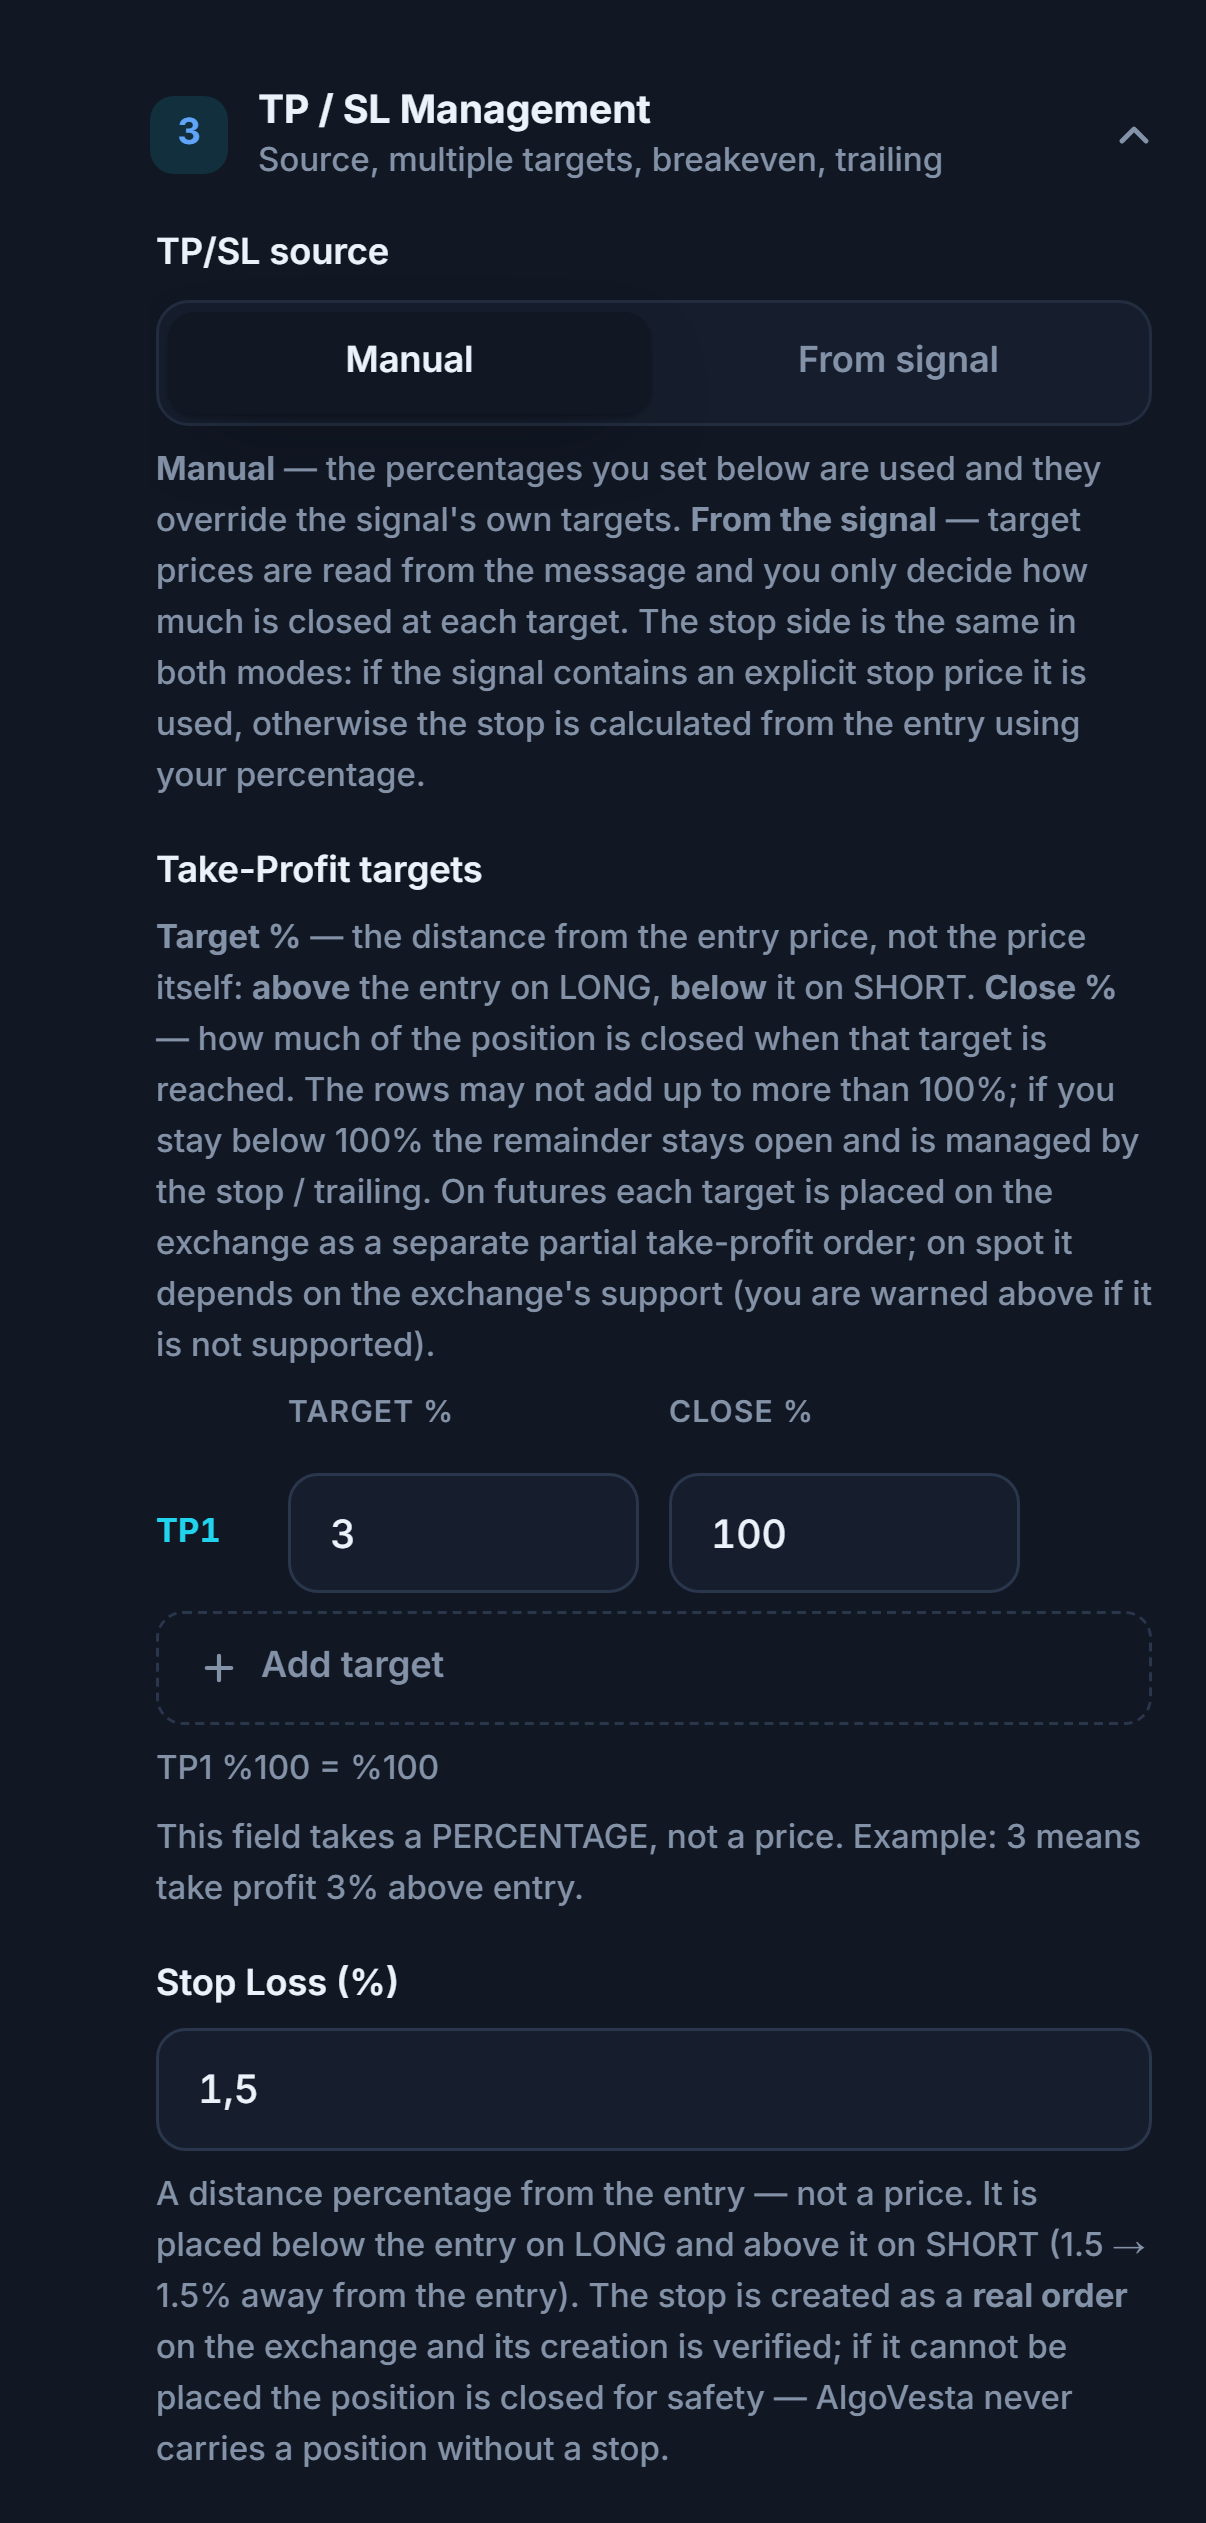
- TP/SL source — Manual: the percentages you set below are used and override the signal's own targets. From signal: target prices are read from the message. The stop side works the same in both modes: if the signal has an explicit stop price, that's used; if not, it's calculated from your entry using your percentage.
- Take-Profit targets — Each row has a Target % (distance from entry — above entry on LONG, below on SHORT — a percentage, not a price) and a Close % (how much of the position closes when that target is hit). The rows can't add up to more than 100%; if you leave them below 100%, the remainder is managed by the stop/trailing. On futures, each target becomes a separate partial take-profit order on the exchange.
- Add target — Adds a new TP row; you can delete a row with the trash icon. Example: TP1 2% / 50%, TP2 4% / 50%.
- Stop Loss (%) — Distance from entry as a percentage, not a price. Set below entry on LONG, above on SHORT. The stop is set on the exchange as a real order and its placement is verified; if it can't be set, the position is closed for safety.
- From signal selected — TP/SL values are read from the signal message (parsed with AI).
- Take-profit split — Target prices come from the signal; this setting only decides how much of the position closes at each target. All at TP1 (100%), Split evenly across targets, or My own close percentages.
- Stop Loss (%) — Also appears in From-signal mode, and matters there too: if the signal has a stop price, that's used; if the signal doesn't have one, the bot sets the stop itself based on this percentage from entry. This way, no trade is ever opened without a stop.
- My own close percentages — You decide how much closes at each target.
- Close % — The share to close for each TP row. Close percentages are scaled to 100% based on how many targets the signal actually contains.
- Add target — Adds a row for another target.
Step 12Set your daily loss and position limits
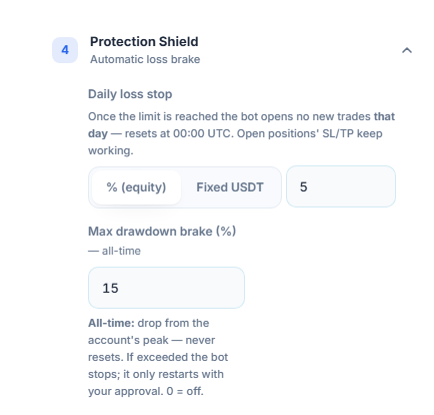
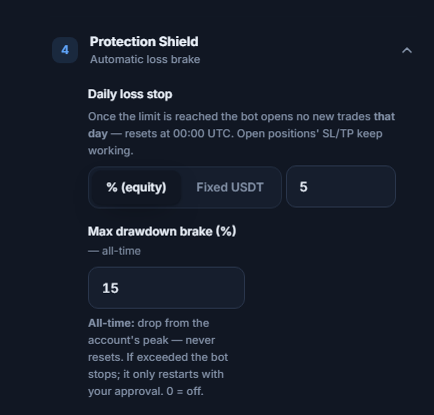
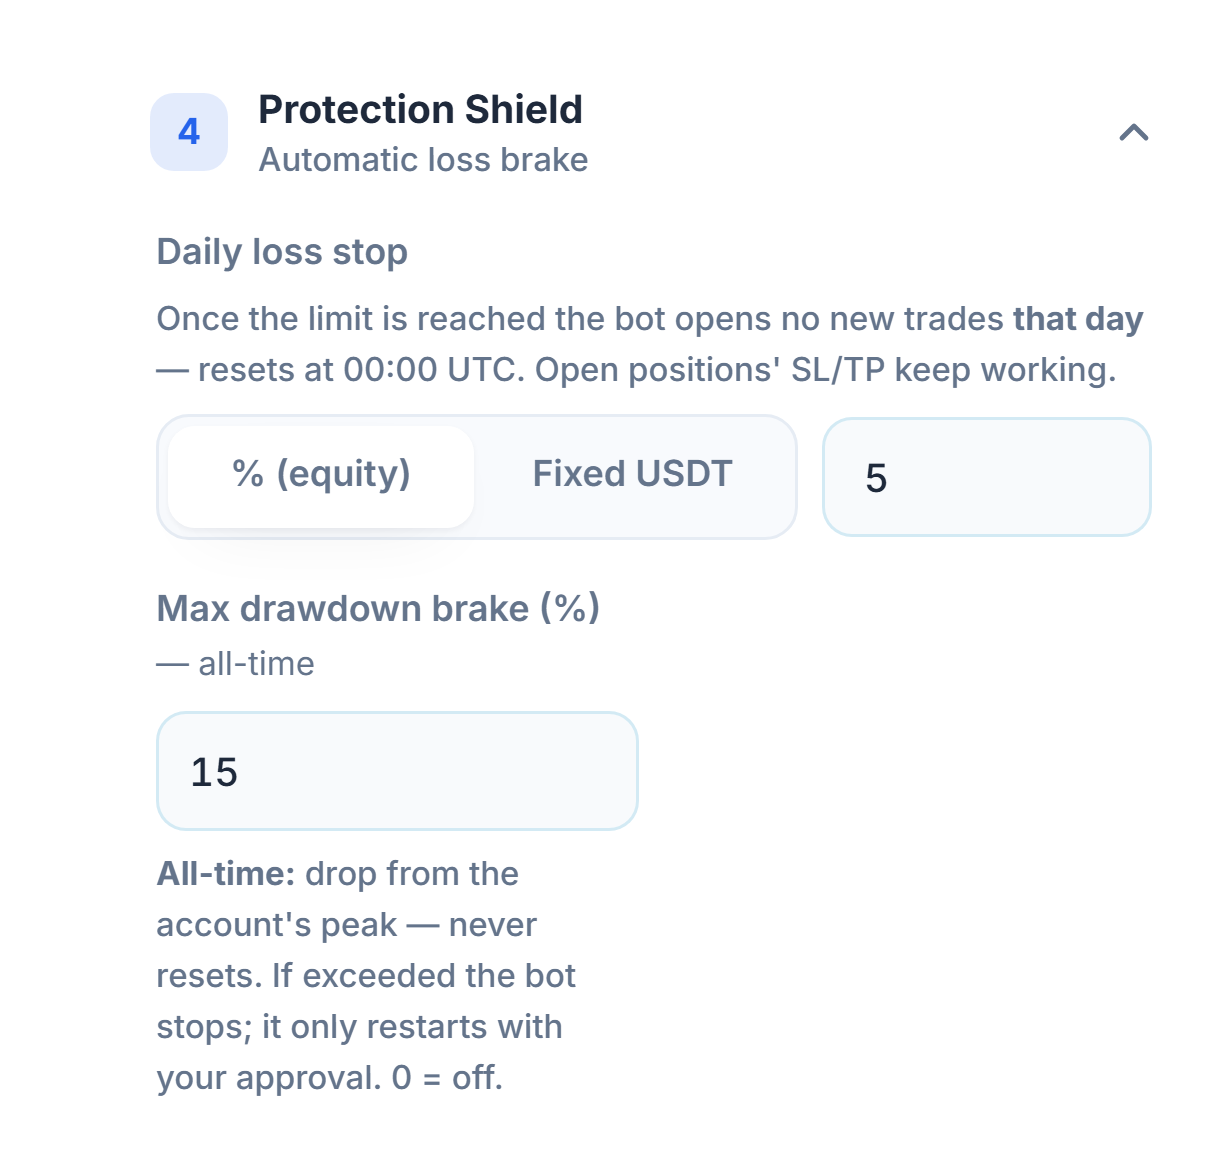
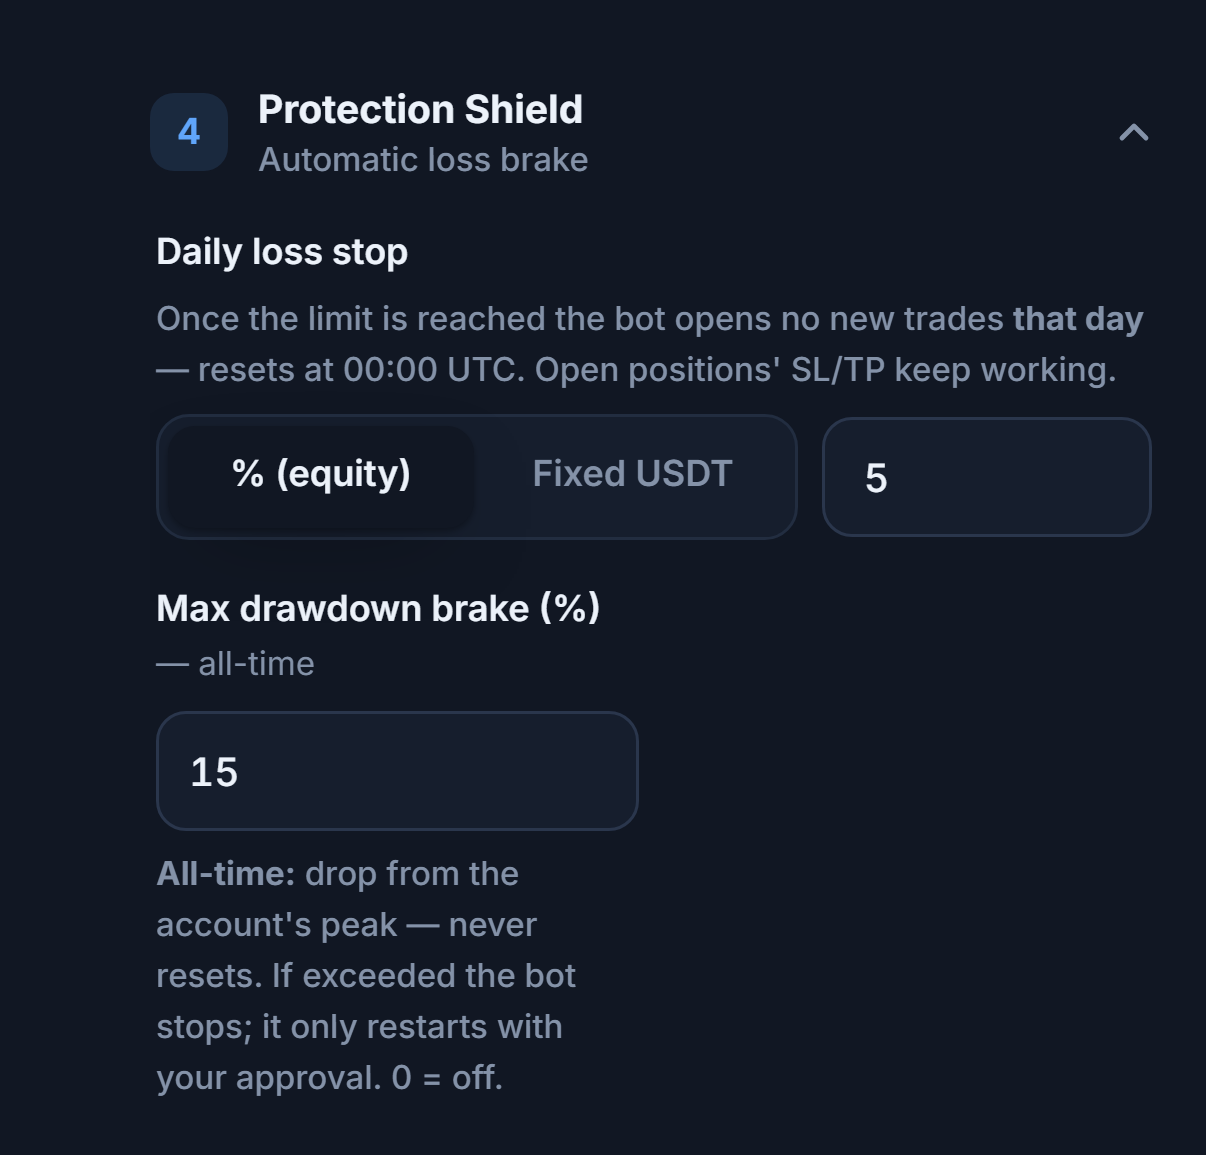
- Daily loss stop — Once the limit is reached, the bot won't open new trades for the rest of that day; it resets at 00:00 UTC. SL/TP on open positions keeps working. Choose the unit as % (equity) or fixed USDT.
- Max drawdown brake (%) — All-time: the drop from your account's peak, which never resets. If it's exceeded, the bot stops and only restarts with your approval. 0 = off.
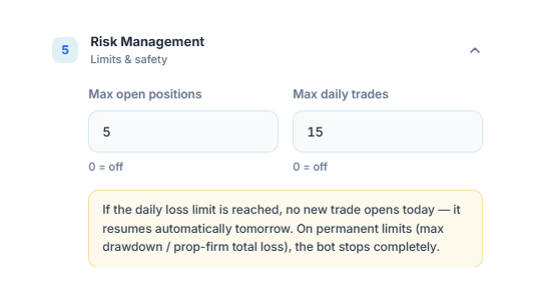
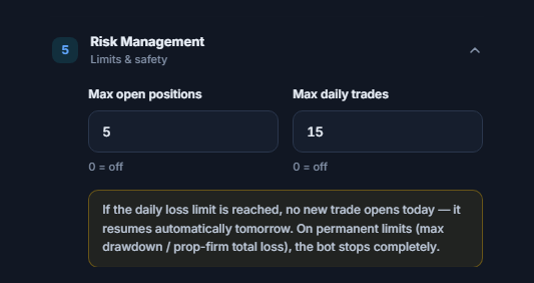
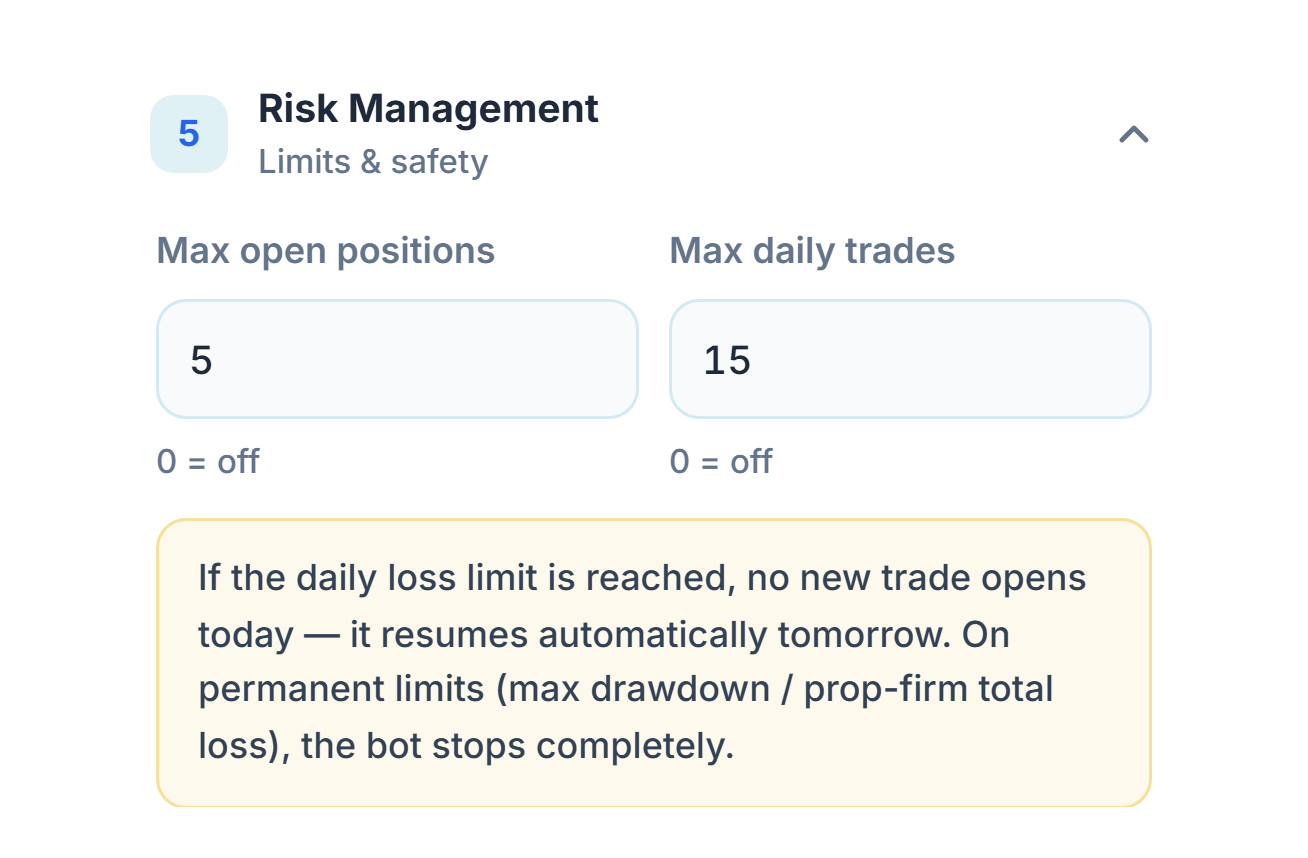
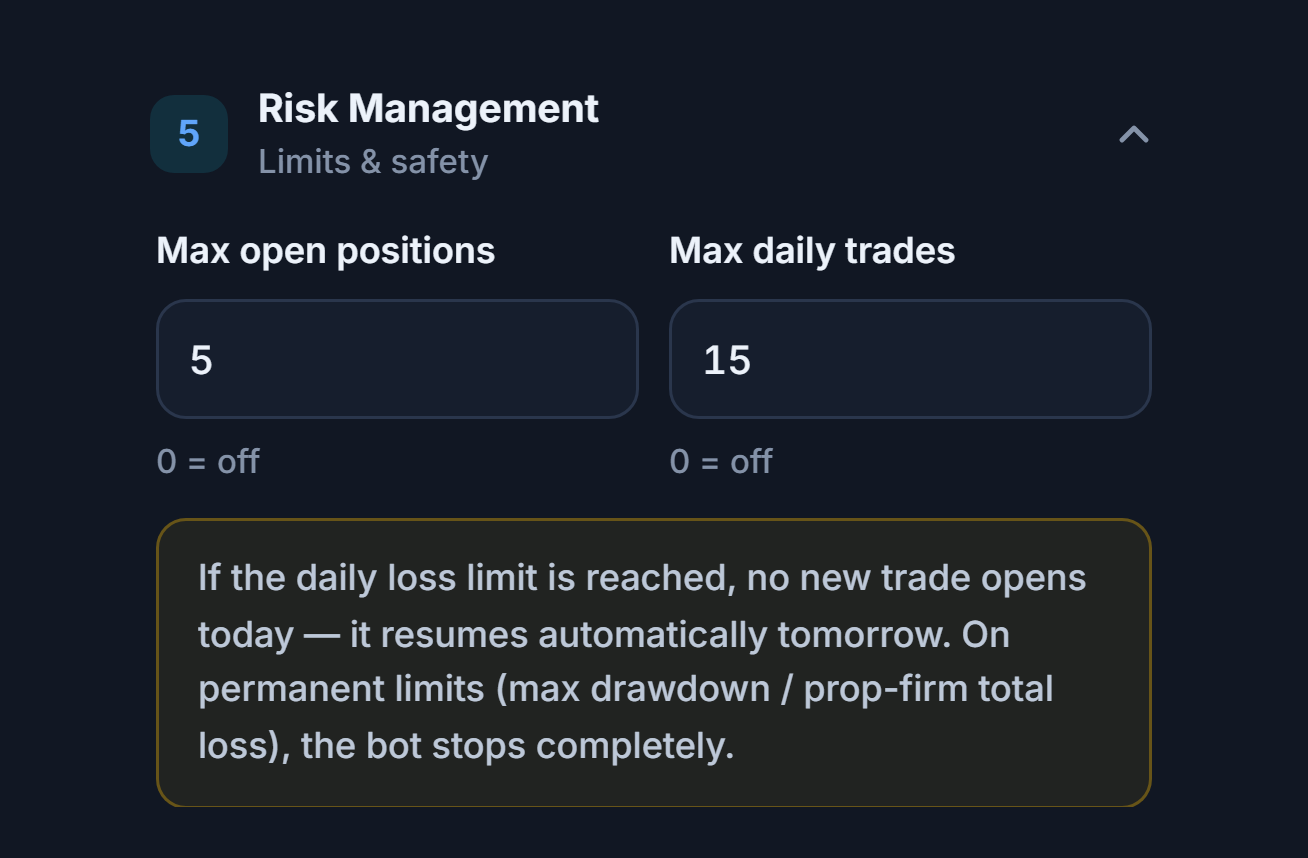
- Max open positions — The most positions that can be open at the same time.
- Max daily trades — The most trades that can open in one calendar day (resets at 00:00 UTC). 0 = off.
Step 13Check the summary and create your bot
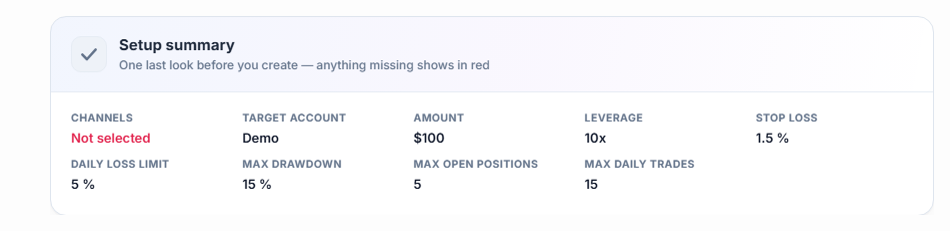
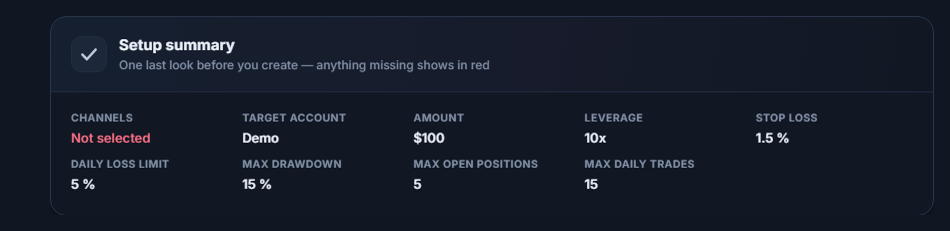
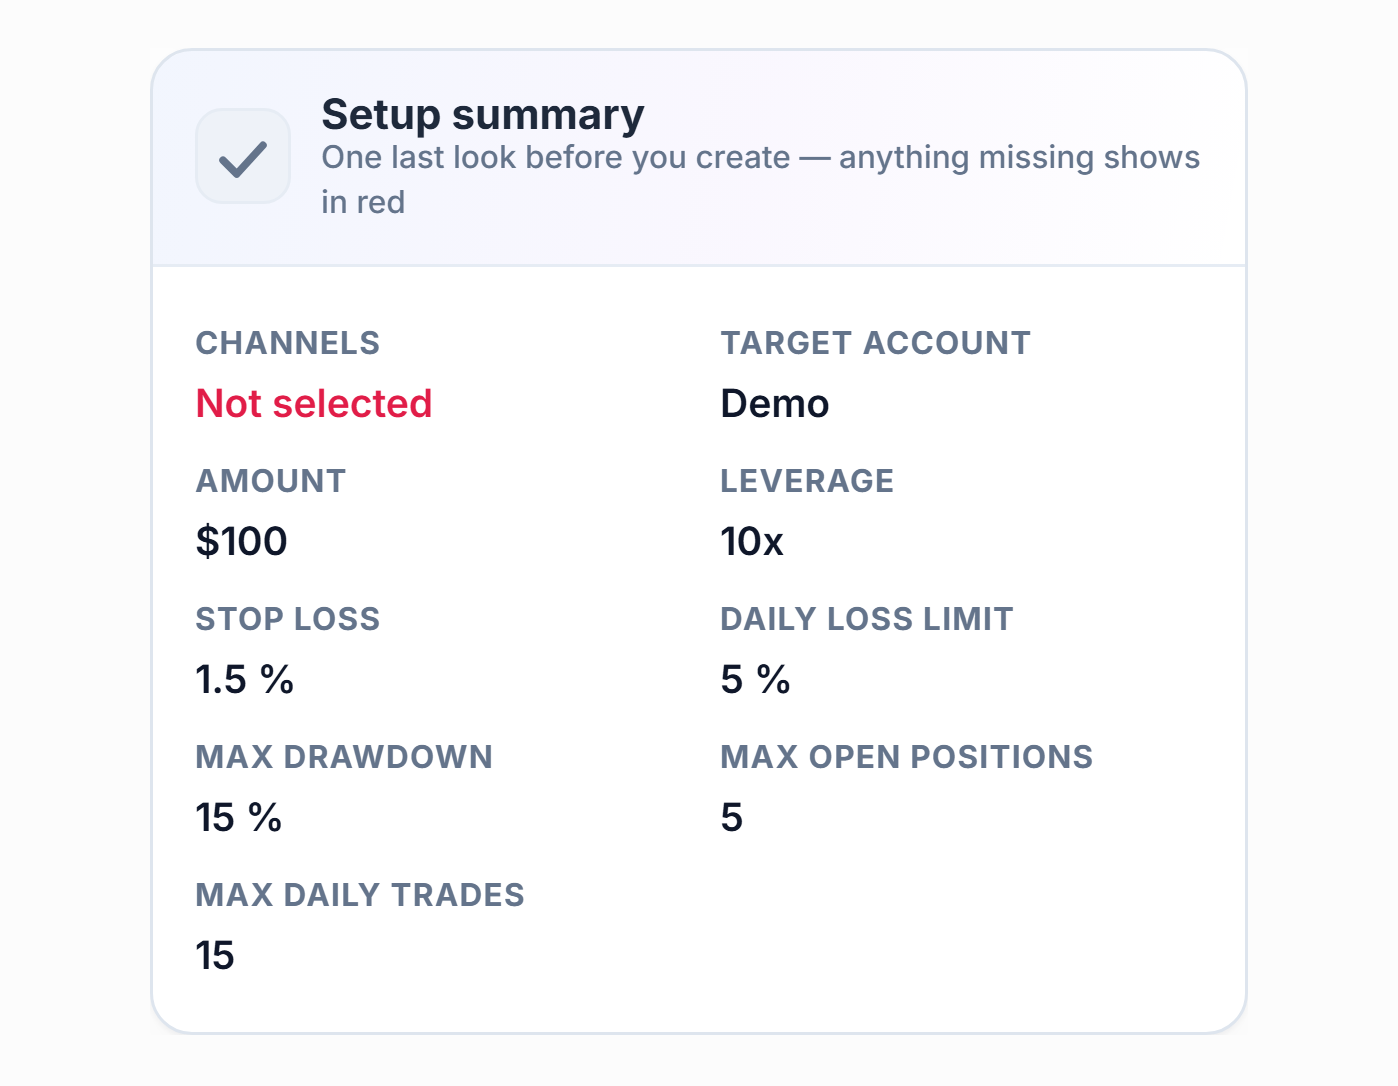
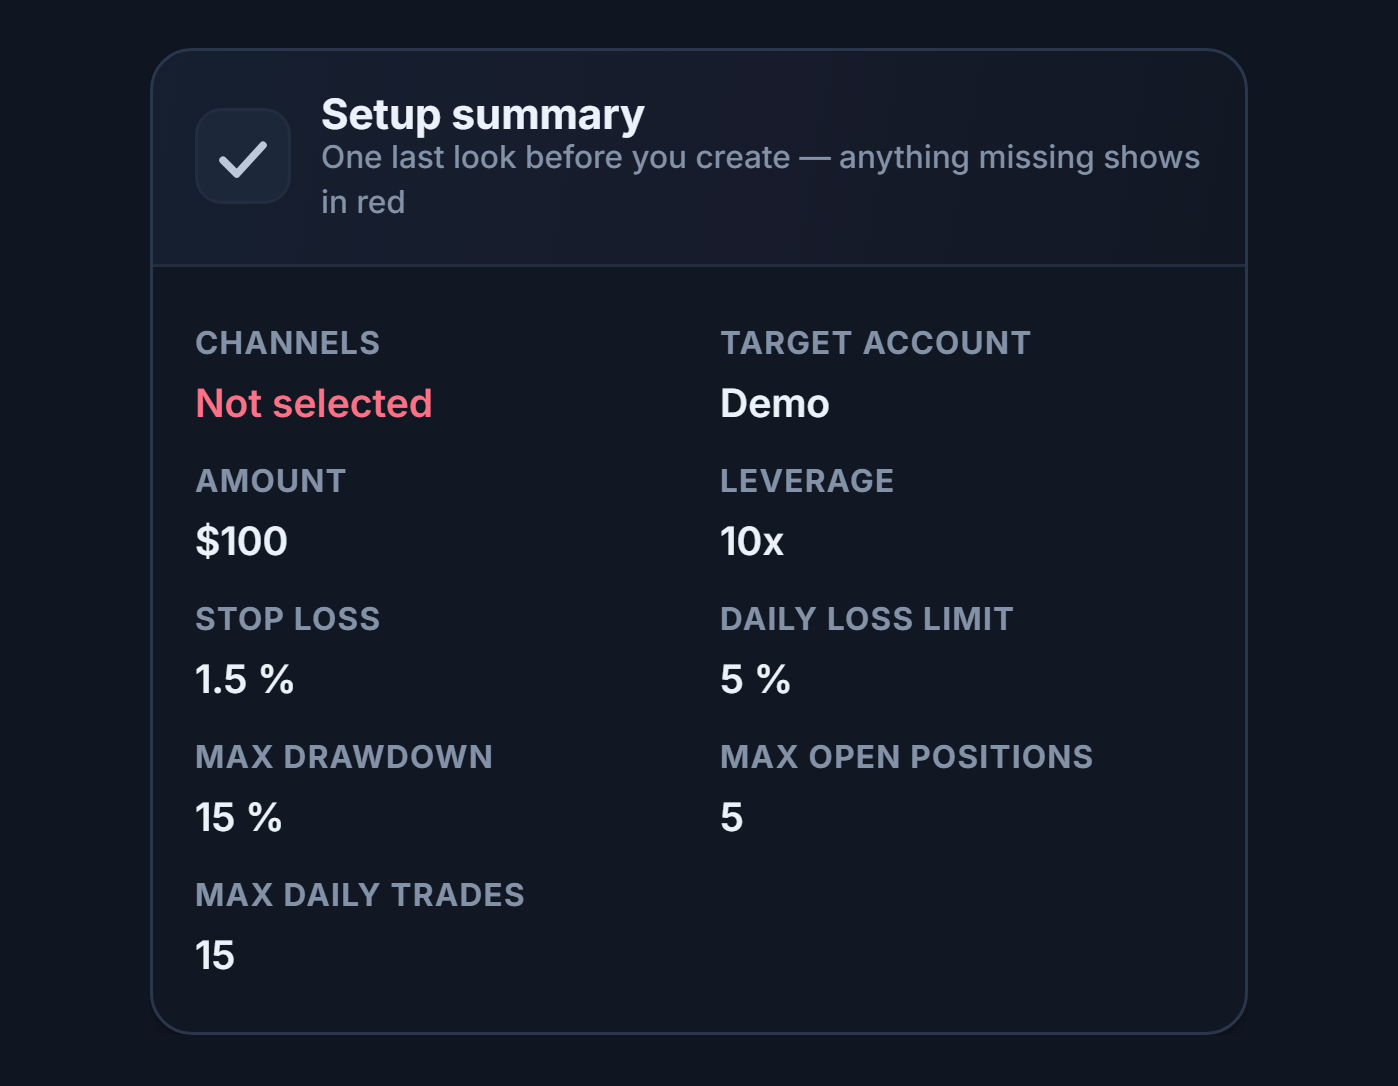
- Channel — Shows the signal channels you've chosen. A red "Not selected" means you haven't picked a channel yet (Step 7 and Step 8).
- Target account — Shows the exchange account trades will open on. If Demo mode is on, it shows Demo (as in the screenshot). A red "Not selected" means you haven't connected an API key or turned on Demo mode (Step 9).
The summary also shows Amount, Leverage, Stop Loss, Daily loss limit, Max drawdown, Max open positions, and Max daily trades. Once everything's correct, fill in the Bot name field at the top of the page and tap Create Bot. If anything is still missing, the bot is created anyway but won't run yet; you finish the missing pieces from the bot card.
Advanced settings
In Advanced setup, the Crypto Setup section is split into tabs. Every field from Quick setup is here too; in addition, the settings below become available.
- Connection & Target — Settings scope, Demo mode, and the target exchange.
- Position & Risk — Amount, leverage, and Risk Management.
- TP / SL — Targets, stop, and stop management.
- Signals & Filters — Which messages turn into trades.
- Protection Shield — Automatic loss brakes, the calendar, and volatility filters.
- Advanced — Hedge, timing, and frequency limits.
- Reset this tab to defaults — After asking for confirmation, resets that tab's settings to their defaults. The small number next to a tab's name is how many of its fields you've changed from the default.
Per-channel reverse and win-rate filter
Inside the Telegram section, there's a "Channel Settings" accordion that appears in advanced mode. These settings apply only to signals from the channel you select.
- "Add a channel above first." — These settings are per channel; you need to add a channel under Signal Channels first. After adding a channel, pick one from the list to see the settings below.
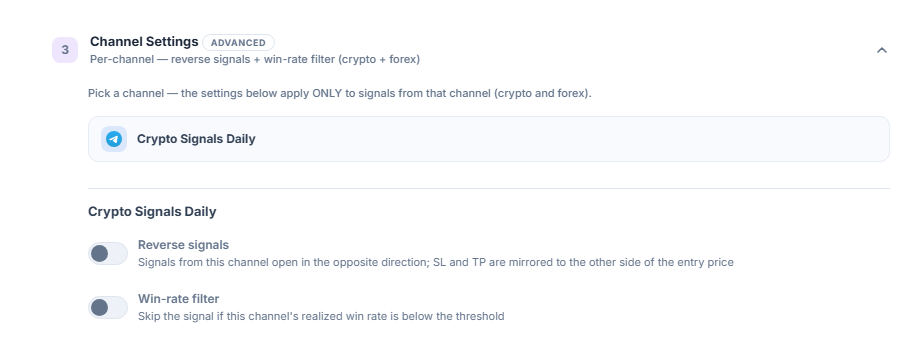
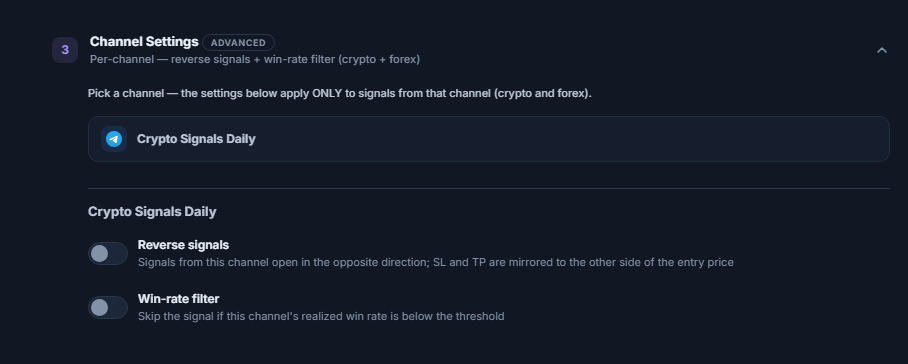
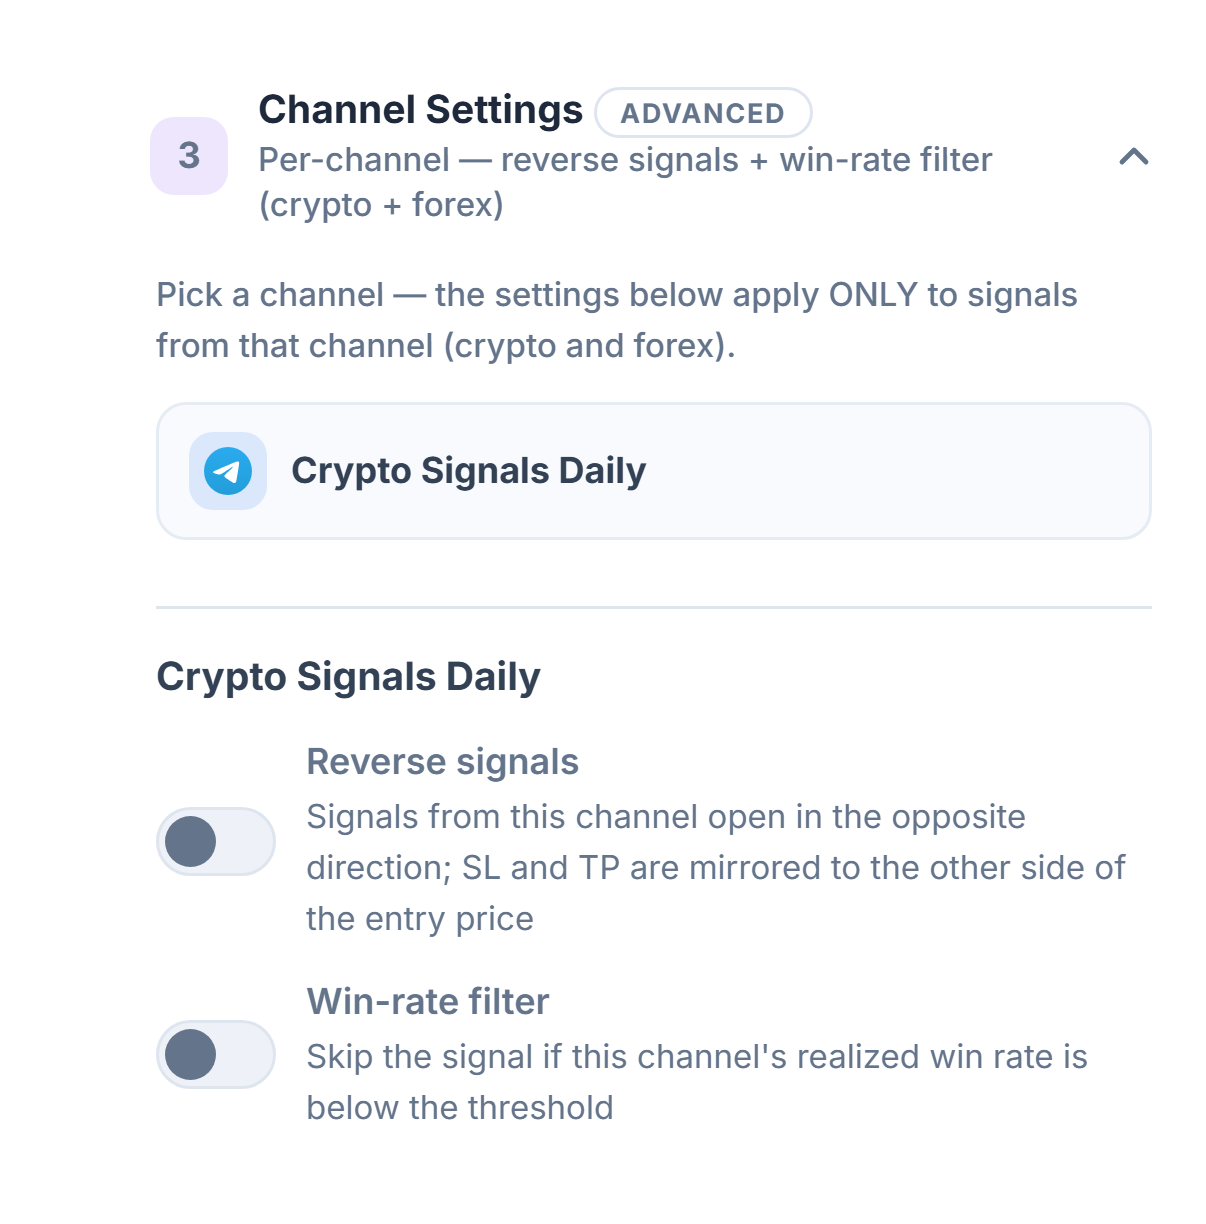
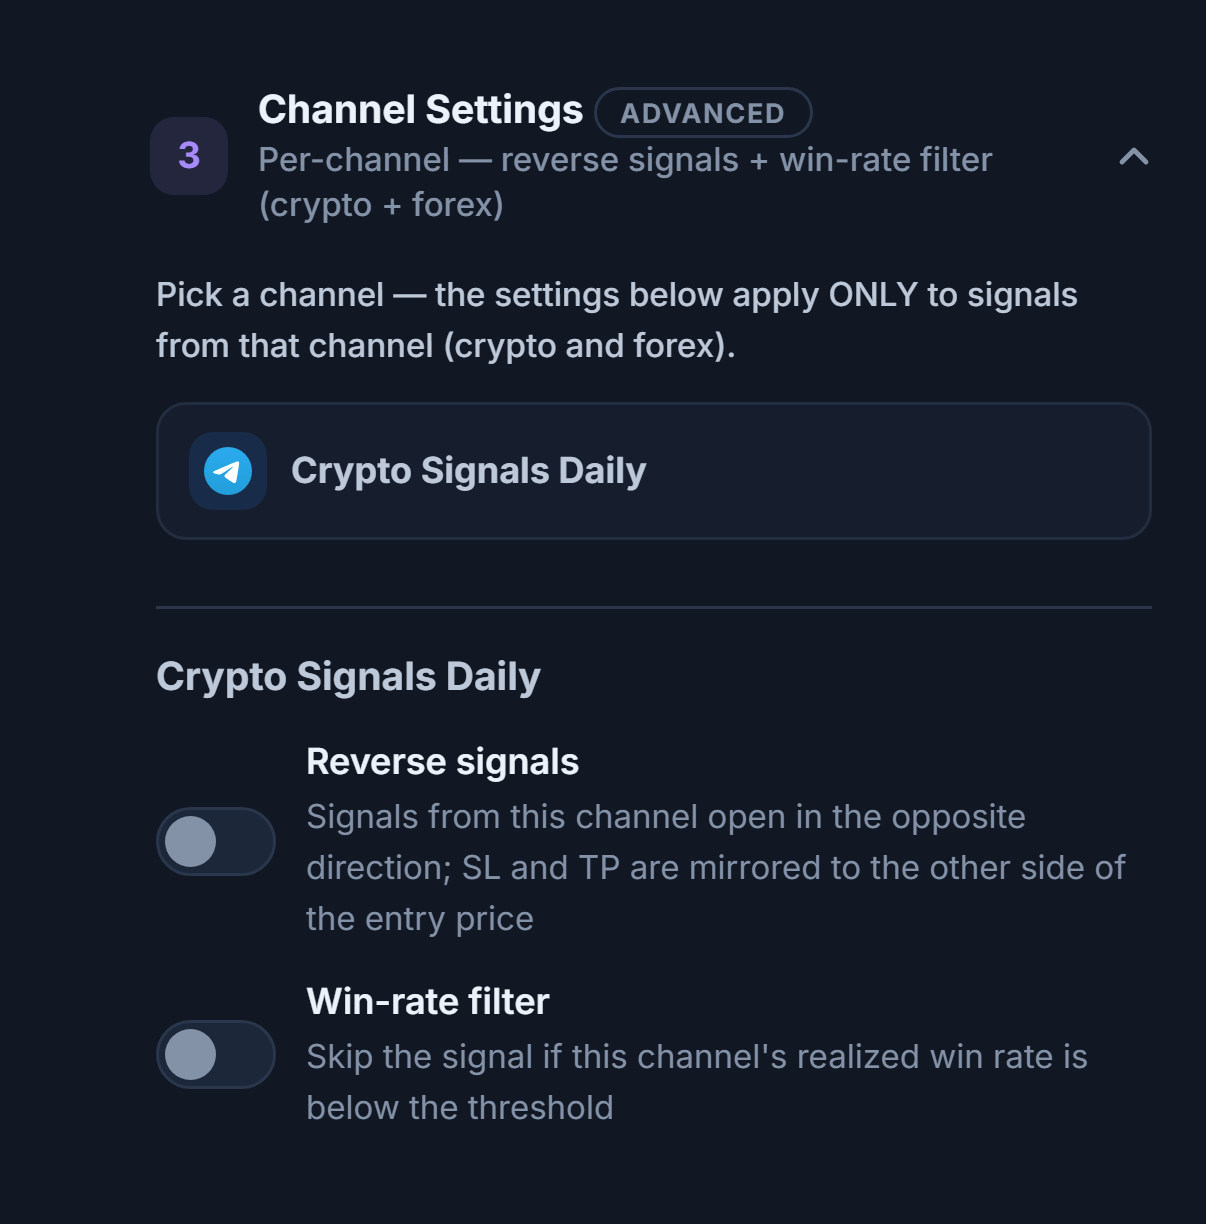
- Channel list — The channels you've added are listed here; when you tap one, its name appears in the settings title and the settings below apply only to that channel.
- Reverse signals — The reverse-direction toggle for the selected channel; explained below.
- Win-rate filter — The win-rate threshold toggle for the selected channel; explained below.
- Reverse signals — Signals from this channel open in the opposite direction: BUY → SHORT, SELL → LONG. SL and TP are mirrored to the other side of the entry price.
- Win-rate filter — If this channel's realized win rate falls below the threshold, its signals are skipped.
- Minimum win rate % — The filter's threshold; shown once the filter is on. At least 10 closed trades are required; below that, the filter stays inactive.
When you turn on "Reverse signals", a confirmation dialog appears restating what will happen (BUY → SHORT, SELL → LONG, SL and TP mirrored). Tap Approve to turn it on, or Cancel to back out.
Position and risk limits
The amount and leverage fields are the same as in Step 10. Risk Management expands with these fields in advanced mode:
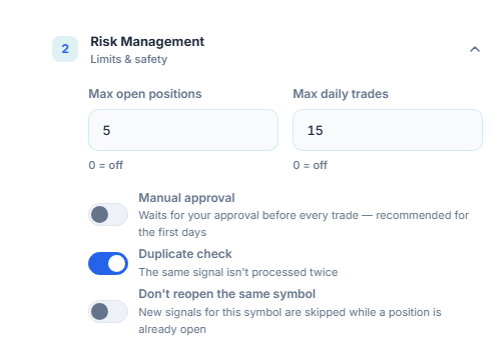
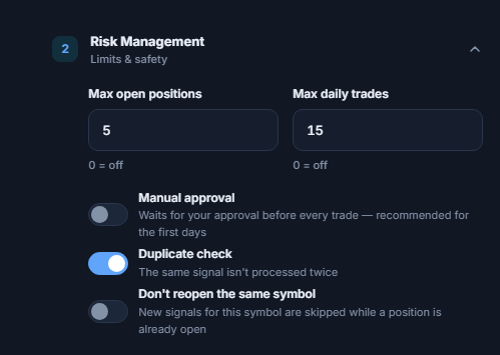
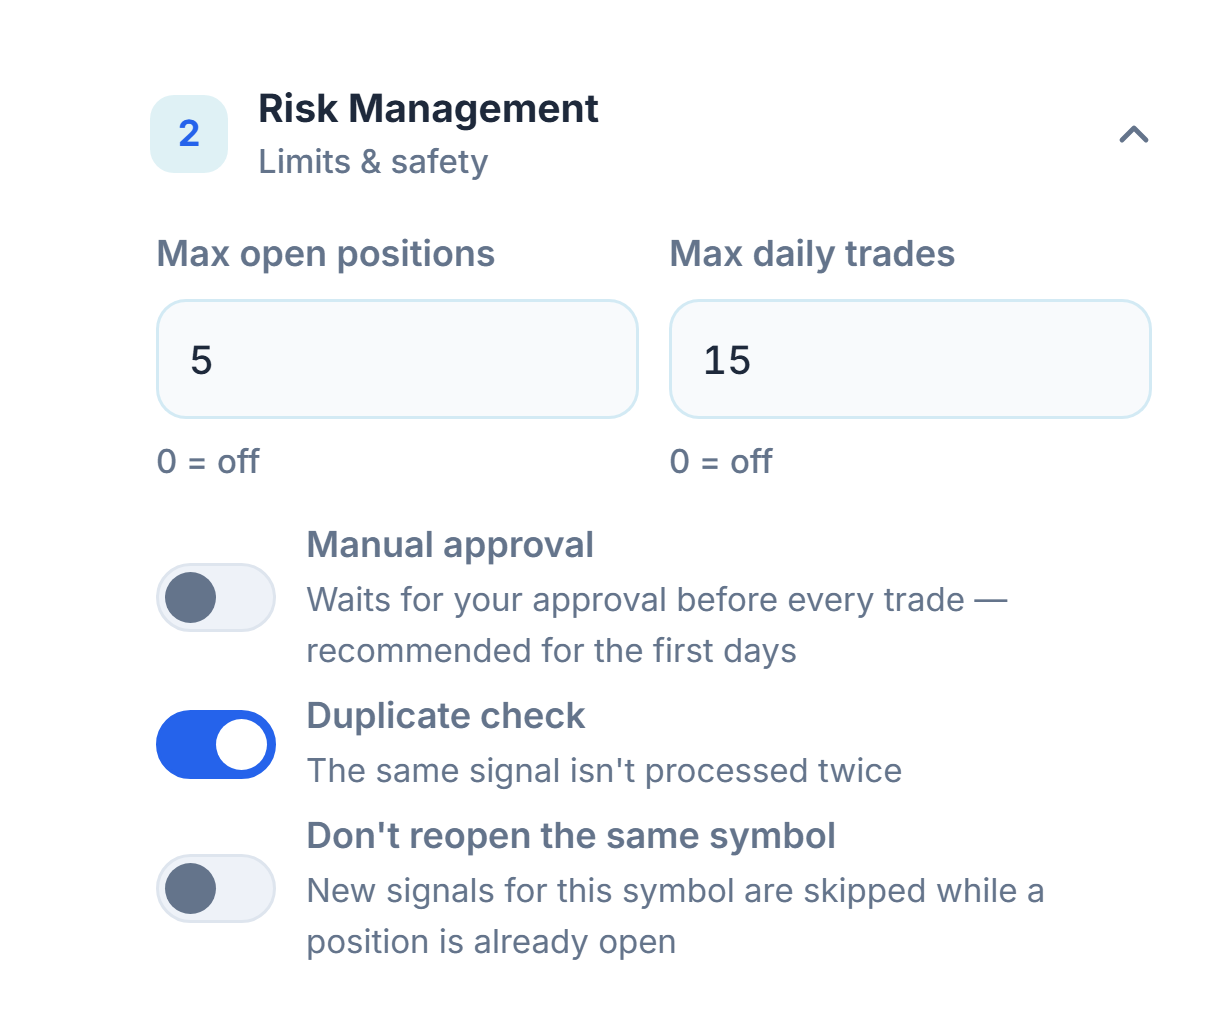
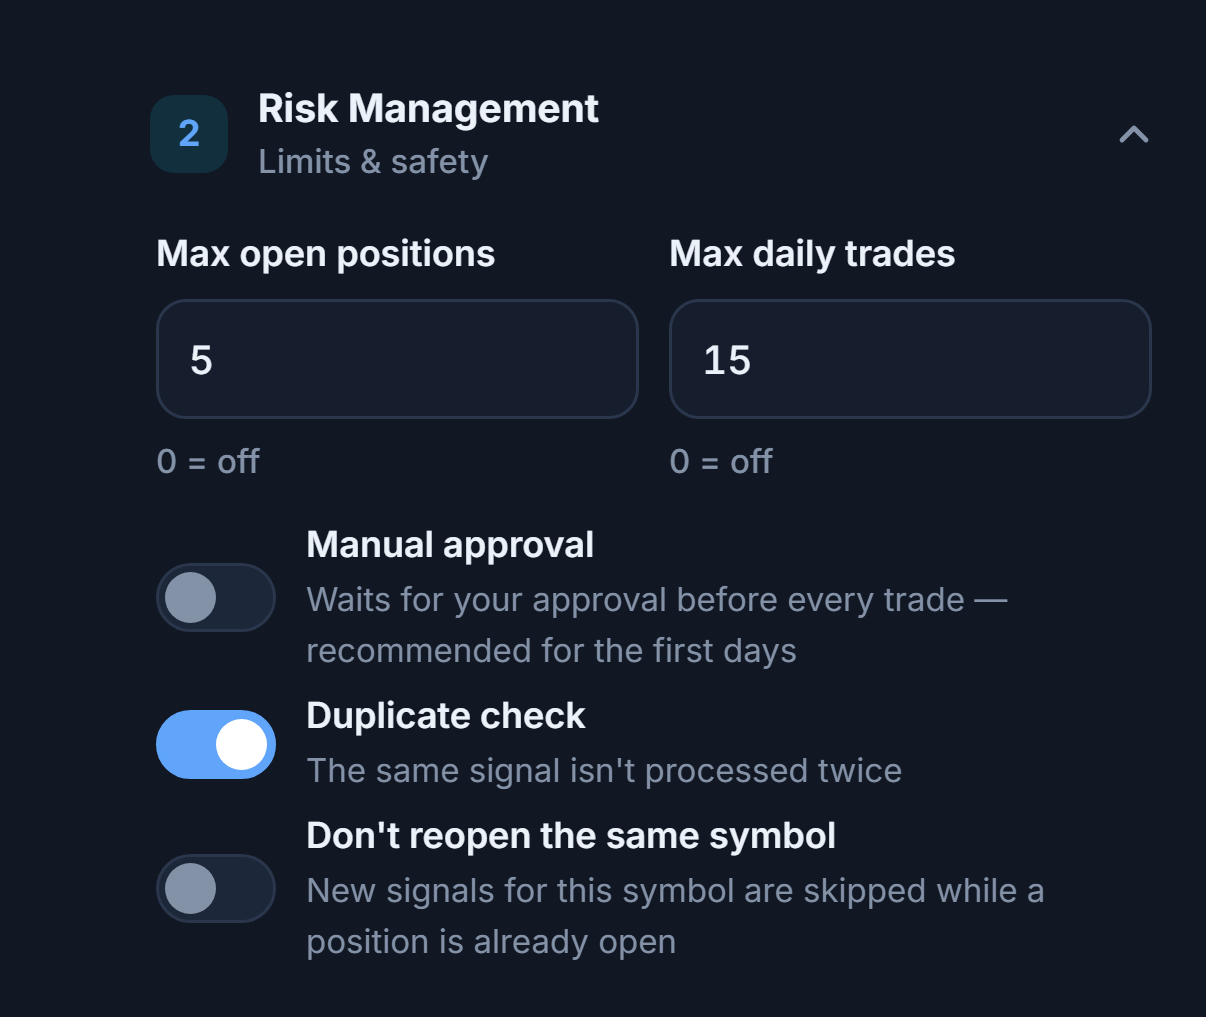
- Max open positions / Max daily trades — Same as in quick mode (Step 12).
- Manual approval — Waits for your approval before every trade opens. Turning it on shows a red warning: incoming signals aren't executed automatically, and you must approve each signal within 45 seconds; if you don't, the trade doesn't open.
- Duplicate check — The same signal is never processed twice.
- Don't reopen the same symbol — A new signal is skipped while a position is already open on this symbol.
Field shown once you turn on "Don't reopen the same symbol"
- Allow before close (min) — Shown while the setting above is on. Allows a new trade on the same symbol this many minutes after the open position was opened. 0 = wait until it closes.
Breakeven, Ladder SL, and trailing stop
The target and stop fields are the same as in Step 11. The "SL / TP management" column on the right applies on top of both the signal and manual sources:
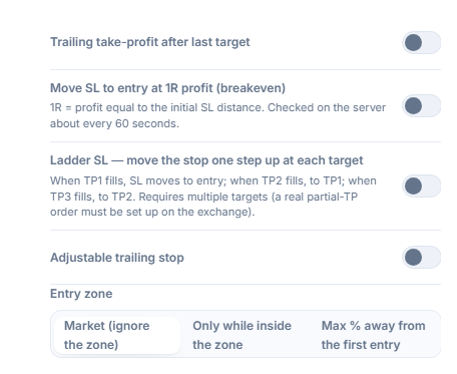
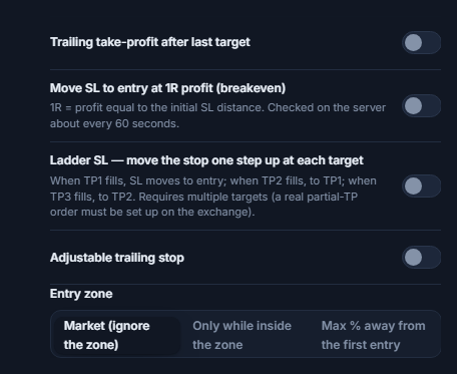
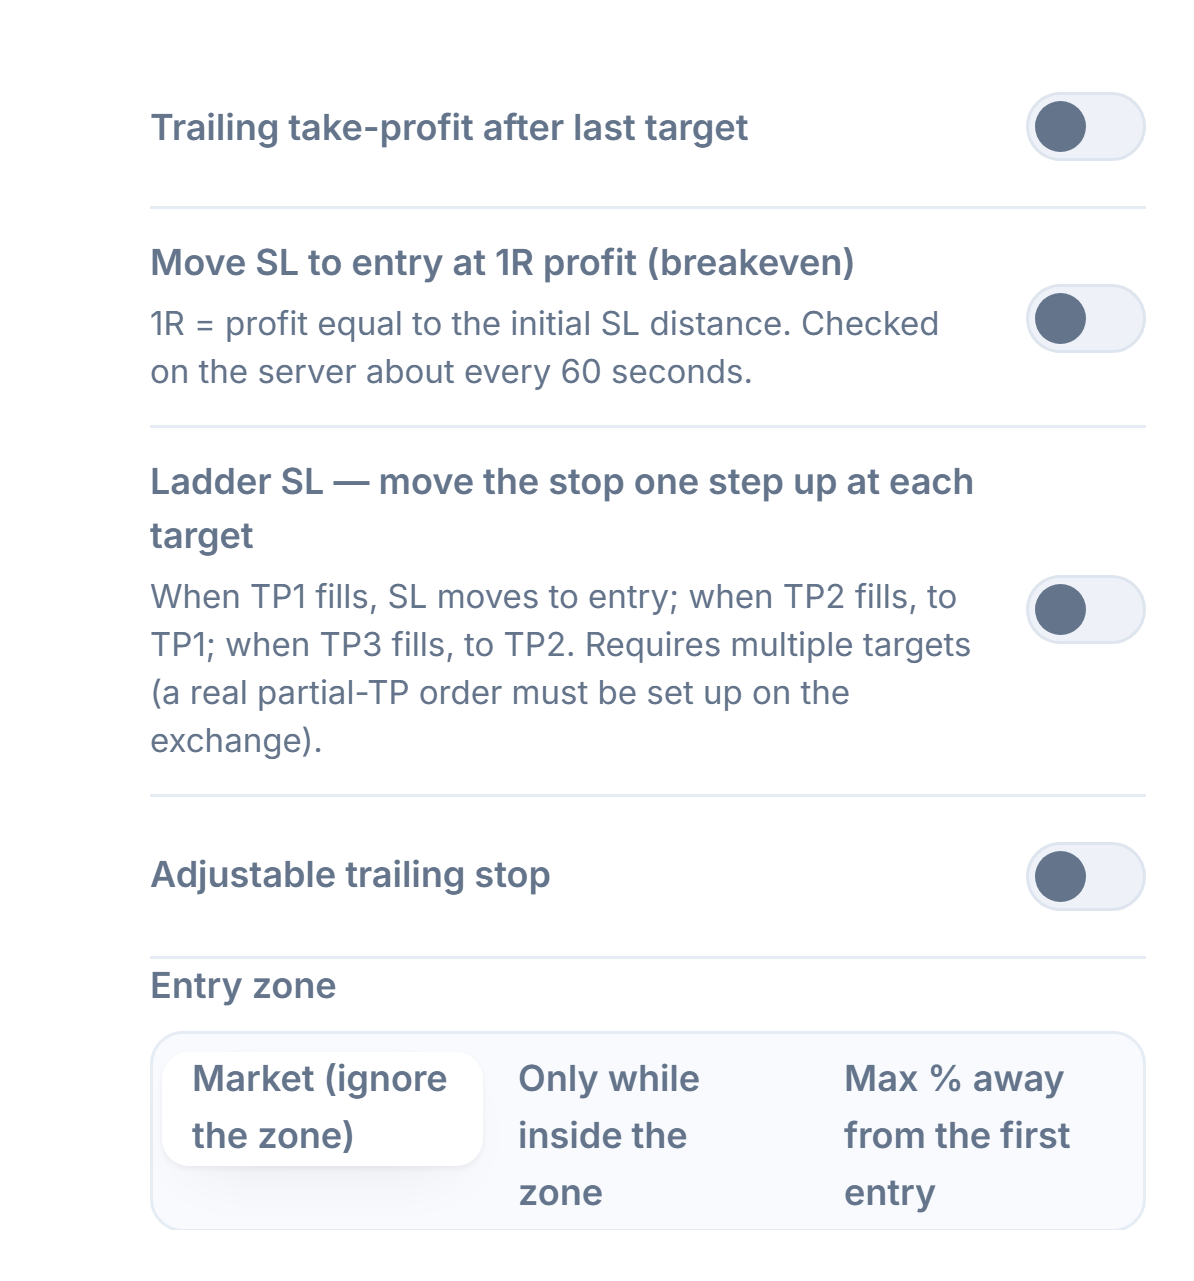
- Trailing take-profit after last target — Once the last TP target is reached, profit continues to be taken as the price is tracked.
- Move SL to entry at 1R profit (breakeven) — Once the price moves in your favor by the stop distance (1R), the stop is moved to the entry price, so at worst the trade closes break-even. Checked on the server roughly every 60 seconds.
- Ladder SL — The stop moves up one step at each target: when TP1 fills, SL moves to entry; when TP2 fills, to TP1; when TP3 fills, to TP2. Requires multiple targets (a partial TP order must actually be set on the exchange).
- Adjustable trailing stop — As the price moves in your favor, the stop follows behind it.
- Entry zone — When a signal gives an entry range, this decides whether the trade still opens if the price has moved away. Market (ignore the zone), Only while inside the zone, or Max % away from the first entry. Only a move against you counts; a better price never blocks the order.
Fields shown once you turn on Adjustable trailing stop
- Activation (%) / Pullback (%)
- Max % away from the first entry — If the price has moved against you by more than a set percentage from the signal's first entry price, the order doesn't open.
- Max deviation (%) — The largest deviation allowed.
Filter which messages turn into trades
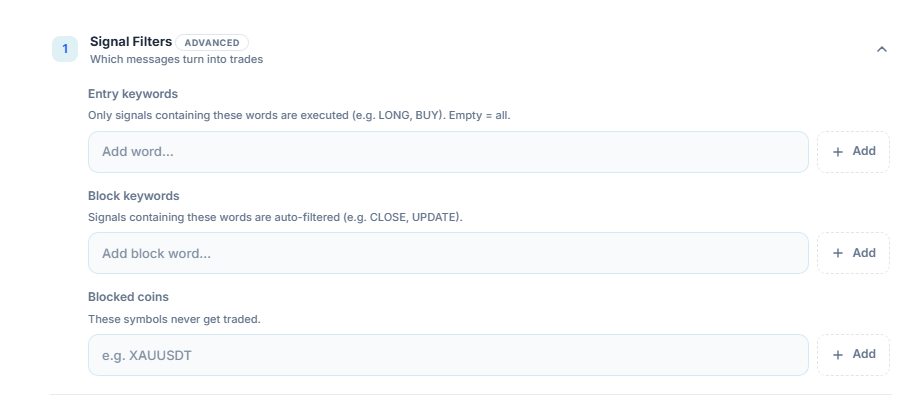
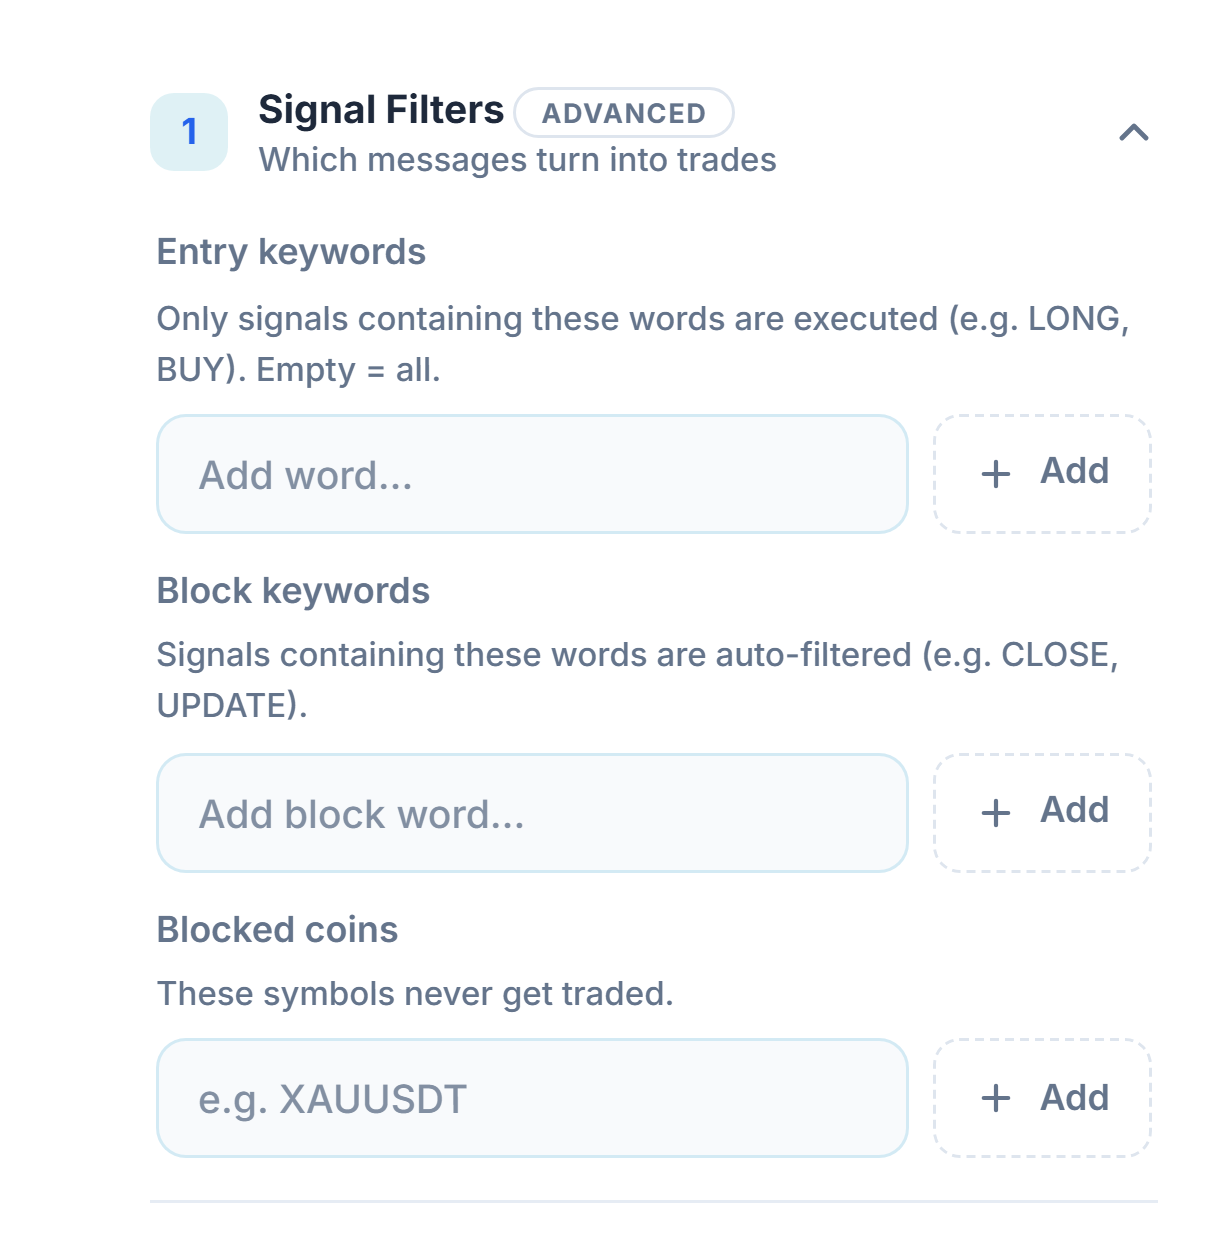
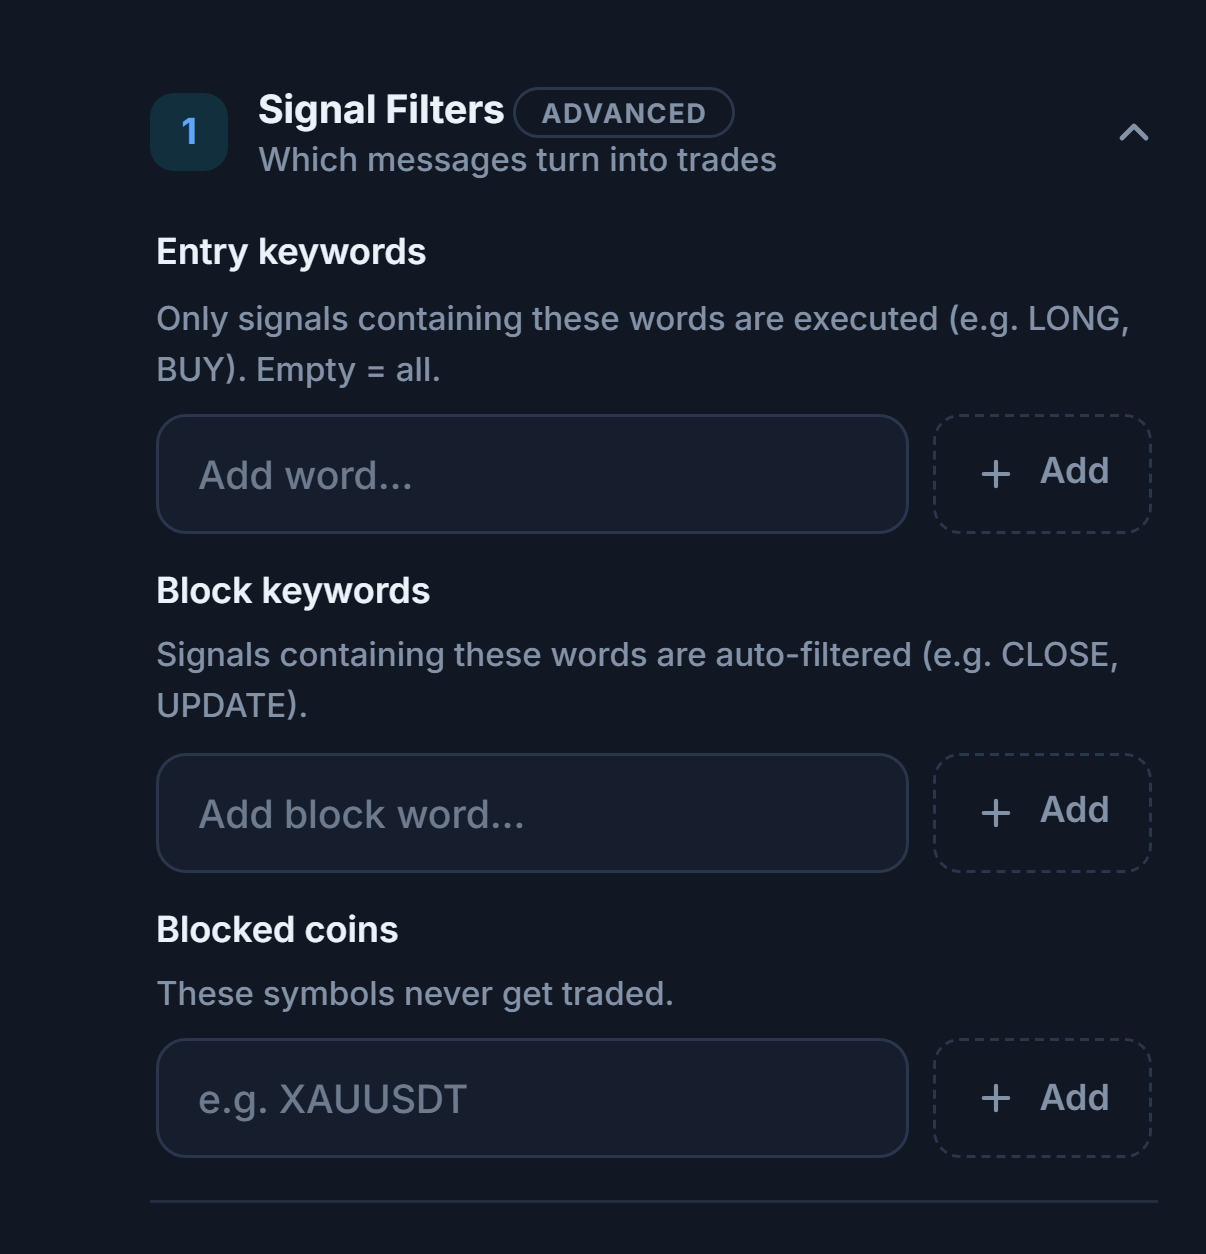
- Entry keywords — Only signals containing these words are executed. Empty = all.
- Block keywords — Signals containing these words are filtered out automatically.
- Blocked coins — These symbols never turn into trades.
Loss brakes, the economic calendar, and prop-firm rules
These are automatic brakes that protect your capital. Once the daily loss limit is hit, no new trades open that day, and it resumes automatically the next day. On permanent limits (max drawdown, prop-firm total loss), the bot stops completely.
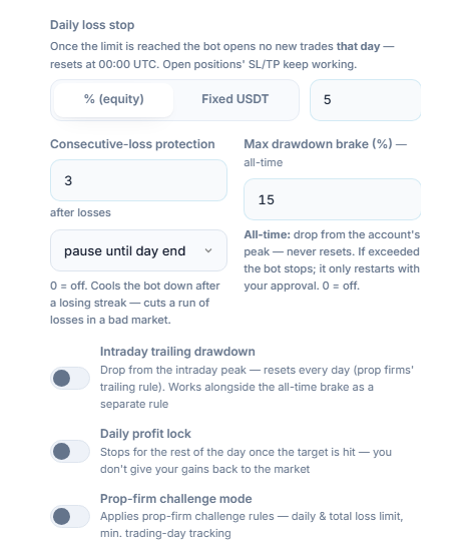
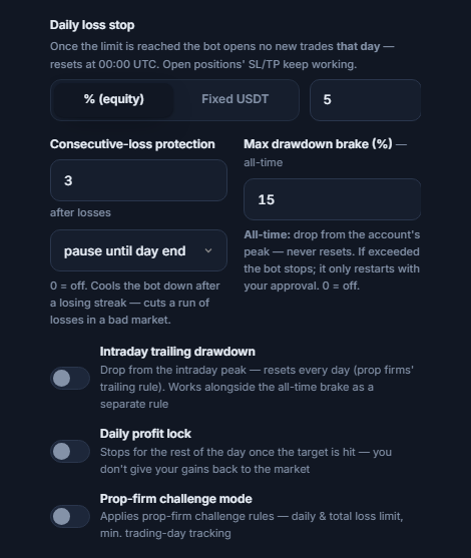
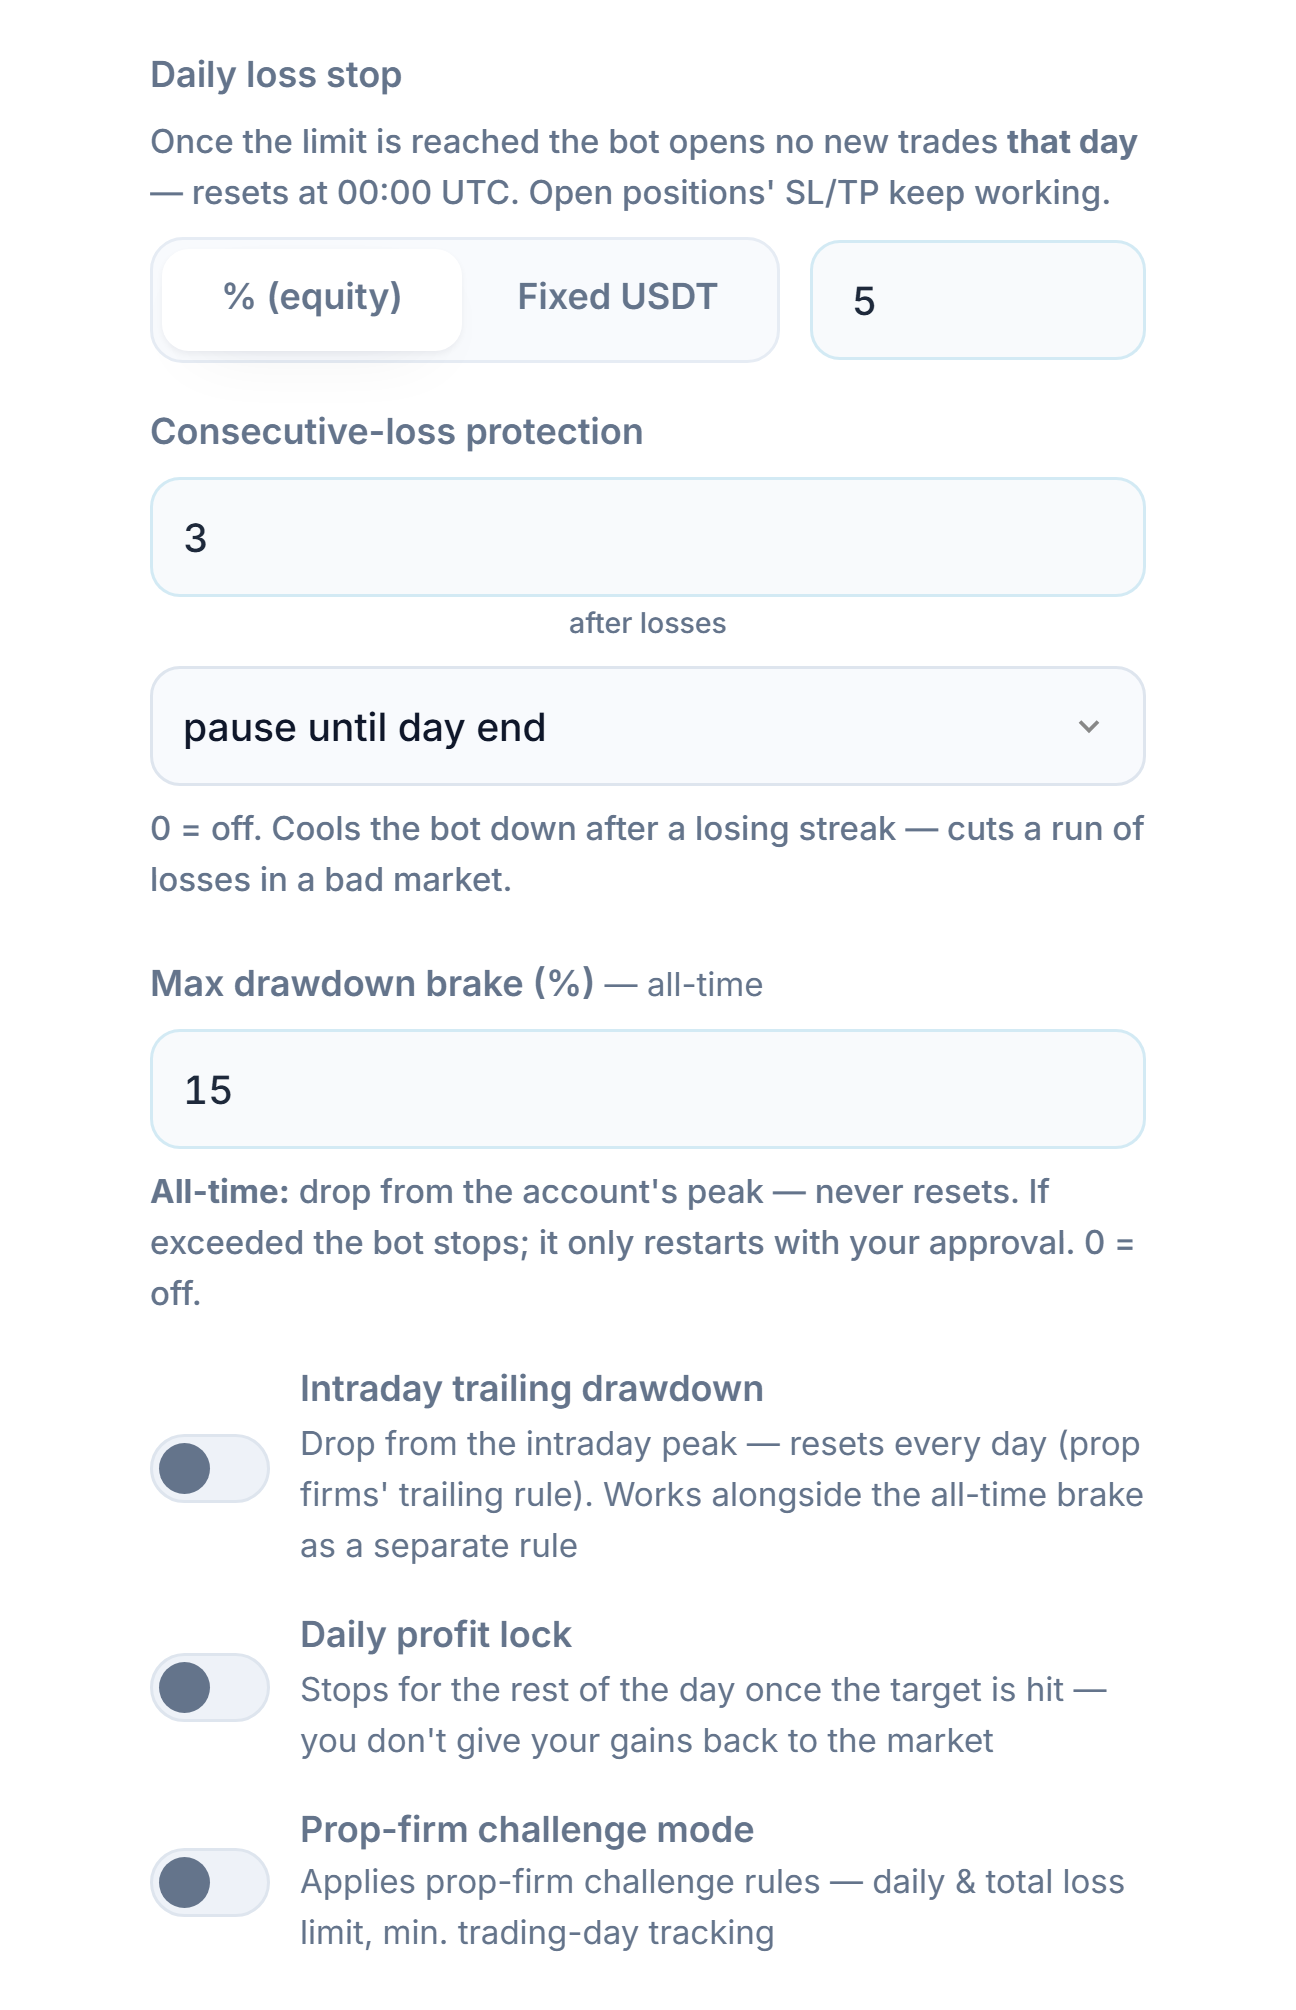
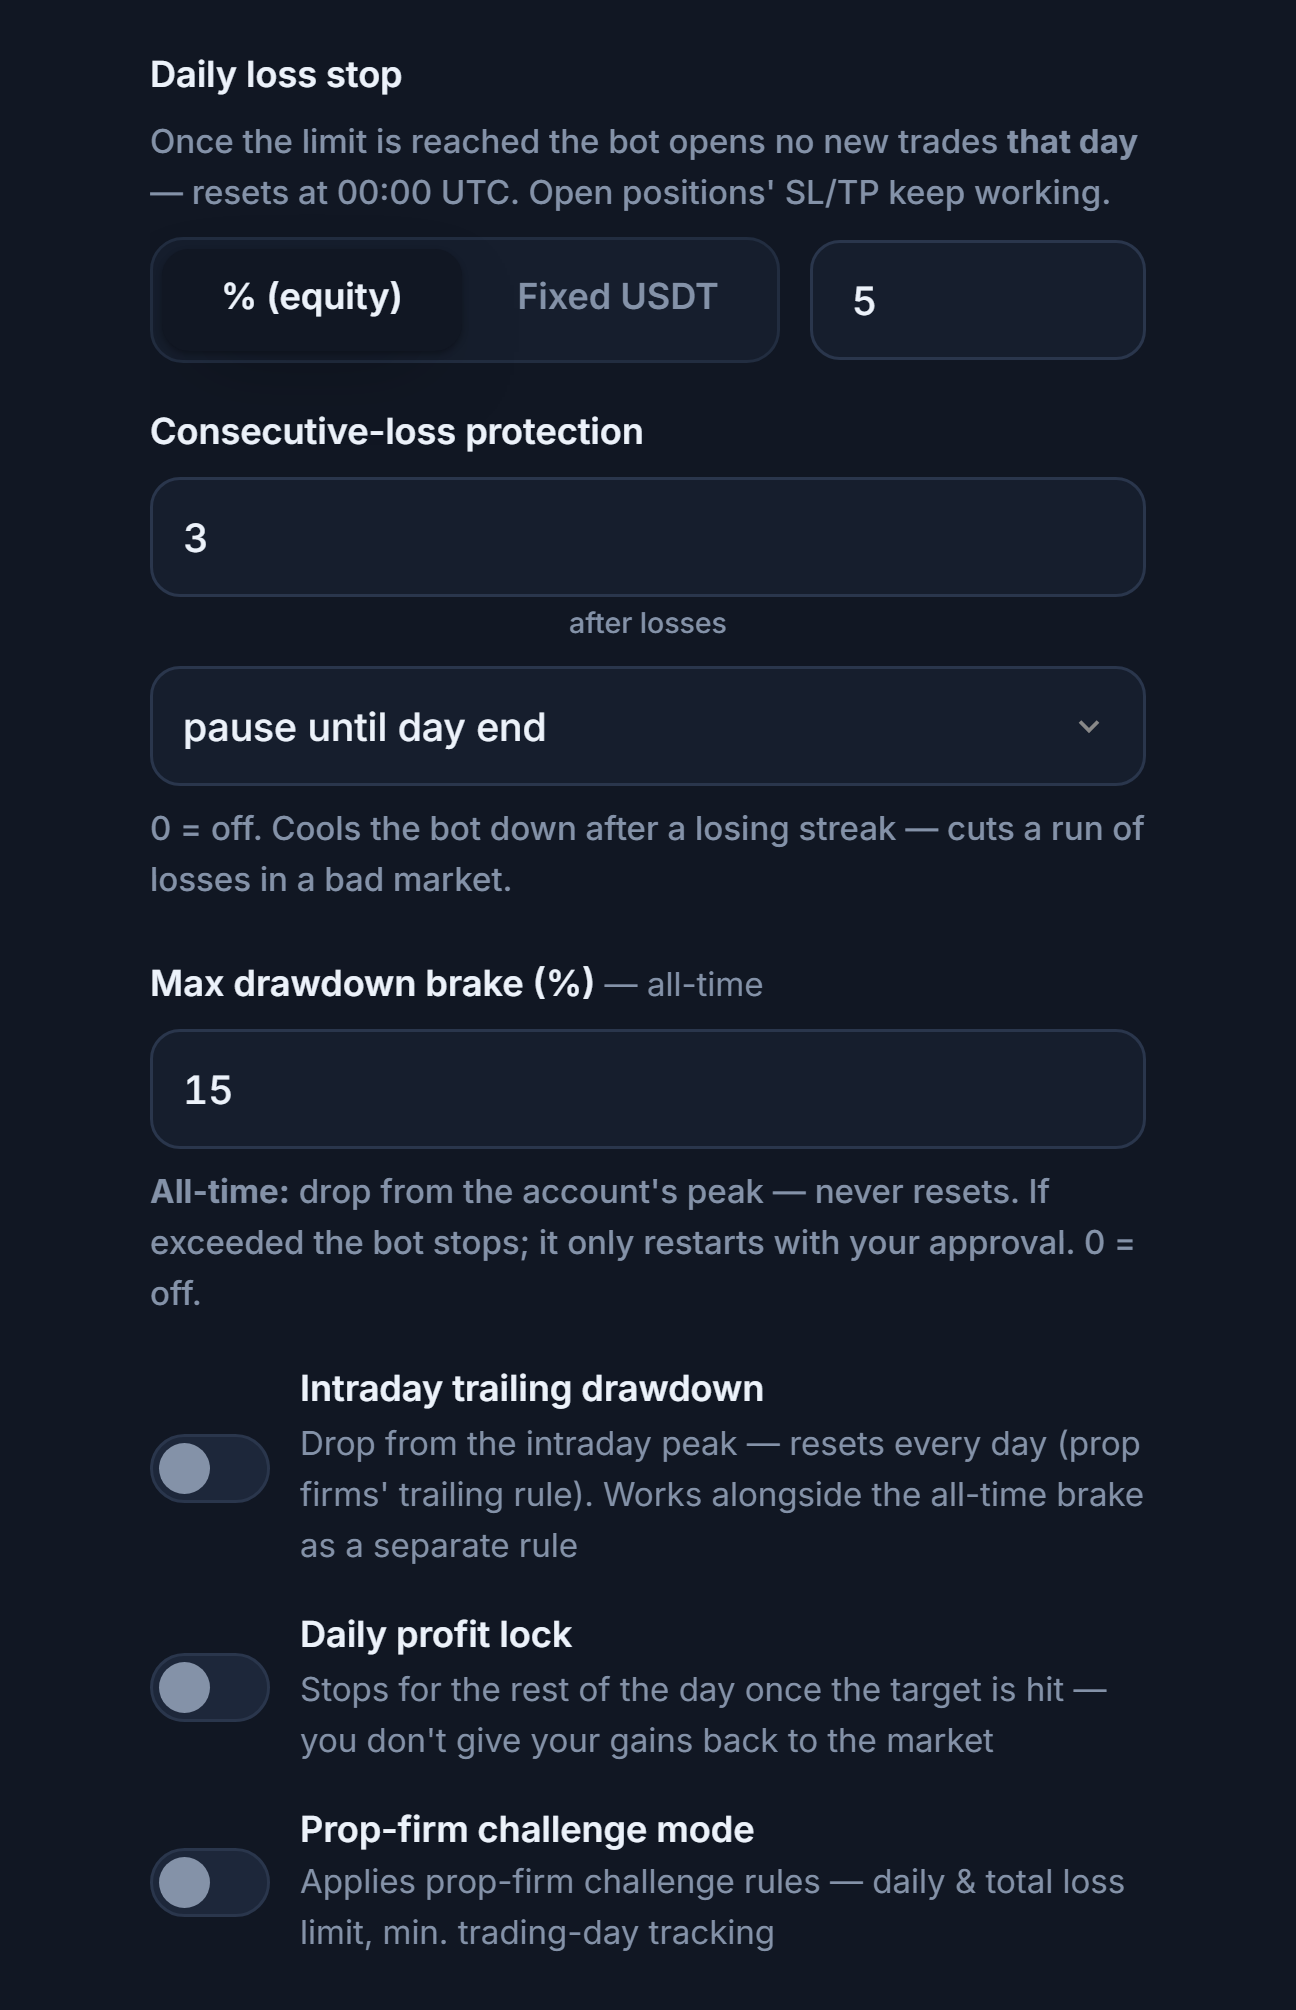
- Daily loss stop — Explained in Step 12.
- Consecutive-loss protection — After this many stop-outs in a row, the bot cools down. 0 = off.
- Max drawdown brake — Explained in Step 12.
- Intraday trailing drawdown — Tracks the drop from the peak reached during the day; it resets every day (the prop-firm-style trailing rule). It runs as a separate rule alongside the all-time brake.
- Daily profit lock — Once the daily profit target is reached, the bot stops for the rest of the day, so you don't give your gains back to the market.
- Prop-firm challenge mode — Applies prop-firm challenge rules: daily and total loss limits, minimum trading-day tracking.
Fields shown once you turn on Intraday trailing drawdown
- Intraday drawdown limit / Daily reset hour (UTC)
Fields shown once you turn on Prop-firm challenge mode
- Rule set — Ready-made templates: Generic 2-phase (5% / 10%), Generic 1-phase (4% / 6%), rule sets similar to ("compatible with") several firms, and "Custom — I'll enter the values myself". The firm names are just a convenience template; there's no official affiliation with any firm, and the values are approximate — always confirm the current rules of the firm you're applying to.
- Daily loss limit (%) — Once your equity drops this much from the start of the day, no new trades open that day (resets at 00:00 UTC).
- Total loss limit (%) — Once your balance drops this much from the start of the challenge, the challenge stops; no new trades open until you reset it manually.
- Consistency rule (%) — If your single best day's profit exceeds this percentage of your total profit, no new trades open. Requires at least 2 trading days and a positive total profit. 0 = off.
- Min. trading days — Tracked only; it doesn't block trading.
- Reset challenge — Resets the counters when you start a new challenge.
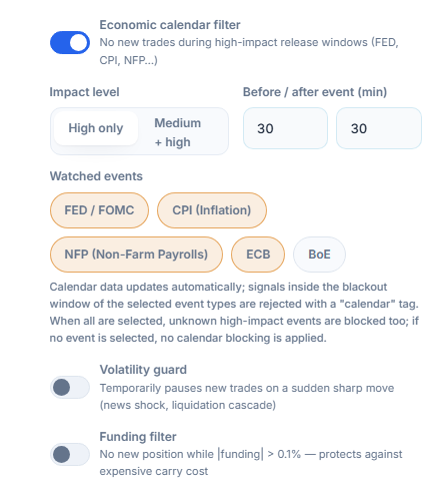
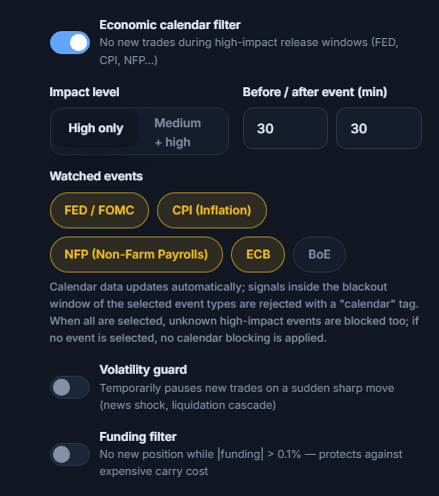
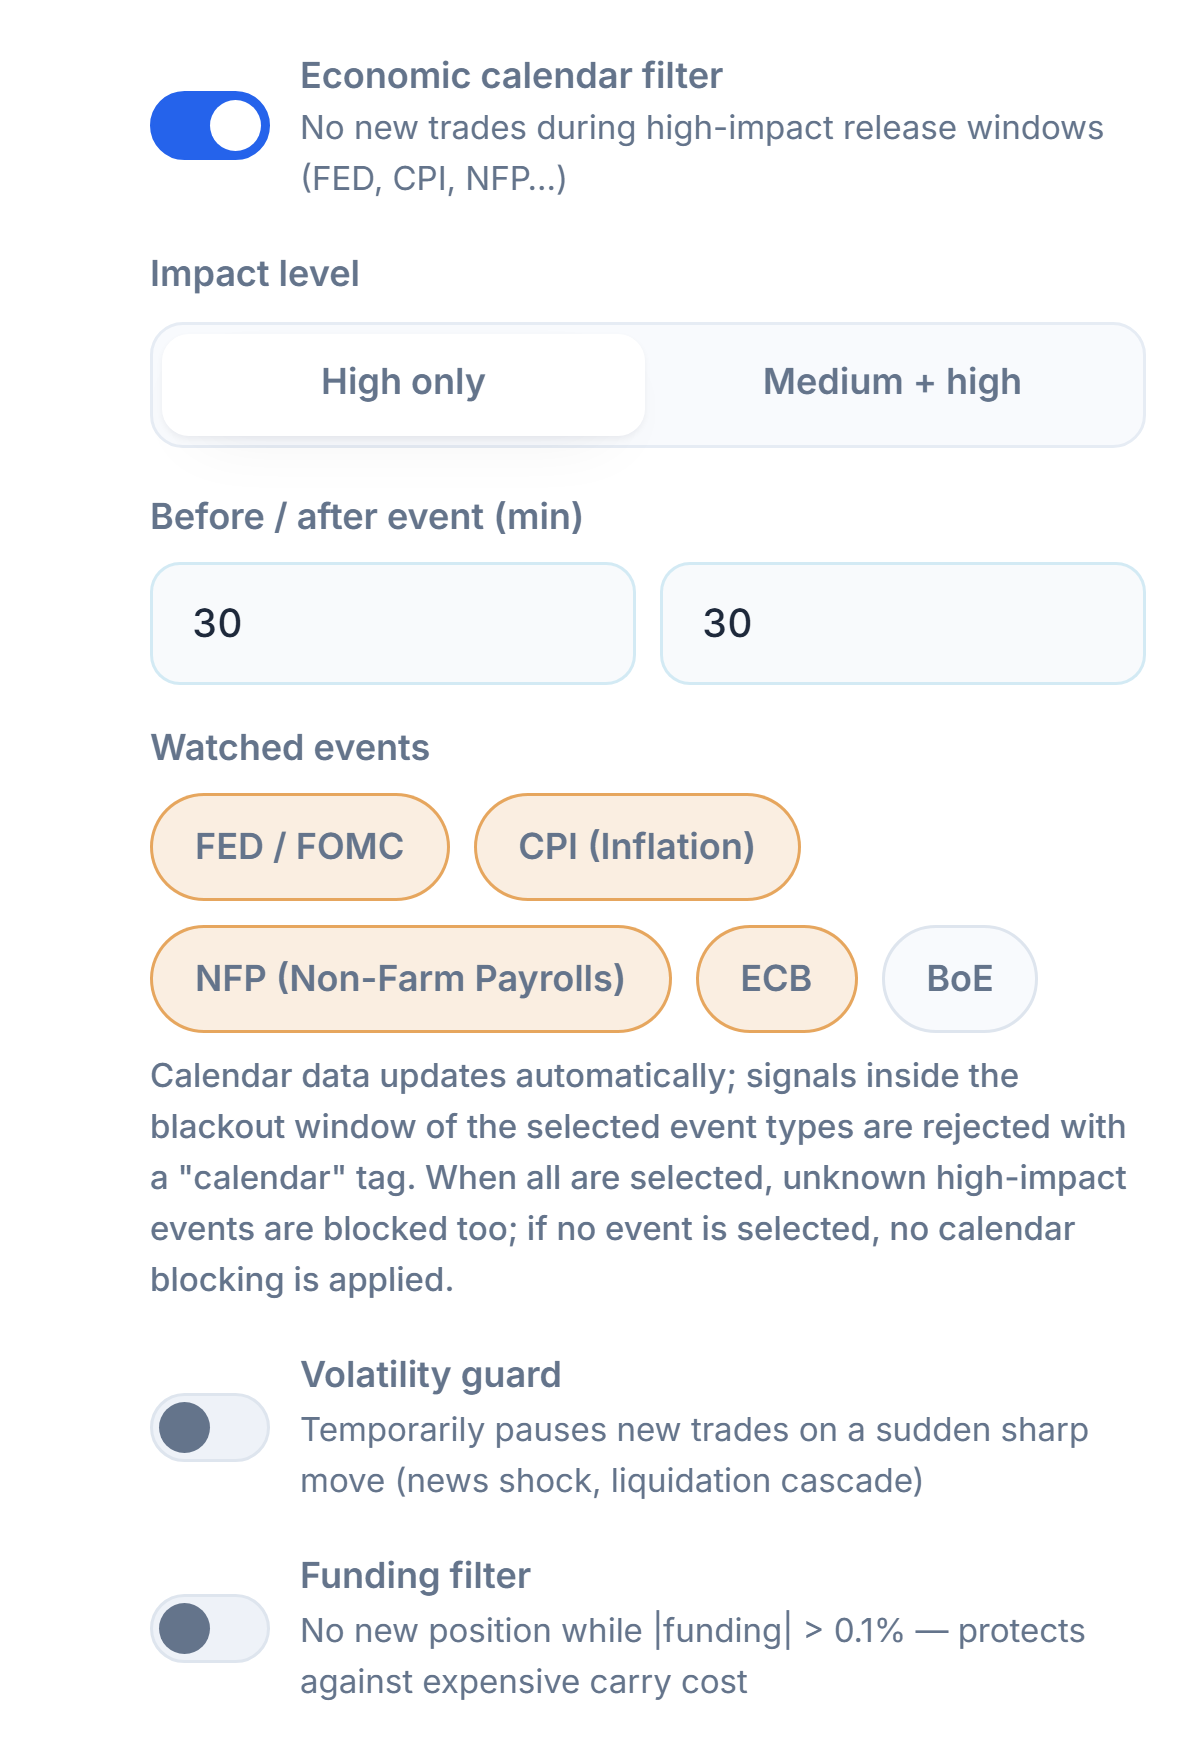
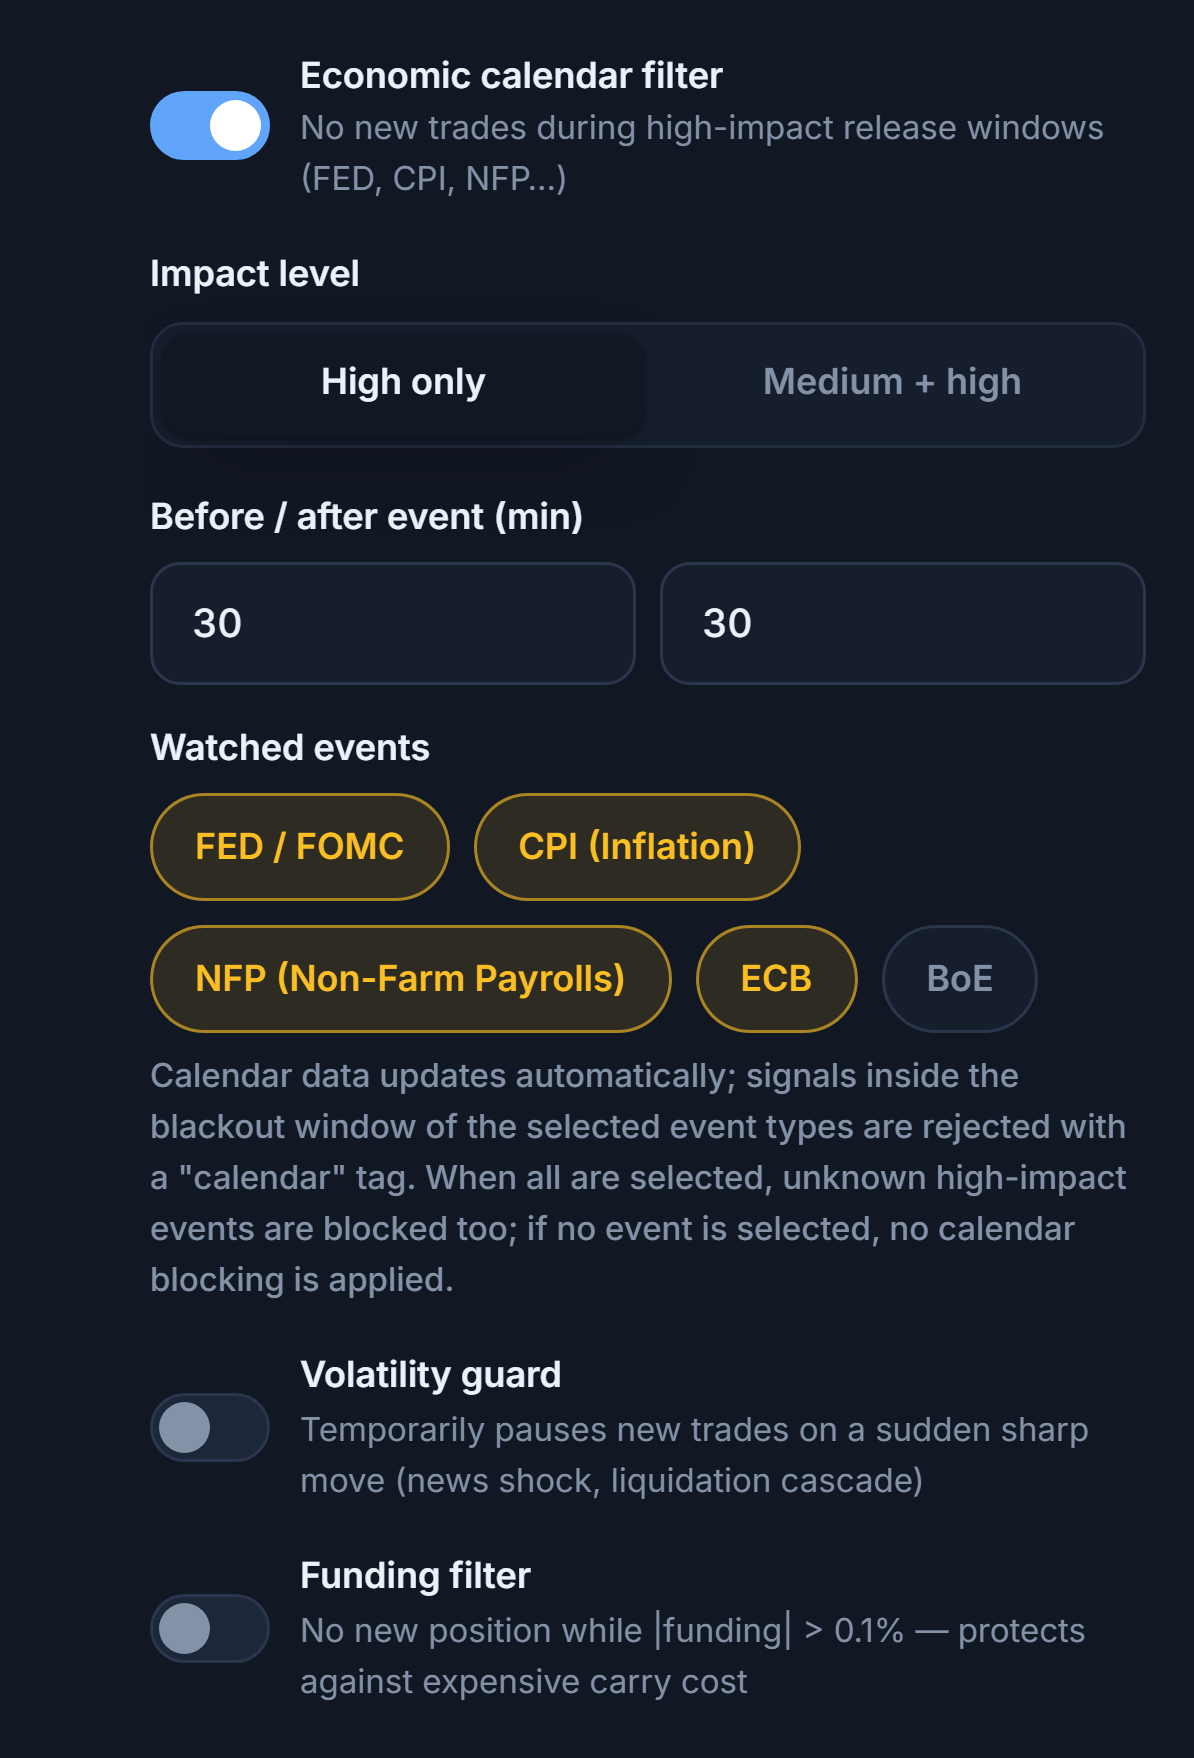
- Economic calendar filter — No new trades open around high-impact releases (FED, CPI, NFP…); signals in this window are rejected with a "calendar" label. Calendar data updates automatically.
- Impact level and Before / after event (min)
- Watched events — Choose which event types to wait around. With everything selected, unknown high-impact events are also blocked; with nothing selected, the calendar doesn't block anything.
- Volatility guard — Temporarily pauses new trades during a sudden sharp move (a news shock, a liquidation cascade).
- Funding filter — No new position opens while the absolute funding rate is above 0.1%, protecting you from expensive carry costs.
Fields shown once you turn on the Volatility guard
- 1-minute move threshold / Wait time — Shown while the volatility guard is on.
Timing, hedge, and trade-frequency limits
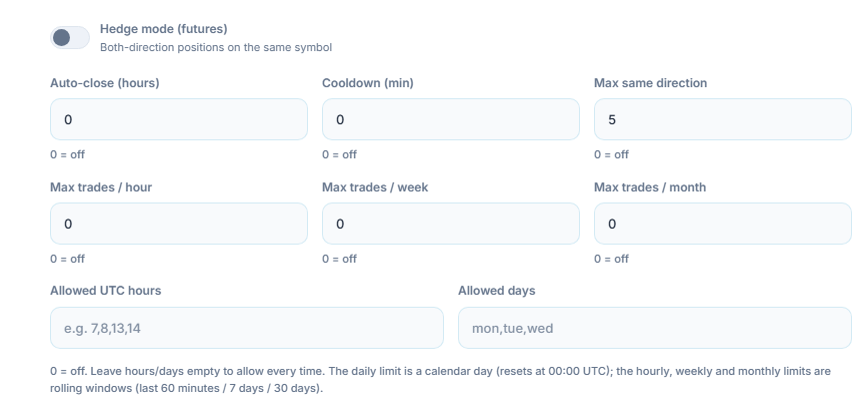
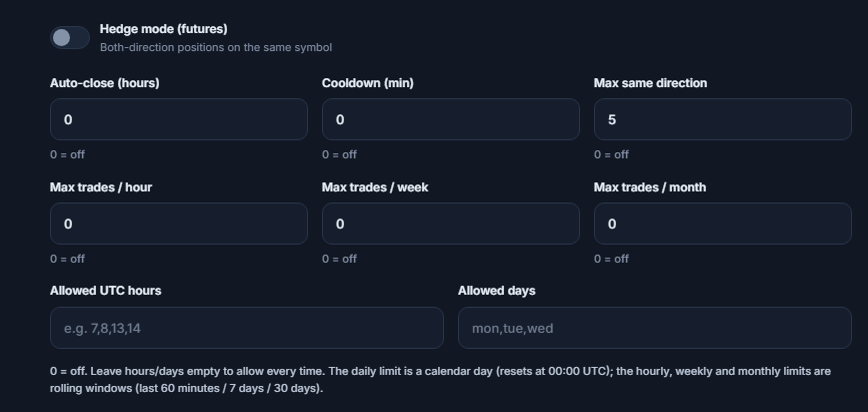
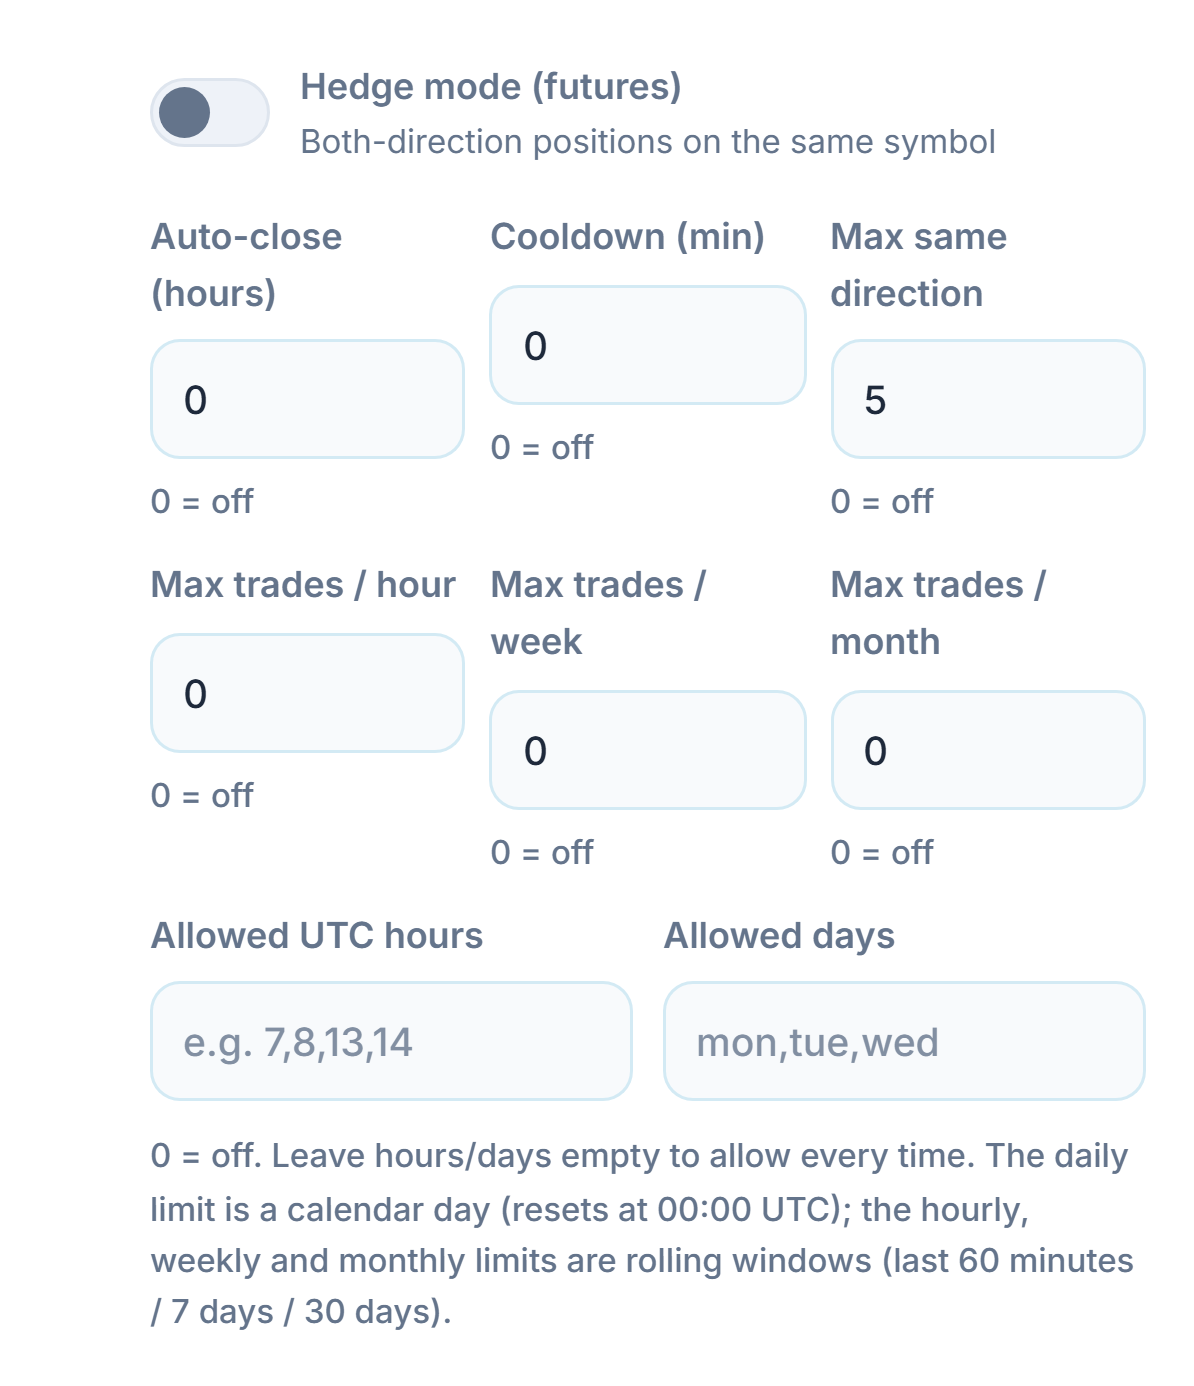
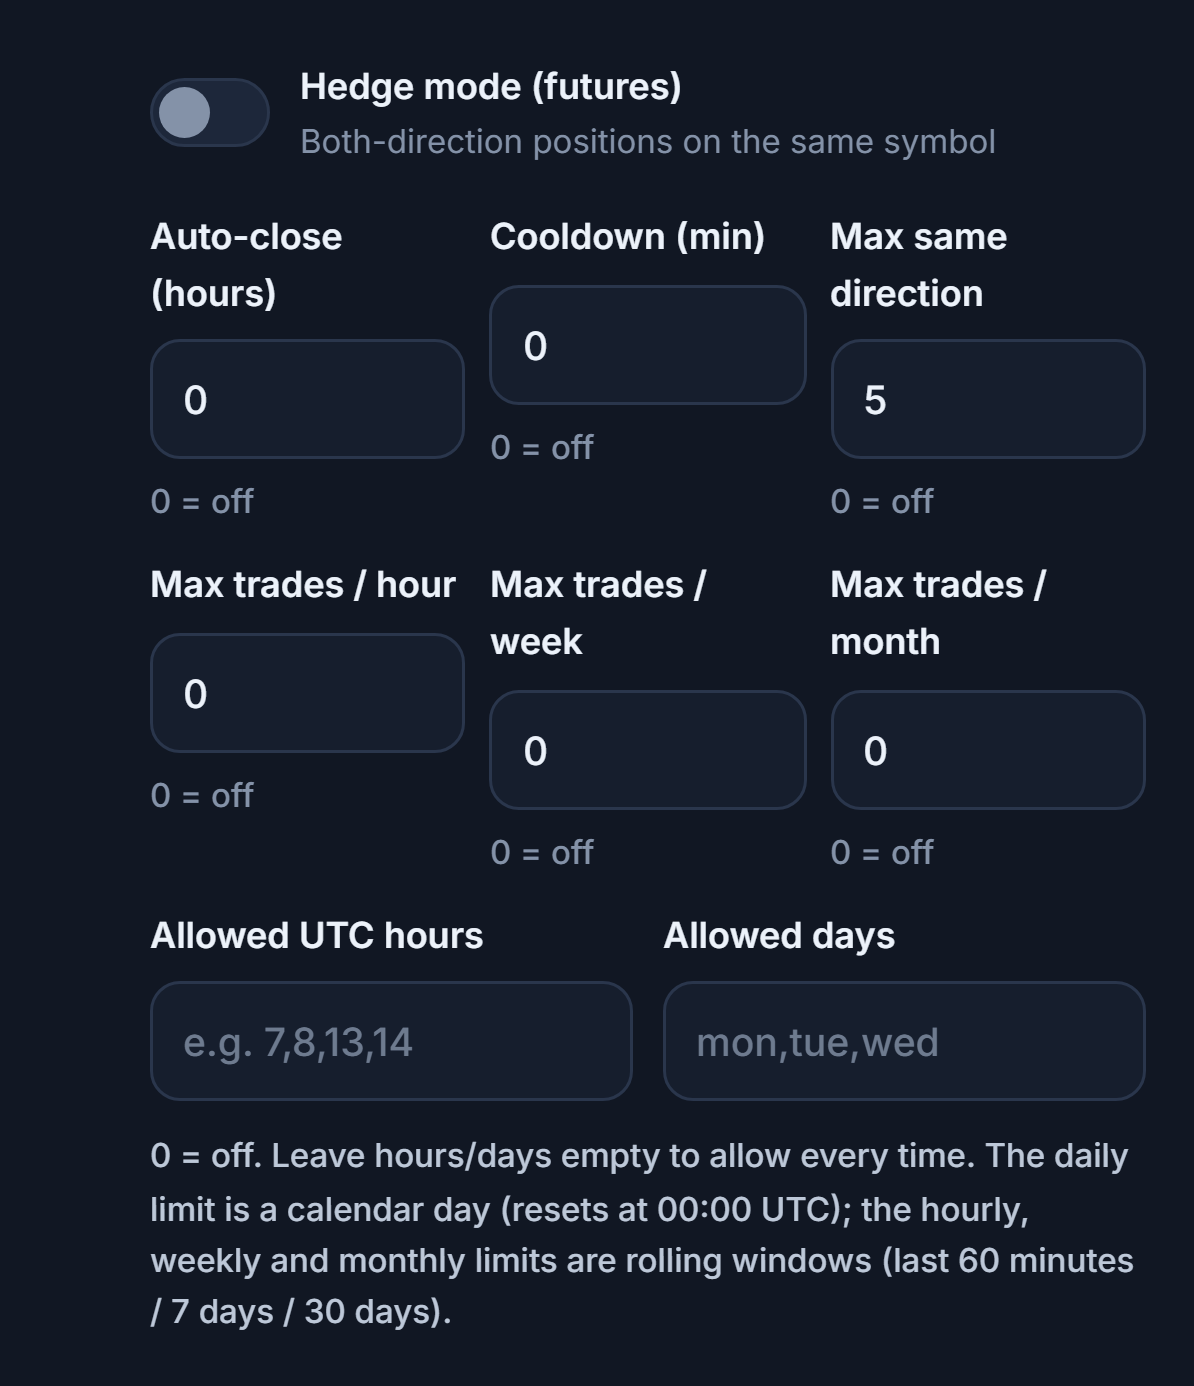
- Hedge mode (futures) — Allows both directions (LONG and SHORT) open on the same symbol at the same time. Only shown on Futures.
- Auto-close (hours) — An open position is closed after this many hours. 0 = off.
- Cooldown (min) — No new trade opens for this many minutes after the last trade opened. 0 = off.
- Max same direction — The most positions that can be open at once in the same direction (e.g. all LONG). 0 = off.
- Max trades / hour — The most trades that can open in the last 60 minutes. 0 = off.
- Max trades / week — The most trades that can open in the last 7 days. 0 = off.
- Max trades / month — The most trades that can open in the last 30 days. 0 = off.
- Allowed UTC hours — The bot only opens trades during these UTC hours; if left empty, any time is allowed.
- Allowed days — The bot only opens trades on these days; if left empty, every day is allowed. Days are written with their English abbreviation.
After you create the bot
When you tap Create Bot, the wizard closes and a new bot card appears in the My Bots panel. Everything from here on happens on the card:
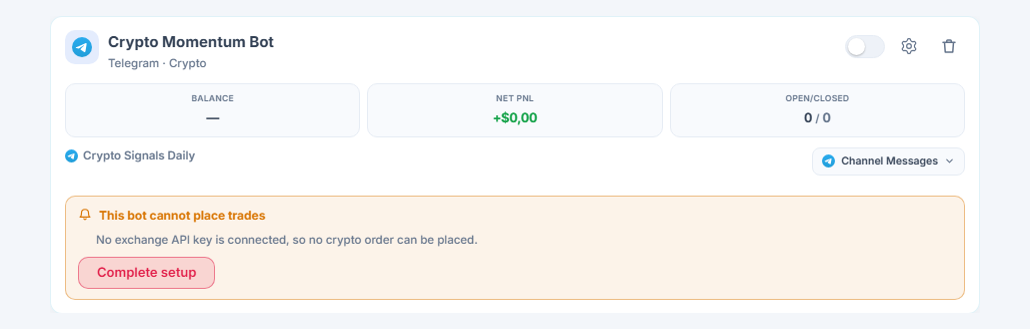
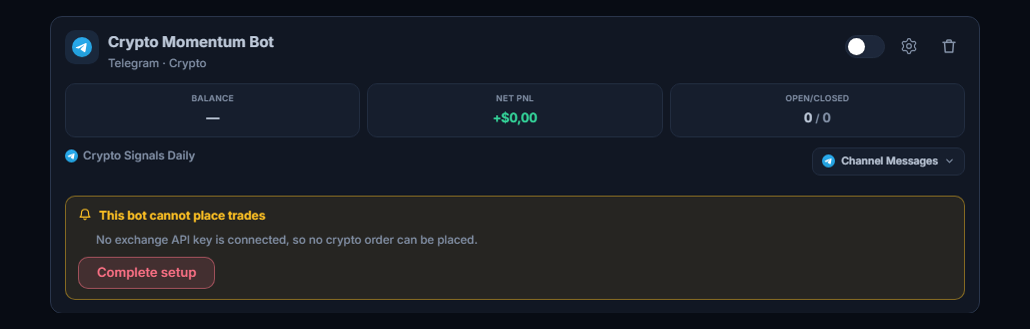
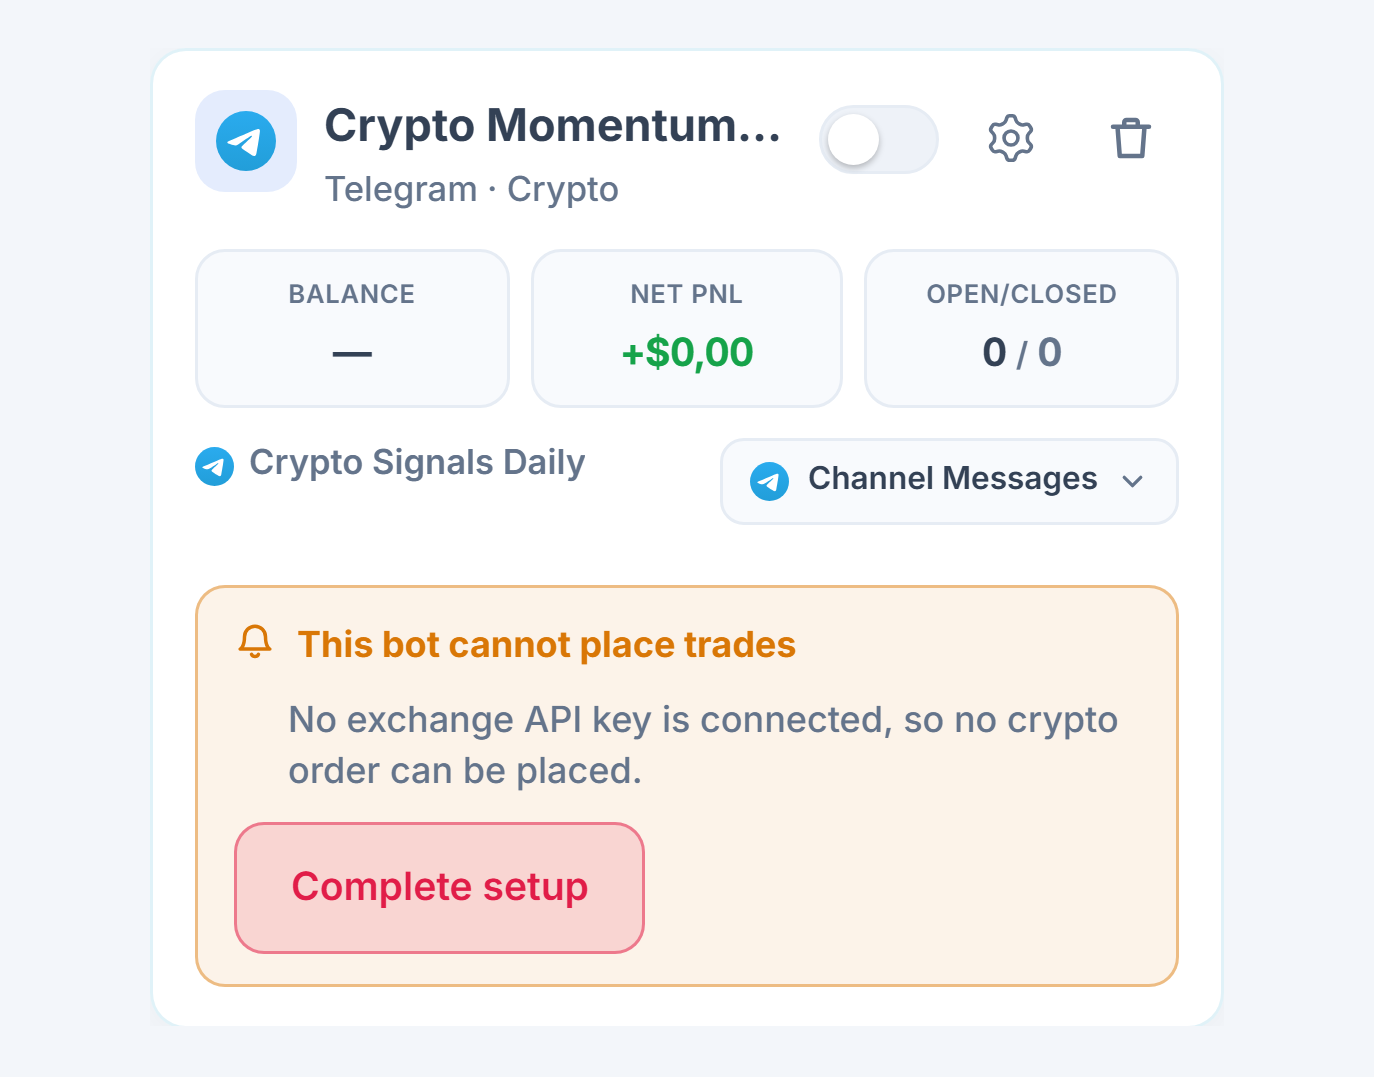
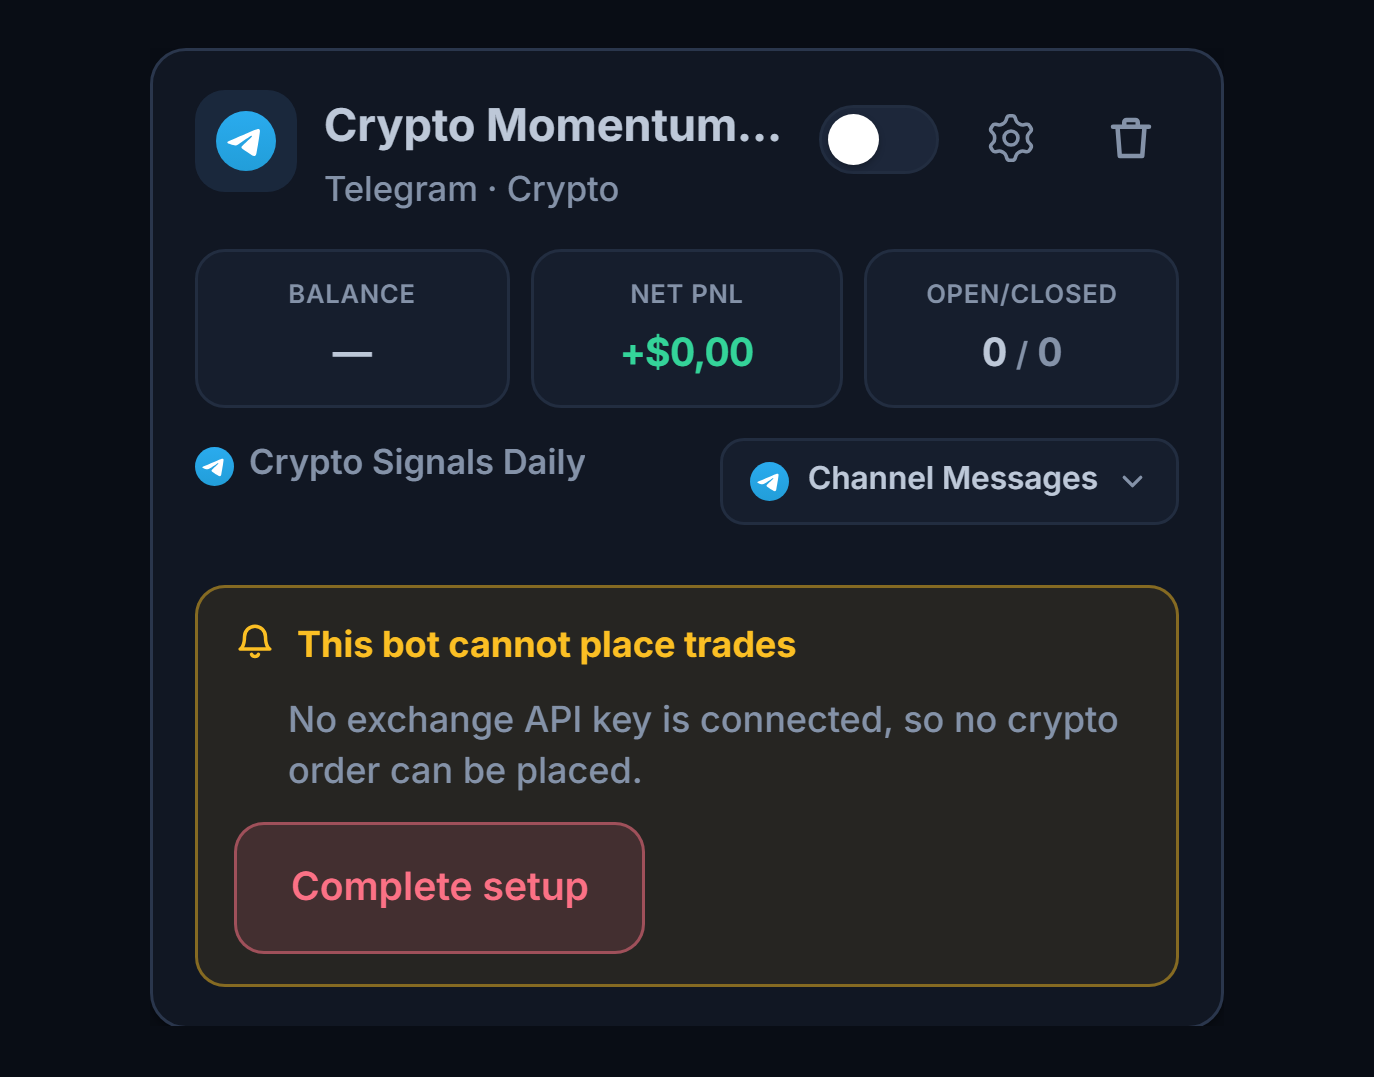
- Bot card — Name, source (Telegram · Crypto), and status. A Demo bot carries a "Demo" badge.
- "This bot can't open trades" list — If a prerequisite is missing (Telegram isn't connected, no channel selected, no target account), the card doesn't show a green "Running"; it lists what's missing, one by one.
- Complete setup — Takes you to the relevant section of the wizard; once the missing item is filled in, the bot is ready to run.
- Start / Stop — You can stop and restart the bot from the card. A stopped bot doesn't process new signals; it doesn't touch your open positions or the SL/TP orders on the exchange.
- When the first signal arrives — The bot reads the signal, checks your limits, and opens the order on the exchange. If Manual approval is on, an approval card appears in the panel first; if you don't approve within 45 seconds, the trade doesn't open.
- Where you see the trade — In the panel's Open positions section, the entry price, SL/TP, leverage, and live profit/loss are shown exactly as read from the exchange; closed trades move to Closed trades. If a signal didn't turn into a trade, the card shows a "signal received, no trade opened" note with the reason.
- Changing settings — With Edit on the card, the wizard opens with the same bot's settings; once you save, the changes apply to later signals and open positions are not affected.
- Notifications — You can turn on Telegram notifications for opened and closed trades, rejected signals, and errors that need your attention from the panel's Notifications page.
Frequently asked questions
The most common questions during and after setup. Tap a question to open its answer.
Connecting and setup
The code usually arrives inside the Telegram app: open the official "Telegram" chat in Telegram on your phone or computer, and the 5-digit code is there. In some cases Telegram may also send the code as an SMS to your phone; check both. If the code doesn't arrive, you can tap Send Code again once the roughly 20-second countdown finishes.
The trial runs with Pro limits: 5 bots at the same time. By plan: Starter 2, Pro 5, Elite unlimited. Details: plans and trial · pricing.
No. AlgoVesta never sends any messages from your Telegram account; it only reads messages from the channels you choose. Your other chats, contacts, and files are never processed. You can end AlgoVesta's session at any time from Telegram's own Settings → Devices; if you do, new signals will stop arriving and you'll need to reconnect.
No. Even if you refresh the page after the code was sent, you'll see a "Pick up where you left off" banner on screen; you only need to enter the code. If you already created the bot, you can finish any remaining steps with Complete setup on the bot card.
The bot can only see channels and groups you're already a member of on Telegram. Join the channel on Telegram first, then tap Fetch My Channels again in the wizard and type the channel's name into the search box.
Orders are sent from AlgoVesta's trading servers. If you're going to restrict the API key by IP, add both of these addresses: 188.245.92.153 and 46.224.35.135. Only enable trading permission on the key; leave withdrawal access turned off. AlgoVesta never asks for withdrawal permission.
A signal arrived but no trade opened
The bot card shows a "signal received, no trade opened" note under the latest signal, along with the reason. If the same bot receives signals for 24 hours straight without opening a single trade, you also get a one-time email. The most common reasons are in the next question.
- Channel isn't in the settings scope — Adding the channel isn't enough; it also has to be selected in Settings scope under Crypto Setup.
- No target account — No API key is connected and Demo mode is off. The summary shows "Target account: Not selected".
- Bot is stopped — A stopped bot never processes incoming signals at all. Start the bot from the bot card.
- Daily loss limit or max daily trades reached — No new trades open that day; it resumes automatically the next day (00:00 UTC).
- Manual approval is on — If you don't approve the signal within 45 seconds, the trade doesn't open.
- The message couldn't be read as a signal — If the message has no direction (LONG/SHORT) or symbol, or the channel only posted an informational/comment message, no trade opens.
- The amount didn't match the exchange's trading step — If your requested amount deviates from the nearest amount the exchange allows by more than 20%, the order isn't opened; the panel tells you which amounts are possible.
- Filters — A keyword, a blocked coin, the economic calendar, the volatility guard, a cooldown, or "don't reopen the same symbol" may have deliberately skipped the signal.
Yes. If the signal has no stop price, the bot calculates the stop itself from entry, using the percentage in the Stop Loss (%) field. The stop is set on the exchange as a real order; if it can't be set, the position is closed for safety. AlgoVesta never carries a position without a stop.
While the leverage mode is From signal, the message's leverage is used, but it's always capped at the upper limit the exchange allows for that pair. If you never want the signal's leverage used at all, set the leverage mode to Fixed (my setting).
No. Duplicate check is on by default; the same signal is never processed a second time.
Orders, amount, and the exchange
16 crypto exchanges: Binance, Bybit, OKX, Coinbase, Kraken, KuCoin, Gate.io, Bitget, HTX, BingX, BloFin, Phemex, WOO X, CoinEx, Backpack, and Hyperliquid. The API key guide for each is in the Help Center, and the comparison is on the Exchanges page.
Exchanges only accept amounts in fixed steps (a lot step). The bot picks the nearest valid amount to what you requested; the difference can be up to 20%, and it's shown in the panel. If a bigger difference would be needed, the order isn't opened, and you're told which amounts are possible.
No, it's the collateral (margin). On futures, position size = amount × leverage. Example: 100 USDT amount and 10x leverage = a 1,000 USDT position; the balance locked on the exchange is 100 USDT. Spot has no leverage; entering 100 USDT buys 100 USDT worth of coin.
On futures, TP and SL appear under the exchange's conditional orders (TP/SL) section; they may not show up in the "open orders" list. Check the position's TP/SL tab in the exchange app. On Bybit and Bitget, a spot take-profit order can't be set (an exchange restriction); the stop-loss is still set.
No. AlgoVesta only manages the amount it opened and tracked itself. Positions you opened by hand on the exchange, and the rest of your balance, are left exactly as they are.
Control and safety
No. A position only closes in these cases: you tap Close in the panel, you use the Panic Button, the channel you follow sends a closing message for that position, your take-profit or stop-loss order fills on the exchange, your own Auto-close (hours) setting expires, or the position is immediately reversed for safety because a stop order couldn't be set on opening.
A stopped bot doesn't process new signals; open positions don't close. The TP and SL orders on the exchange stay in place and keep working. If you want to close a position, use Close or the Panic Button in the panel.
The Panic Button (close everything) in the panel closes every position AlgoVesta opened. It doesn't touch positions you opened yourself on the exchange.
No, it just stopped for that day. Daily limits reset at 00:00 UTC and the bot resumes automatically the next day. For permanent limits like max drawdown, the bot stops completely and only restarts with your approval.
Demo mode
No. In Demo mode, no order is ever sent to your exchange; signals are processed with a $5,000 virtual balance and live prices. Because of slippage, liquidity, and spread, virtual results can differ from real trading by ±10%.
First connect your exchange API key (Step 9), then turn off the Demo mode toggle in the bot's settings. Your exchange should now show up in the "Target account" field in the summary. Before switching, review your amount, leverage, and loss limits against your real balance.
Troubleshooting
| Situation | What to do |
|---|---|
| Verification code didn't arrive | The code usually arrives in your Telegram app (the "Telegram" chat inside the app); in some cases it may also come as an SMS to your phone — check both. Once the roughly 20-second countdown finishes, you can tap Send Code again. If the resume banner is showing, use Code did not arrive? Start over to start again. |
| "Telegram received too many requests" | Wait for the time shown on screen, then tap Send Code again. Tapping it repeatedly can extend the wait time. |
| "Invalid code" | Carefully retype the 5-digit code from your Telegram app or SMS. |
| "Code has expired" | Tap Send Code for a new one. |
| Invalid phone number | Enter the number with its country code (e.g. +1 202 555 0147 for the US). It must be a number with a Telegram account attached. |
| Wrong 2FA password | Enter your Telegram two-factor password (not your AlgoVesta password). Try again. |
| "Verification is already in progress" | You tapped it twice at once; wait a moment, then try again. |
| "Quick connect isn't available right now" | The panel opens its own API ID form; use your own API ID path. |
| Channel doesn't show up in the list | Make sure you're a member of that channel on Telegram; the bot only sees channels you belong to. After joining, tap Fetch My Channels again and use the search box. |
| Red "Not selected" in the summary | Channel: add a channel and select it in the settings scope. Target account: connect an API key or turn on Demo mode. |
| Manual approval is on, trade didn't open | With manual approval, you must approve each signal within 45 seconds; an unapproved signal doesn't open. Turn off Manual approval if you want fully automatic trading. |
| Order didn't open because of the amount | If your requested amount deviates by more than 20% because of the exchange's trading step, the order isn't opened; the panel tells you which amounts are possible. Adjust the amount accordingly. |
| TP wasn't set on spot | On Bybit and Bitget, a spot take-profit order can't be set (an exchange restriction). The stop-loss is still set. |
Glossary of terms
- TP (Take-Profit)
- The target where profit is taken. In this wizard it's written as a percentage distance from entry.
- SL (Stop-Loss)
- The level where a loss is cut. Set on the exchange as a real order.
- Leverage
- How many times your collateral the position size is. 10x: a 1,000 USDT position with 100 USDT collateral. Exists only on Futures.
- Collateral / margin
- The amount locked on the exchange for a position. The "Amount per trade" field is the collateral.
- Liquidation
- The exchange force-closing a position once losses reach the collateral. Higher leverage brings this level closer.
- Drawdown
- The percentage drop from the account's peak.
- R (1R)
- The distance between entry and stop; the unit of risk. When the price moves 1R in your favor, the trade is in profit by the stop distance. Breakeven triggers at this threshold.
- Breakeven
- Moving the stop to the entry price; from that point on, the trade closes at worst without a loss.
- Trailing
- The level following the price from behind as it moves in your favor (trailing stop, trailing take-profit).
- Futures
- A market where you buy and sell the price of a coin, not the coin itself, with leverage and the option to go SHORT.
- Spot
- A market where you buy the coin itself. No leverage.
- LONG / SHORT
- LONG: a trade betting the price will rise. SHORT: a trade betting it will fall.
- Demo / paper
- Practice trades made with a virtual balance ($5,000) that never send real orders to the exchange.
- API key
- The key you create on the exchange so the bot can trade on your exchange account. Trade-only permission is enough; withdrawal access is never granted.
- UTC
- Coordinated Universal Time, the world's common reference time.
- Funding
- A fee paid at regular intervals between LONG and SHORT sides on the futures market.
Related guides
- Connecting your Telegram account and channels — the short version of the connection step only.
- Demo mode — how the $5,000 virtual balance works.
- API key security and rotating a key.
- Telegram signal copier and copying Telegram signals to Binance Futures — product pages.
- TradingView webhook setup — if your signal source is TradingView.
Our support team can finish the setup together with you; attaching a screenshot helps us solve it faster.